


//首先在spring.factories配置一个自定义的监听器
#应用监听器
org.springframework.context.ApplicationListener=\
  com.example.demo2.config.MyListener
public static void main(String[] args) {
    //进入run方法
    SpringApplication.run(Demo2Application.class, args);
}
public static ConfigurableApplicationContext run(Class<?> primarySource, String... args) {
    //进入run方法
   return run(new Class<?>[] { primarySource }, args);
}
public static ConfigurableApplicationContext run(Class<?>[] primarySources, String[] args) {
   //进入SpringApplication
   return new SpringApplication(primarySources).run(args);
}
public SpringApplication(Class<?>... primarySources) {
   //选择this
   this(null, primarySources);
}
public SpringApplication(ResourceLoader resourceLoader, Class<?>... primarySources) {
//然后看到这个一行 就是在spring.factories文件下的ApplicationListener下的所有数据
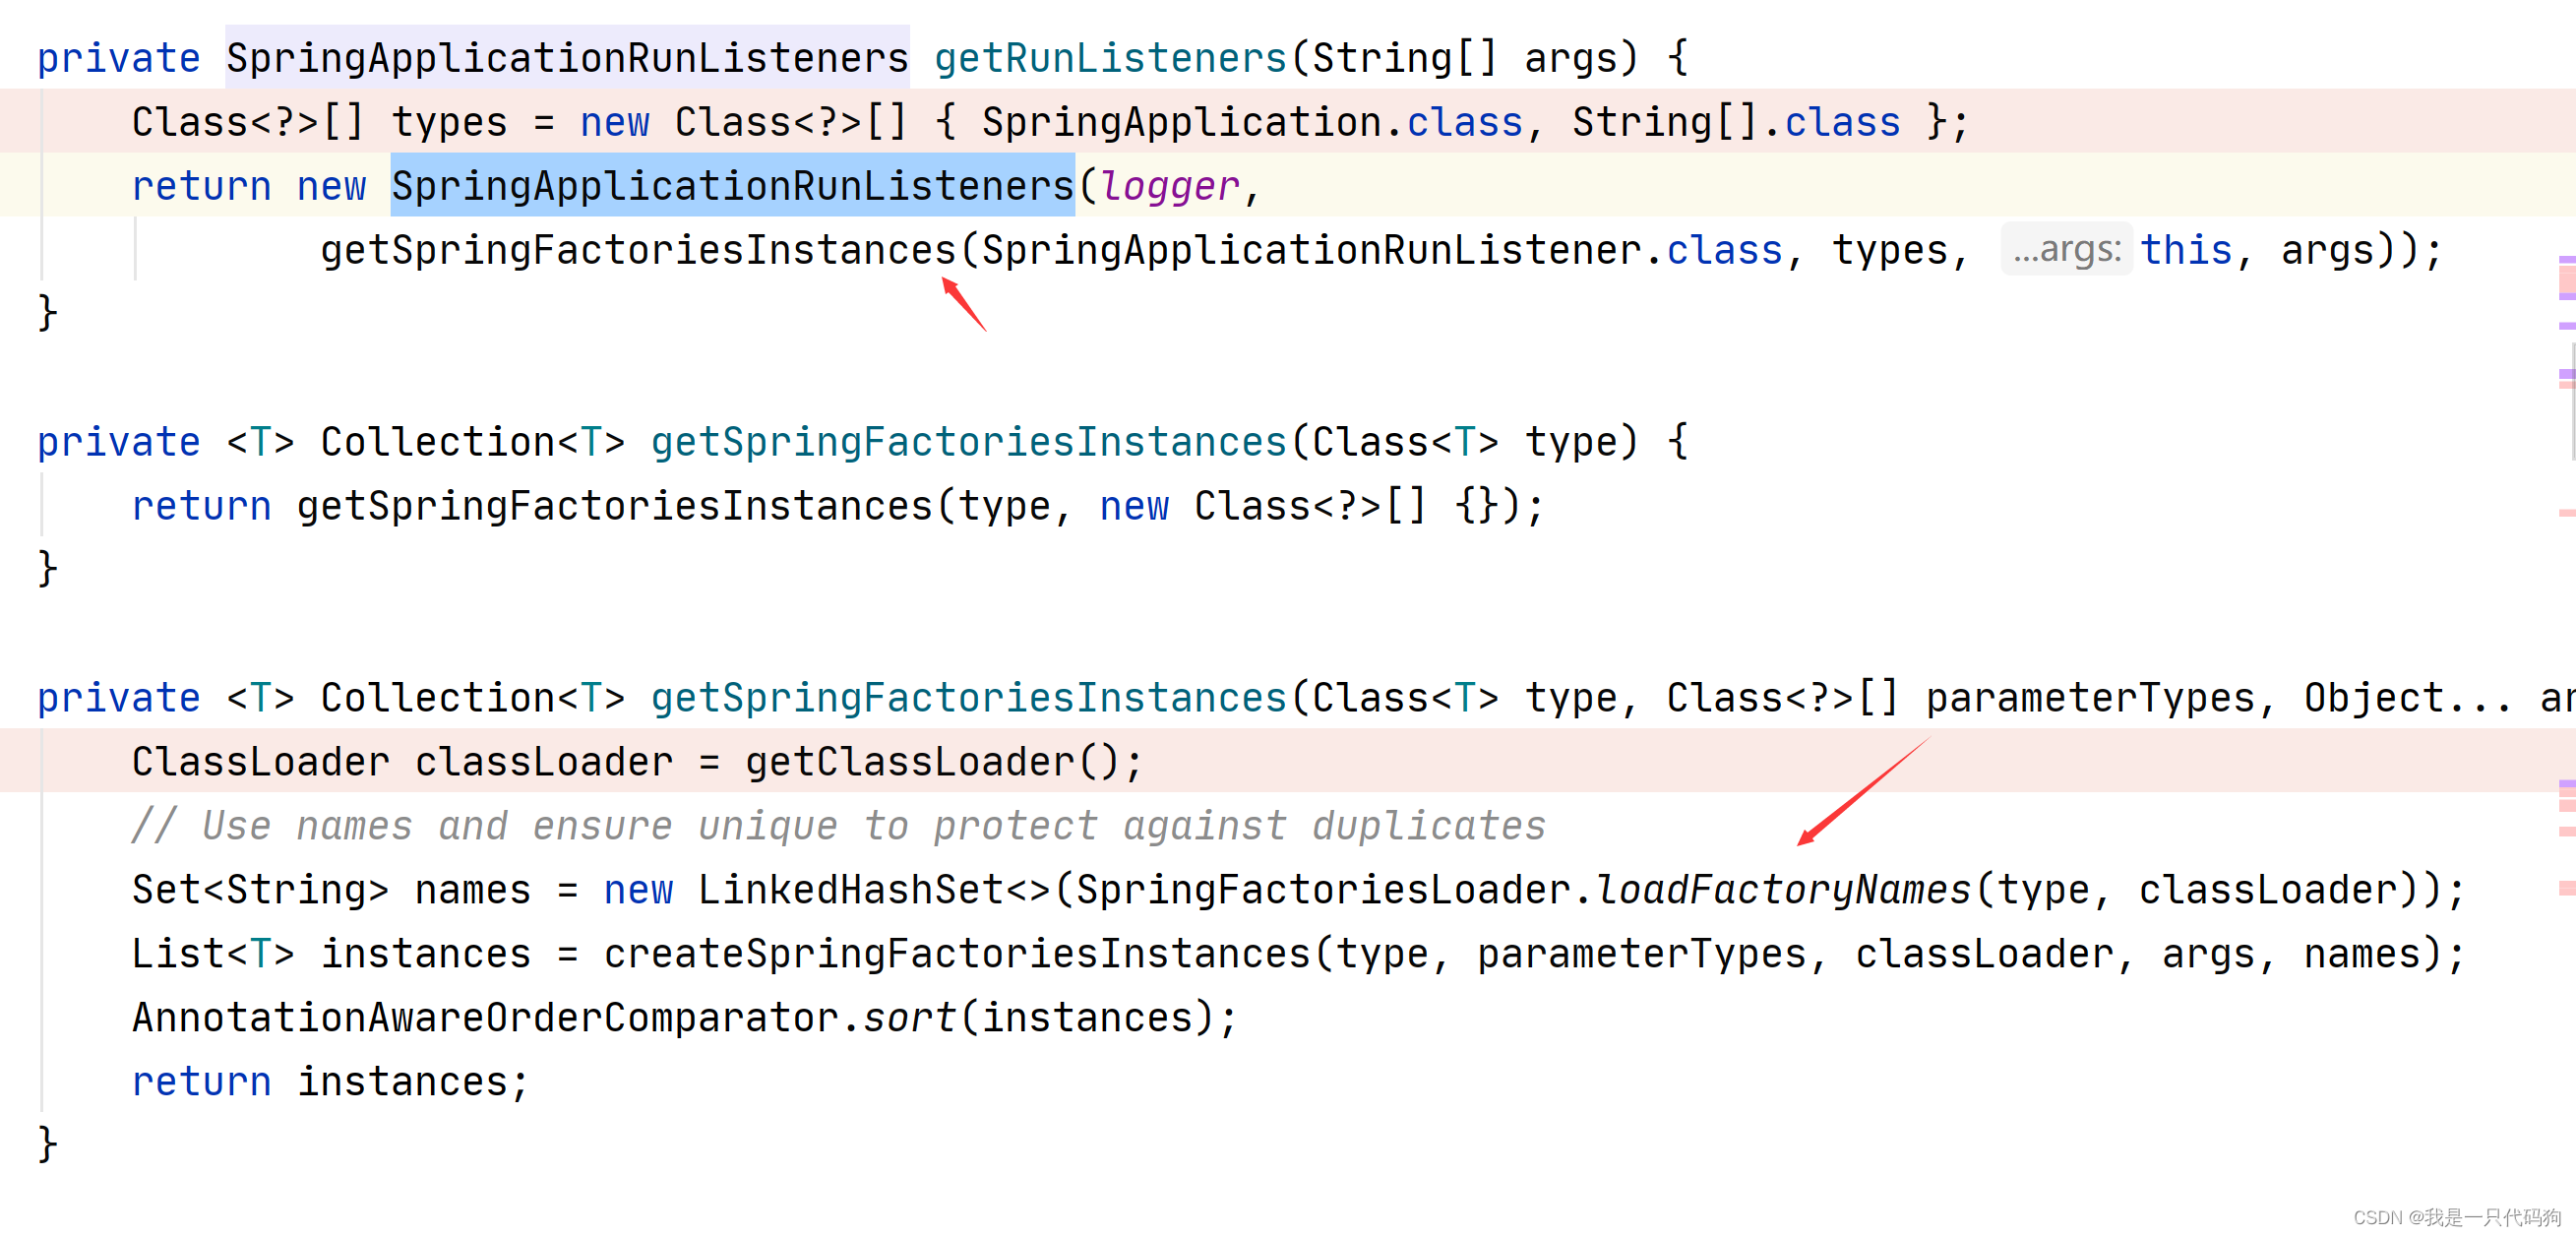
//我们点击getSpringFactoriesInstances
setListeners((Collection) getSpringFactoriesInstances(ApplicationListener.class));
}
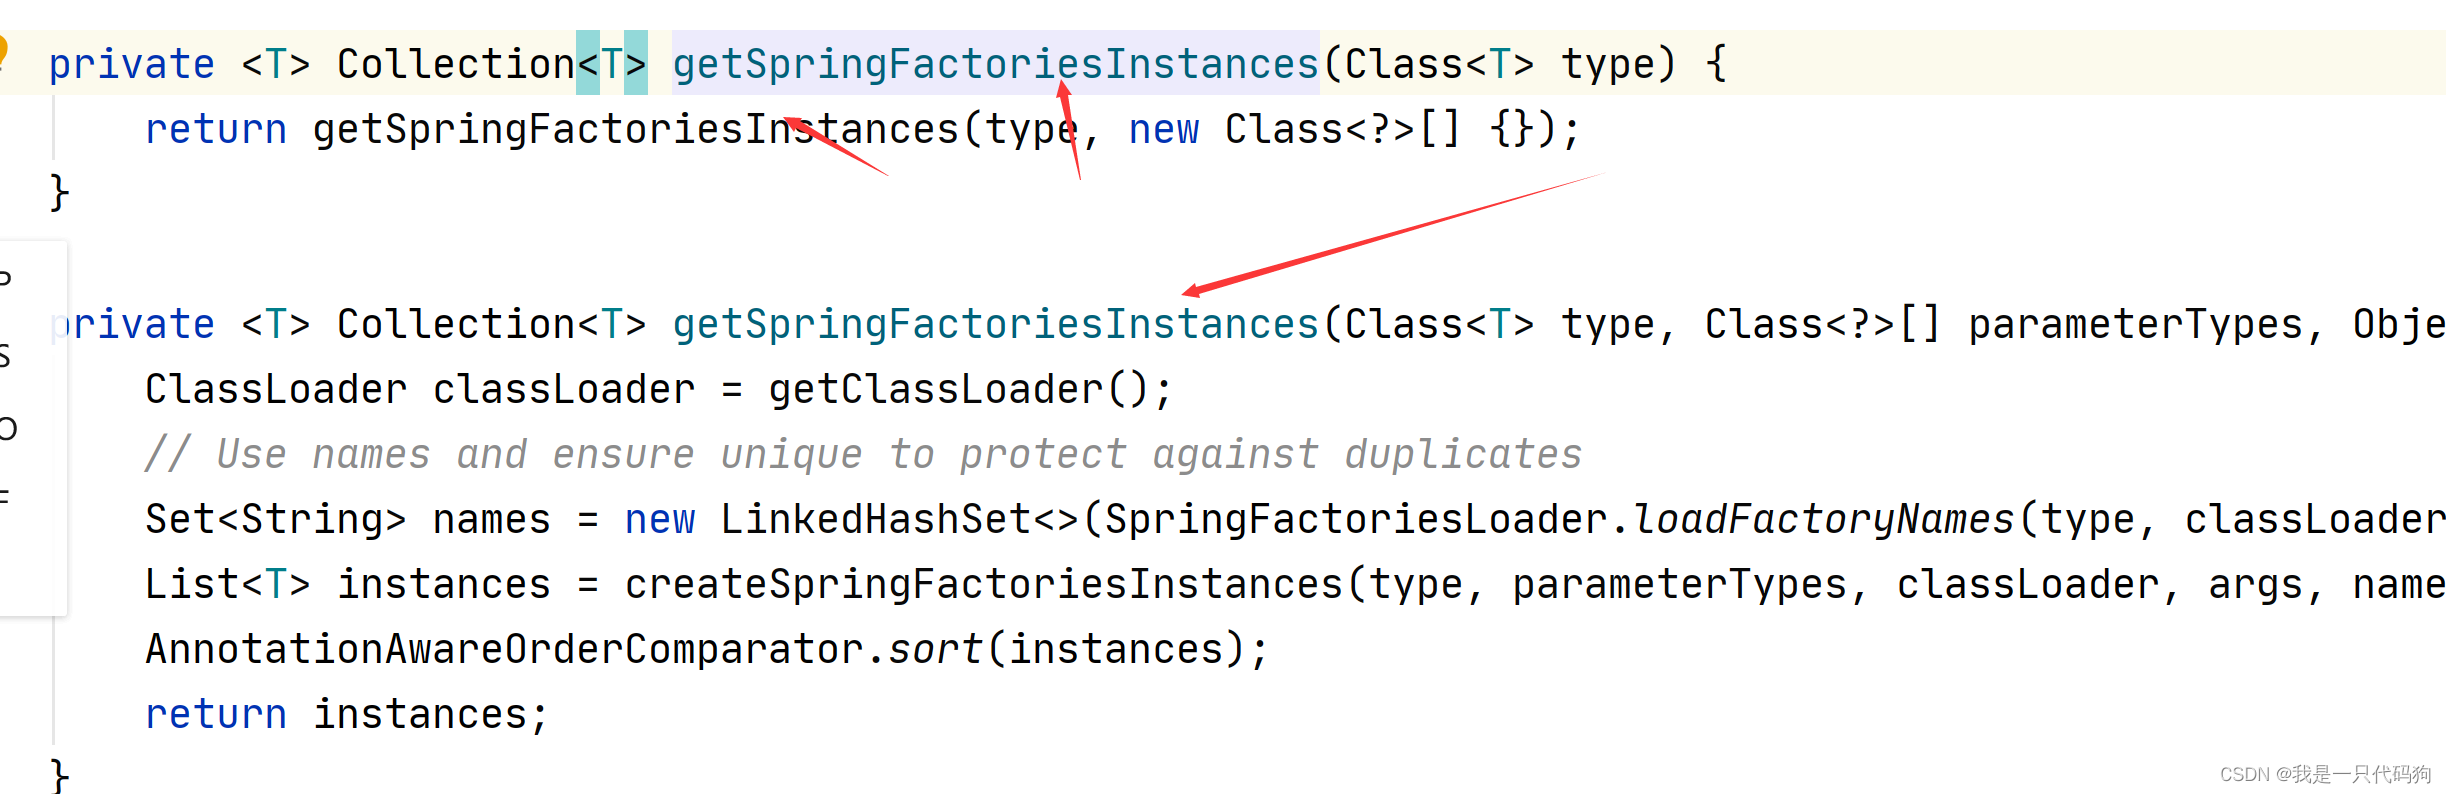
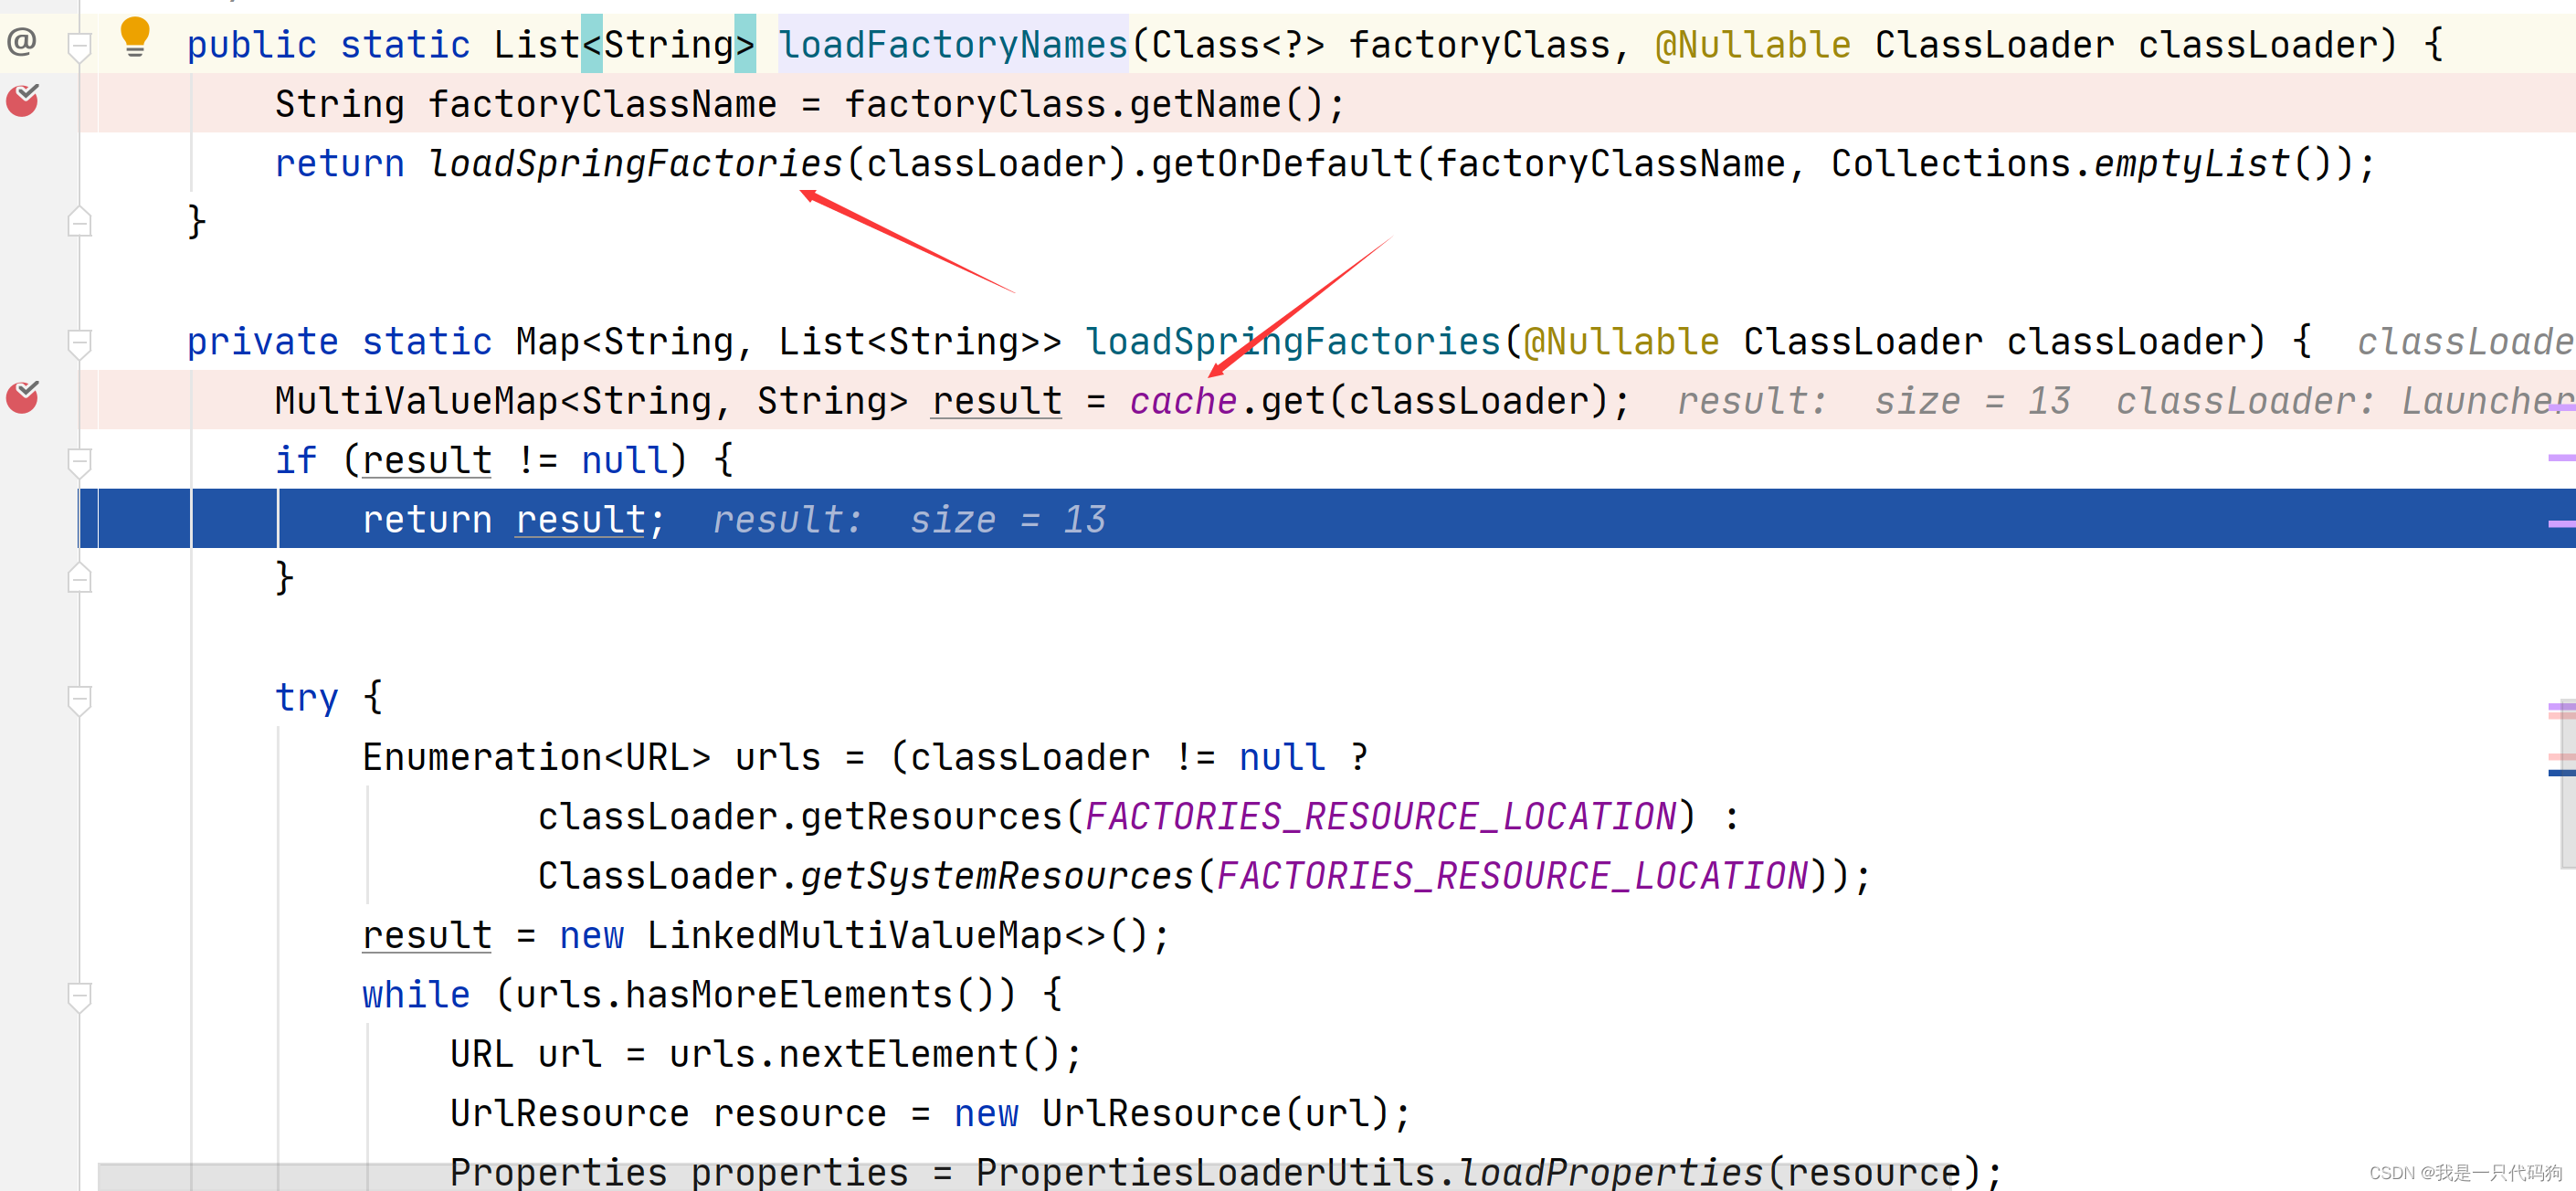
//我们点击loadFactoryNames方法,跟着箭头往下走
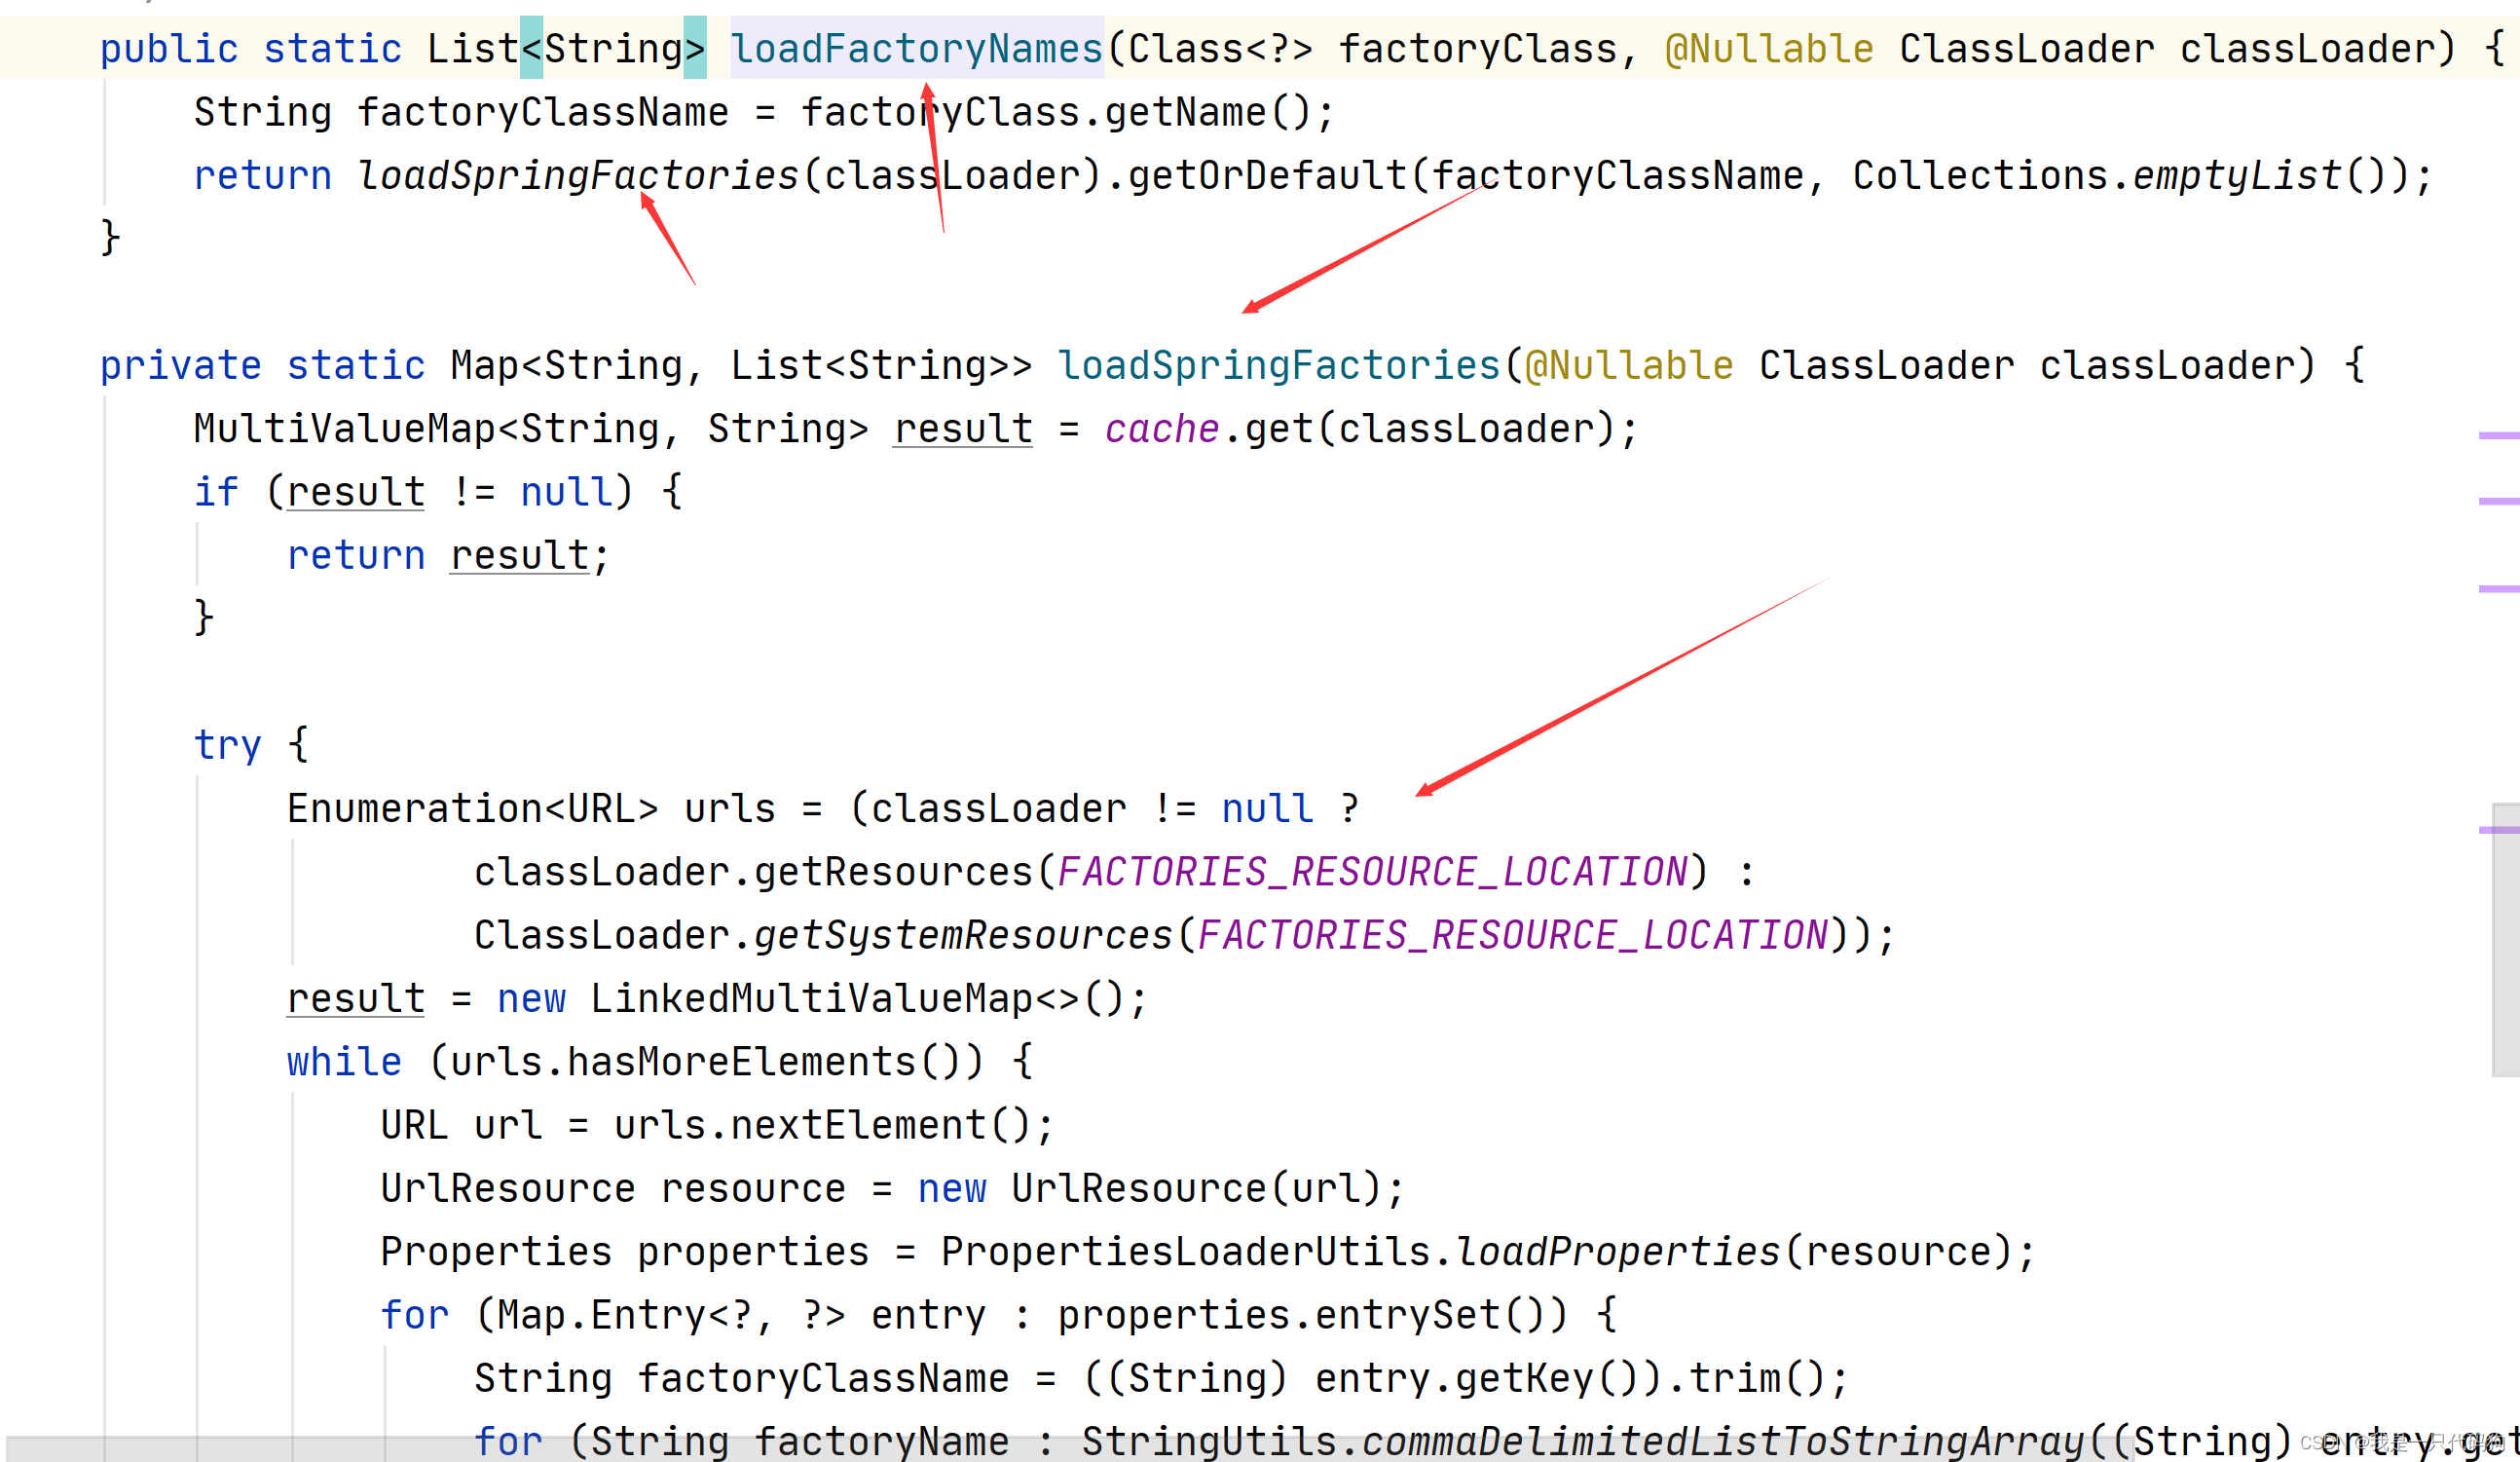
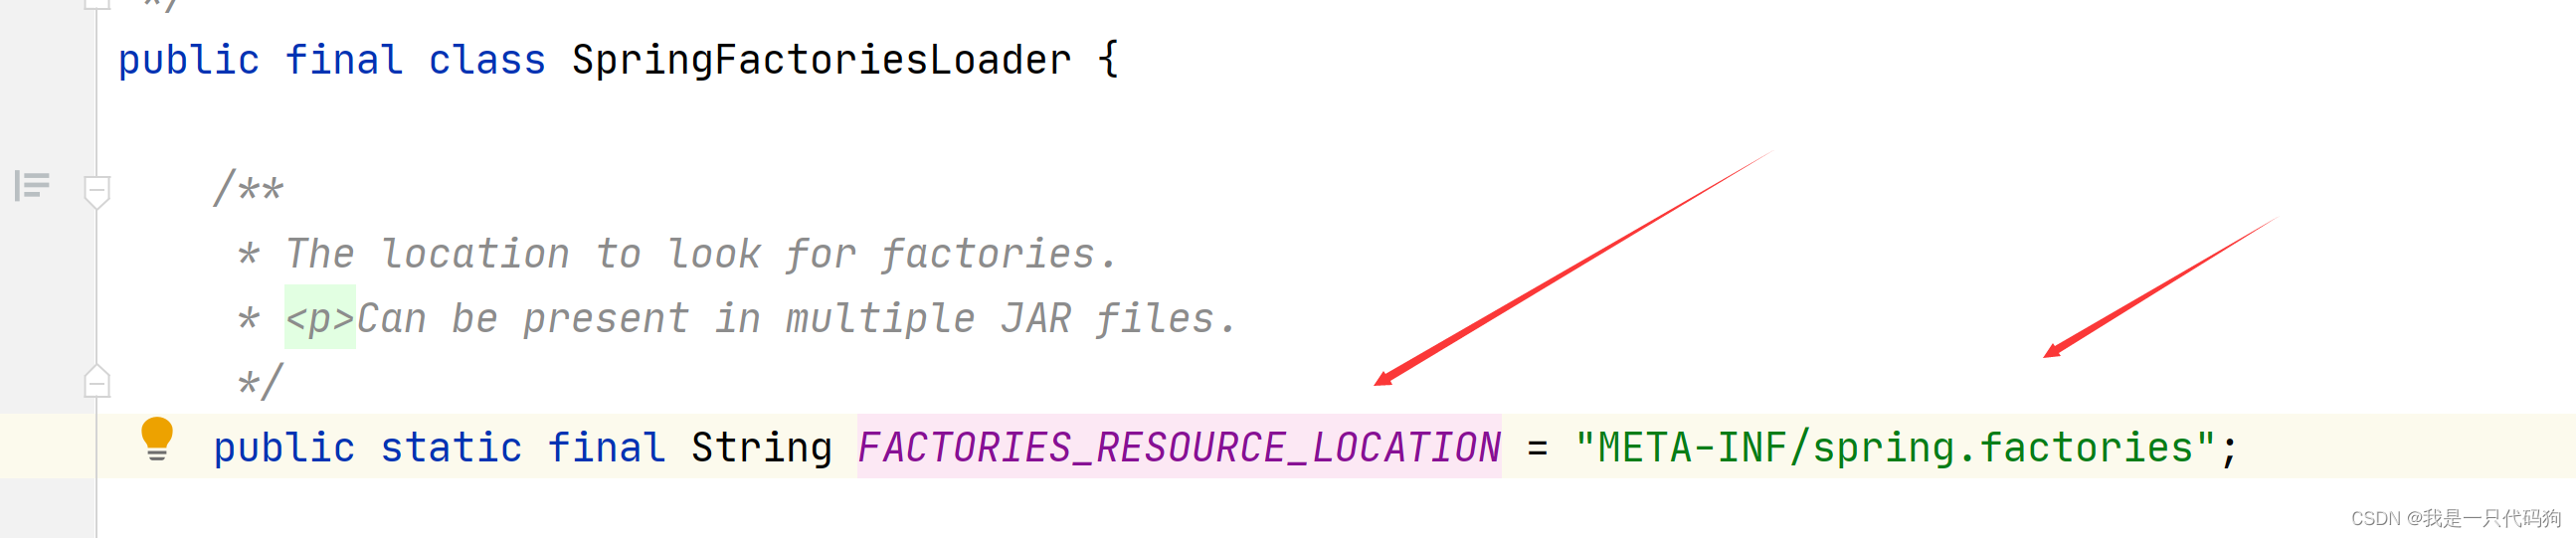
//然后选择常量,我们可以看到这里读取的就是我们的spring.factories文件
//然后我们在回到这个方法
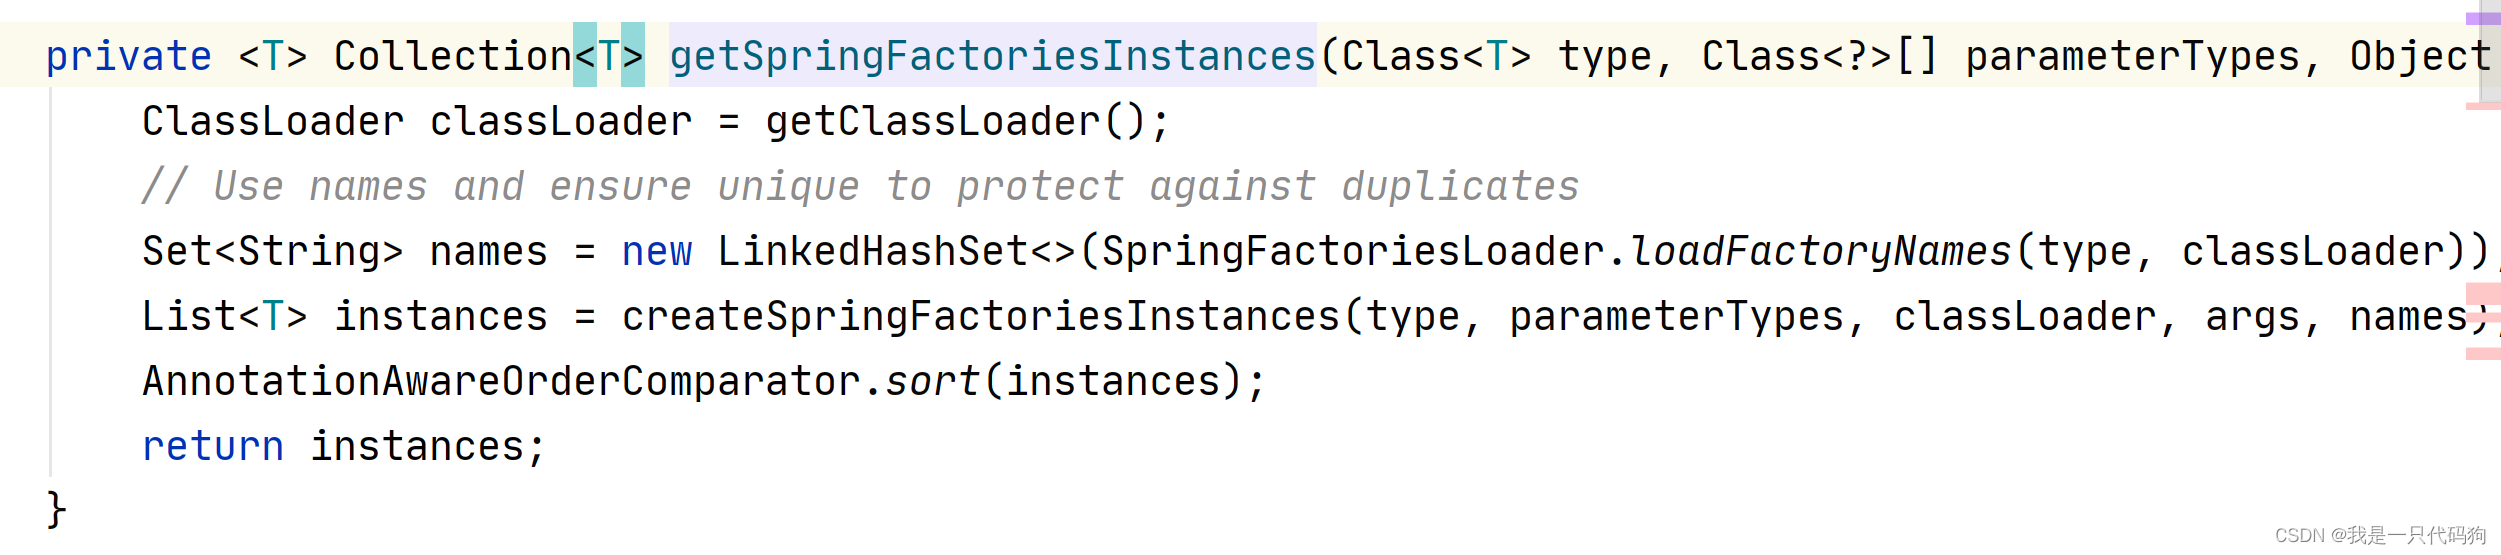
//然后我们点击createSpringFactoriesInstances方法

//这个方法中通过反射读取到类字节码,然后把构造,实例化类,就是创建一个对象
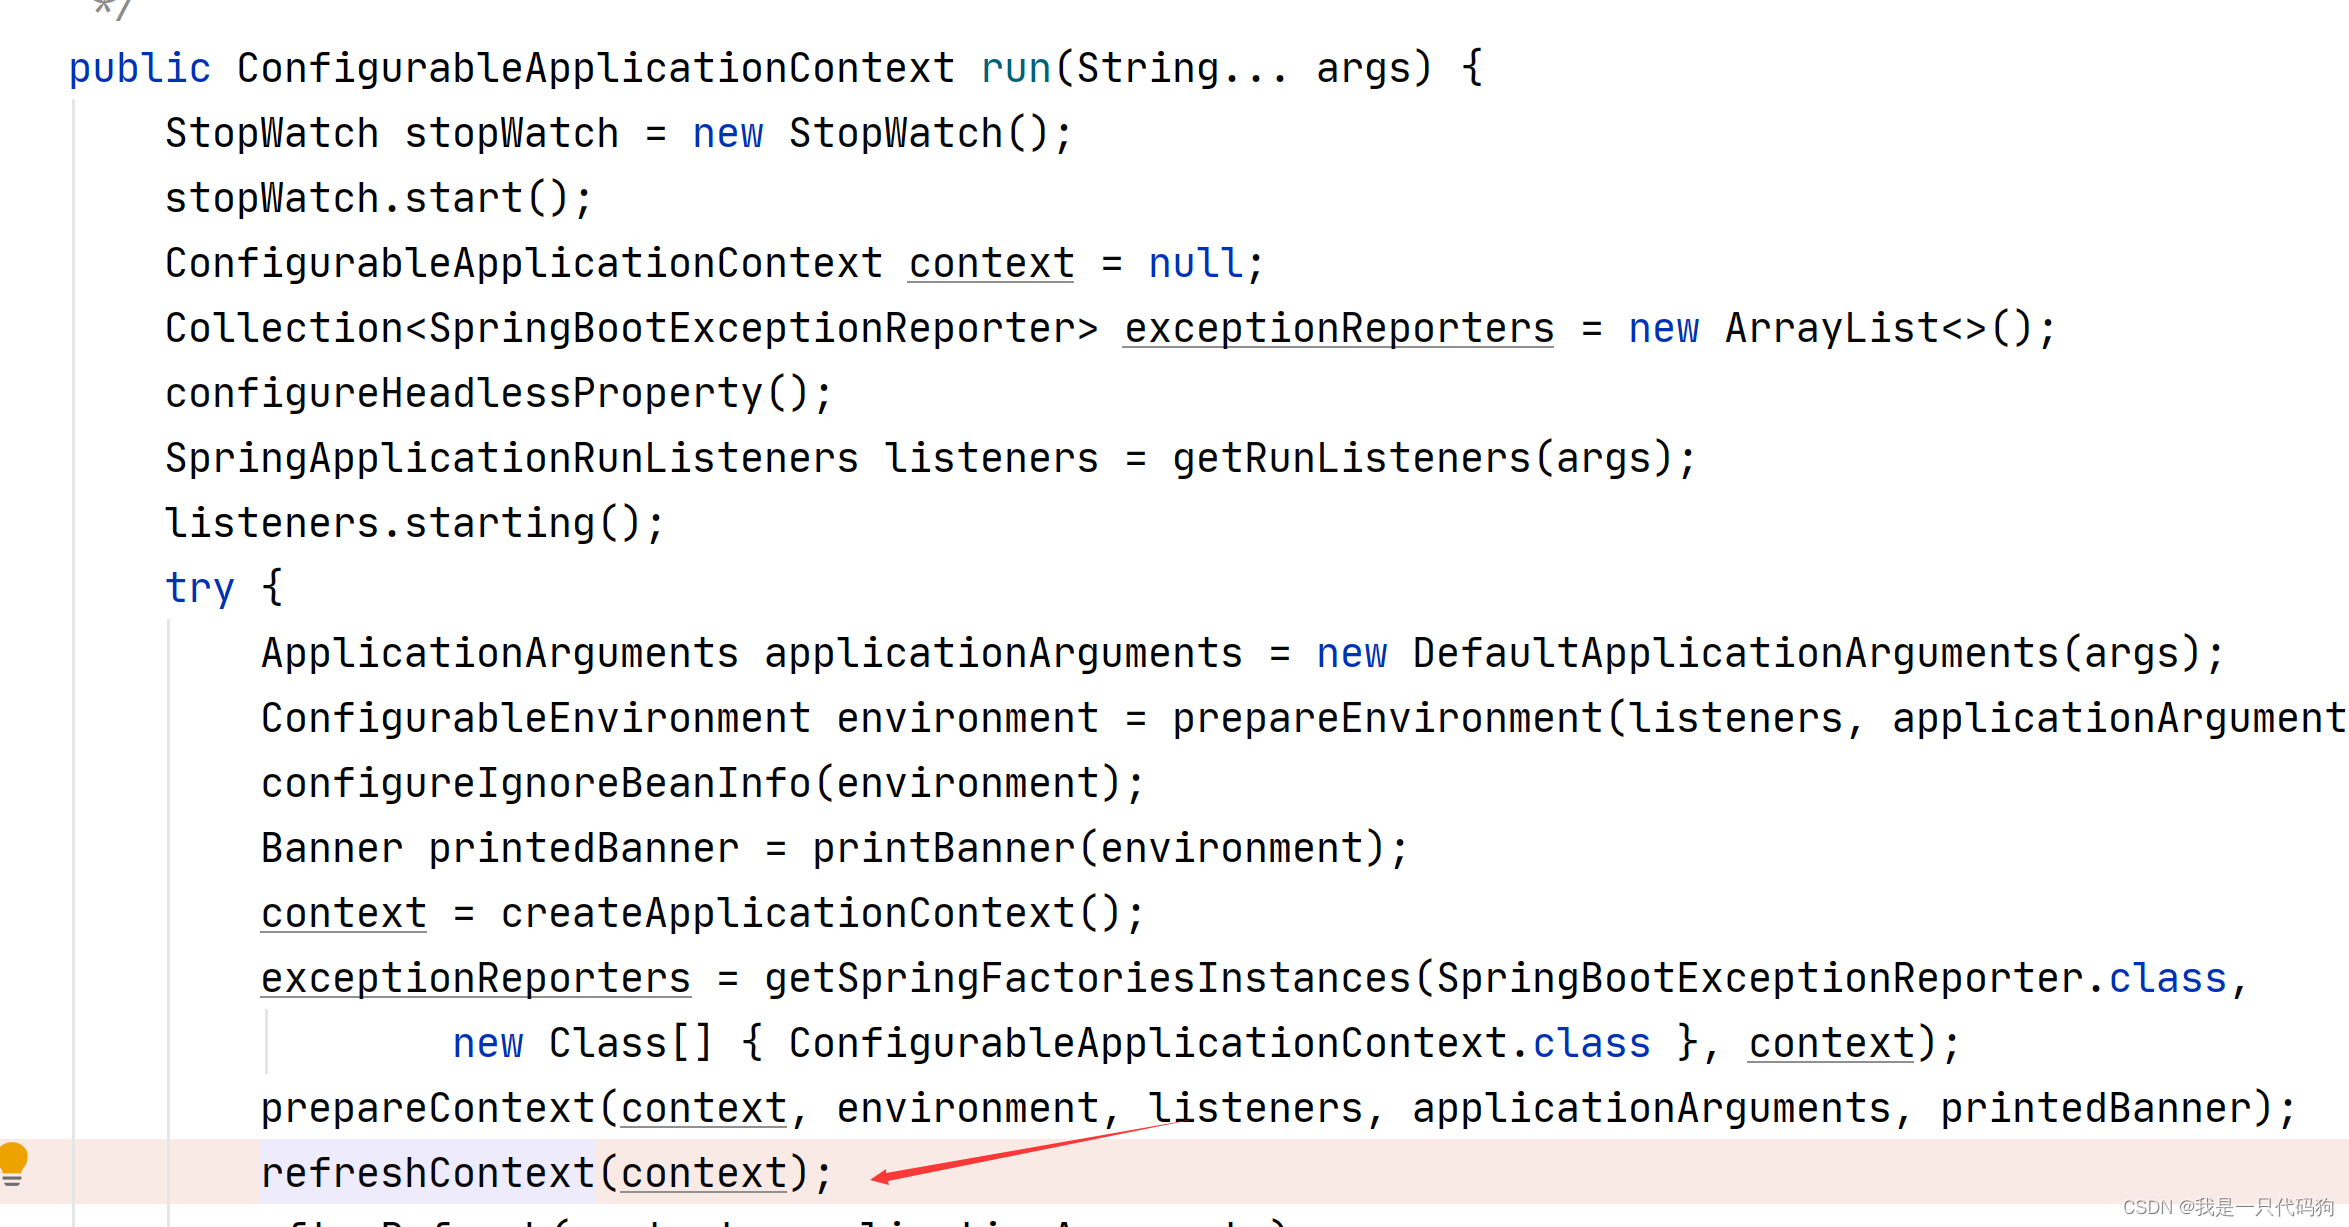
public static ConfigurableApplicationContext run(Class<?>[] primarySources, String[] args) {
   //然后回来 我们进入run方法
   return new SpringApplication(primarySources).run(args);
}
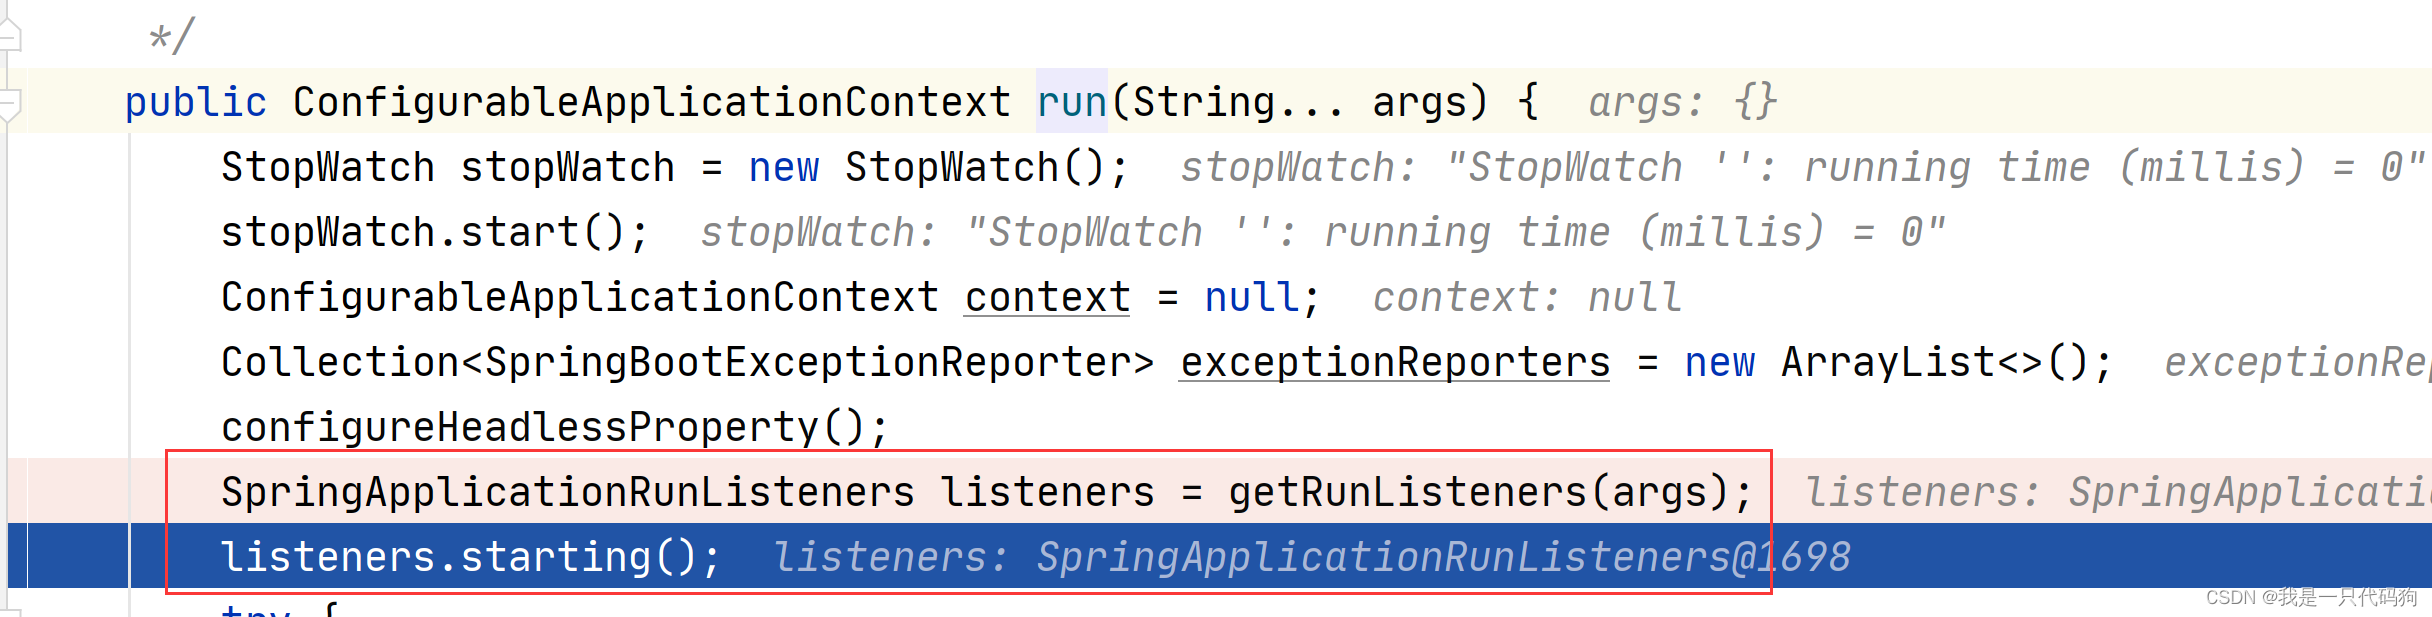
//我们点击getRunListeners方法进入
//跟着箭头走,我们可以看到缓存中有数据,可以直接返回
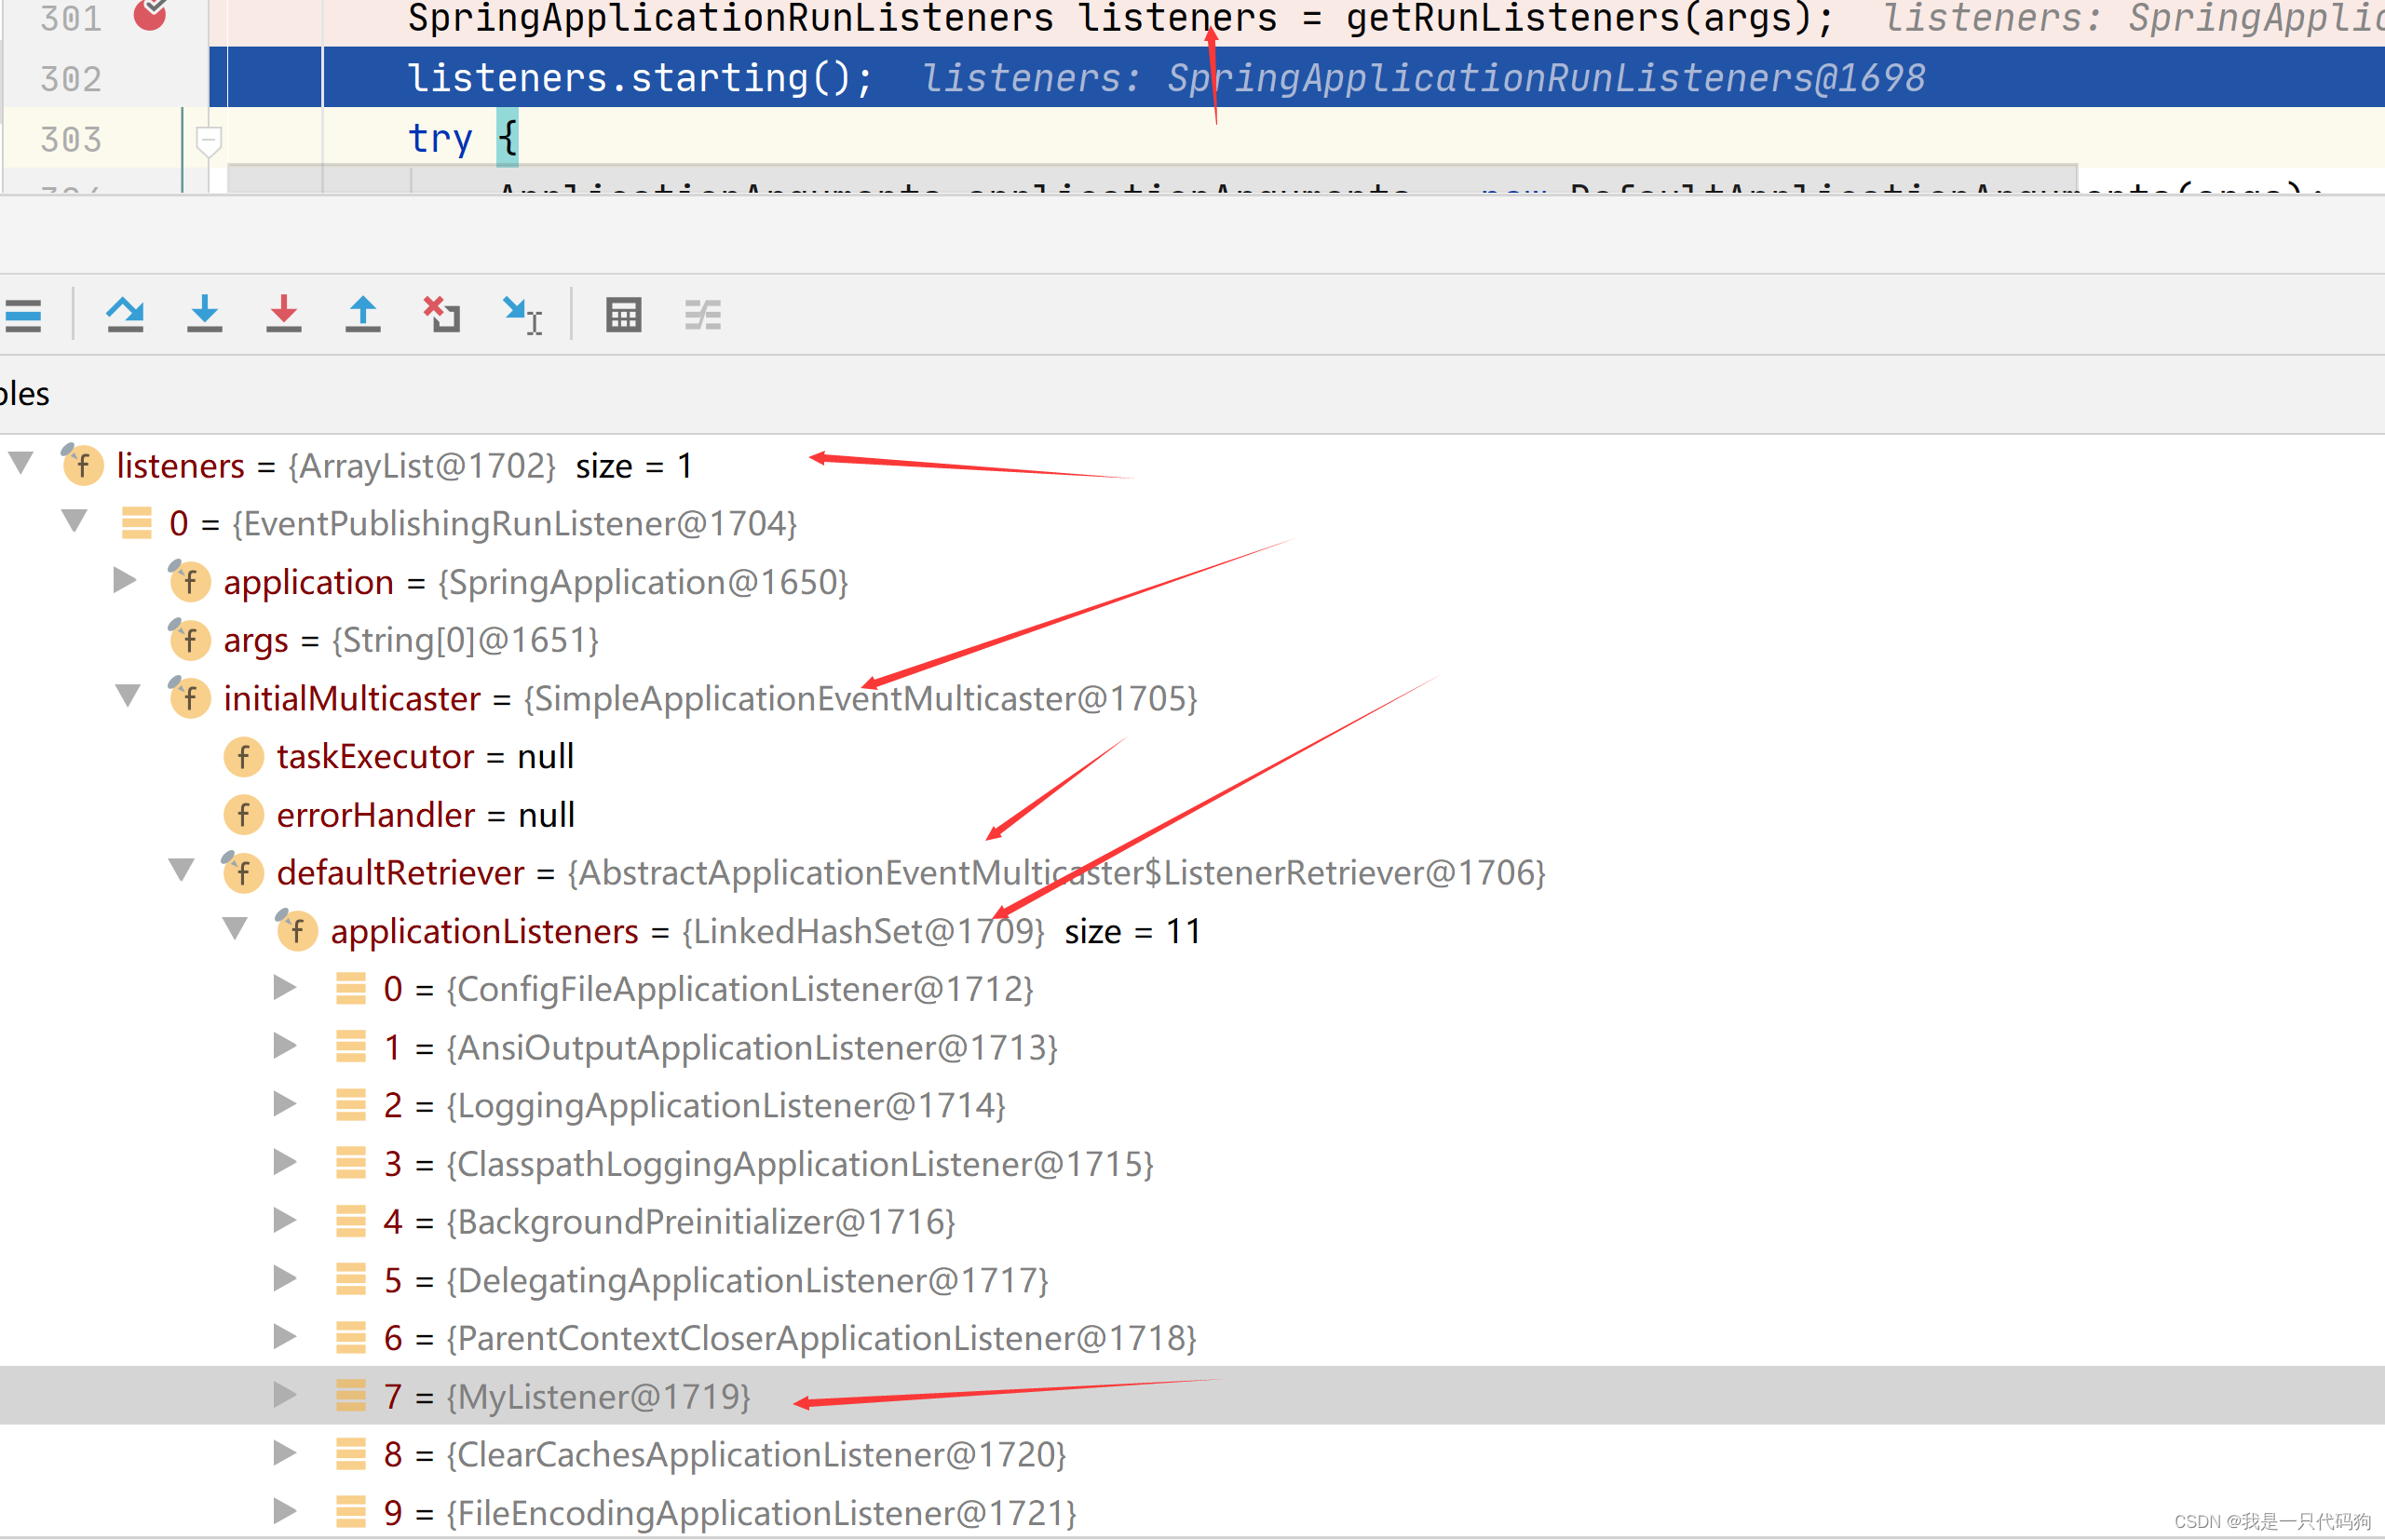
//然后我们进入这个SpringApplicationRunListeners构造方法,可以看到数据已经放入了集合中

//然后我们返回SpringApplicationRunListeners listeners = getRunListeners(args);
//可以看到我们自定义的监听器就被读取到,并且放入了集合中
//然后选择starting方法一路点进来

//我们的数据都是放在initialMulticaster里面的,刚才我们不是看到了结果吗

//然后跟着箭头走
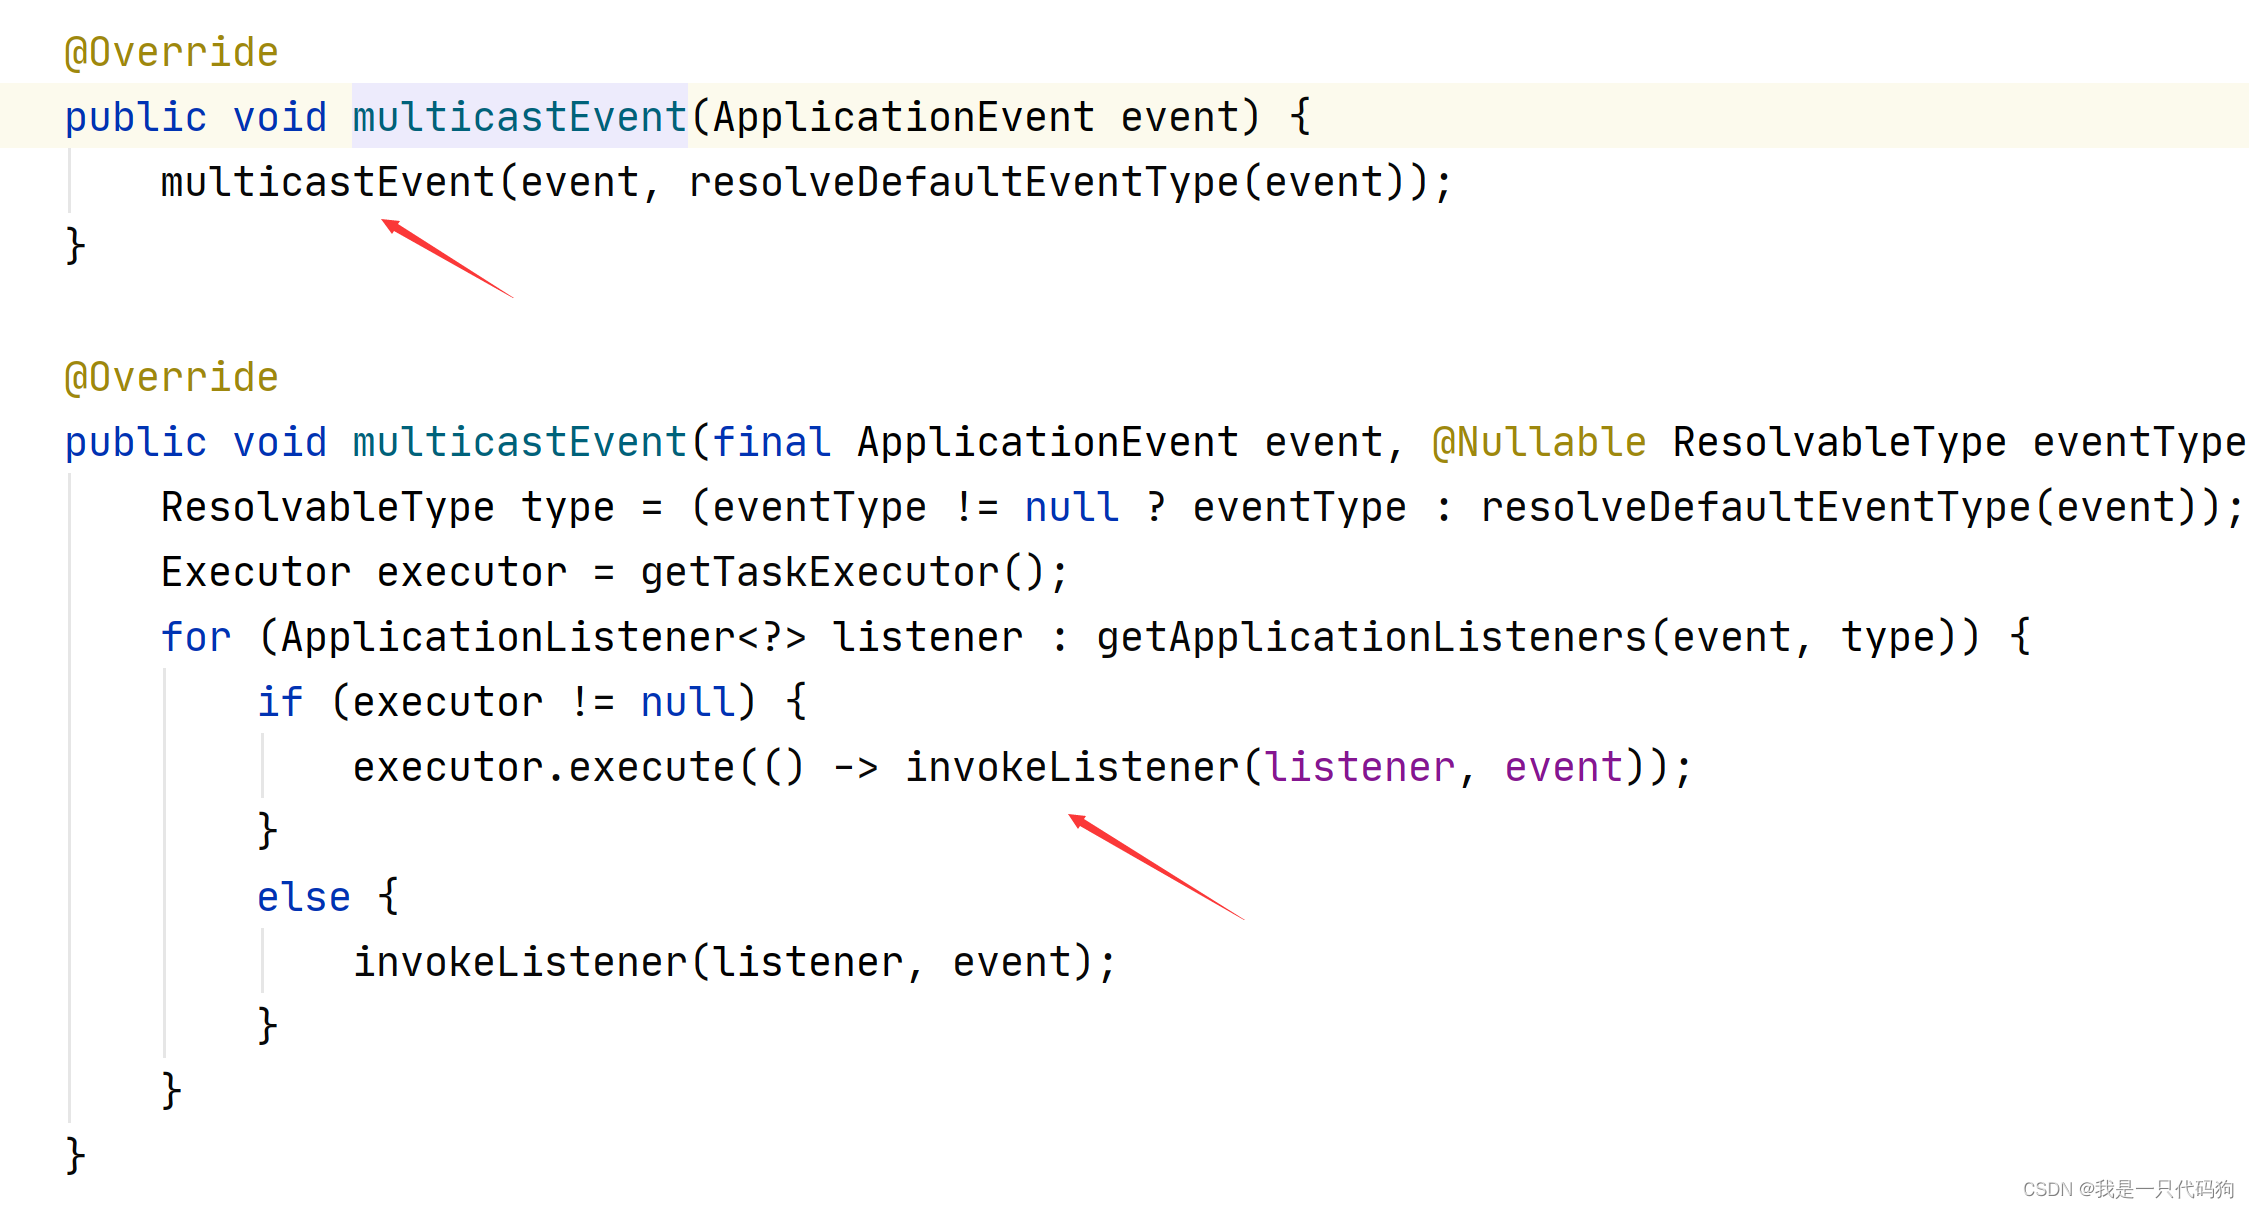
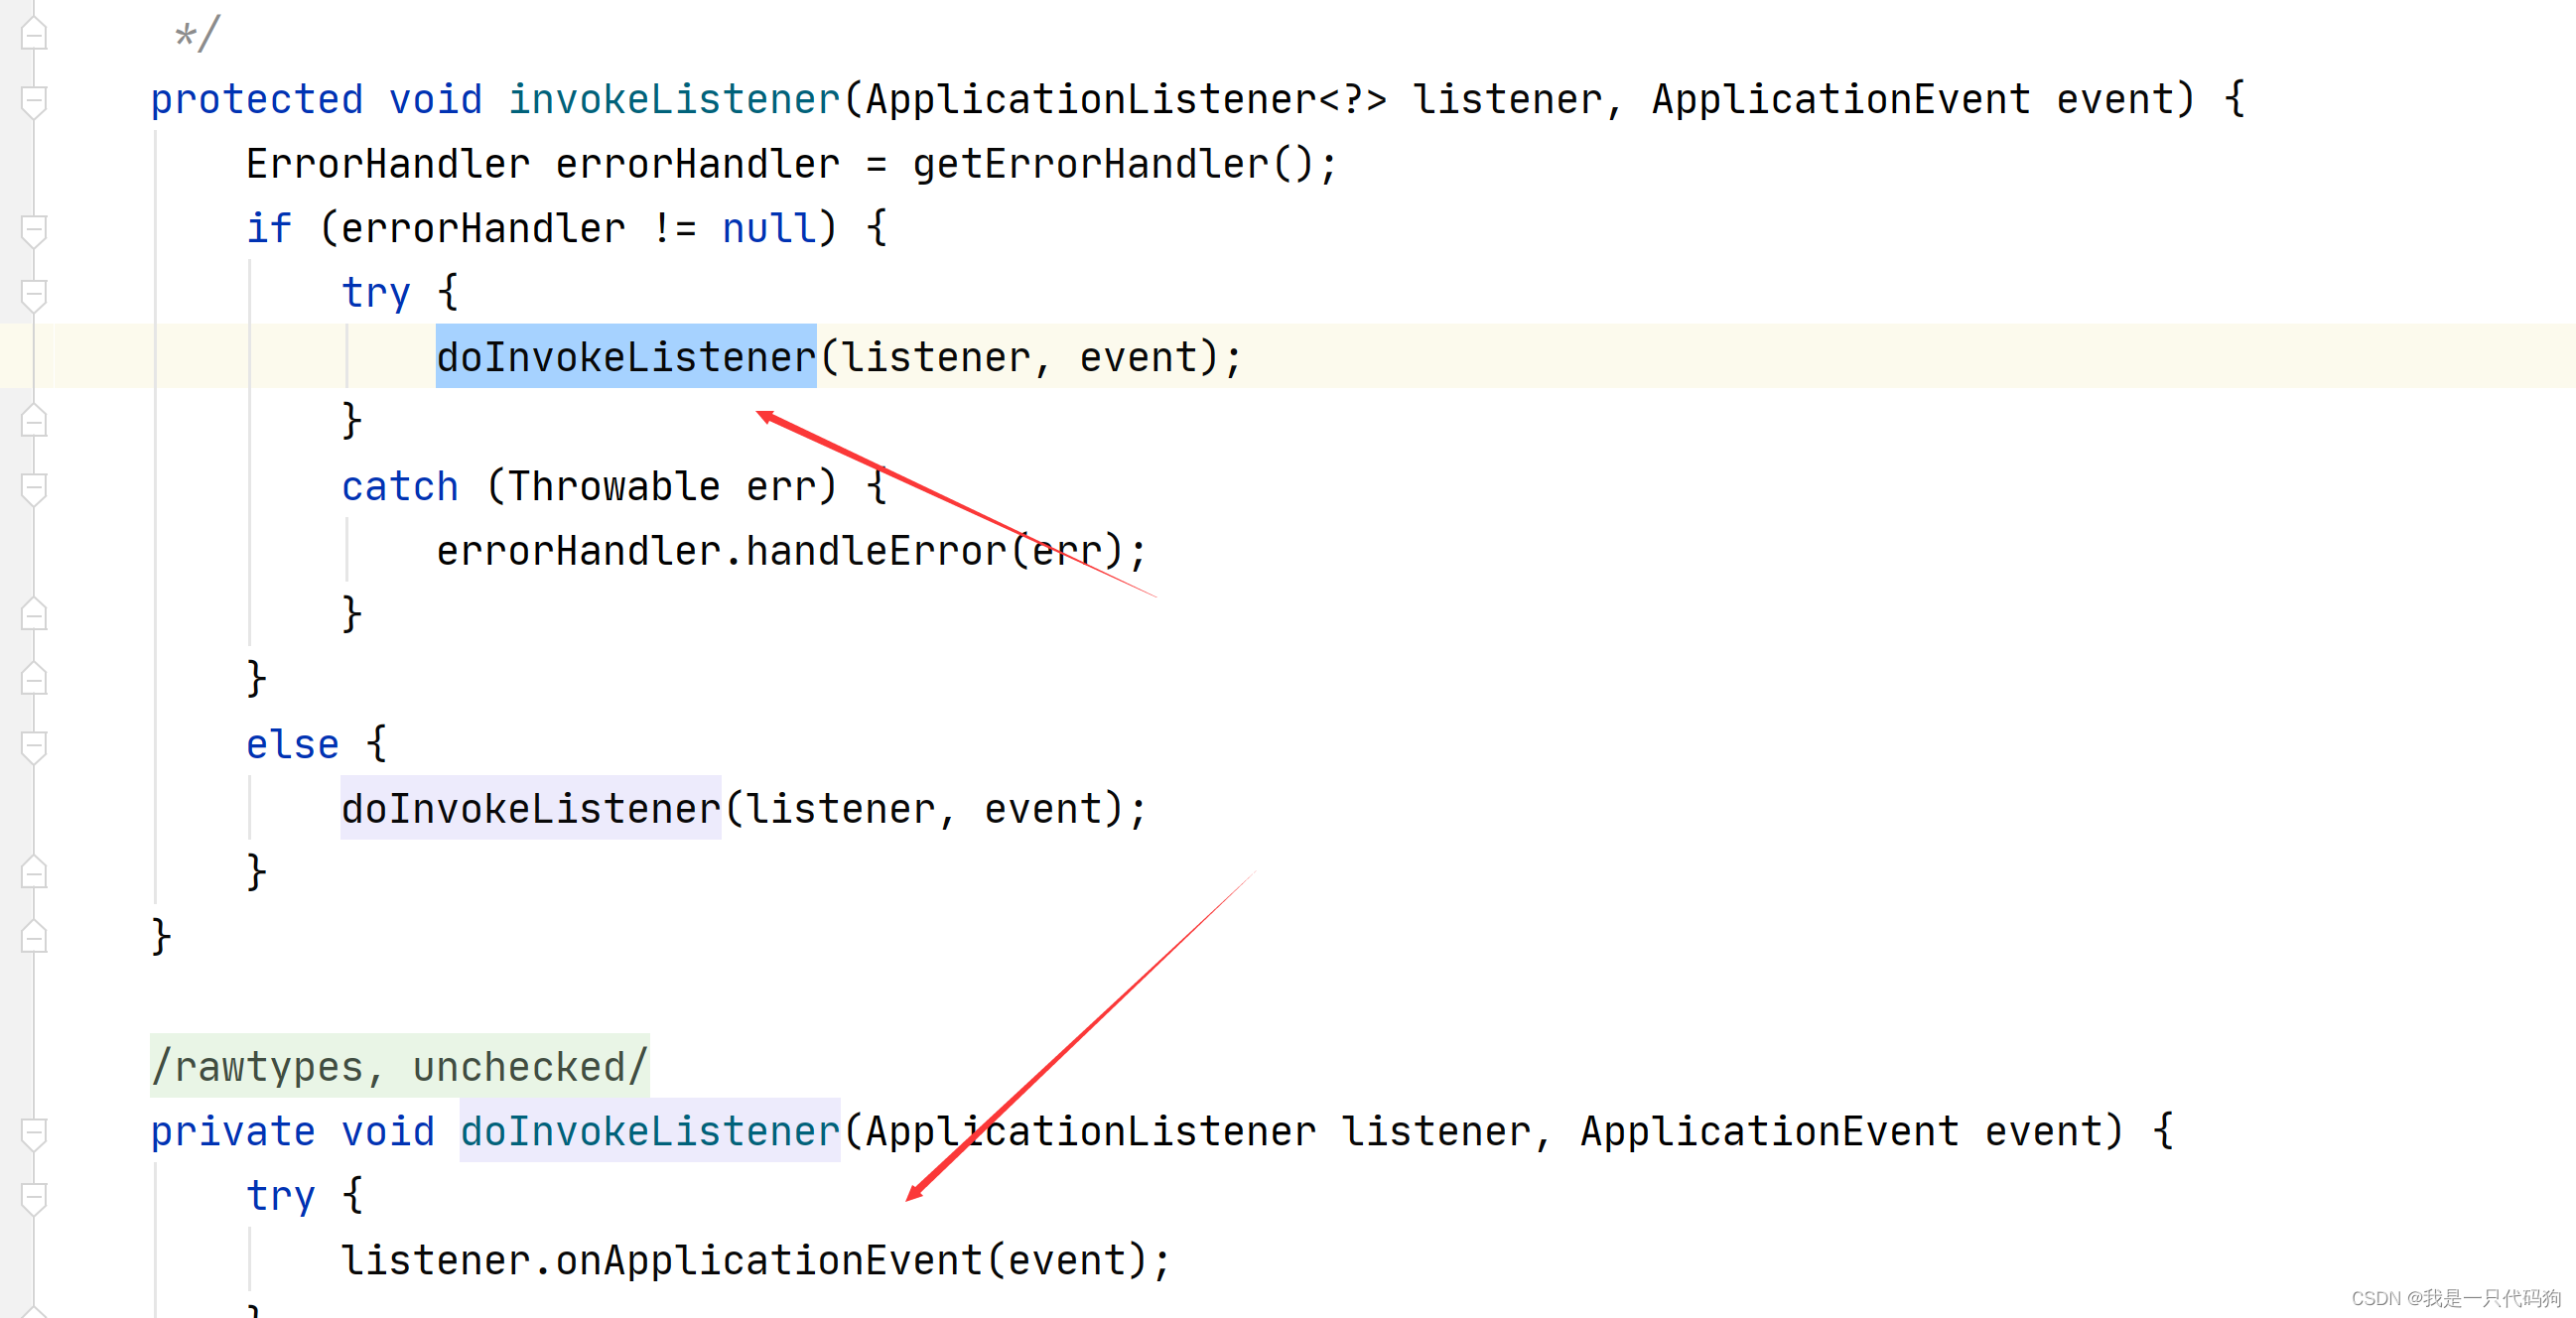
//可以看到有这一行代码
listener.onApplicationEvent(event);
//在这里就会进入我们自定义的监听器,因为我们的自定义监听器实现了ApplicationListener 有
//onApplicationEvent这个方法所以会进来
public class MyListener implements ApplicationListener {
    @Override
    public void onApplicationEvent(ApplicationEvent event) {
        System.out.println("我是自定义应用程序监听器:"+event);
    }
}
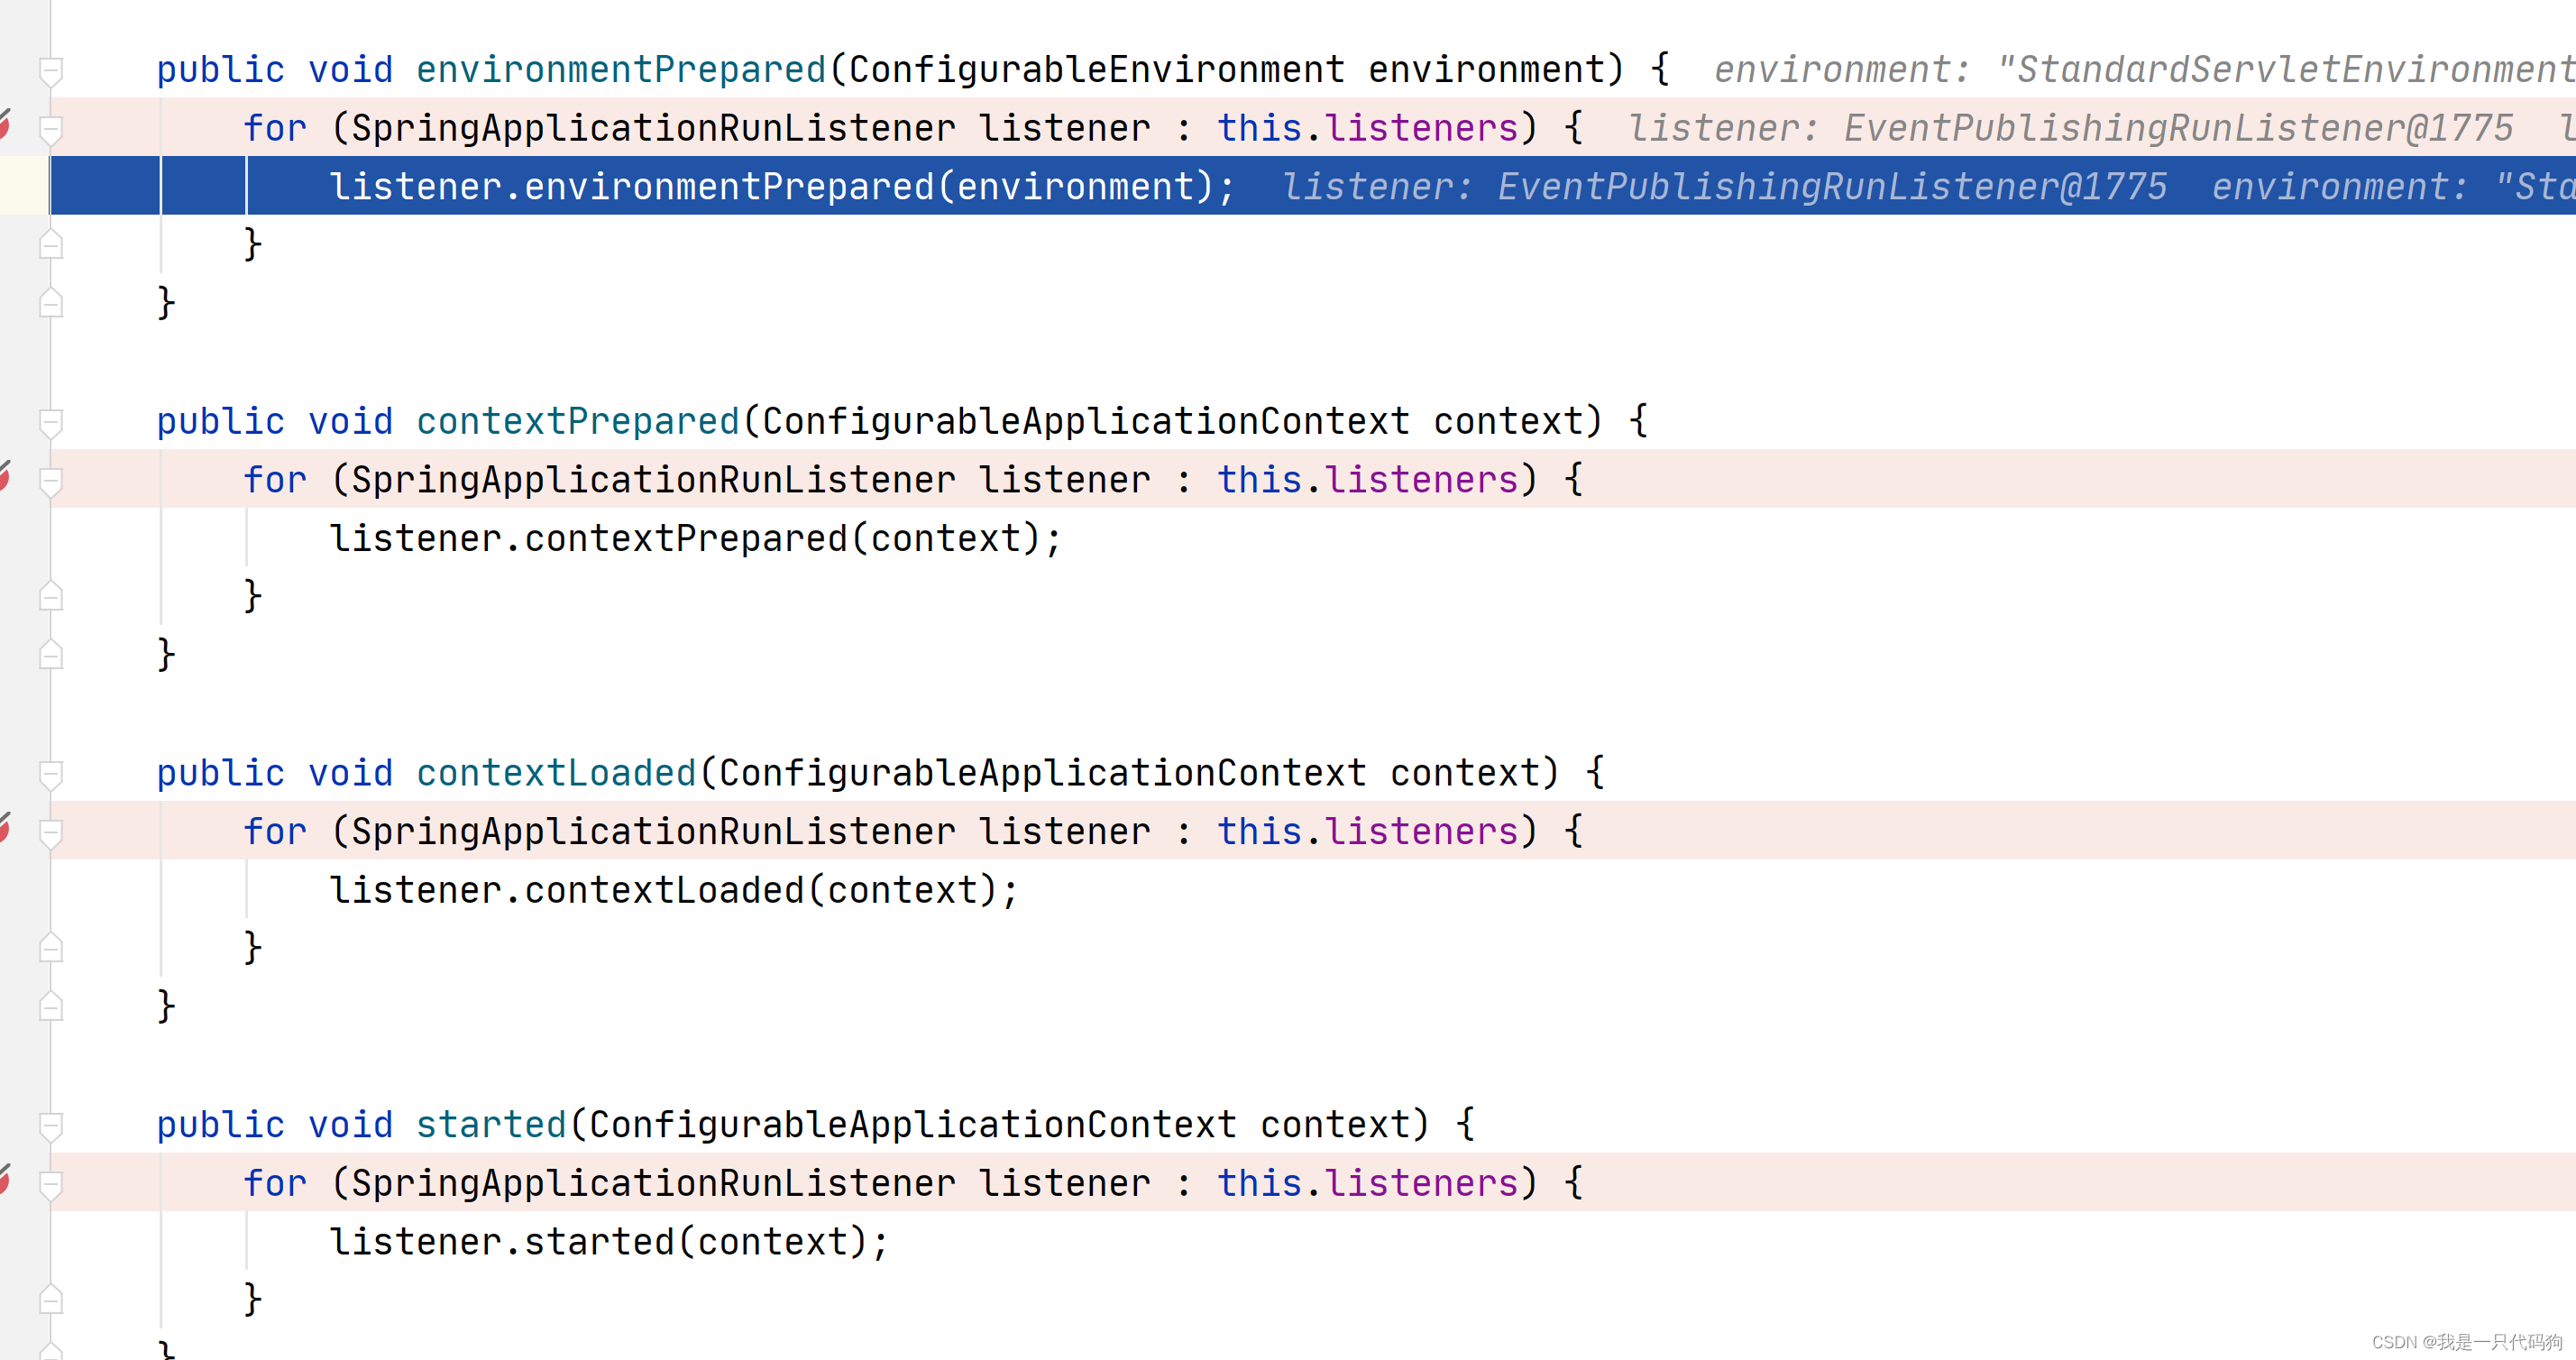
//然后我们可以看到在这些代码都会触发到自定义监听器
listeners.starting();
listeners.contextPrepared(context);
listeners.environmentPrepared(environment);
listeners.contextLoaded(context);
listeners.started(context);
listeners.running(context);
listeners.failed(context, exception);
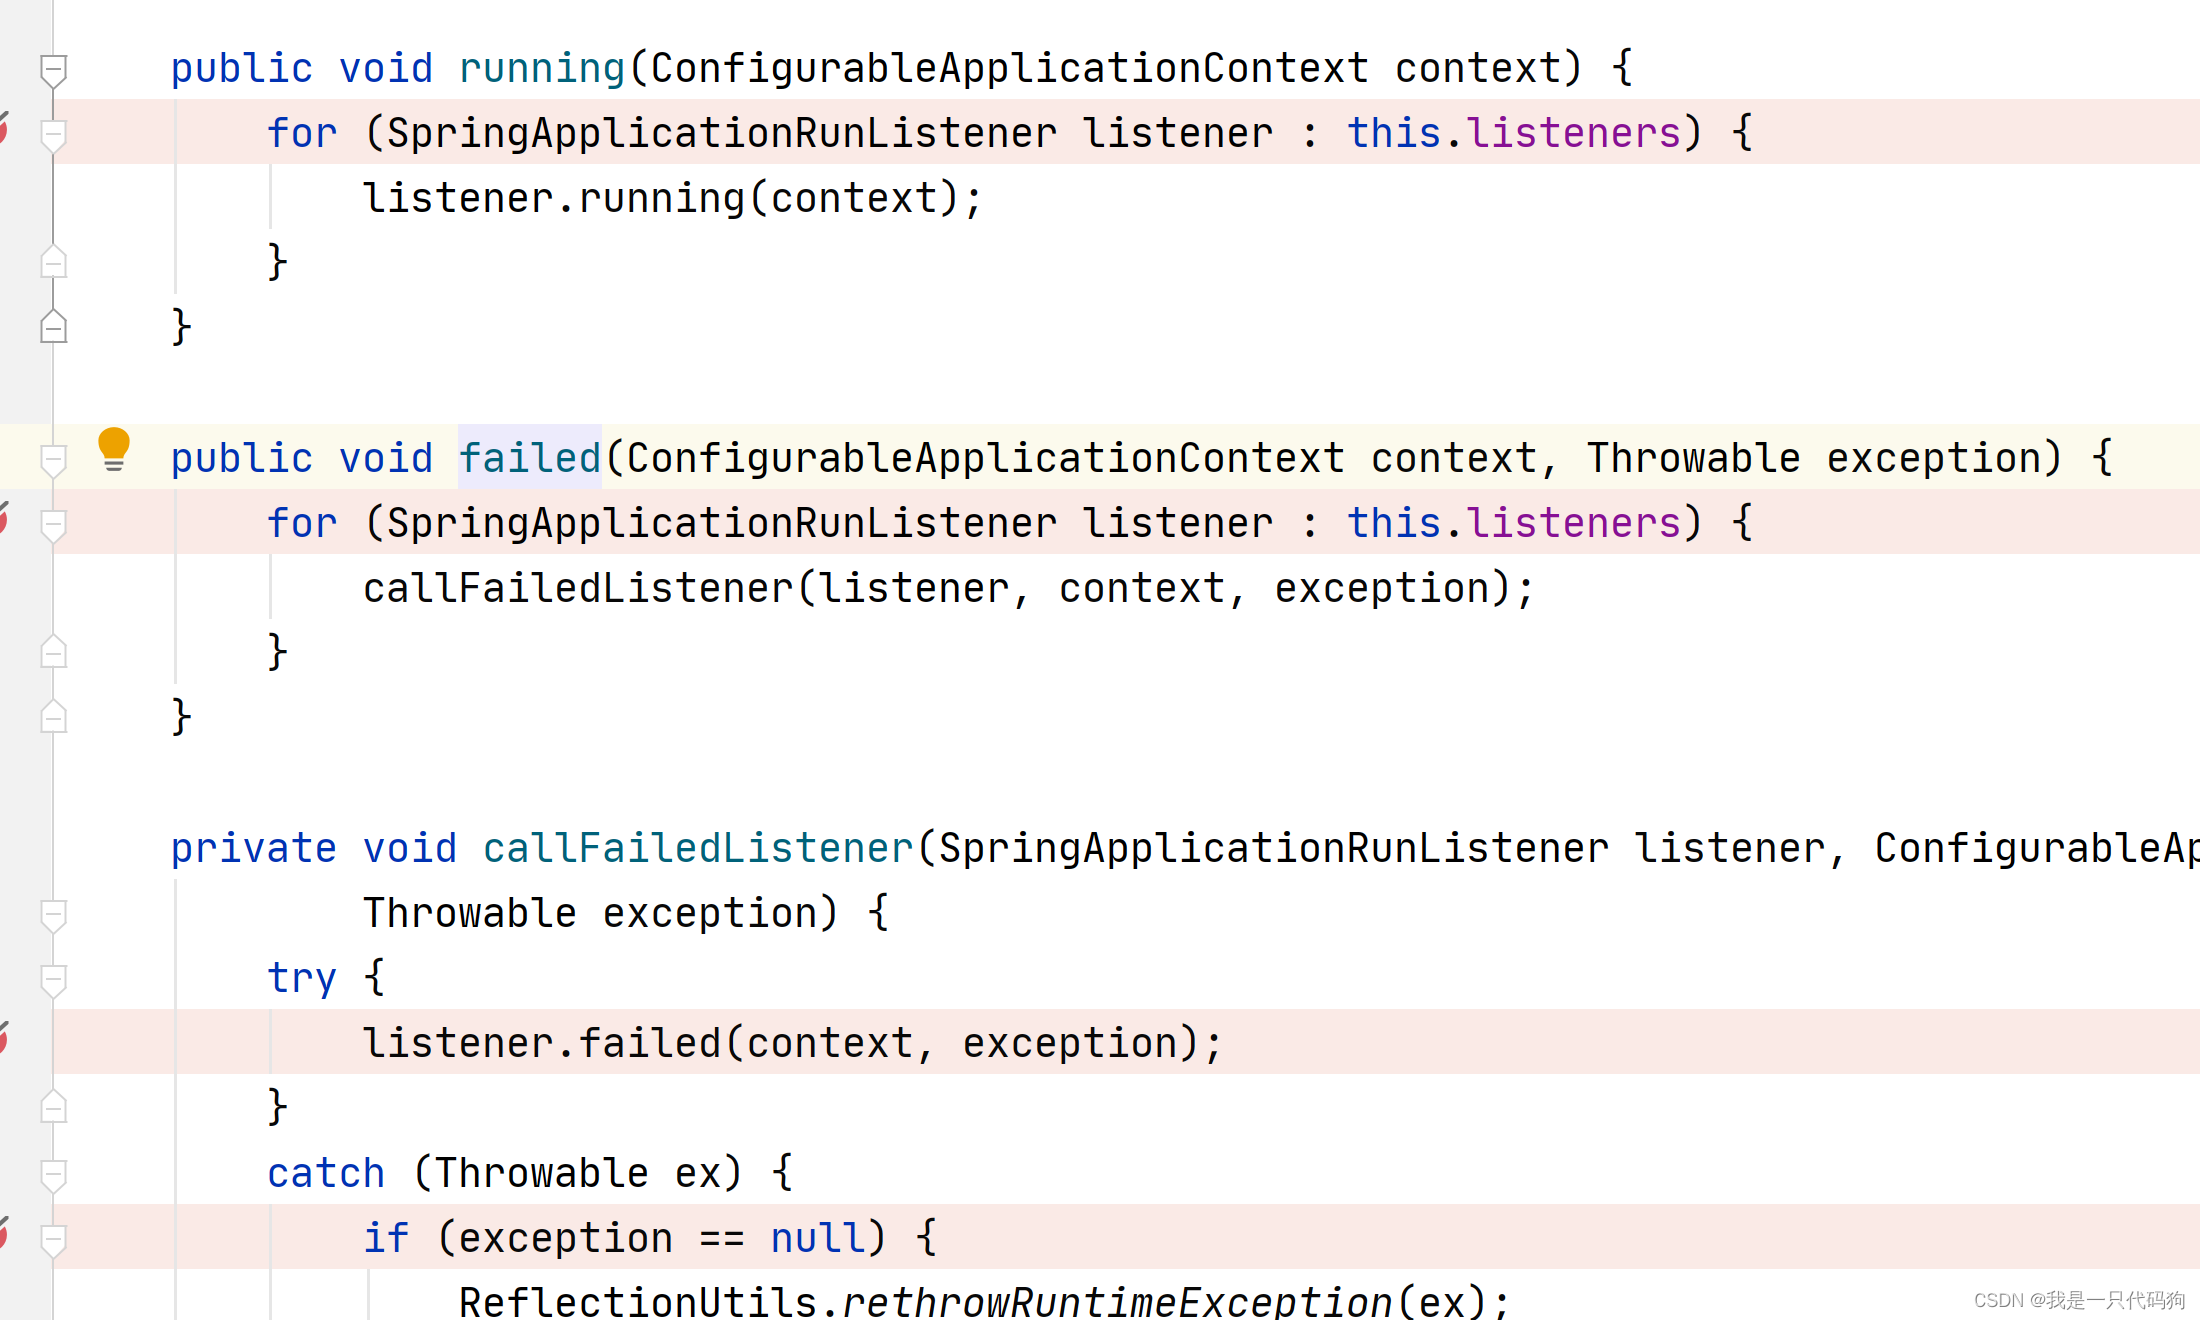
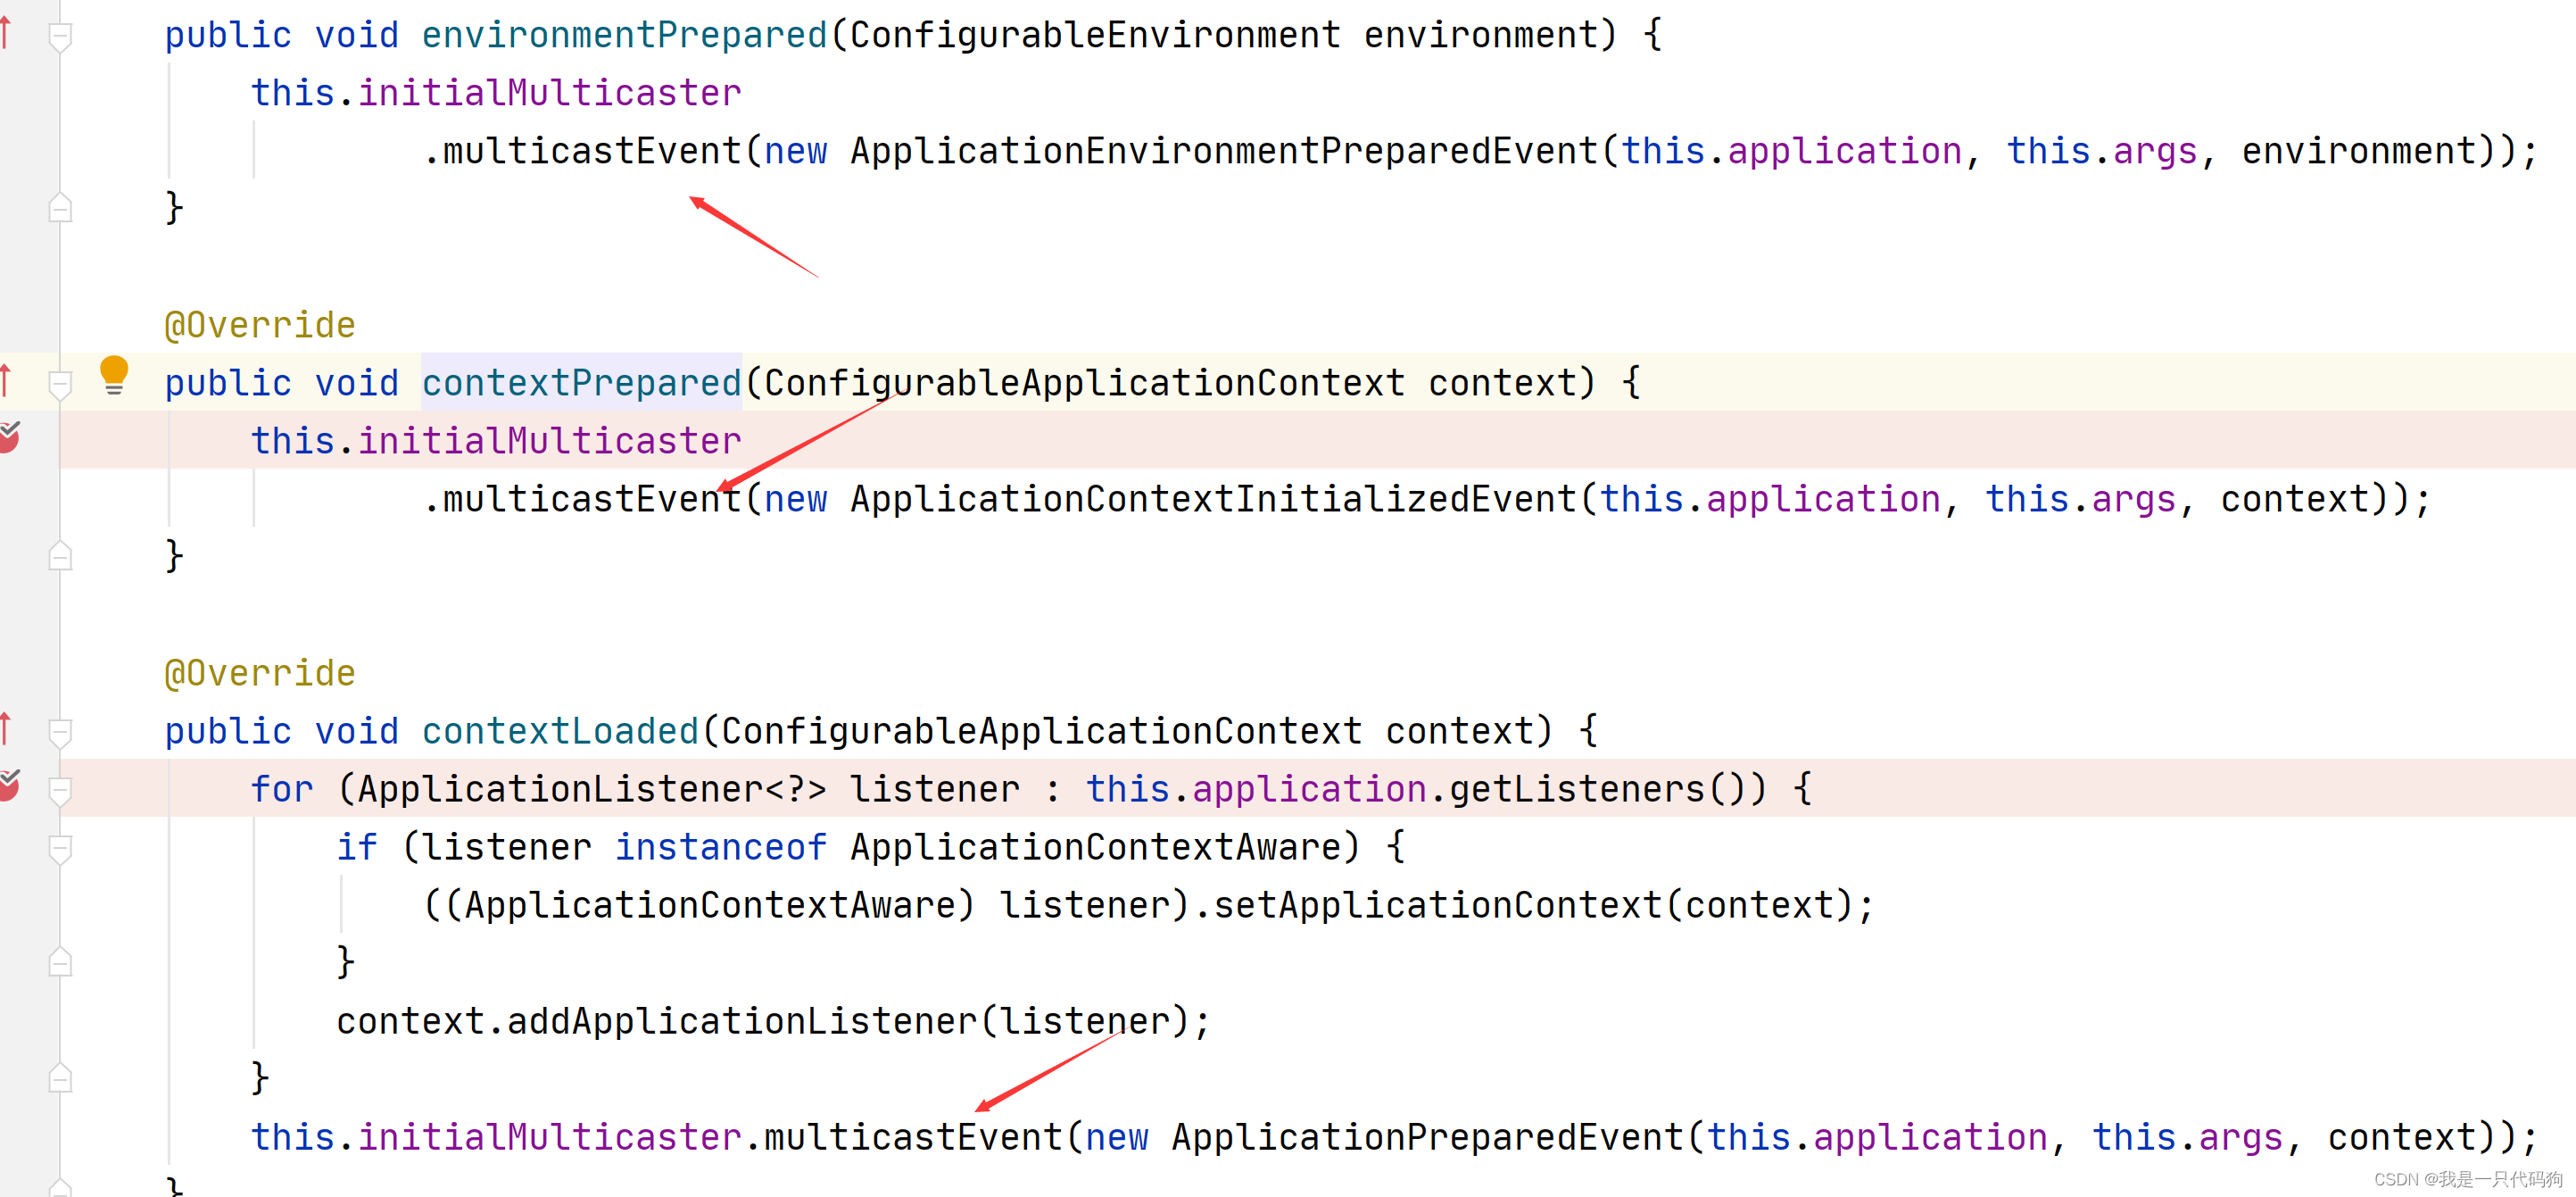
//最终都会通过之前说过的multicastEvent方法,一路往下走进入我们的自定义监听器中
//最后我们看下控制台的日志,打印的就是EventPublishingRunListener类里面的不同的方法对应的
//事件类
======:org.springframework.boot.context.event.ApplicationStartingEvent(应用程序启动事件)
======::org.springframework.boot.context.event.ApplicationEnvironmentPreparedEvent(应用环境准备活动)
======::org.springframework.boot.context.event.ApplicationContextInitializedEvent(应用程序上下文初始化事件)
======::org.springframework.boot.context.event.ApplicationPreparedEvent(申请准备活动)
======::org.springframework.context.event.ContextRefreshedEvent(上下文刷新事件)
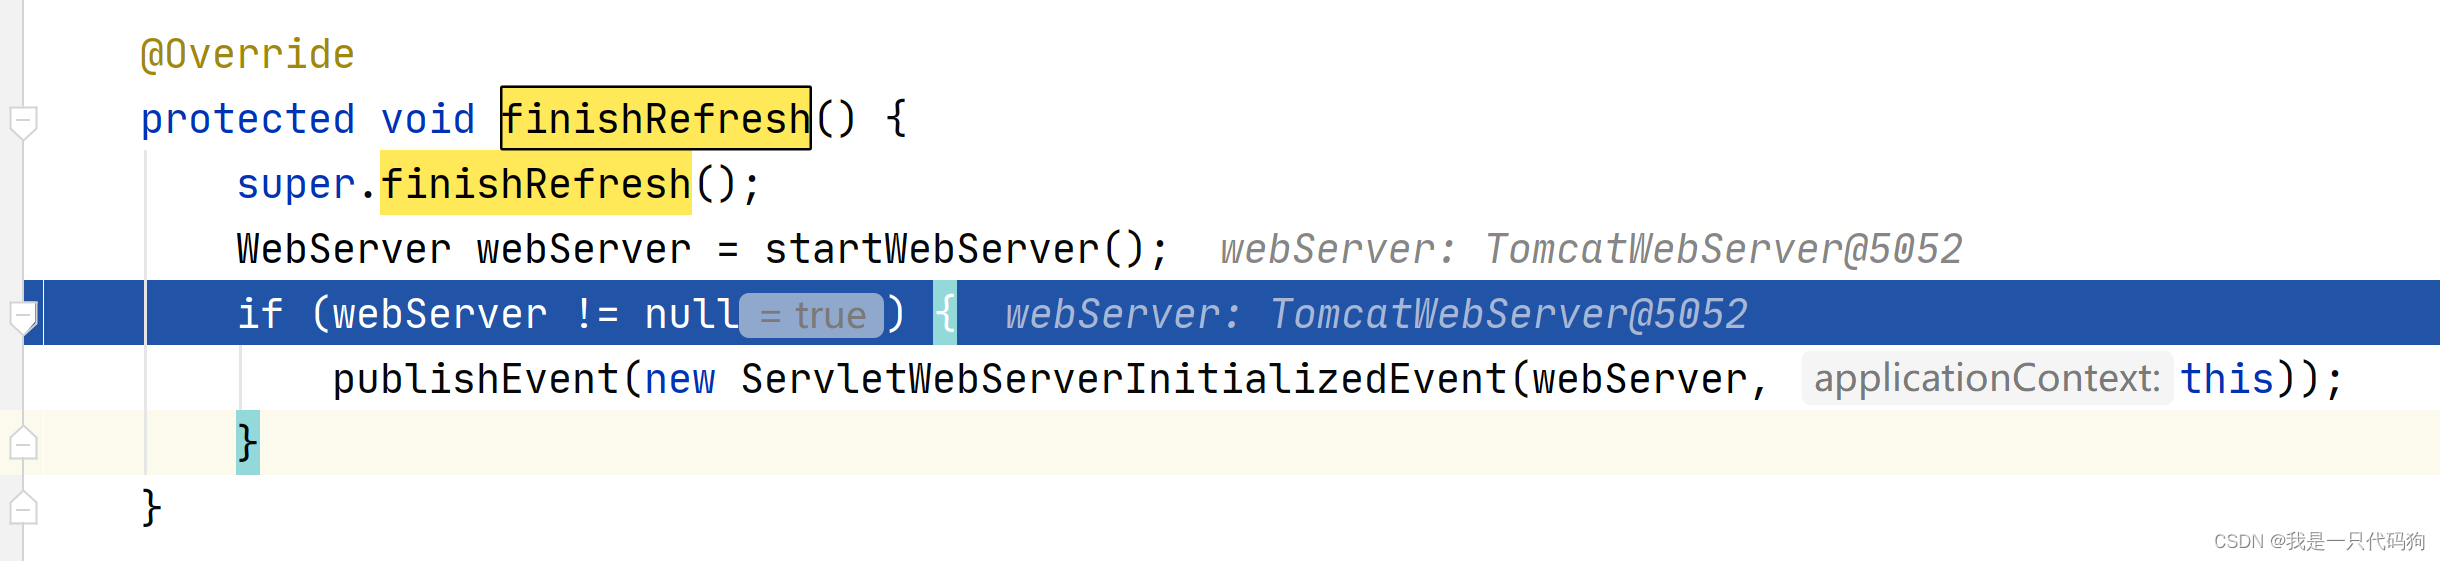
======::org.springframework.boot.web.servlet.context.ServletWebServerInitializedEvent(Servlet Web 服务器初始化事件)
======::org.springframework.boot.context.event.ApplicationStartedEvent(应用程序启动事件)
======::org.springframework.boot.context.event.ApplicationReadyEvent(应用程序就绪事件)
//在执行refreshContext(context)这一行代码的时候会触发这个ServletWebServerInitializedEvent
//我们一路跟着箭头走就能看到了
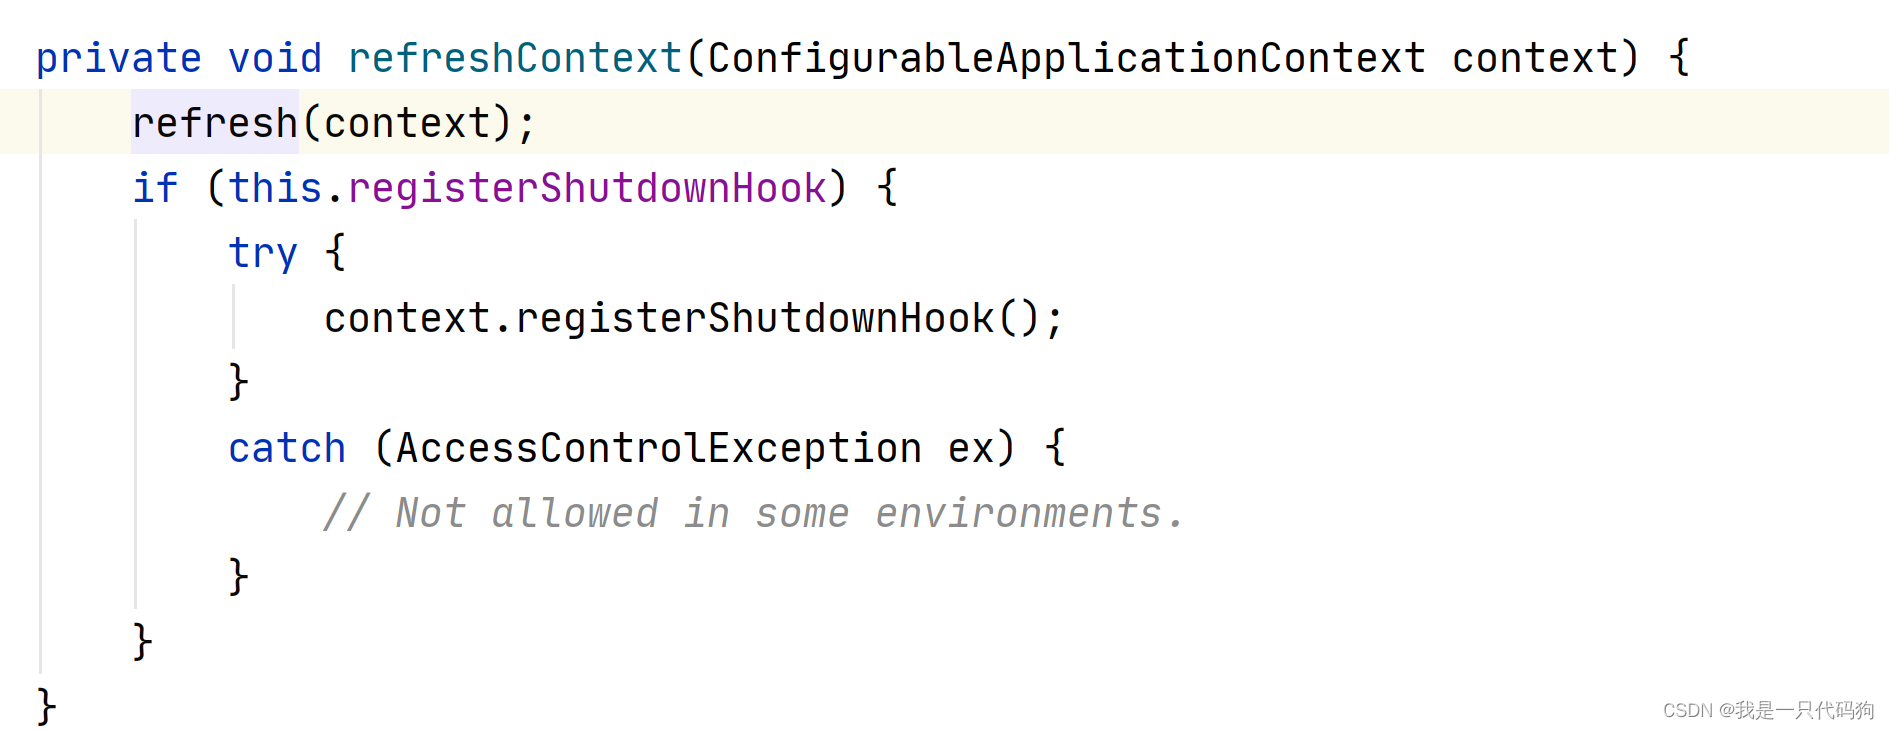

public void refresh() throws BeansException, IllegalStateException {
finishRefresh();
}


 4424
4424


 被折叠的 条评论
为什么被折叠?
被折叠的 条评论
为什么被折叠?
 到【灌水乐园】发言


