


配置spring-config-mvc.xml
<?xml version="1.0" encoding="UTF-8"?>
<beans xmlns="http://www.springframework.org/schema/beans"
    xmlns:xsi="http://www.w3.org/2001/XMLSchema-instance" xmlns:p="http://www.springframework.org/schema/p"
    xmlns:context="http://www.springframework.org/schema/context"
    xmlns:mvc="http://www.springframework.org/schema/mvc"
    xsi:schemaLocation="http://www.springframework.org/schema/beans
                        http://www.springframework.org/schema/beans/spring-beans-3.1.xsd
                        http://www.springframework.org/schema/context
                        http://www.springframework.org/schema/context/spring-context-3.1.xsd
                        http://www.springframework.org/schema/mvc
                        http://www.springframework.org/schema/mvc/spring-mvc-4.0.xsd">
    <!-- 自动扫描该包,使SpringMVC认为包下用了@controller注解的类是控制器 -->
    <context:component-scan base-package="org.app.management.web.controller" />

    <!-- 启动Spring MVC的注解功能,完成请求和注解POJO的映射 -->
    <bean class="org.springframework.web.servlet.mvc.annotation.AnnotationMethodHandlerAdapter">
    </bean>

    <!-- static resources -->
    <mvc:resources location="/static/" mapping="/static/**" cache-period="864000"/><!-- 24 * 3600 * 10 -->

    <!-- 定义跳转的文件的前后缀 ,视图模式配置-->
    <bean class="org.springframework.web.servlet.view.InternalResourceViewResolver">
        <!-- 这里的配置是自动给后面action的方法return的字符串加上前缀和后缀,变成一个 可用的url地址 -->
        <property name="prefix" value="/WEB-INF/views/" />
        <property name="suffix" value=".jsp" />
    </bean>

</beans>
spring-config.xml
除spring-config-mvc.xml外,统一管理其它配置文件
<?xml version="1.0" encoding="UTF-8"?>
<beans xmlns="http://www.springframework.org/schema/beans"
       xmlns:xsi="http://www.w3.org/2001/XMLSchema-instance"
       xmlns:context="http://www.springframework.org/schema/context"
       xmlns:aop="http://www.springframework.org/schema/aop"
       xmlns:mvc="http://www.springframework.org/schema/mvc"
       xsi:schemaLocation="http://www.springframework.org/schema/beans
            http://www.springframework.org/schema/beans/spring-beans.xsd
            http://www.springframework.org/schema/context
            http://www.springframework.org/schema/context/spring-context.xsd
            http://www.springframework.org/schema/aop
            http://www.springframework.org/schema/aop/spring-aop.xsd
            http://www.springframework.org/schema/mvc
            http://www.springframework.org/schema/mvc/spring-mvc.xsd"
       default-autowire="byName">

    <mvc:annotation-driven/>

    <!-- 统一管理配置文件 -->
    <!-- 在DAO层配置的 -->
    <import resource="classpath*:spring-config-mybatis.xml"/>
    <!-- 其他配置文件 -->
</beans>
配置web.xml
加载spring-config.xml和spring-config-mvc.xml
<?xml version="1.0" encoding="UTF-8"?>
<web-app xmlns:xsi="http://www.w3.org/2001/XMLSchema-instance"
    xmlns="http://java.sun.com/xml/ns/javaee"
    xsi:schemaLocation="http://java.sun.com/xml/ns/javaee http://java.sun.com/xml/ns/javaee/web-app_3_0.xsd"
    version="3.0">
    <display-name>SpringMVC</display-name>

    <!-- 引入配置文件 -->
    <context-param>
        <param-name>contextConfigLocation</param-name>
        <param-value>classpath:spring-config.xml</param-value>
    </context-param>

    <!-- 编码过滤器 -->
    <filter>
        <filter-name>encodingFilter</filter-name>
        <filter-class>org.springframework.web.filter.CharacterEncodingFilter</filter-class>
        <async-supported>true</async-supported>
        <init-param>
            <param-name>encoding</param-name>
            <param-value>UTF-8</param-value>
        </init-param>
    </filter>
    <filter-mapping>
        <filter-name>encodingFilter</filter-name>
        <url-pattern>/*</url-pattern>
    </filter-mapping>

    <!-- Spring监听器 -->
    <listener>
        <listener-class>org.springframework.web.context.ContextLoaderListener</listener-class>
    </listener>

    <!-- 防止Spring内存溢出监听器 -->
    <listener>
        <listener-class>org.springframework.web.util.IntrospectorCleanupListener</listener-class>
    </listener>

    <!-- Spring MVC servlet -->
    <servlet>
        <servlet-name>SpringMVC</servlet-name>
        <servlet-class>org.springframework.web.servlet.DispatcherServlet</servlet-class>
        <init-param>
            <param-name>contextConfigLocation</param-name>
            <param-value>classpath:spring-config-mvc.xml</param-value>
        </init-param>
        <load-on-startup>1</load-on-startup>
        <async-supported>true</async-supported>
    </servlet>
    <servlet-mapping>
        <servlet-name>SpringMVC</servlet-name>
        <!-- 此处可以可以配置成*.do,对应struts的后缀习惯 -->
        <url-pattern>/</url-pattern>
    </servlet-mapping>

    <!-- 欢迎 -->
    <welcome-file-list>
        <welcome-file>/index2.jsp</welcome-file>
    </welcome-file-list>
</web-app>
测试
新建TestController
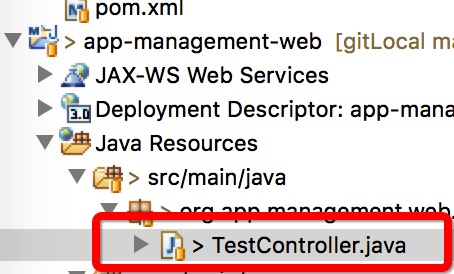
@Controller
@RequestMapping(value = "/TestController")
public class TestController {
    @Autowired
    private IAdultVideoStarService avStarService;

    @RequestMapping("index")
    public String index(HttpServletRequest request,Model model){
        AdultVideoStar avStar = avStarService.selectByPrimaryKey(1);
        model.addAttribute("avStar",avStar);
        return "index";
    }
}
新建index.jsp
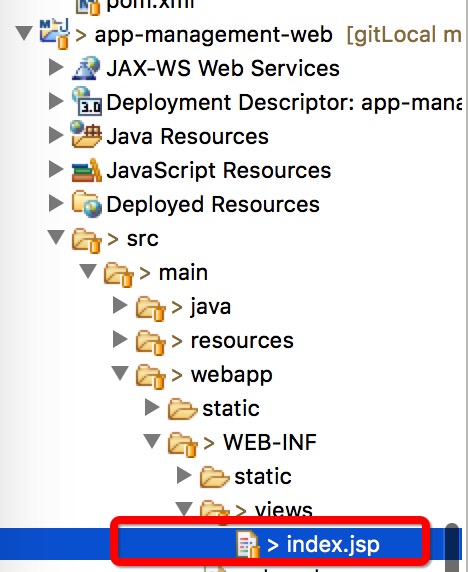
<%@ page language="java" import="java.util.*" pageEncoding="utf-8"%>
<html>
    <head>
    <title>AdultVideoStar</title>
    </head>
    <body>
        <h2>AdultVideoStar:</h2>
        <p>ChineseName :${avStar.chinesename}</p>
        <p>EnglishName :${avStar.englishname}</p>
        <p>Birthday :${avStar.birthday}</p>
        <p>Height :${avStar.height}</p>
        <p>Measurements :${avStar.measurements}</p>
        <p>Cup :${avStar.cup}</p>
        <p>Mosaic :${avStar.mosaic}</p>
    </body>
</html>
访问
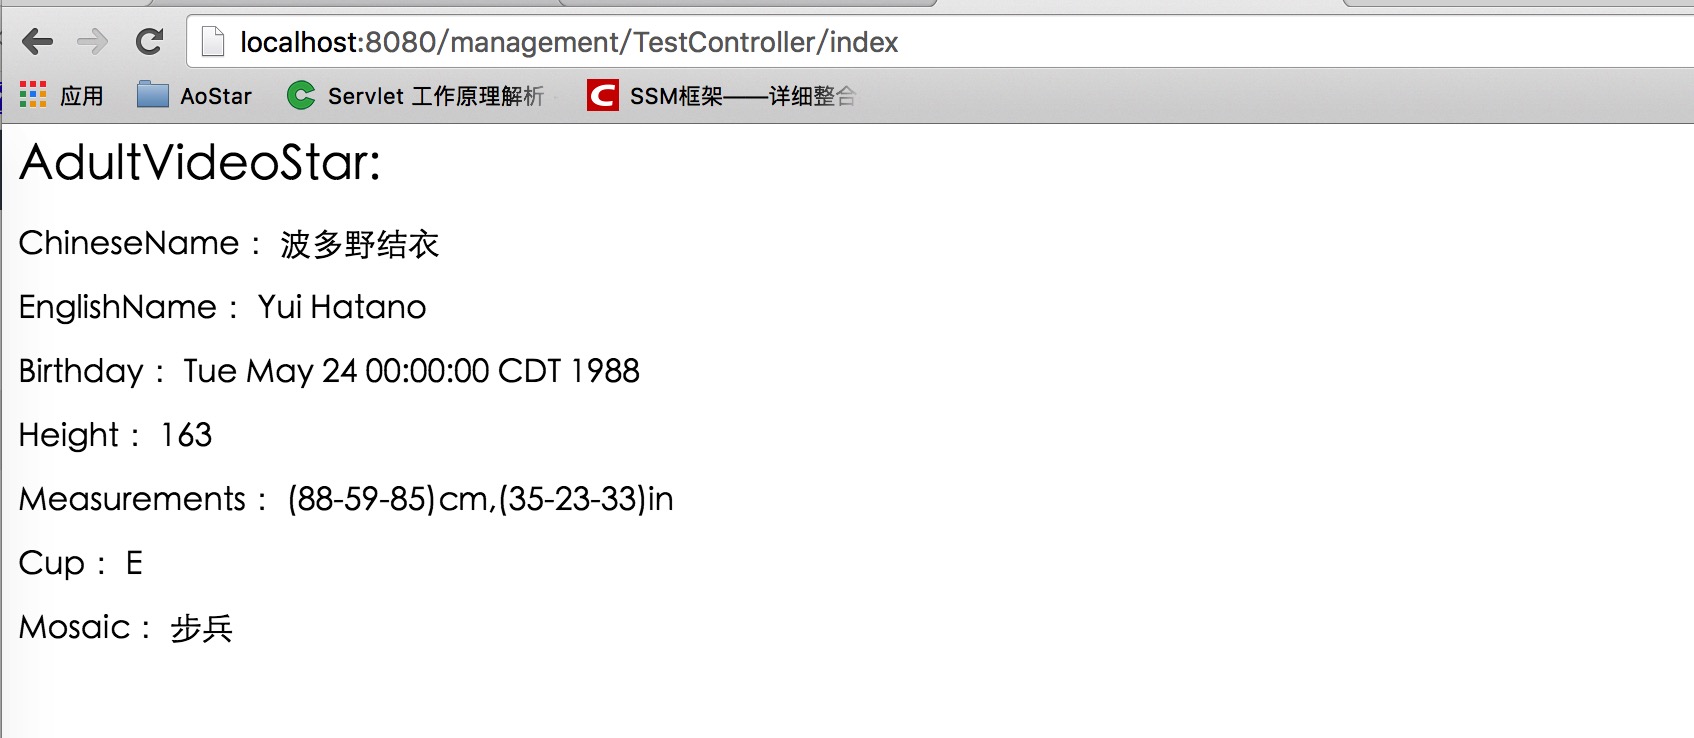
至此,一个SSM框架雏形搭建完毕
源代码github链接:
https://github.com/baidong0228/Study/tree/master/app


 1076
1076

 被折叠的 条评论
为什么被折叠?
被折叠的 条评论
为什么被折叠?
 到【灌水乐园】发言


