


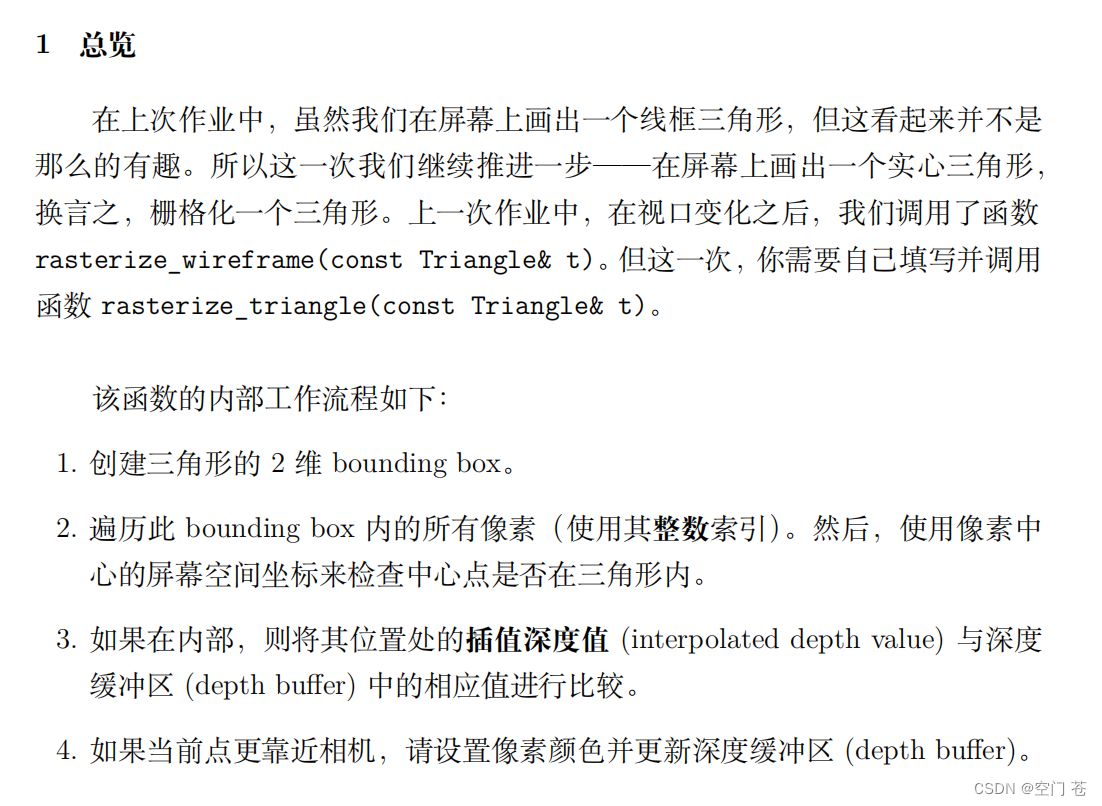
一.首先实现光栅化算法 :
void rst::rasterizer::rasterize_triangle(const Triangle& t) {
    //v储存了该三角形的三个顶点,是一个包含了三个Vector4向量的数组
    auto v = t.toVector4();
    // TODO : Find out the bounding box of current triangle.
    //对现在的三角形创建我们的bounding box
    //那么就需要找到我们现在的三角形的所有坐标,然后获取其三个顶点横纵坐标极值
    int x_l = std::floor(std::min(v[0][0],std::min(v[1][0],v[2][0])));
    int x_r = std::ceil(std::max(v[0][0],std::max(v[1][0],v[2][0])));
    int y_d = std::floor(std::min(v[0][1],std::min(v[1][1],v[2][1])));
    int y_u = std::ceil(std::max(v[0][1],std::max(v[1][1],v[2][1])));

    // iterate through the pixel and find if the current pixel is inside the triangle
    //遍历bounding box内所有的像素,使用整数索引,然后用像素中的屏幕空间坐标来检查中心点是否在三角形内
  for(int x= x_l;x<=x_r;x++){
    for(int y = y_d;y<=y_u;y++){
        if(insideTriangle(x+0.5f,y+0.5f,t.v)){
           auto[alpha, beta, gamma] = computeBarycentric2D(x, y, t.v);
           float w_reciprocal = 1.0/(alpha / v[0].w() + beta / v[1].w() + gamma / v[2].w());
           float z_interpolated = alpha * v[0].z() / v[0].w() + beta * v[1].z() / v[1].w() + gamma * v[2].z() / v[2].w();//插值
           z_interpolated *= w_reciprocal;
           if(z_interpolated<depth_buf[get_index(x,y)]){//如果现在的深度比Z_Buffer中更小,那么就更新深度,然后重新设置该点的颜色
            depth_buf[get_index(x,y)] = z_interpolated;
            set_pixel(Eigen::Vector3f(x,y,z_interpolated),t.getColor());
           }
        }
    }

  }
这次作业,我们需要浅浅地读一下源码。思路是这样的:我们要实现光栅化,首先必须获得三角形的三个顶点,然后找到我们的bounding box,通过bounding box来确定遍历的起点和终点。之后来判断三角形的点是否进入了像素中心来进行离散化操作。因此,我们发现,在我们的三角形类中声明了三角形的坐标,在该函数开头我们通过变量v来使用。
之后遍历bounding box内所有的点,然后用insideTriangle来判断三角形的点是否在像素内(注意要将点+0.5偏移到像素中心进行判断)。
接下来实现insideTriangle函数,就算依次叉乘来判断就行了
static bool insideTriangle(int x, int y, const Vector3f* _v)
{ //参数解释,x和y代表像素中心的坐标,_v储存了三角形的三个顶点的坐标
    // TODO : Implement this function to check if the point (x, y) is inside the triangle represented by _v[0], _v[1], _v[2]
    //接下来将点和三角形的边按照顺序叉乘法,
    //首先构建某点指向三角形顶点的向量,设点为P,三角形三个顶点为A,B,C
    Vector2f P;
    P<<x,y;
    //令v0 = A,v1 = B,v2 = C;
    Vector2f BA = _v[0].head(2)-_v[1].head(2);
    Vector2f BP = P-_v[1].head(2);
    Vector2f CB = _v[1].head(2)-_v[2].head(2);
    Vector2f CP = P-_v[2].head(2);
    Vector2f AC = _v[2].head(2)-_v[0].head(2);
    Vector2f AP = P-_v[0].head(2);
    //叉乘判断像素点是否在三角形内
    return AP[0] * AC[1] - AP[1] * AC[0] > 0 && BP[0] * BA[1] - BP[1] * BA[0] > 0 && CP[0] * CB[1] - CP[1] * CB[0] > 0;
   //依次实现Cross操作
}
输出结果如下
 不难看出对于斜边的部分还是有不少的锯齿。
因此接下来实现提高部分(MSAA)
只需要每次遍历每个像素点的同时再遍历4个采样点(像素中心)就行了
			if (insideTriangle((float)x + 0.25, (float)y + 0.25, t.v)) fineness += 0.25; //改为判断四个采样块的中心点在不在三角形内
			if (insideTriangle((float)x + 0.25, (float)y + 0.75, t.v)) fineness += 0.25;
			if (insideTriangle((float)x + 0.75, (float)y + 0.25, t.v)) fineness += 0.25;
			if (insideTriangle((float)x + 0.75, (float)y + 0.75, t.v)) fineness += 0.25;
最后乘以一定的比率
set_pixel(p, fineness * t.getColor()); //将比例乘给颜色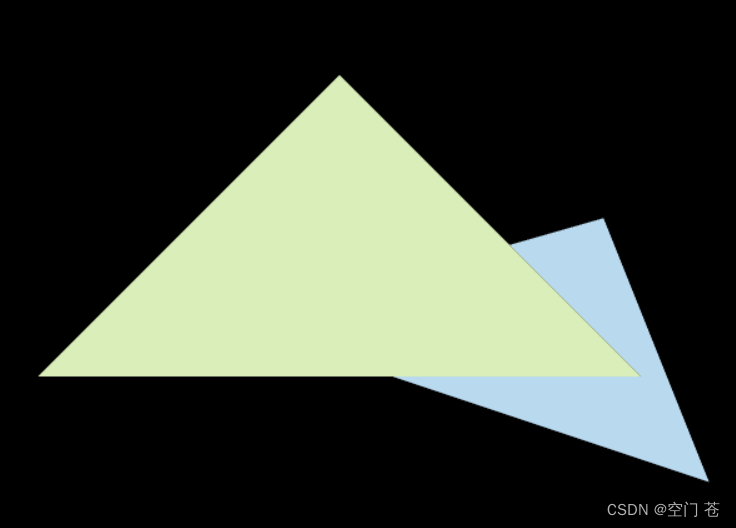
性能肉眼可见的下降 (很卡)


 1393
1393


 被折叠的 条评论
为什么被折叠?
被折叠的 条评论
为什么被折叠?
 到【灌水乐园】发言


