


 本文详细描述了如何将Notion中的文章自动同步到GitPage,包括搭建NotionNext、配置个性化、编写自动化脚本和使用Docker容器实现持续部署的过程,以及安全注意事项。
Notion文章自动同步GitPage
契机
Notion GitPage docker 自动话整合
Notion是我一直在使用的笔记软件,为了更好的使用Notion我还去看了许多文章。现在Notion已经是我生活的一部分了
最近发现NotionNext,但需要Vercel部署,还需要自己映射域名
所以想着用XXx.github.io域名,优雅又方便
1.NotionNext搭建
官方文档
https://docs.tangly1024.com/about
拷贝模板
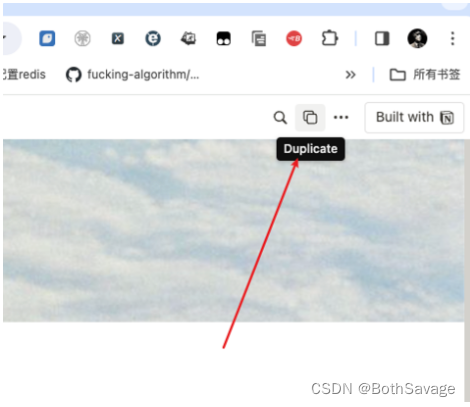
分享到站外并且复制自己的pageId
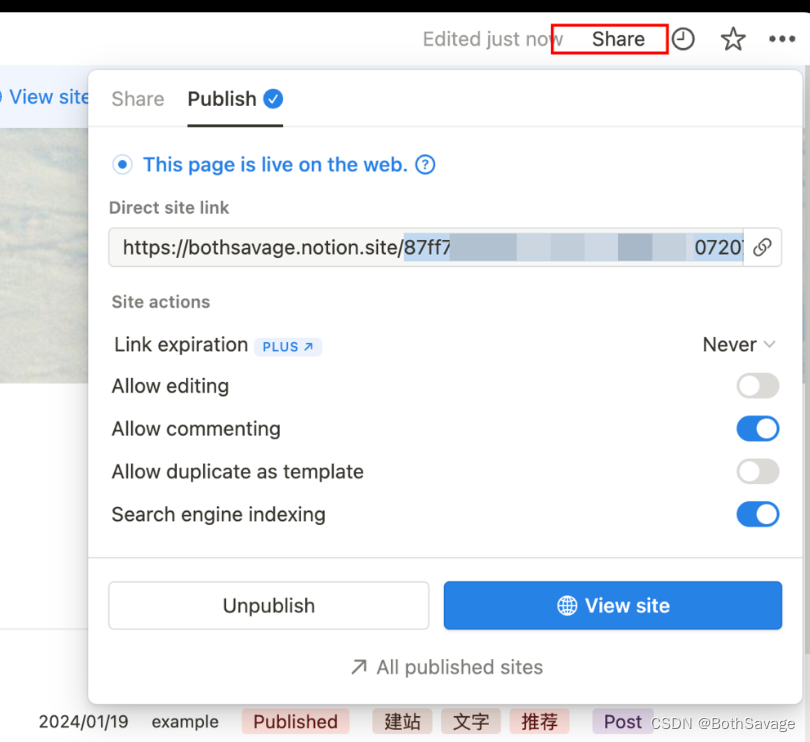
假如:pageId=12345
fork大佬的项目到自己GitHub上
https://github.com/tangly1024/NotionNext
运行测试&打包
#更改.env.local
NOTION_PAGE_ID=12345
VERCEL_ENV=production
#本地测试一下
yarn run dev
#打包为静态资源
yarn run build
部署到GitPage
#上述静态资源输出目录为:~/NotionNext/out
#GitPage搭建 略
#拷贝out到本地GitPage仓库
cp -rf ~/NotionNext/out/* /仓库名
#切换到GitPage仓库,提交并推送
cd /仓库名
git add *
git commmit -m "sth"
git push
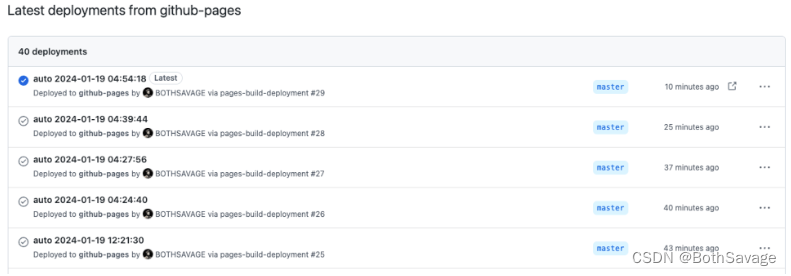
#等待GitPage自动部署
2.美化
更换标题
打开自己的notion页面,找到配置中心,把要自定义的全改了
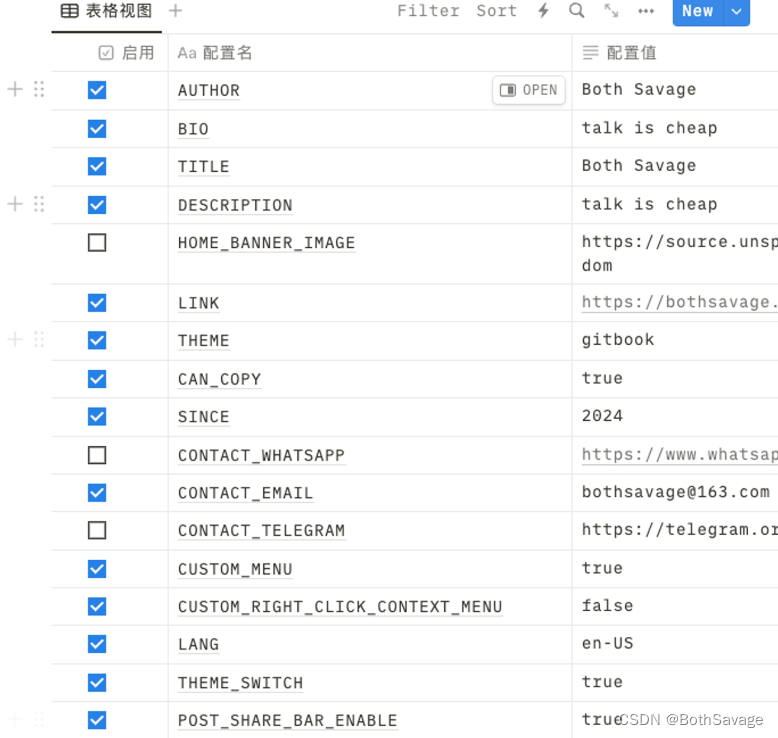
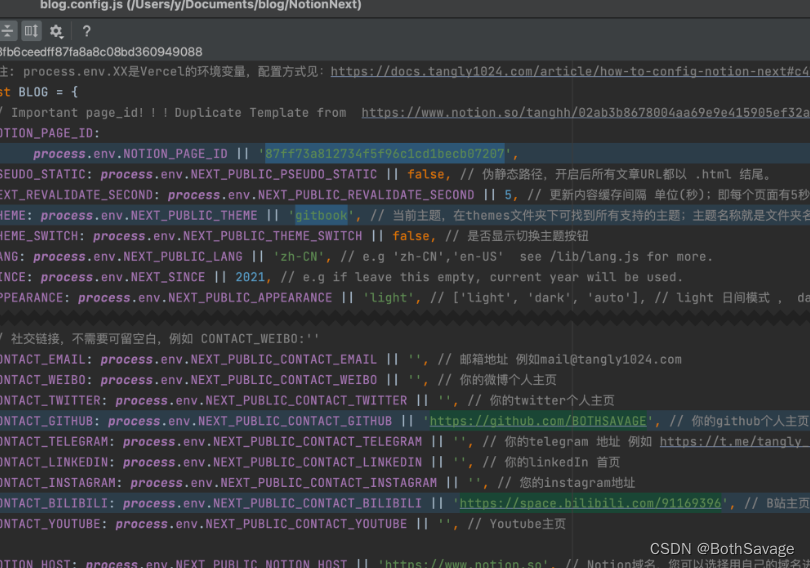
打开notionNext工程目录,找到blog.config.js,把想改的全改了
自定义美化
我选择的是gitbook主题,年纪大了现在喜欢性冷淡风格的
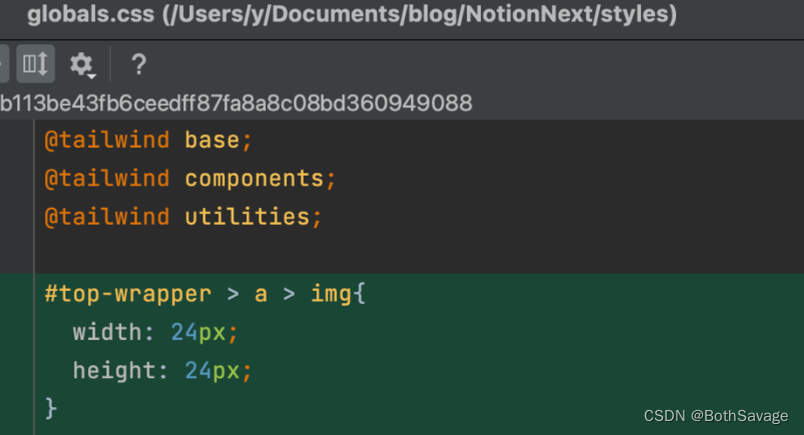
默认启动头像是height=28px,拉伸变形了,修改global.css
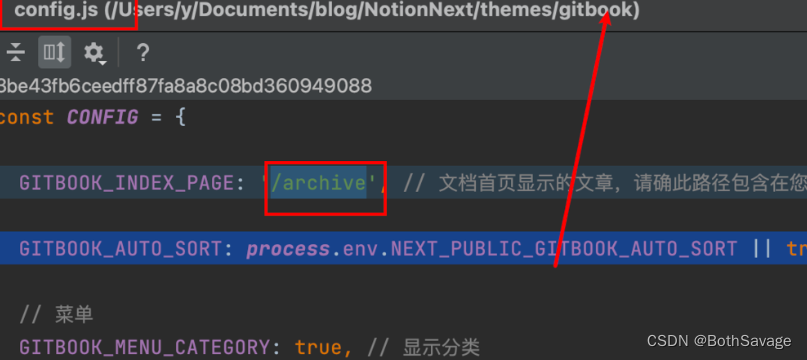
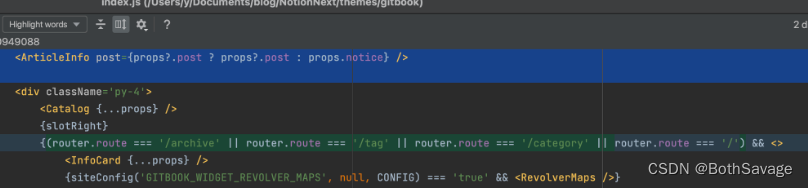
默认进来显示归档页面,注释gitbook主题下index.js部分代码,再修改config.js进来显示归档
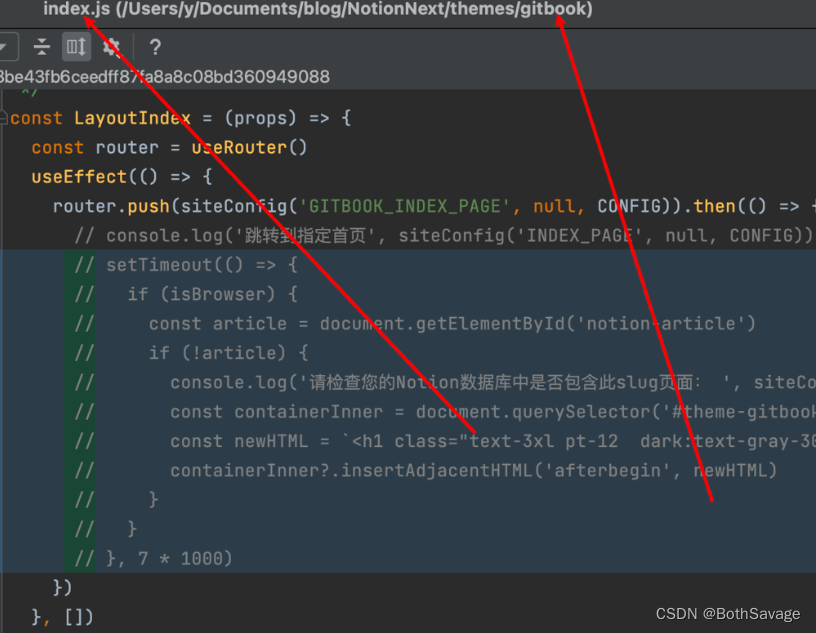
归档,分类,标签页面显示头像,同样修改gitbook主题下index.js部分代码
3.自动化脚本编写
思路:sh脚本编写以上命令,termilal自动运行脚本容易误杀,想着用docker容器,因为我电脑只要开着,docker一定在线。容器启动就自动运行这个脚本,容器挂载NotionNext和GitPage仓库,这样修改起来方便,如果有云服务器迁移也方便。
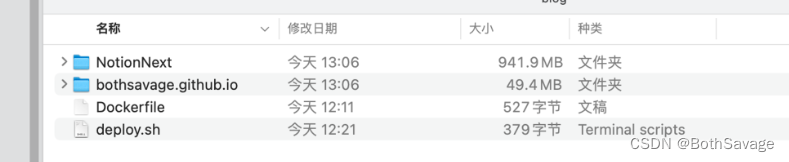
目录结构
deploy脚本
#!/bin/bash
while true
do
echo '开始部署:'+$(date '+%Y-%m-%d %H:%M:%S')
rm ./NotionNext/public/sitemap.xml
cd ./NotionNext
yarn export
cp -rf ./out/* ../bothsavage.github.io
cd ../bothsavage.github.io
time=$(date '+%Y-%m-%d %H:%M:%S')
git add *
git commit -a -m "auto $time"
git push
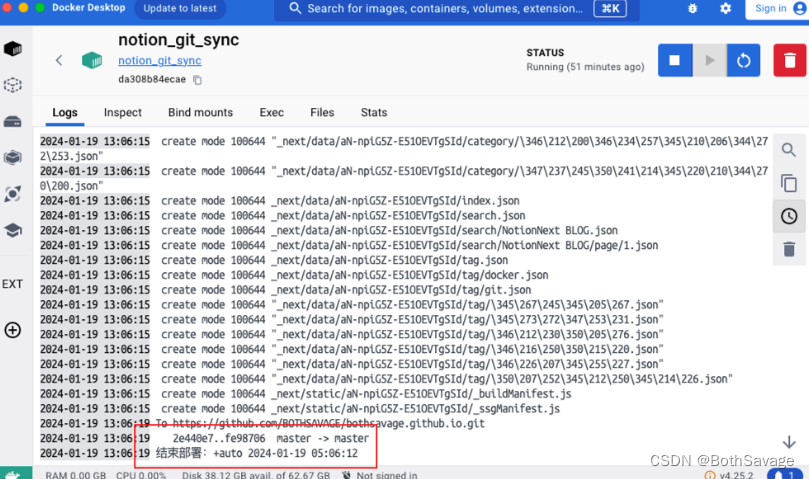
echo '结束部署:'+"auto $time"
cd ..
#休息20分钟
sleep 1200
done
DokcerFile文件
# Use an official Alpine runtime as a parent image
FROM alpine:latest

# Install necessary tools
RUN apk add --no-cache bash git yarn curl

# Set the working directory in the container to /app
WORKDIR /app

# Copy the deploy.sh file from your host to your current location.
COPY deploy.sh .

# Add execute permissions to your script
RUN chmod +x deploy.sh

RUN git config --global user.email "xxxx@163.com"
RUN git config --global user.name "xxxx"

# Run your script when the container launches
CMD ["./deploy.sh"]
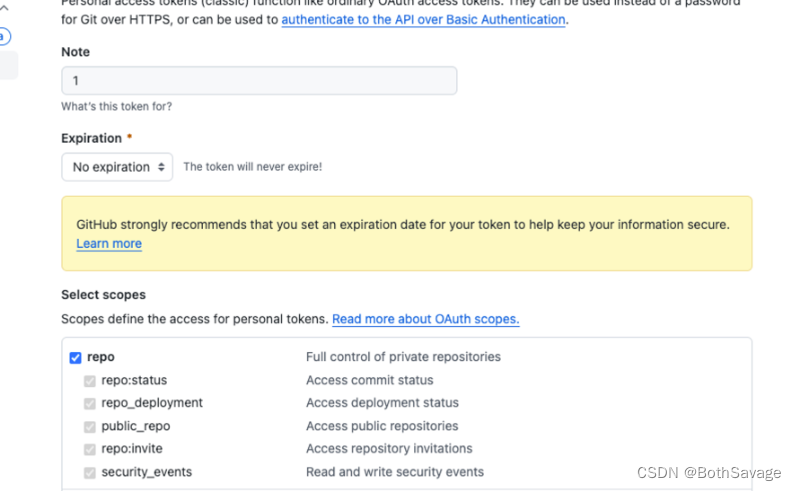
准备容器内GitPage推送权限
去这个页面选择创建新的token
https://github.com/settings/tokens/new
勾选如下
再执行下面的命令,这样容器中就可以随意push到GitPage了
git remote remove origin

git remote add origin https://[TOKEN]@github.com[USER]/[REPO]
搭建步骤
#切换到自己目录下
cd /Users/xxxx/Documents/blog/
#更改部署sh权限
chmod 755 deploy.sh
#构建docker镜像
docker build -t notion_git_sync .
#运行容器
docker run -d -v /Users/xx/Documents/blog:/app --name notion_git_sync notion_git_sync
验证
4.特别提醒
- 自己notion的PageId最好不要对外暴露,因为文章是支持密码访问的
- fork下来的NotionNext最好改成私有,避免泄漏关键信息
写到最后


 3746
3746

 被折叠的 条评论
为什么被折叠?
被折叠的 条评论
为什么被折叠?
 到【灌水乐园】发言


