


一、使用@PropertySource加载自定义配置文件
1、创建自定义配置文件
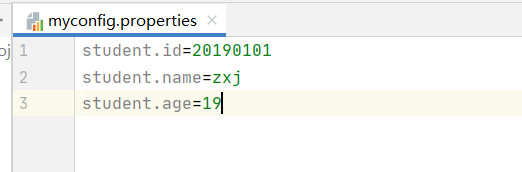
- 在resources下创建myconfig.properties文件
-
2、创建自定义配置类

package lesson4;

import org.springframework.boot.context.properties.ConfigurationProperties;
import org.springframework.context.annotation.PropertySource;
import org.springframework.stereotype.Component;


@Component //让Spring容器来管理Bean
@PropertySource("classpath:myconfig.properties") //加载自定义配置文件
@ConfigurationProperties(prefix = "student") // 此注解必须要Component注解
public class StudentConfig {
    private String id;
    private String name;
    private int age;

    public String getId() {
        return id;
    }

    public void setId(String id) {
        this.id = id;
    }

    public String getName() {
        return name;
    }

    public void setName(String name) {
        this.name = name;
    }

    public int getAge() {
        return age;
    }

    public void setAge(int age) {
        this.age = age;
    }

    @Override
    public String toString() {
        return "StudentConfig{" +
                "id='" + id + '\'' +
                ", name='" + name + '\'' +
                ", age=" + age +
                '}';
    }
}
3、编写测试方法
package lesson4;
import org.junit.jupiter.api.Test;
import org.springframework.beans.factory.annotation.Autowired;
import org.springframework.boot.test.context.SpringBootTest;
@SpringBootTest
class ConfigDemo01ApplicationTests {
@Autowired // 注入学生配置实体
private StudentConfig studentConfig;
@Test
void contextLoads() {
// 输出学生配置实体信息
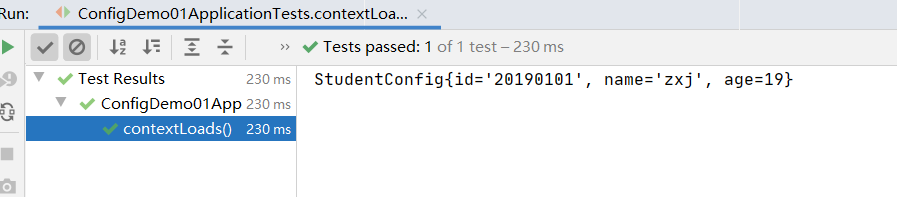
System.out.println(studentConfig.toString());
}
}
4、运行测试方法
二、使用@ImportResource加载XML配置文件
1、创建Bean - 自定义服务类

package lesson4;

public class CustomService {
    public void welcome() {
        System.out.println("欢迎您访问泸州职业技术学院");
    }
}
2、创建自定义JavaBean配置文件


3、在启动类上添加注解,加载自定义JavaBean配置文件
- 在启动类上添加注解@ImportResource(“classpath:beans.xml”)

4、编写测试方法
package lesson4;

import org.junit.jupiter.api.Test;
import org.springframework.beans.factory.annotation.Autowired;
import org.springframework.boot.test.context.SpringBootTest;

@SpringBootTest
class ConfigDemo02ApplicationTests {
    // 注入自定义Bean
    @Autowired
    private CustomService customService;

    @Test
    void contextLoads() {
        // 调用自定义Bean的方法
        customService.welcome();
    }
}
- 运行测试方法结果

三、使用@Configuration编写自定义配置类
1、创建Bean - 自定义服务类

package lesson4;
public class CustomService {
public void welcome() {
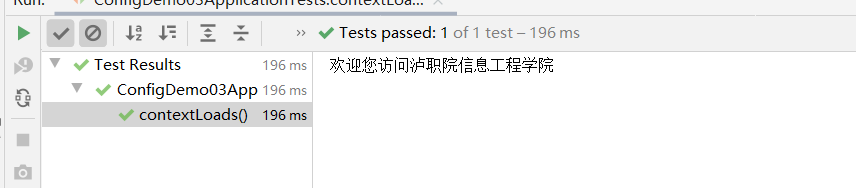
System.out.println("欢迎您访问泸职院信息工程学院");
}
}
2、创建自定义配置类MyConfig

- 添加注解@Configuration,指定配置类
package lesson4;

import org.springframework.context.annotation.Bean;
import org.springframework.context.annotation.Configuration;

@Configuration
public class  MyConfig {
    @Bean(name = "cs")
    public CustomService getCustomService() {
        return new CustomService();
    }
}
3、打开测试类,编写测试方法

package lesson4;

import org.junit.jupiter.api.Test;
import org.springframework.beans.factory.annotation.Autowired;
import org.springframework.boot.test.context.SpringBootTest;

@SpringBootTest
class ConfigDemo03ApplicationTests {
    // 注入自定义Bean
    @Autowired
    private CustomService cs;

    @Test
    void contextLoads() {
        // 调用自定义Bean的方法
        cs.welcome();
    }
}
- 运行结果


 3992
3992


 被折叠的 条评论
为什么被折叠?
被折叠的 条评论
为什么被折叠?
 到【灌水乐园】发言


