


以NGINX证书为例,制作自签证书
SSL自签证书的制作
- 生成私钥(Key):使用openssl生成私钥文件(.key文件),执行以下命令:
$openssl genrsa -out yourdomain.key 2048
- 生成证书签名请求(CSR):使用私钥生成证书签名请求文件(.csr文件),执行以下命令:
$openssl req -new -key yourdomain.key -out yourdomain.csr
You are about to be asked to enter information that will be incorporated
into your certificate request.
What you are about to enter is what is called a Distinguished Name or a DN.
There are quite a few fields but you can leave some blank
For some fields there will be a default value,
If you enter '.', the field will be left blank.
-----
Country Name (2 letter code) []:CN
State or Province Name (full name) []:Shanghai
Locality Name (eg, city) []:Shanghai
Organization Name (eg, company) []:OP
Organizational Unit Name (eg, section) []:OP
Common Name (eg, fully qualified host name) []:*.et
Email Address []:

Please enter the following 'extra' attributes
to be sent with your certificate request
A challenge password []:
- 生成自签证书:使用私钥和CSR文件生成自签证书(.crt文件),执行以下命令:
$openssl x509 -req -days 36500 -in op.em.csr -signkey op.em.key -out yourdomain.crt
这将生成一个有效期为36500天的自签SSL证书。
- 配置NGINX使用SSL证书:打开NGINX配置文件,在需要使用SSL的server块中添加以下配置:
server {
    listen 443 ssl;
    server_name yourdomain.com;

    ssl_certificate /path/to/yourdomain.crt;
    ssl_certificate_key /path/to/yourdomain.key;

    # 其他SSL配置项
}
- 重启NGINX服务:完成配置后,重新加载或重启NGINX服务使更改生效
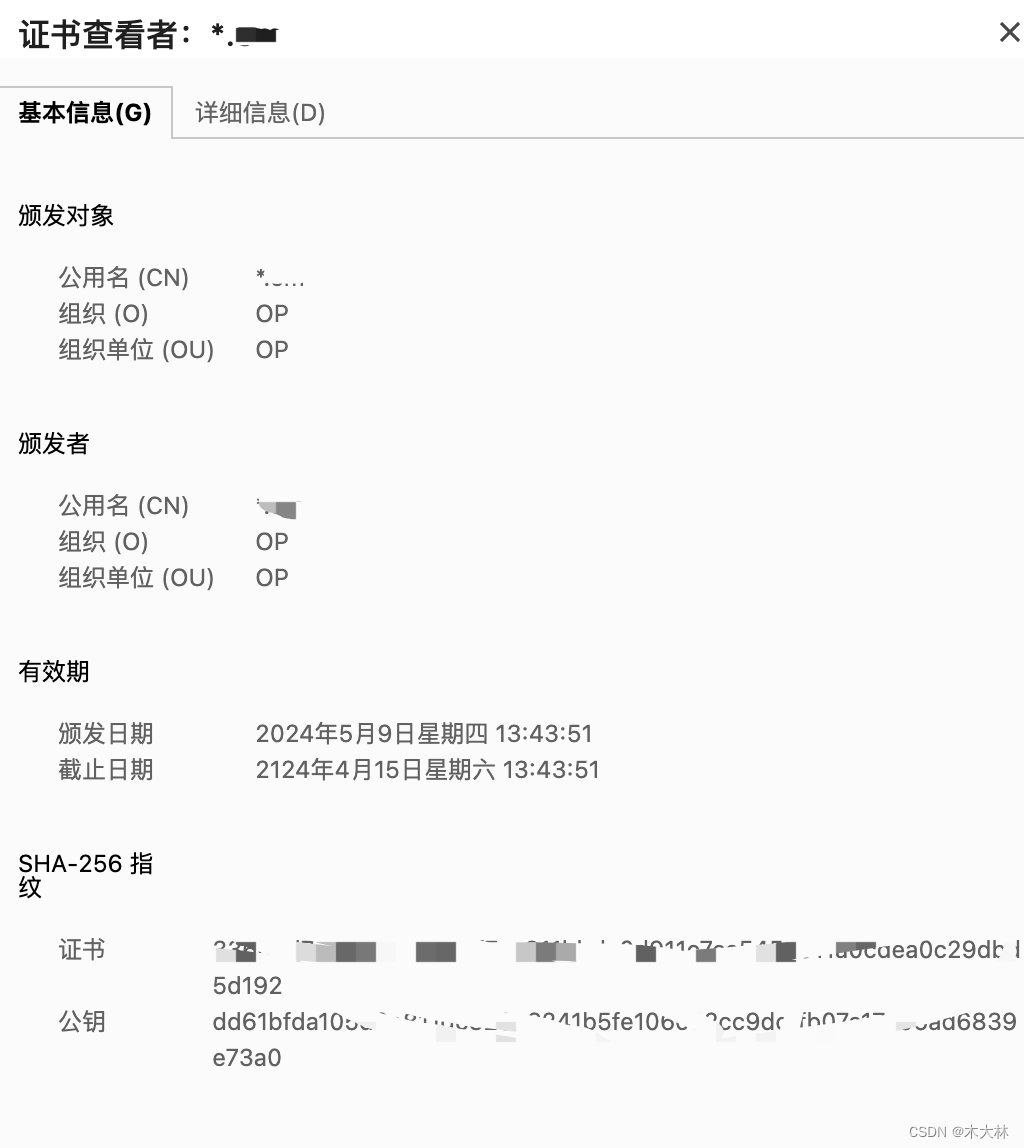
- 验证:


 4787
4787

 被折叠的 条评论
为什么被折叠?
被折叠的 条评论
为什么被折叠?
 到【灌水乐园】发言


