


1 安装目标开发板对应的交叉编译器。
首先,在开发板上使用下面命令查看cpu硬件架构:
uname -asudo apt-get install gcc-aarch64-linux-gnu
sudo apt-get install g++-aarch64-linux-gnu如果你的开发板是arm架构,就使用:
sudo apt-get install gcc-arm-linux-gnueabi
sudo apt-get install g++-arm-linux-gnueabi
安装后,新建一个main.c文件
#include<stdio.h>
int main()
{
	printf("hello world!\n");
}aarch64-linux-gnu-gcc hello.c -o h可以在当前目录得到h的可执行文件,使用命令
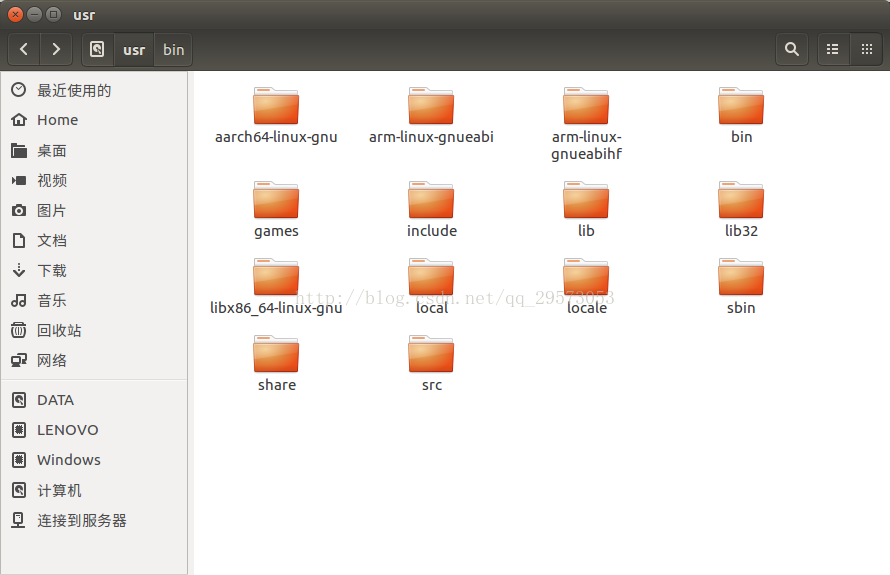
file ./h./h: ELF 64-bit LSB executable, ARM aarch64, version 1 (SYSV), dynamically linked, interpreter /lib/ld-linux-aarch64.so.1, for GNU/Linux 3.7.0, BuildID[sha1]=a7ff48d62094e807ba473044eb1792fbf80784da, not stripped可以看出他是一个ARM aarch64下的可执行文件,到此,证明交叉编译器安装成功了!那么,这些编译器安装在哪里呢?如下图/usr中,编译器程序都放在/usr/bin目录中。
2 QtCreator开发环境设置
打开QtCreator,工具-》选项,切换到“构建和运行”,”编译器“,新增一个gcc编译器,注意是要选择对应平台的g++而不是gcc,gcc是编译c程序的,g++是编译c++程序的。

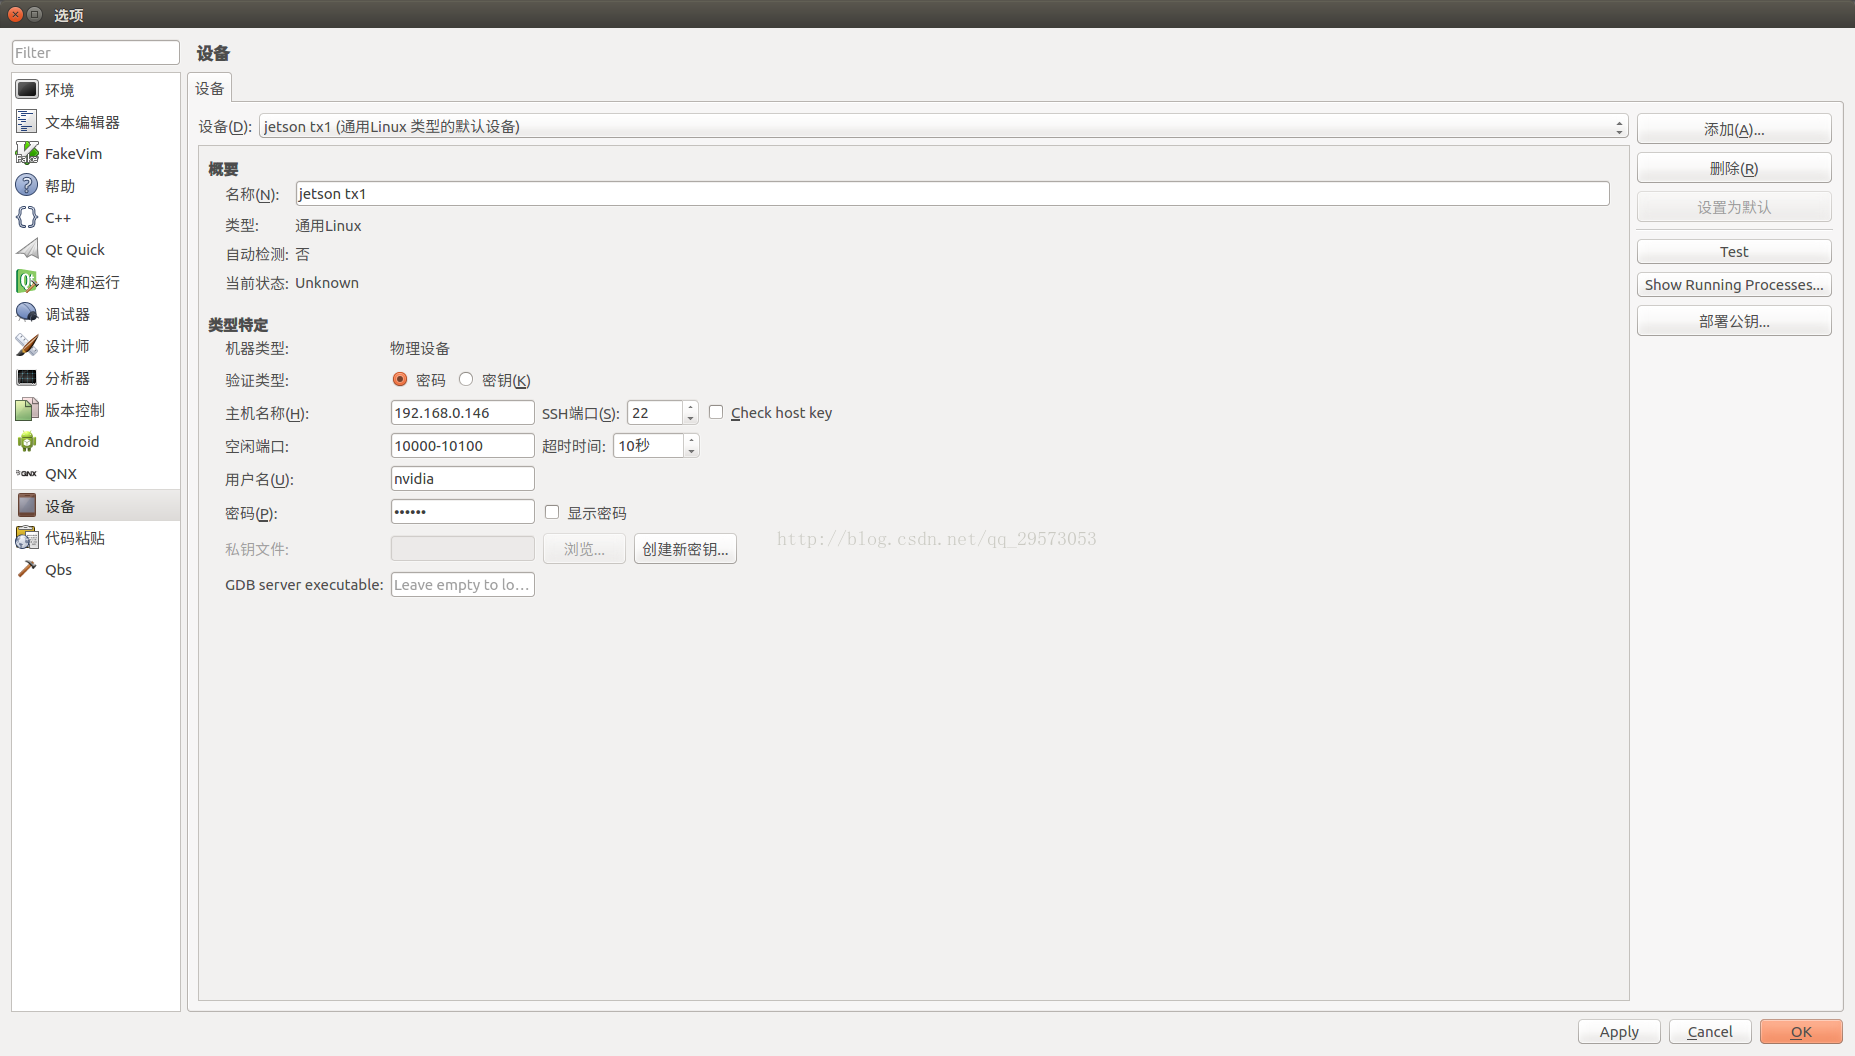
选择设备,新建一个linux通用设备:
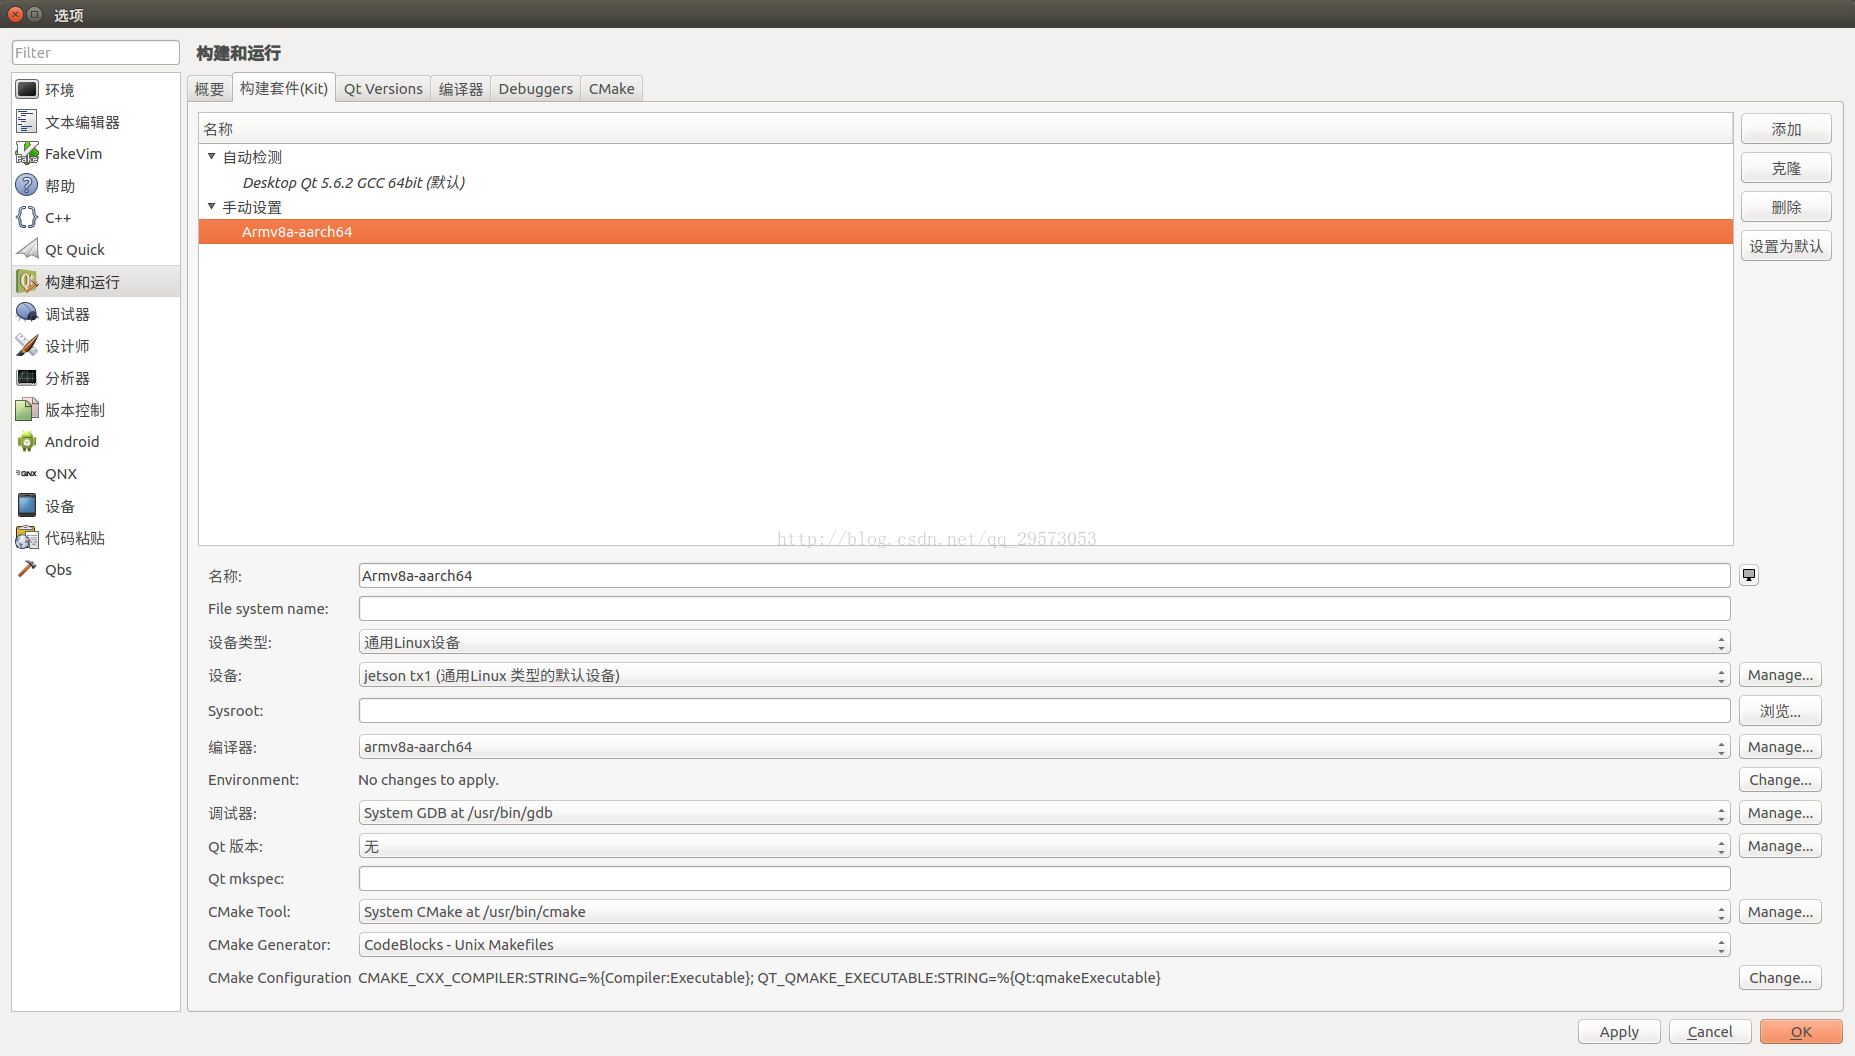
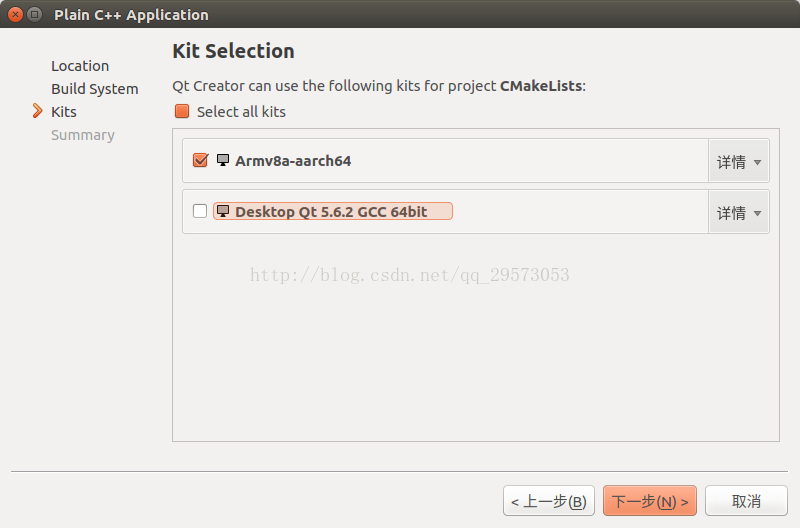
选择构建套件,新增一个构建套件,设备和编译器就选择前两步建好的项目
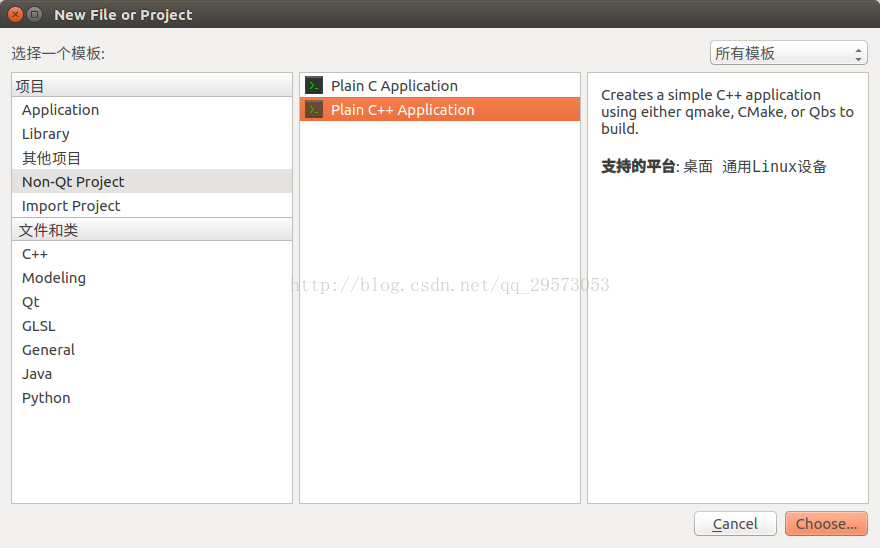
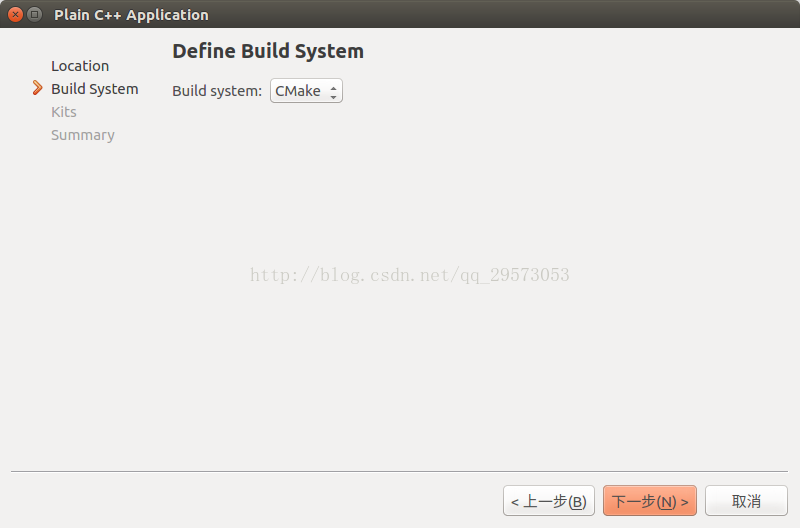
好了,到这里就可以新建一个cmake项目来进行测试了,qtcreator,新建项目,选择Non-Qt Project,选择构建工具的时候,选择cmake,构建套件选择刚刚建立好的套件。
调试
安装多架构支持的调试器:
sudo apt-get install gdb-multiarch照上面在 调试器里面新建一个调试器,位置选择/usr/bin/×××,刚刚安装到就是这个位置。
在kit里面选择刚刚建好的调试器。
问题
1 在远端执行的时候,发现上传失败,原因是上传路径设置的不太对,默认是当前目录. ,也没法改,搜索了一下发现如下方法:
Deploying CMake Projects to Embedded Linux Devices
Qt Creator cannot extract files to be installed from a CMake project, and therefore, only executable targets are automatically added to deployment files. You must specify all other files in theQtCreatorDeployment.txt file that you create and place in either the root directory of the CMake project or the build directory of the active build configuration. Currently, Qt Creator first checks the root directory and only if noQtCreatorDeployment.txt exists it checks the active build directory.
Use the following syntax in the file:
<deployment/prefix>
<relative/source/file1>:<relative/destination/dir1>
...
<relative/source/filen>:<relative/destination/dirn>
Where:
<deployment/prefix>is the (absolute) path prefix to where files are copied on the remote machine.<relative/source/file>is the file path relative to the CMake project root. No directories or wildcards are allowed in this value.<relative/destination/dir>is the destination directory path relative todeployment/prefix.
To automate the creation of QtCreatorDeployment.txt file:
- Define the following macros in the top level
CMakeLists.txtfile:file(WRITE "${CMAKE_SOURCE_DIR}/QtCreatorDeployment.txt" "<deployment/prefix>\n") macro(add_deployment_file SRC DEST) file(RELATIVE_PATH path ${CMAKE_SOURCE_DIR} ${CMAKE_CURRENT_SOURCE_DIR}) file(APPEND "${CMAKE_SOURCE_DIR}/QtCreatorDeployment.txt" "${path}/${SRC}:${DEST}\n") endmacro() macro(add_deployment_directory SRC DEST) file(GLOB_RECURSE files RELATIVE "${CMAKE_CURRENT_SOURCE_DIR}" "${SRC}/*") foreach(filename ${files}) get_filename_component(path ${filename} PATH) add_deployment_file("${filename}" "${DEST}/${path}") endforeach(filename) endmacro() - Use
add_deployment_file(<file/name>)to add files andadd_deployment_directory(<folder/name>)to add directories (including subdirectories) to theQtCreatorDeployment.txtfile. - Re-run
cmakeafter you add or remove files using the macros.
因此,只要将改段命令加在你的cmake文件里面,将上面的"<deployment/prefix>"改成你想要设置的开发板部署路径,下面如果要添加其他文件或文件夹就用宏:
具体链接:http://doc.qt.io/qtcreator/creator-deployment-embedded-linux.htmladd_deployment_file(f1 f2)add_deployment_directory(fold1 fold2)


 被折叠的 条评论
为什么被折叠?
被折叠的 条评论
为什么被折叠?
 到【灌水乐园】发言


