


spring整合框架原理:
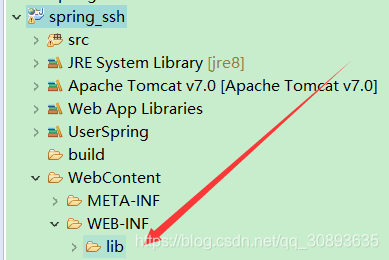
一个项目从上到下可以分为基本的三层,分别是web层,service层,dao层(逻辑层),如图所示:

因为框架各自发挥作用的层不同,所以我们就可以把框架互相组合起来,更好的完成项目
因此学习一下框架的组合,先来介绍下spring框架搭配struts框架,
组合流程如下:
一:建立一个web项目,我这里建立的名字叫
然后我们需要把Spring框架所需的包和struts所需的包都导入lib中
当然包是十分多,如果你把搞混了,可以采用上面新建一个分类直接在本地导入,就像这样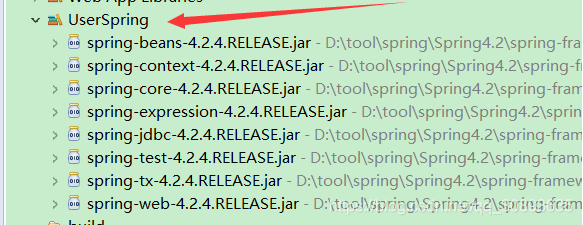
建立过程如下:点击项目名称,选择BuildPath->选择addlibrary-》next->在弹出的框里点击右边的UserLibrary,弹出下一个框,
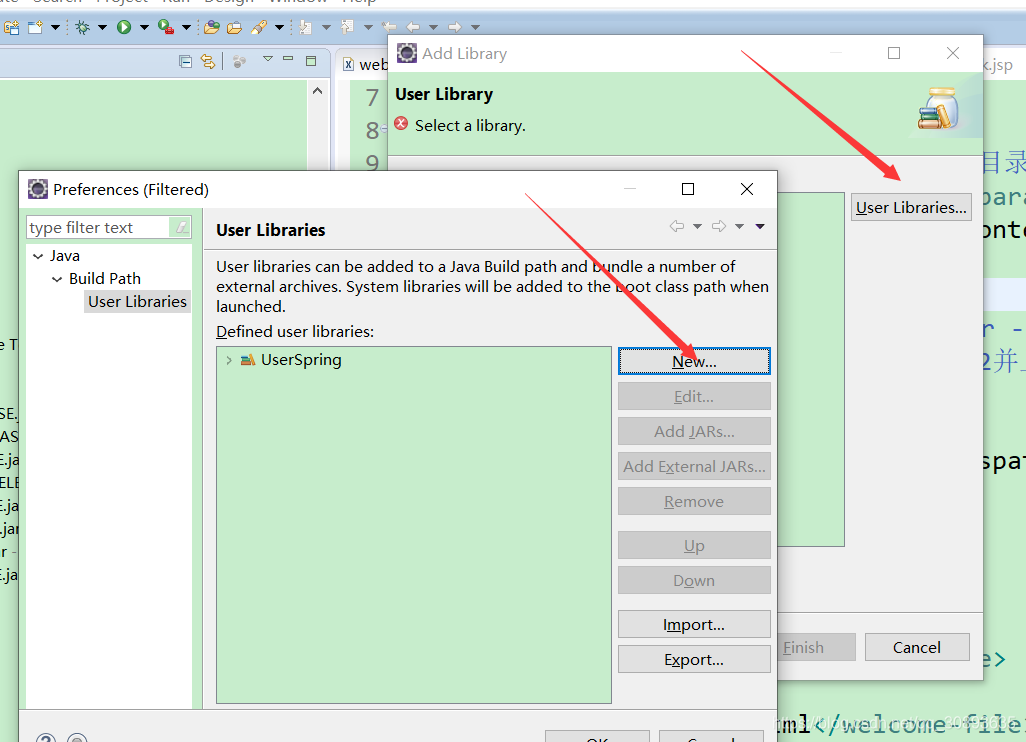
然后点击New起个名字
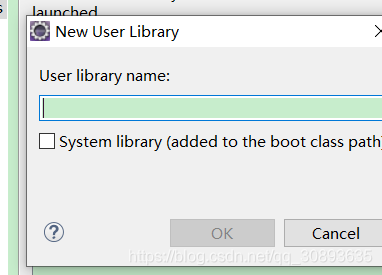 输入个名字就可以建立一个Libary了,
然后点击右边的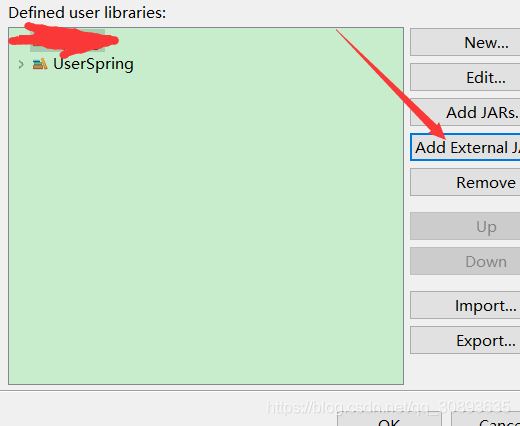
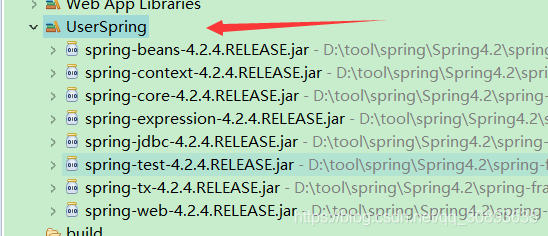
在新界面选择要导入的包(我们可以在这里把spring必备的包放在这里),然后导入就可以了选好之后左边就会出现你选择的一些包
注意:虽然这种导入方式不容易弄混,但是不利于迁移,也就是说,你的代码到达别人的电脑上如果同样位置没有同样的包那么就不起作用的,因此怎么选看个人选择,
第二种方式就是把包统统放进Lib包里。一共需要的包如下::
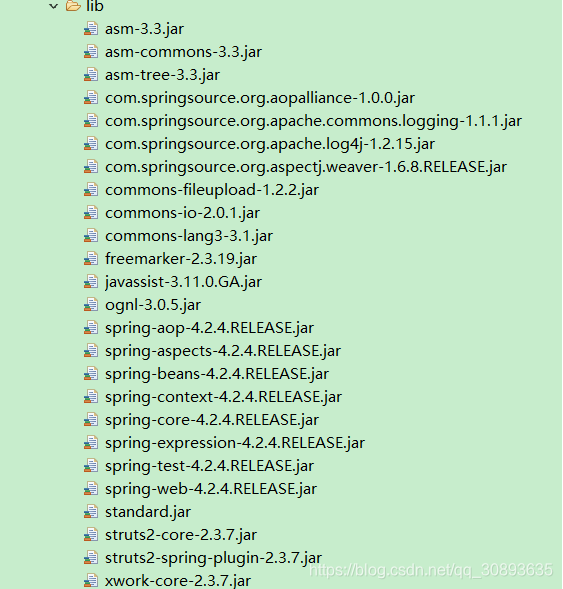
需要注意的是这个包:

这个包导入进去之后,struts2在启动时就会寻找spring容器,找不到将会抛出异常
二:配置xml文件,我们导入包之后就要配置xml文件,一共需要配置3个文件,分别是web.xml,struts.xml(拦截器配置)以及spring的applicationContext.xml的配置文件。
首先是web.xml
<?xml version="1.0" encoding="UTF-8"?>
<web-app xmlns:xsi="http://www.w3.org/2001/XMLSchema-instance" xmlns="http://java.sun.com/xml/ns/javaee" xsi:schemaLocation="http://java.sun.com/xml/ns/javaee http://java.sun.com/xml/ns/javaee/web-app_2_5.xsd" id="WebApp_ID" version="2.5">
   <!-- 配置spring 容器, 启动 服务器,自动启动 spring 容器 -->
   <!-- 使用ContextLoaderListener初始化spring容器类名这些都是固定的 -->
  <listener>
    <listener-class>org.springframework.web.context.ContextLoaderListener</listener-class>
  </listener>
  <context-param>
    <!-- 配置spring 文件位置参数,不在lib目录下需要写具体路径 -->
    <param-name>contextConfigLocation</param-name>
    <param-value>classpath:applicationContext.xml</param-value>
  </context-param>
  <!-- struts2 过滤器 -->
  <!-- 定义struts2的filterDispath的filter -->
  <!-- FilterDispatcher用来初始化Struts 2并且处理所有的WEB请求。 -->
  <filter>
    <filter-name>struts2</filter-name>
    <filter-class>org.apache.struts2.dispatcher.ng.filter.StrutsPrepareAndExecuteFilter</filter-class>
  </filter>
  <filter-mapping>
    <filter-name>struts2</filter-name>
    <url-pattern>/*</url-pattern>
  </filter-mapping>
  <!--注意这里的name是项目名称,不要写错-->
  <display-name>spring_ssh</display-name>
  <welcome-file-list>
    <welcome-file>index.html</welcome-file>
    <welcome-file>index.htm</welcome-file>
    <welcome-file>index.jsp</welcome-file>
    <welcome-file>default.html</welcome-file>
    <welcome-file>default.htm</welcome-file>
    <welcome-file>default.jsp</welcome-file>
  </welcome-file-list>
</web-app>
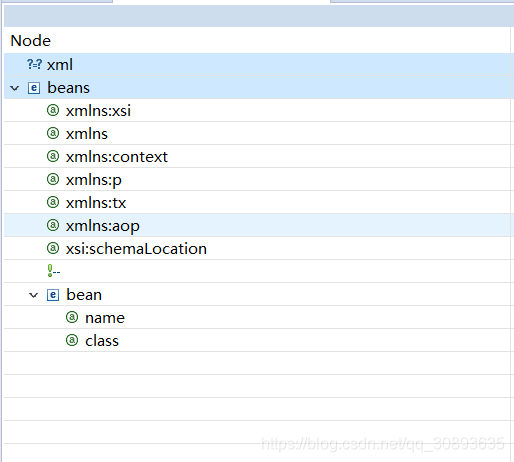
然后是写application.xml
这个xml是用来给struts的Action注入值的,也就是生成一个代理对象
这个xml中需要引入一系列约束
?xml version="1.0" encoding="UTF-8"?>
<beans xmlns:xsi="http://www.w3.org/2001/XMLSchema-instance"
 xmlns="http://www.springframework.org/schema/beans"
  xmlns:context="http://www.springframework.org/schema/context"
  xmlns:p="http://www.springframework.org/schema/p"
  xmlns:tx="http://www.springframework.org/schema/tx"
   xmlns:aop="http://www.springframework.org/schema/aop"
   xsi:schemaLocation="http://www.springframework.org/schema/beans http://www.springframework.org/schema/beans/spring-beans-4.2.xsd http://www.springframework.org/schema/context http://www.springframework.org/schema/context/spring-context-4.2.xsd http://www.springframework.org/schema/tx http://www.springframework.org/schema/tx/spring-tx-4.2.xsd http://www.springframework.org/schema/aop http://www.springframework.org/schema/aop/spring-aop-4.2.xsd ">
<!-- 配置struts的UserAction -->
<bean name="userAction" class="cn.oracle.services.UserAction">

</bean>
</beans>
然后是我们的action
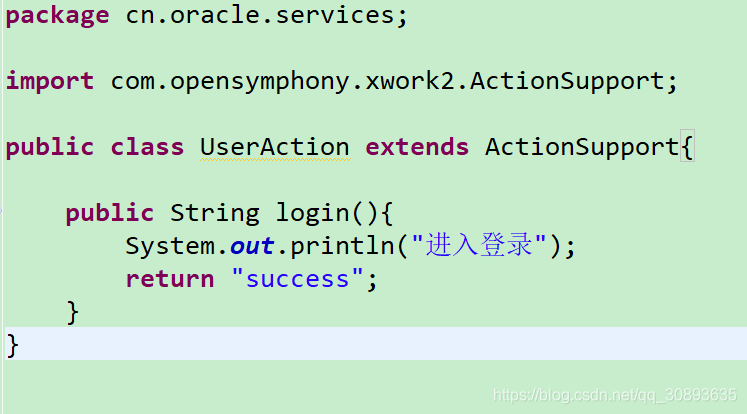
这个列子就比较简单,因为只是简单测试能不能用的,
然后是struts.xml的配置(记得加约束提醒)
<?xml version="1.0" encoding="UTF-8"?>
<!DOCTYPE struts PUBLIC
	"-//Apache Software Foundation//DTD Struts Configuration 2.3//EN"
	"http://struts.apache.org/dtds/struts-2.3.dtd">
<struts>
<!-- 把action的创建交给spring容器来创建,反过来 -->
	<constant name="struts.objectFactory" value="spring"></constant>
	<package name="ssh" namespace="/" extends="struts-default">
		<!-- class指向的是spring配置文件中的name -->
		<action name="userAction_*"
		 	class="userAction" method="{1}">
			<result name="success">/ok.jsp</result>
		</action>
	</package>
</struts>
配置好之后我们测试一下
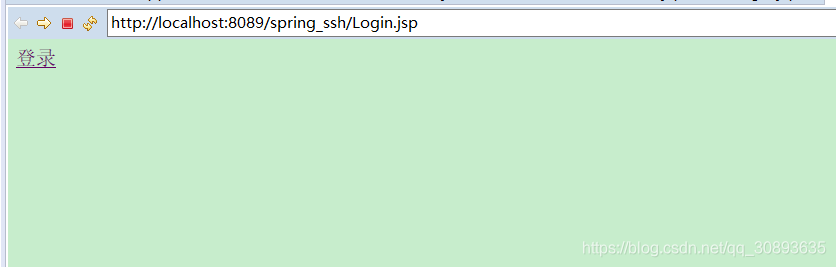
点击
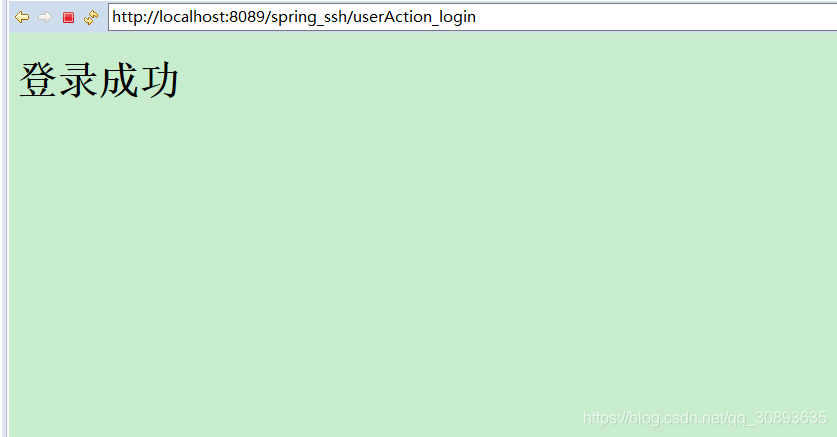
这样就完成了简单的struts的整合


 373
373


 被折叠的 条评论
为什么被折叠?
被折叠的 条评论
为什么被折叠?
 到【灌水乐园】发言


