


 文章描述了一个Python程序,利用OpenCV库实现图像显示、鼠标事件处理(如左键点击、右键点击和中键点击),并将用户选择的区域归类到预设的类别中,如ArmrestEpidermis系列。
#!/usr/bin/env python
# -*- coding: utf-8 -*-
# @Time        :2024/8/10 14:56
# @Author      :weiz
# @ProjectName :weizTools
# @File        :displayAndSelectImage.py
# @Description :
import os
import cv2
import copy
import numpy as np
import shutil


def OnMouseAction(event, x, y, flags, param):
    """
    鼠标的回调函数,处理鼠标事件
    :param event:
    :param x:
    :param y:
    :param flags:
    :param param:
    :return:
    """
    if event == cv2.EVENT_LBUTTONDOWN:
        global g_click_points
        g_click_points.append([x, y])
    elif event == cv2.EVENT_RBUTTONDOWN:
        print("右键点击")
    elif flags == cv2.EVENT_FLAG_LBUTTON:
        # print("左鍵拖曳")
        pass
    elif event == cv2.EVENT_MBUTTONDOWN:
        print("中键点击")


def showEng4table_cv(img, engList, fontScale=None, gap=None, start_x=None, start_y=None):
    """
    以表格的形式在图片的居中(默认是居中)显示英文字符(opencv不支持中文)
    :param img:
    :param engList:
    :param fontScale:
    :param gap:表格和字体之间的距离
    :param start_x:
    :param start_y:
    :return:
    """
    row = len(engList)
    if gap == None:
        gap = 2
    if fontScale == None:
        fontScale = 1
    longestEng = ""
    for engStr in engList:
        if len(engStr) > len(longestEng):
            longestEng = engStr
    img_h, img_w = img.shape[:2]

    (font_w, font_h), baseline = cv2.getTextSize(longestEng, cv2.FONT_HERSHEY_TRIPLEX, fontScale, 1)
    font_h = font_h + baseline + 2 * gap
    font_w = font_w + 2 * gap

    if start_x == None:
        start_x = (img_w - font_w) // 2
    if start_y == None:
        start_y = (img_h - (font_h * row)) // 2
    end_x = start_x + font_w
    end_y = start_y + font_h * row

    (height, width, channel) = img.shape
    if (end_x > width) and (end_y < height):
        big_img = np.ones([height + 100, end_x + 100, channel], dtype=np.uint8)
    elif (end_x < width) and (end_y > height):
        big_img = np.ones([end_y + 100, width + 100, channel], dtype=np.uint8)
    elif (end_x > width) and (end_y > height):
        big_img = np.ones([end_y + 100, end_x + 100, channel], dtype=np.uint8)
    else:
        big_img = np.ones([height + 100, width + 100, channel], dtype=np.uint8)

    big_img[big_img.shape[0] - img.shape[0]:big_img.shape[0], big_img.shape[1] - img.shape[1]: big_img.shape[1]] = img
    img = big_img

    rect_points = []
    for i, engStr in enumerate(engList):
        line_spacing = i * font_h
        cv2.rectangle(img, (start_x, start_y + line_spacing), (end_x, start_y + line_spacing + font_h), (0, 0, 0))
        cv2.putText(img, engStr, (start_x + gap, start_y + line_spacing + font_h - baseline - gap),
                    cv2.FONT_HERSHEY_TRIPLEX, fontScale, (188, 188, 188), 1)

        rect_points.append([start_x, start_y + line_spacing, end_x, start_y + line_spacing + font_h])

    return img, rect_points


def get_click_points(img):
    """
    :param img:
    :return:
    """

    global g_click_points
    g_click_points = []

    cv2.namedWindow("click_image")
    cv2.imshow("click_image", img)
    cv2.setMouseCallback("click_image", OnMouseAction)
    while g_click_points == []:
        cv2.waitKey(50)
    cv2.destroyWindow("click_image")

    return g_click_points


def main(is_delete=None):
    imageNameList = os.listdir(g_imagePath)
    i = 0
    while i < len(imageNameList):
        img = cv2.imread(os.path.join(g_imagePath, imageNameList[i]))
        showImg, rect_points = showEng4table_cv(copy.deepcopy(img), g_showLabel, 0.6, 10, 20, 20)

        click_point = get_click_points(showImg)
        if len(click_point) != 1:
            print("无效点,请从新点击!")
            continue

        efficient_point_index = -1
        for ii, rect_point in enumerate(rect_points):
            if (rect_point[0] < click_point[0][0] < rect_point[2]) and (
                    rect_point[1] < click_point[0][1] < rect_point[3]):
                efficient_point_index = ii
                break
        if efficient_point_index > 1:
            savePathTmp = os.path.join(g_saveImagePath, g_showLabel[efficient_point_index])
            if not os.path.exists(savePathTmp):
                print("{} 该路径不存在,创建中...".format(savePathTmp), end="")
                if not os.mkdir(savePathTmp):
                    print("创建完成")

            savePathTmp = os.path.join(savePathTmp, imageNameList[i])
            cv2.imwrite(savePathTmp, img)
            print("图片归为 {} 类".format(g_showLabel[efficient_point_index]))
            i = i + 1
        else:
            if efficient_point_index == 1:
                print("下一张图片")
                i = i + 1
            elif efficient_point_index == 0:
                print("退出程序")
                break
            else:
                print("点击无效,请重新选择类别!")

        if is_delete:
            os.remove(os.path.join(g_imagePath, imageNameList[i]))
            print("{} 图片被删除".format(os.path.join(g_imagePath, imageNameList[i])))


g_click_points = []
g_showLabel = ["exit", "next", "hky", "hyh", "kqb", "sl", "syl", "tjh", "xcl", "xsh"]
g_saveImagePath = r"C:\Users\Administrator\Desktop\houbenm"
g_imagePath = r"C:\Users\Administrator\Desktop\T19C"
if __name__ == "__main__":
    main(True)
信息全在代码里,运行效果。
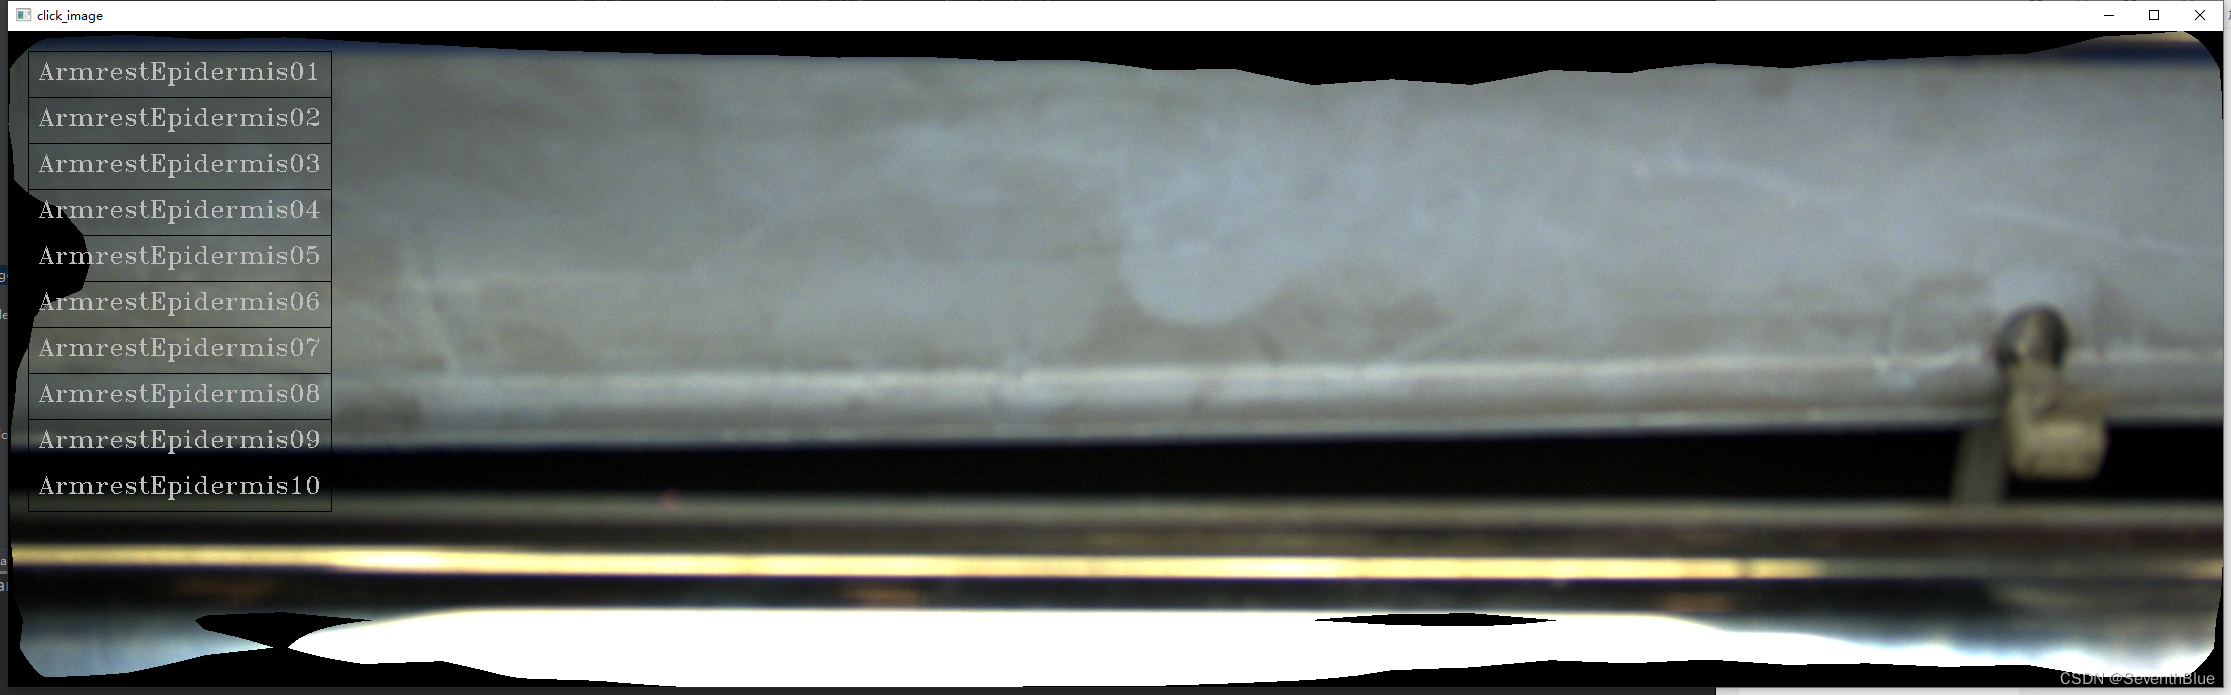
1、运行界面:(输入的图片是什么,就显示什么)
2、归类:鼠标左击上图左侧显示的类别。例如,点击后左侧的第三行,会出现的一张图片并有对应的输出,这里的效果如下。
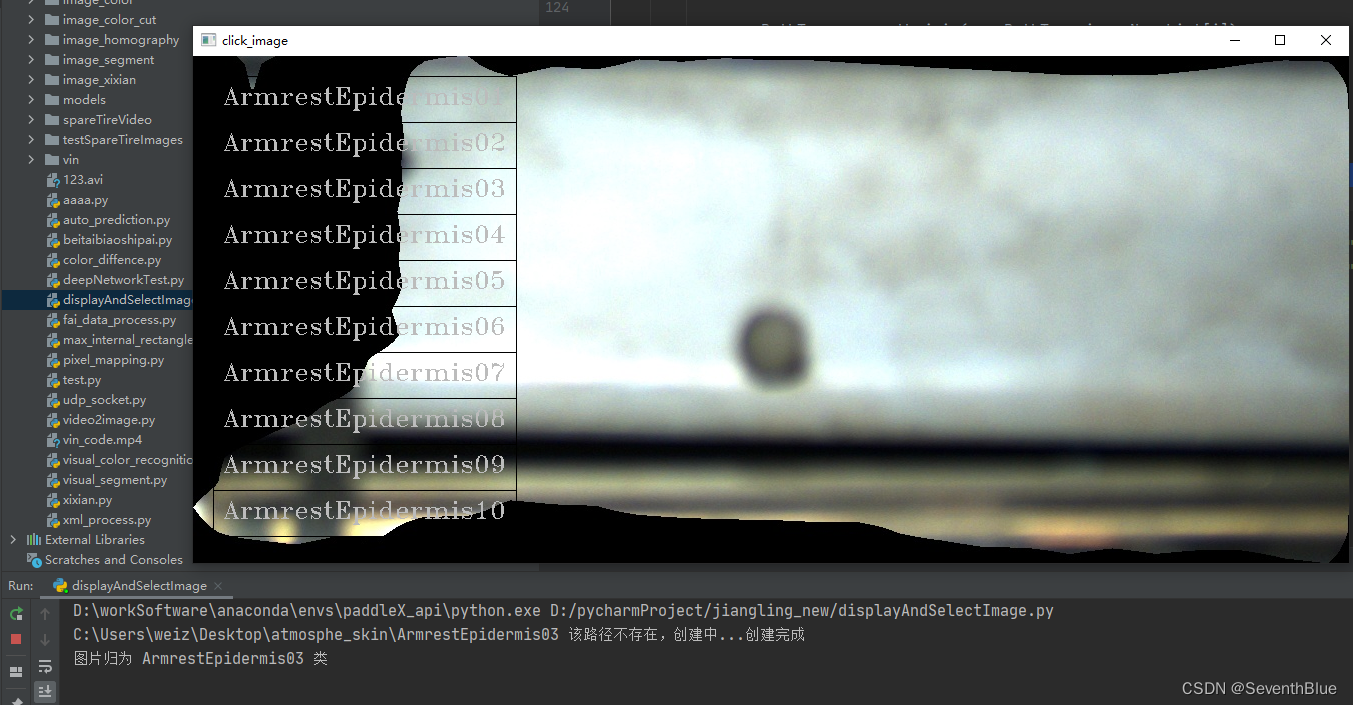
3、一直按照第二步操作即可完成图片归类。


 被折叠的 条评论
为什么被折叠?
被折叠的 条评论
为什么被折叠?
 到【灌水乐园】发言


