


环境:ubuntu14.04,控制器:distribution-karaf-0.3.3-Lithium-SR3 jdk:1.8 maven:3.5.2
1 获取OpenDaylightsettings.xml文件的简单方法:执行如下命令
cp -n ~/.m2/settings.xml{,.orig} ; \wget -q-O -https://raw.githubusercontent.com/opendaylight/odlparent/stable/boron/settings.xml> ~/.m2/settings.xml
2 使用 Maven和一个叫做opendaylight-startup-archetype的原型创建一个模版工程。如果你第一次创建该工程,需要花费一些时间从远程仓库下载。
mvn archetype:generate-DarchetypeGroupId=org.opendaylight.controller-DarchetypeArtifactId=opendaylight-startup-archetype-DarchetypeRepository=https://nexus.opendaylight.org/content/repositories/public/-DarchetypeVersion=1.0.3-Lithium-SR3
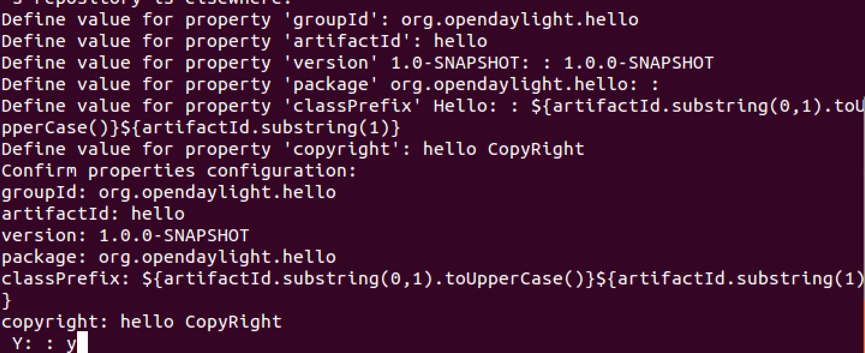
3 按如下修改属性值,输入y进行骨架创建:
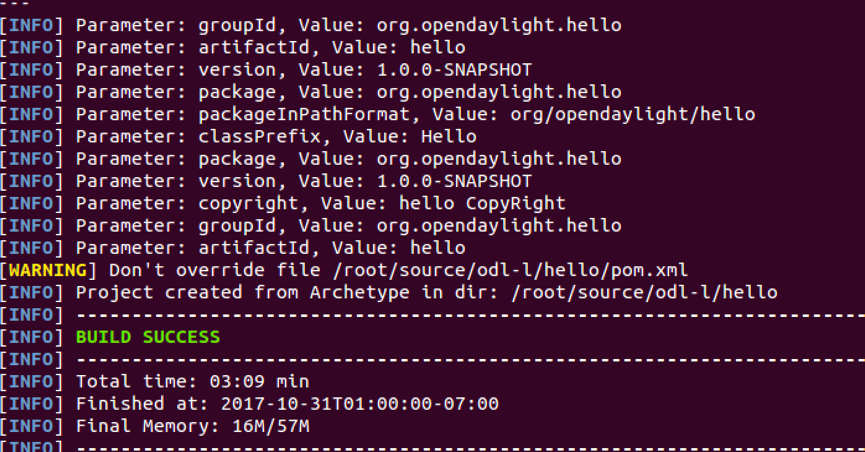
4生成hello文件夹,输入mvn clean install进行编译(编译过程较缓慢,请耐心等待)
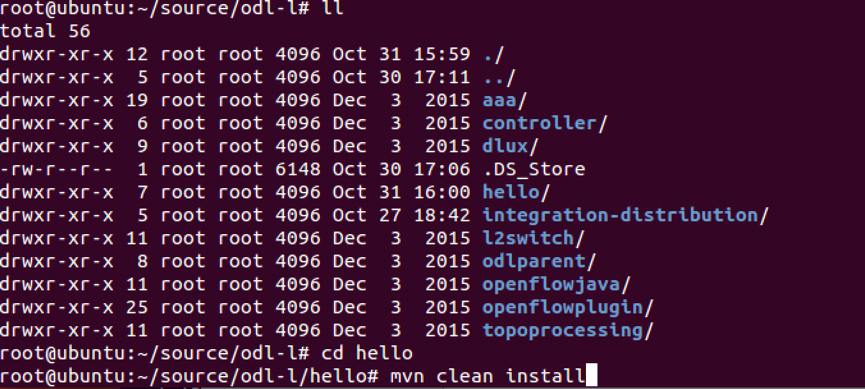
这个hello文件夹的内容如下,表示一个hello的模块的骨架相关文件

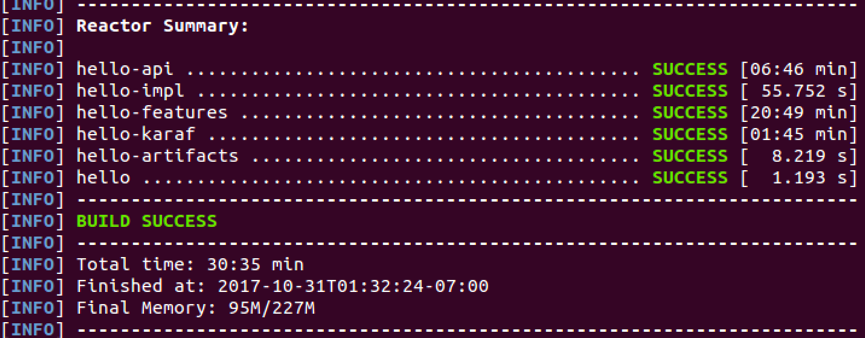
5编译成功
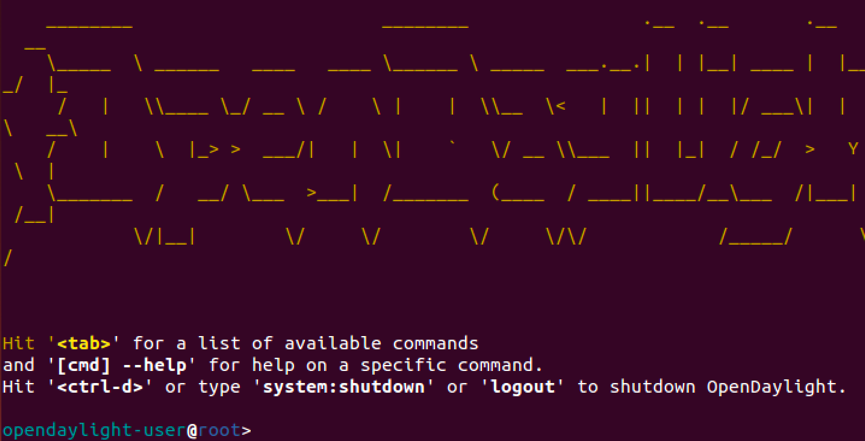
6之后进入hello\karaf\target\assembly\bin,找到karaf,运行karaf启动控制器。
7 实现hello-world:
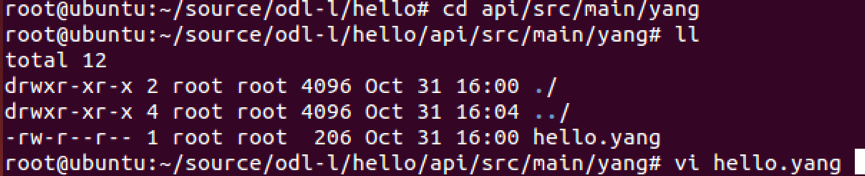
7.1 进入hello/api/src/main/yang目录,按照下面修改hello.yang,增加hello-world这个rpc:
module hello {
	yang-version 1;
	namespace “urn:opendaylight:params:xml:ns:yang:helloworld”;
	prefix “helloworld”;
	revision “2015-01-05” {
	description “Initial revision of helloworld model”;
	}
	rpc hello-world {
		input {
	   	      leaf name {
			   type string;
                      }
          	   }
		output {
  	   	      leaf greating {
			   type string;
                      }
                   }
	}
}
cd ../../../
mvn clean install
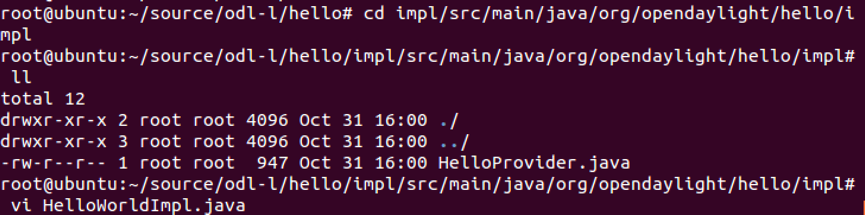
进入目录hello/impl/src/main/java/org/opendaylight/hello/impl,创建一个新的文件HelloWorldImpl.java:
package org.opendaylight.hello.impl;
import java.util.concurrent.Future;
import org.opendaylight.yang.gen.v1.urn.opendaylight.params.xml.ns.yang.hello.rev150105.HelloService;
import org.opendaylight.yang.gen.v1.urn.opendaylight.params.xml.ns.yang.hello.rev150105.HelloWorldInput;
import org.opendaylight.yang.gen.v1.urn.opendaylight.params.xml.ns.yang.hello.rev150105.HelloWorldOutput;
import org.opendaylight.yang.gen.v1.urn.opendaylight.params.xml.ns.yang.hello.rev150105.HelloWorldOutputBuilder;
import org.opendaylight.yangtools.yang.common.RpcResult;
import org.opendaylight.yangtools.yang.common.RpcResultBuilder;
public class HelloWorldImpl implements HelloService {
    @Override
    public Future<RpcResult<HelloWorldOutput>> helloWorld(HelloWorldInput input) {
        HelloWorldOutputBuilder helloBuilder = new HelloWorldOutputBuilder();
        helloBuilder.setGreating("Hello " + input.getName());
        return RpcResultBuilder.success(helloBuilder.build()).buildFuture();
    }
}
7.3.在当前目录中找到HelloProvider.java文件. 在该文件中注册你在hello.yang中定义的RPC。你可以按如下编辑该文件或者用下面的代码替换该文件。

/*
 * Copyright(c) Yoyodyne, Inc. and others.  All rights reserved.
 * * This program and the accompanying materials are made available under the
 * terms of the Eclipse Public License v1.0 which accompanies this distribution,
 * and is available at http://www.eclipse.org/legal/epl-v10.html
*/
package org.opendaylight.hello.impl;
import org.opendaylight.controller.sal.binding.api.BindingAwareBroker.ProviderContext;
import org.opendaylight.controller.sal.binding.api.BindingAwareBroker.RpcRegistration;
import org.opendaylight.controller.sal.binding.api.BindingAwareProvider;
import org.opendaylight.yang.gen.v1.urn.opendaylight.params.xml.ns.yang.hello.rev150105.HelloService;
import org.slf4j.Logger;
import org.slf4j.LoggerFactory;
public class HelloProvider implements BindingAwareProvider, AutoCloseable {
    private static final Logger LOG = LoggerFactory.getLogger(HelloProvider.class);
    private RpcRegistration<HelloService> helloService;
    @Override
    public void onSessionInitiated(ProviderContext session) {
	 LOG.info("HelloProvider Session Initiated");
         helloService = session.addRpcImplementation(HelloService.class, new HelloWorldImpl());
    }
    @Override
    public void close() throws Exception {
         LOG.info("HelloProvider Closed");
         if (helloService != null) {
             helloService.close();
        }
    }
 }
7.4 编译注册新RPC功能的java类。检查编写 HelloProvider.java和HelloWorldImpl.java是否正确

7.5 返回顶级目录,编译整个hello

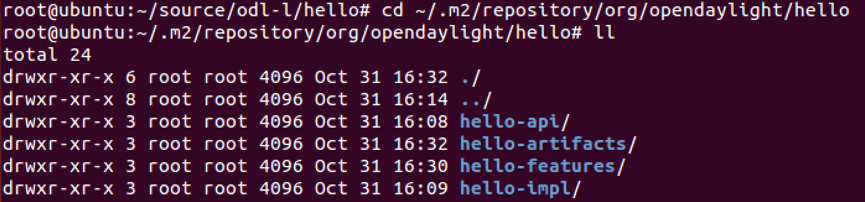
7.6可在~/.m2/repository/org/opendaylight/hello2中找到编译好的文件:
7.7将hello集成到ODL发行版,我采用的发行版为OpenDaylight Lithium SR3,解压后进入目录,可以看到其中包含system子目录,该目录即为发行版所用的仓库(Repository)。进入system目录,创建子目录org/opendaylight/hello:

7.8 进入hello,复制~/.m2中相应内容,得到结果为:

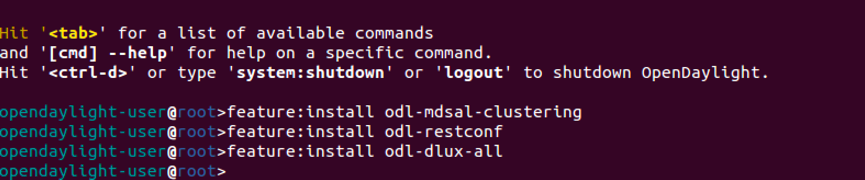
7.9将hello集成到ODL发行版:添加仓库启动发行版的karaf,先安装odl-mdsal-clustering,再装odl-restconf,odldlux-all
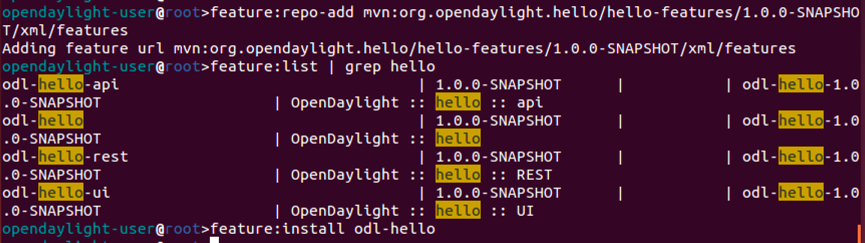
7.10添加hello仓库,执行,且查看添加情况,执行安装:
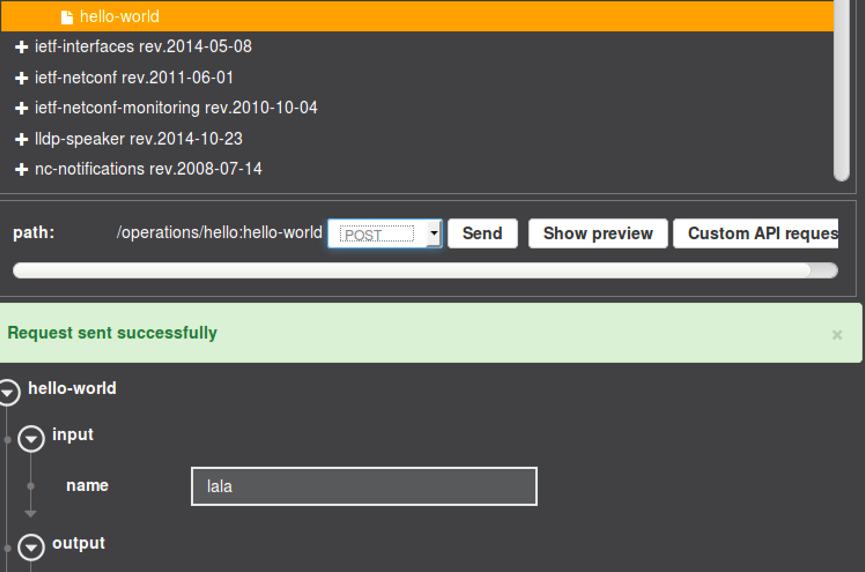
7.11测试:登录页面http://localhost:8181/index.html,可在YANG UI/API中找到相应的功能,进行测试。
用户名和密码都是admin,找到hello,里面的helloworld:


 8924
8924

 被折叠的 条评论
为什么被折叠?
被折叠的 条评论
为什么被折叠?
 到【灌水乐园】发言


