


1. 配置开发环境
按照arcgis官网引入jar包,但是我这里用的是10.2.8版本,不是最新版本
1.1 引入仓库
在外层目录下的build.gradle文件中写入以下代码
allprojects {
  repositories {
    google()
    jcenter()

    // Add the Esri public Bintray Maven repository
    maven {
        url 'https://esri.bintray.com/arcgis'
    }
  }
}
1.2 引入sdk
然后再app目录下的build.gradle文件中加上
compile 'com.esri.arcgis.android:arcgis-android:10.2.8'因为我不是用的最新版本的sdk,会出现一个问题

为了避免这个问题,在android部分加上
packagingOptions {
       exclude 'META-INF/LGPL2.1'
}
环境配置好了,接下来就是arcgis的使用
2. arcgis的简单使用
新建项目,因为需要定位,所以要加入权限,同时因为地图的加载,需要设备支持openGL2.0,详细请参考官网详情
 <uses-permission android:name="android.permission.INTERNET" />
 <uses-permission android:name="android.permission.ACCESS_FINE_LOCATION" />
 <uses-permission android:name="android.permission.WRITE_EXTERNAL_STORAGE" />
<uses-feature
        android:glEsVersion="0x00020000"
        android:required="true" />
在布局文件中使用arcgis的MapView控件
<?xml version="1.0" encoding="utf-8"?>
<FrameLayout xmlns:android="http://schemas.android.com/apk/res/android"
    android:layout_width="match_parent"
    android:layout_height="match_parent">

    <RelativeLayout
        android:layout_width="match_parent"
        android:layout_height="match_parent">

        <com.esri.android.map.MapView
            android:id="@+id/map_view"
            android:layout_width="match_parent"
            android:layout_height="match_parent">

        </com.esri.android.map.MapView>
    </RelativeLayout>

    <LinearLayout
        android:layout_gravity="right|center"
        android:layout_marginEnd="20dp"
        android:orientation="vertical"
        android:layout_width="wrap_content"
        android:layout_height="wrap_content">

        <ImageView
            android:id="@+id/iv_scale_plus"
            android:background="@mipmap/ic_launcher_round"
            android:layout_width="48dp"
            android:layout_height="62dp" />

        <ImageView
            android:id="@+id/iv_scale_sub"
            android:background="@mipmap/ic_launcher_round"
            android:layout_width="48dp"
            android:layout_height="62dp" />
    </LinearLayout>

</FrameLayout>
然后在Activity中实例化控件,并加载一个开放的网络图层
private MapView mapView;
/**开放图层URL**/
private String mapServerUrl = "http://cache1.arcgisonline.cn/ArcGIS/rest/services/ChinaOnlineCommunity/MapServer";

 @Override
    protected void onCreate(Bundle savedInstanceState) {
        super.onCreate(savedInstanceState);
        setContentView(R.layout.activity_main);

        mapView = findViewById(R.id.map_view);
        ArcGISTiledMapServiceLayer arcGISTiledMapServiceLayer = new ArcGISTiledMapServiceLayer(mapServerUrl);
        mapView.addLayer(arcGISTiledMapServiceLayer);
    }

    @Override
    protected void onResume() {
        super.onResume();
        mapView.unpause();
    }

    @Override
    protected void onPause() {
        super.onPause();
        mapView.pause();
    }
定位当前位置
/**
     * 定位当前位置
     */
    private void markLocation(){
        localLayer = new GraphicsLayer();
        mapView.addLayer(localLayer);

        // 获取定位服务类
        LocationDisplayManager ldManager = mapView.getLocationDisplayManager();
        ldManager.setShowLocation(true);
        // 设置定位模式
        /**
         *  LocationDisplayManager.AutoPanMode:

         (1) COMPASS:定位到你所在的位置(作为中心位置显示)并按照手机所指向的方向旋转地图(非行驶状态)。

         (2)LOCATION:自动定位到你的位置(作为中心位置显示)

         (3)NAVIGATION:默认情况下,这将图标放置在屏幕底部,并将地图旋转至行驶的方向。

         (4)OFF:不会自动定位,它只会简单地显示地图(默认)
         */
        ldManager.setAutoPanMode(LocationDisplayManager.AutoPanMode.LOCATION);
        ldManager.setShowPings(true);
        // 开始定位
        ldManager.start();
    }
放大、缩小地图,这个就很简单了,一行代码搞定
@Override
public void onClick(View view) {
switch (view.getId()){
case R.id.iv_scale_plus:
// 放大地图
mapView.zoomin();
break;
case R.id.iv_scale_sub:
// 缩小地图
mapView.zoomout();
break;
default:
break;
}
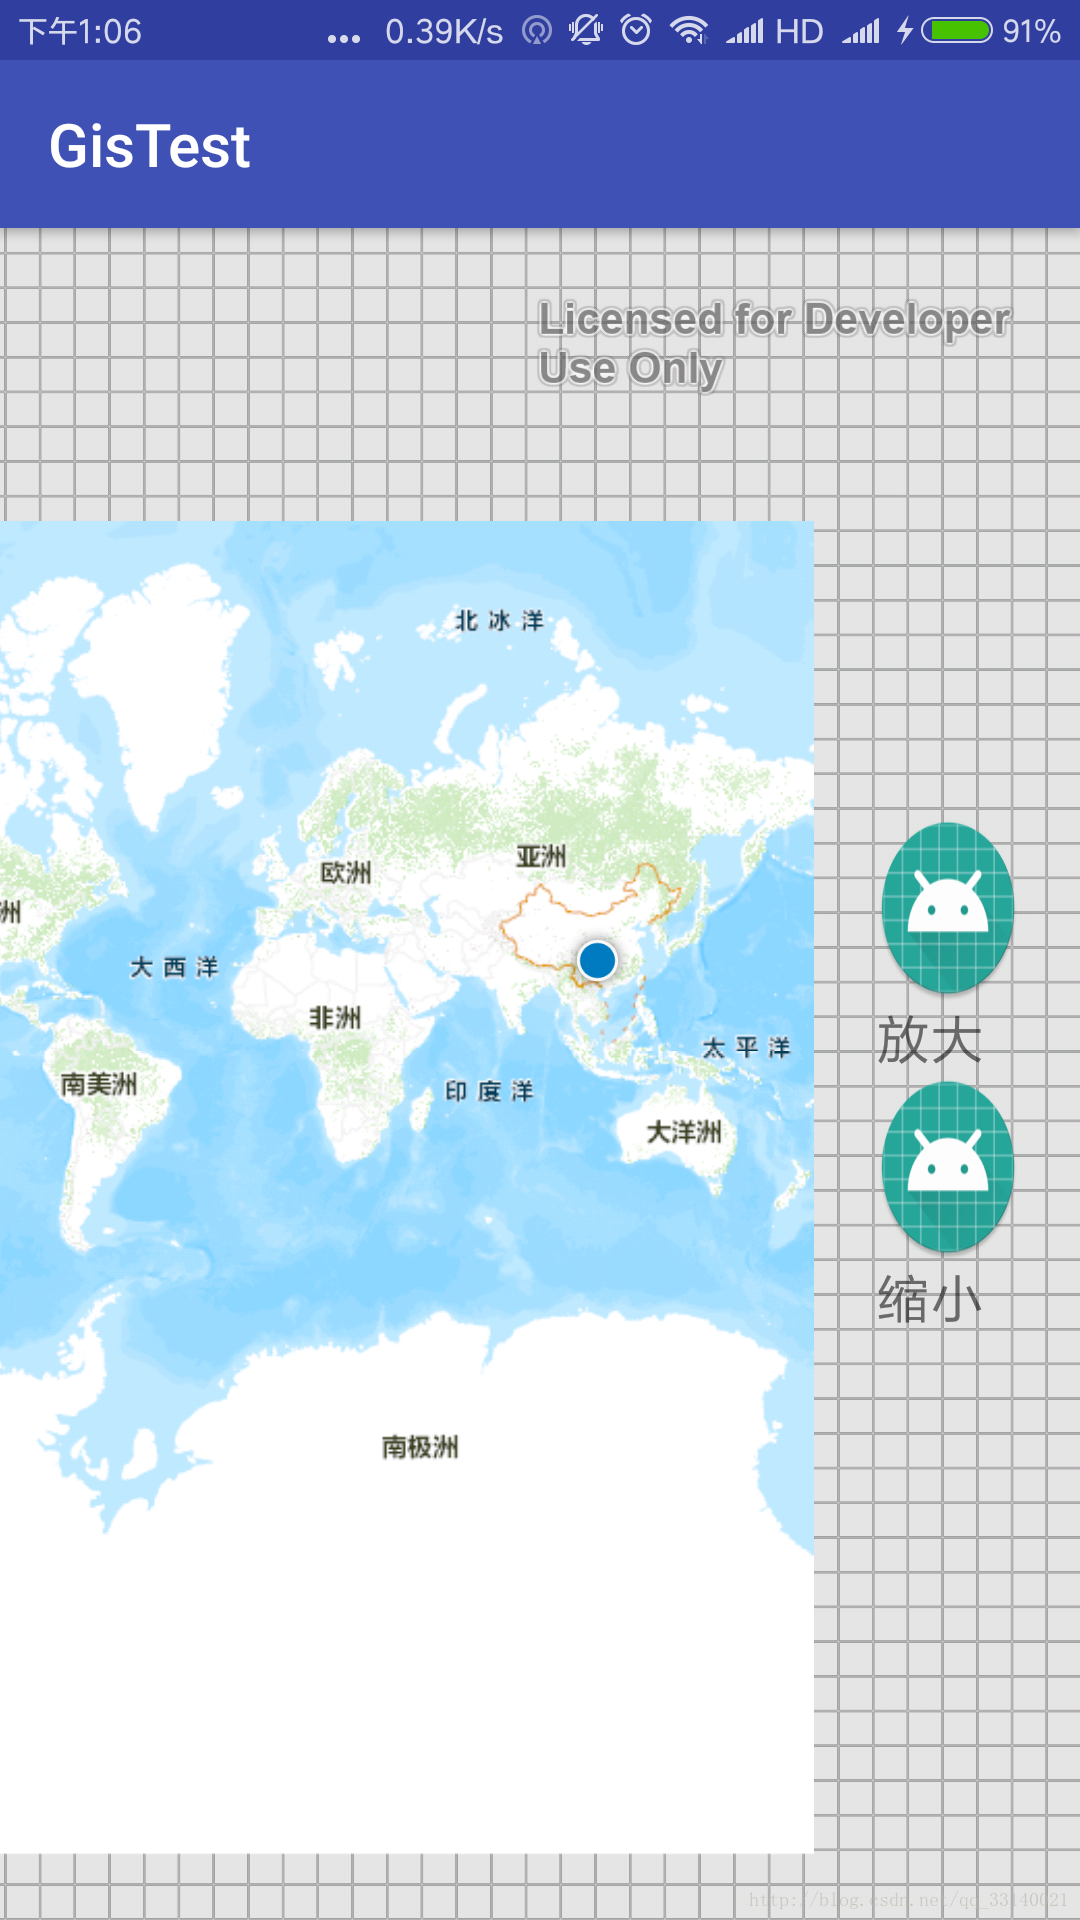
}运行效果如图,界面太丑,不忍直视。图中的圆点就是当前位置。
最后附上完整代码
public class MainActivity extends AppCompatActivity implements View.OnClickListener{

    private MapView mapView;
    /**开放图层URL**/
    private String mapServerUrl = "http://cache1.arcgisonline.cn/ArcGIS/rest/services/ChinaOnlineCommunity/MapServer";

    /**地图放大缩小按钮*/
    private ImageView scalePlus;
    private ImageView subPlus;


    @Override
    protected void onCreate(Bundle savedInstanceState) {
        super.onCreate(savedInstanceState);
        setContentView(R.layout.activity_main);

        mapView = findViewById(R.id.map_view);
        scalePlus = findViewById(R.id.iv_scale_plus);
        subPlus = findViewById(R.id.iv_scale_sub);
        scalePlus.setOnClickListener(this);
        subPlus.setOnClickListener(this);

        addLayer();
        markLocation();

    }

    /**
     * 加载地图图层
     */
    private void addLayer() {
        ArcGISTiledMapServiceLayer arcGISTiledMapServiceLayer = new ArcGISTiledMapServiceLayer(mapServerUrl);
        mapView.addLayer(arcGISTiledMapServiceLayer);
    }

    /**
     * 定位当前位置
     */
    private void markLocation(){

        // 获取定位服务类
        LocationDisplayManager ldManager = mapView.getLocationDisplayManager();
        ldManager.setShowLocation(true);
        // 设置定位模式
        /**
         *  LocationDisplayManager.AutoPanMode:

         (1) COMPASS:定位到你所在的位置(作为中心位置显示)并按照手机所指向的方向旋转地图(非行驶状态)。

         (2)LOCATION:自动定位到你的位置(作为中心位置显示)

         (3)NAVIGATION:默认情况下,这将图标放置在屏幕底部,并将地图旋转至行驶的方向。

         (4)OFF:不会自动定位,它只会简单地显示地图(默认)
         */
        ldManager.setAutoPanMode(LocationDisplayManager.AutoPanMode.LOCATION);
        ldManager.setShowPings(true);
        // 开始定位
        ldManager.start();
    }

    @Override
    public void onClick(View view) {
        switch (view.getId()){
            case R.id.iv_scale_plus:
                // 放大地图
                mapView.zoomin();
                break;
            case R.id.iv_scale_sub:
                // 缩小地图
                mapView.zoomout();
                break;
            default:
                break;
        }
    }

    @Override
    protected void onResume() {
        super.onResume();
        mapView.unpause();
    }

    @Override
    protected void onPause() {
        super.onPause();
        mapView.pause();
    }
}


 699
699


 被折叠的 条评论
为什么被折叠?
被折叠的 条评论
为什么被折叠?
 到【灌水乐园】发言


