


今天分享一个sentinel入门demo文章,不讲解任何理论只上干货,主要实现Sentinel针对微服务的限流基础应用,结合Nacos(官网)配置中心实现限流规则的动态更新和持久化, 希望对想学习的朋友有所帮助。
一、sentinel_dashboard的引入
下载 sentinel-dashboard-1.6.3.jar
dashboard是springboot的项目,在CMD模式下使用命令
Java -Dserver.port=8080 -Dcsp.sentinel.dashboard.server=localhost:8080 -Dproject.name=sentinel-dashboard -jar sentinel-dashboard-1.6.3.jar
进行控制看板服务的启动。
其中,-Dserver.port=8080 代表看板项目的端口号,-Dcsp.sentinel.dashboard.server=localhost:8080代表本看板服务将会注册到自己的看板上,-Dproject.name=sentinel-dashboard代表本看板服务的项目名称。访问localhost:8080;输入用户名,密码,均是sentinel,如果要自定义用户名和密码,在启动命令加上-Dsentinel.dashboard.auth.username=sentinel,
-Dsentinel.dashboard.auth.password=123456即可。

二、新建Spring boot服务
springboot 版本为:2.3.4.RELEASE
springcloud 版本为:Hoxton.SR1
编写测试类:
@RestController
@RequestMapping("/index")
public class IndexAction {
protected static final Logger log = LoggerFactory.getLogger(IndexAction.class);
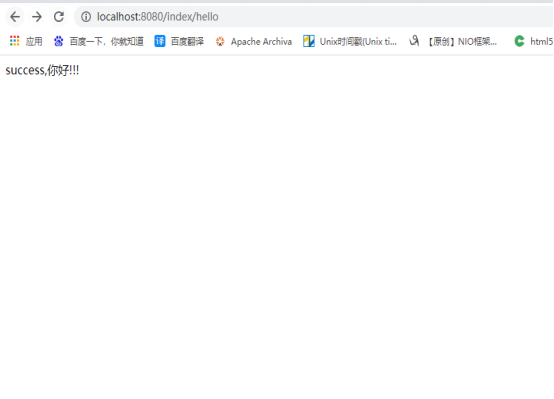
@RequestMapping("/hello")
//@SentinelResource(value = "hello", fallback = "helloError")
public String sentinelTest(String name) {
log.debug("success,你好!!!," + name);
return "success,你好," + name;
}
@RequestMapping("/test")
public String sentinelTest2() {
log.info("success,你好!!! test");
return "success,你好!!! test";
}
public String helloError(String name, Throwable e) {
log.error("限流控制,name:{}",name, e.getMessage());
return "error," + name;
}
}
添加相关依赖包:
<dependencyManagement>
<dependencies>
    <!-- SpringCloud -->
    <dependency>
	    <groupId>org.springframework.cloud</groupId>
	    <artifactId>spring-cloud-dependencies</artifactId>
	    <version>Hoxton.SR1</version>
	    <type>pom</type>
	    <scope>import</scope>
    </dependency>
    <dependency>
	    <groupId>com.alibaba.cloud</groupId>
	    <artifactId>spring-cloud-alibaba-dependencies</artifactId>
	    <version>2.2.5.RELEASE</version>
	    <type>pom</type>
	    <scope>import</scope>
    </dependency>
</dependencies>
</dependencyManagement>

<dependency>
    <groupId>com.alibaba.cloud</groupId>
    <artifactId>spring-cloud-starter-alibaba-sentinel</artifactId>
    <version>2.1.0.RELEASE</version>
</dependency>
<dependency>
    <groupId>com.alibaba.csp</groupId>
    <artifactId>sentinel-datasource-nacos</artifactId>
    <version>1.8.0</version>
</dependency>
<dependency>
    <groupId>com.alibaba.csp</groupId>
    <artifactId>sentinel-transport-simple-http</artifactId>
    <version>1.7.2</version>
</dependency>
<dependency>
    <groupId>org.springframework.cloud</groupId>
    <artifactId>spring-cloud-starter-alibaba-nacos-discovery</artifactId>
    <version>0.2.2.RELEASE</version>
</dependency>
Springboot服务添加配置:
注意看配置的注释
spring:
  application:
    name: sentinel-test
  profiles:
    active: test,dev
  cloud:
    nacos:
      discovery:
        #nacos服务注册中心地址
        server-addr: localhost:8848
    sentinel:
      transport:
        dashboard: localhost:8090
      eager: false
      datasource:
        # 名字随意
        ds:
          nacos:
            # nacos的访问地址,,根据上面准备工作中启动的实例配置
            server-addr: localhost:8848
            # nacos中存储规则的groupId
            groupId: sentinel
            # nacos中存储规则的dataId
            dataId: ${spring.application.name}-rules
            # 用来定义存储的规则类型
            rule-type: flow
            data-type: json
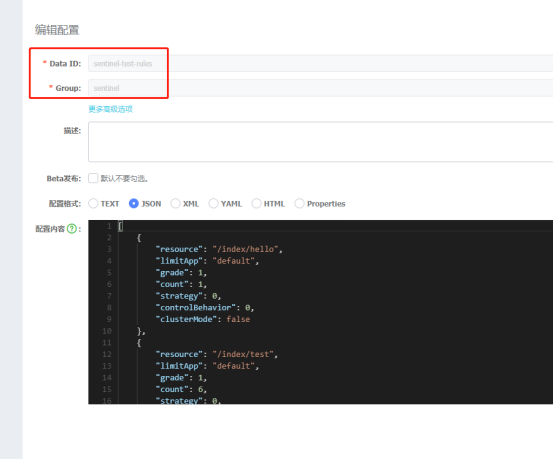
3、进入nacos控制台-配置列表添加配置
dataId: sentinel-test-rules
groupId: sentinel
这里的sentinel-test是Spring boot服务名称
[
    {
        "resource":"/index/hello",
        "limitApp":"default",
        "grade":1,
        "count":1,
        "strategy":0,
        "controlBehavior":0,
        "clusterMode":false
    }
]
resource: 资源名称
limitApp: 来源应用
grade:阈值类型,0表示线程数,1表示QPS;
count:单机阈值;
strategy: 流控模式,0表示直接,1表示关联,2表示链路
controlBehavior:流控效果,0表示快速失败,1表示Warm Up,2表示排队等待;
clusterMode:是否集群
4、验证限流功能
启动Nacos服务
启动spring boot服务
启动sentinel-dashboard服务
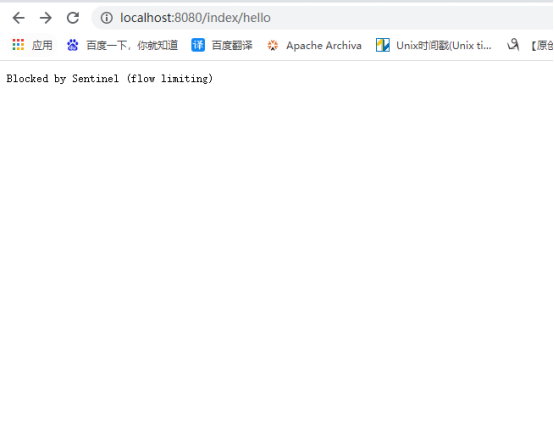
连续快速请求接口
登录sentinel-dashboard查看是否有从Nacos配置中心同步到的限流规则
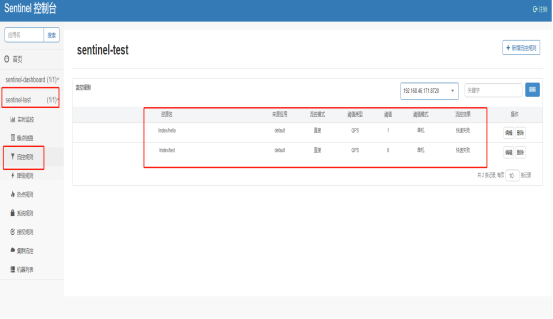
根据配置限流规则连续访问接口,出现Blocked by Sentinel (flow limiting) 表示限流成功


 739
739


 被折叠的 条评论
为什么被折叠?
被折叠的 条评论
为什么被折叠?
 到【灌水乐园】发言


