


下载
MySQL下载地址
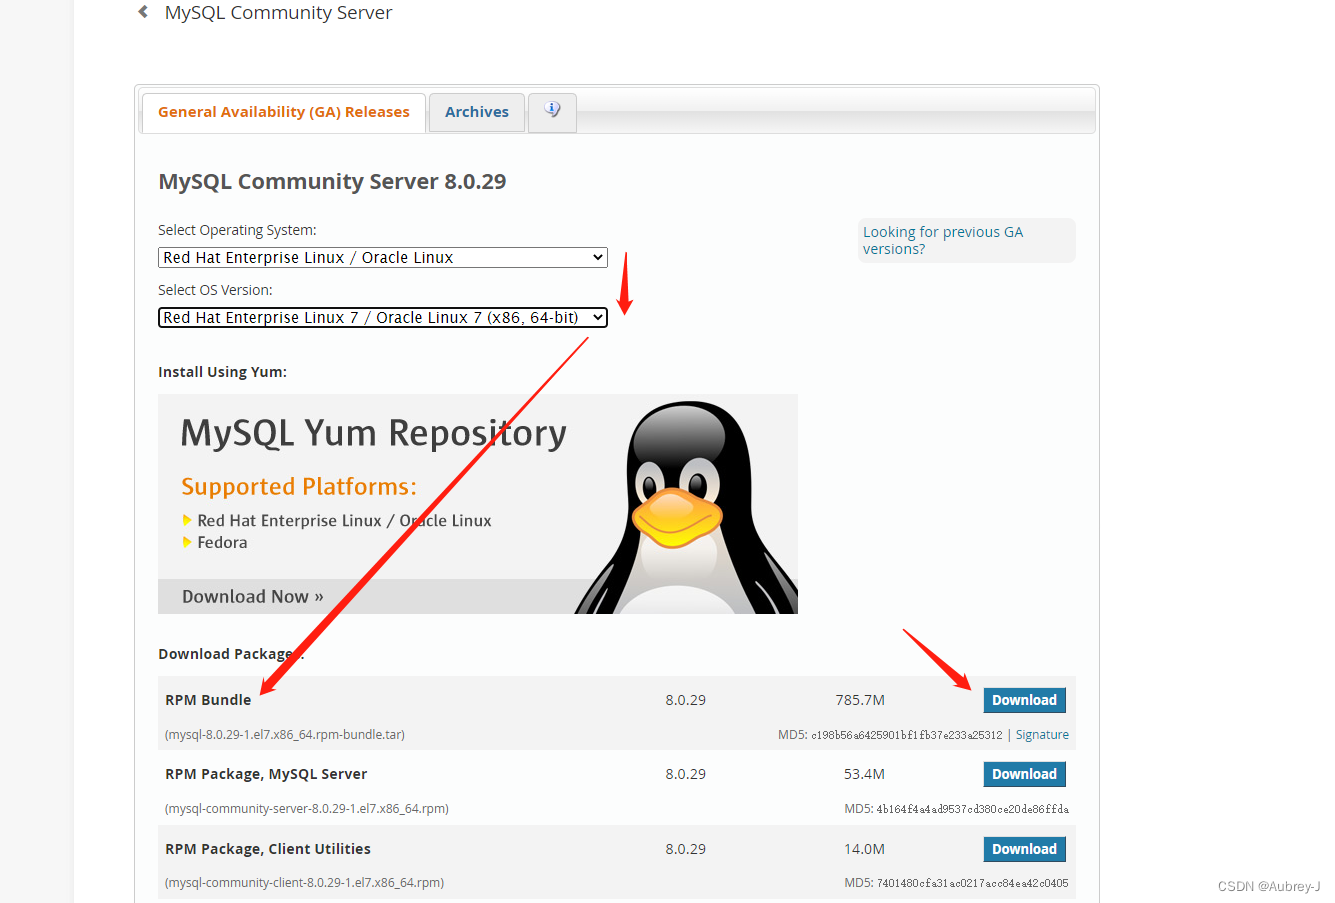
下载捆绑包,解决依赖相关问题,避免麻烦,CentOS7可以选择红帽企业版7的包
# 下载
wget https://dev.mysql.com/get/Downloads/MySQL-8.0/mysql-8.0.30-1.el7.x86_64.rpm-bundle.tar
安装
# 解压
tar -xvf mysql-8.0.30-1.el7.x86_64.rpm-bundle.tar
# 忽略依赖检查强制安装,因为捆绑包里已经带依赖了,所以只要全部安装就可以,检查的话分先后顺序很麻烦的
# CentOS
sudo rpm -ivh mysql-community-*  --force --nodeps

# Ubuntu
# 在使用APT安装MySQL之前运行以下命令:debconf-set-selection
sudo debconf-set-selections <<< "mysql-server mysql-server/lowercase-table-names select Enabled"
# 安装
sudo apt install mysql-* -f
Ubuntu安装的时候会要求设置root的密码,以及密码强度规则
配置服务
按需修改CentOS/etc/my.cnf,Ubuntu/etc/mysql/mysql.conf.d/mysqld.cnf一般修改/添加以下内容
character-set-server=utf8mb4
collation-server=utf8mb4_general_ci
port=3306
#让MYSQL大小写敏感(1-不敏感,0-敏感)
lower_case_table_names=1
max_connections=500
启动
# CentOS
sudo systemctl enable mysqld
sudo systemctl start mysqld
# Ubuntu
sudo systemctl enable mysql
sudo systemctl start mysql
这时候千万不要重启或,启动第二次
配置数据库
查看初始化密码(Ubuntu直接使用安装的时候设置的密码)
查看日志
tail -f /var/log/mysqld.log
找到日志中A temporary password is generated for root@localhost:*********
复制密码
登录数据库
mysql -u root -p
打初始化密码
配置
设置root密码(Ubuntu跳过)
ALTER USER 'root'@'localhost' IDENTIFIED WITH mysql_native_password BY '123456';
刷新权限(Ubuntu跳过)
FLUSH PRIVILEGES;
设置允许远程登录
use mysql
update user set user.Host='%' where user.User='root';
flush privileges;
quit
重启数据库
就可以连接了


 175
175


 被折叠的 条评论
为什么被折叠?
被折叠的 条评论
为什么被折叠?
 到【灌水乐园】发言


