


今天结识了一个检测内存泄漏的神器:LeakCanary,它是由著名的开源组织Square 开发的一套 Android 和 Java 内存泄露检测库。具体用法可以参考极客学院的视频。今天主要说一下在AS上的步骤:
1,在gradle添加依赖,主要代码如下:
dependencies {
    compile fileTree(dir: 'libs', include: ['*.jar'])
    testCompile 'junit:junit:4.12'
    compile 'com.android.support:appcompat-v7:23.4.0'
    debugCompile 'com.squareup.leakcanary:leakcanary-android:1.3'
    releaseCompile 'com.squareup.leakcanary:leakcanary-android-no-op:1.3'

}
2,创建一个新的类App,重写onCreate方法:
public class App extends Application {
    @Override
    public void onCreate() {
        super.onCreate();
        LeakCanary.install(this);
    }
}
3,在主配置清单中注册一下App,直接添加name:
<application
    android:allowBackup="true"
    android:icon="@mipmap/ic_launcher"
    android:label="@string/app_name"
    android:supportsRtl="true"
    android:theme="@style/AppTheme"
    android:name=".App">
4,在MainActivity中添加一段可以导致OOM的代码:
Button button = (Button)findViewById(R.id.button);
    button.setOnClickListener(new View.OnClickListener(){
        @Override
        public void onClick(View v) {
            start();
        }
    });
}

public void start(){
    new Thread(new Runnable() {
        @Override
        public void run() {
            SystemClock.sleep(20000);
        }
    }).start();
5,运行程序,会出现2个图标,不截图了,直接搞一个别人的,因为是一样的
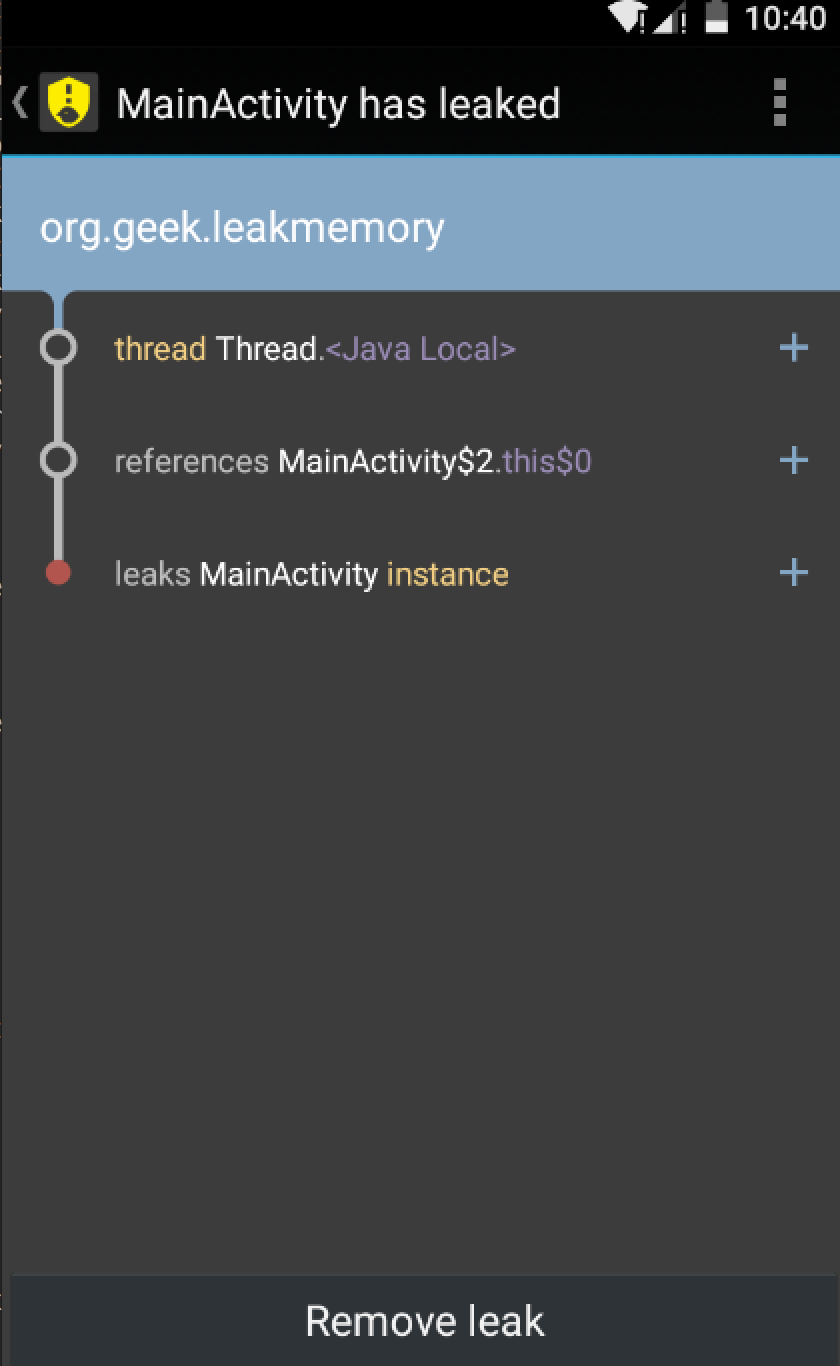
然后点击加号就能看到到底是哪个地方出现OOM,解决就可以了。AS到此结束,现在我要研究一下Eclipse这个工具该怎么用。


 4万+
4万+

 被折叠的 条评论
为什么被折叠?
被折叠的 条评论
为什么被折叠?
 到【灌水乐园】发言


