


1、在检索项目中加入thymeleaf依赖,开启注册到nacos中
        <dependency>
            <groupId>org.springframework.boot</groupId>
            <artifactId>spring-boot-starter-thymeleaf</artifactId>
        </dependency>
spring:
cloud:
nacos:
discovery:
server-addr: 192.168.31.219:8848
application:
name: jiaqimall-elasticsearch
server:
port: 12000
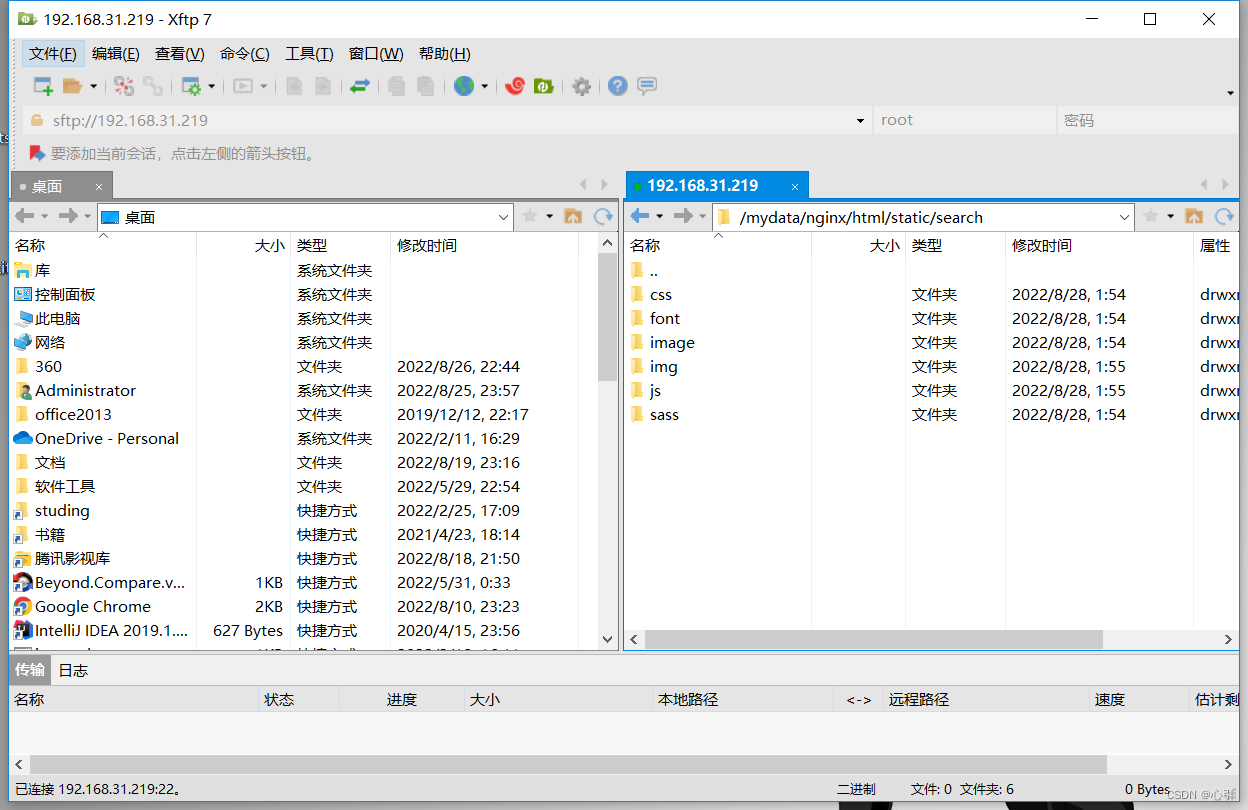
2.动静分离的方式将静态资源放入nginx中
2.1修改hsot的配置信息,添加一个host
192.168.31.219 search.jiaqimall.com2.2将静态资源上传到nginx服务器上,index.html放进idea项目的temlates下
2.3修改nginx的配置文件中的server_name,这里不能使用*.jiaqimall.com具体为什么没有深究,只能将配置多个名字server_name jiaqimall.com search.jiaqimall.com;中间要空格隔开
server {
    listen       80;
    #这里不能使用*,只能将配置多个名字
    server_name jiaqimall.com search.jiaqimall.com;

    #charset koi8-r;
    #access_log  /var/log/nginx/log/host.access.log  main;

     location /static {
        root   /usr/share/nginx/html;
    }


    location / {
       proxy_pass http://jiaqimall;
       proxy_set_header Host $host;
    }

    #error_page  404              /404.html;

    # redirect server error pages to the static page /50x.html
    #
    error_page   500 502 503 504  /50x.html;
    location = /50x.html {
        root   /usr/share/nginx/html;
    }

    # proxy the PHP scripts to Apache listening on 127.0.0.1:80
    #
    #location ~ \.php$ {
    #    proxy_pass   http://127.0.0.1;
    #}

    # pass the PHP scripts to FastCGI server listening on 127.0.0.1:9000
    #
    #location ~ \.php$ {
    #    root           html;
    #    fastcgi_pass   127.0.0.1:9000;
    #    fastcgi_index  index.php;
    #    fastcgi_param  SCRIPT_FILENAME  /scripts$fastcgi_script_name;
    #    include        fastcgi_params;
    #}

    # deny access to .htaccess files, if Apache's document root
    # concurs with nginx's one
    #
    #location ~ /\.ht {
    #    deny  all;
    #}
}
测试:访问http://search.jiaqimall.com/
访问 http://jiaqimall.com/
没问题的就可以访问了,至此环境搭建成功


 186
186


 被折叠的 条评论
为什么被折叠?
被折叠的 条评论
为什么被折叠?
 到【灌水乐园】发言


