


Vue无代码可视化项目
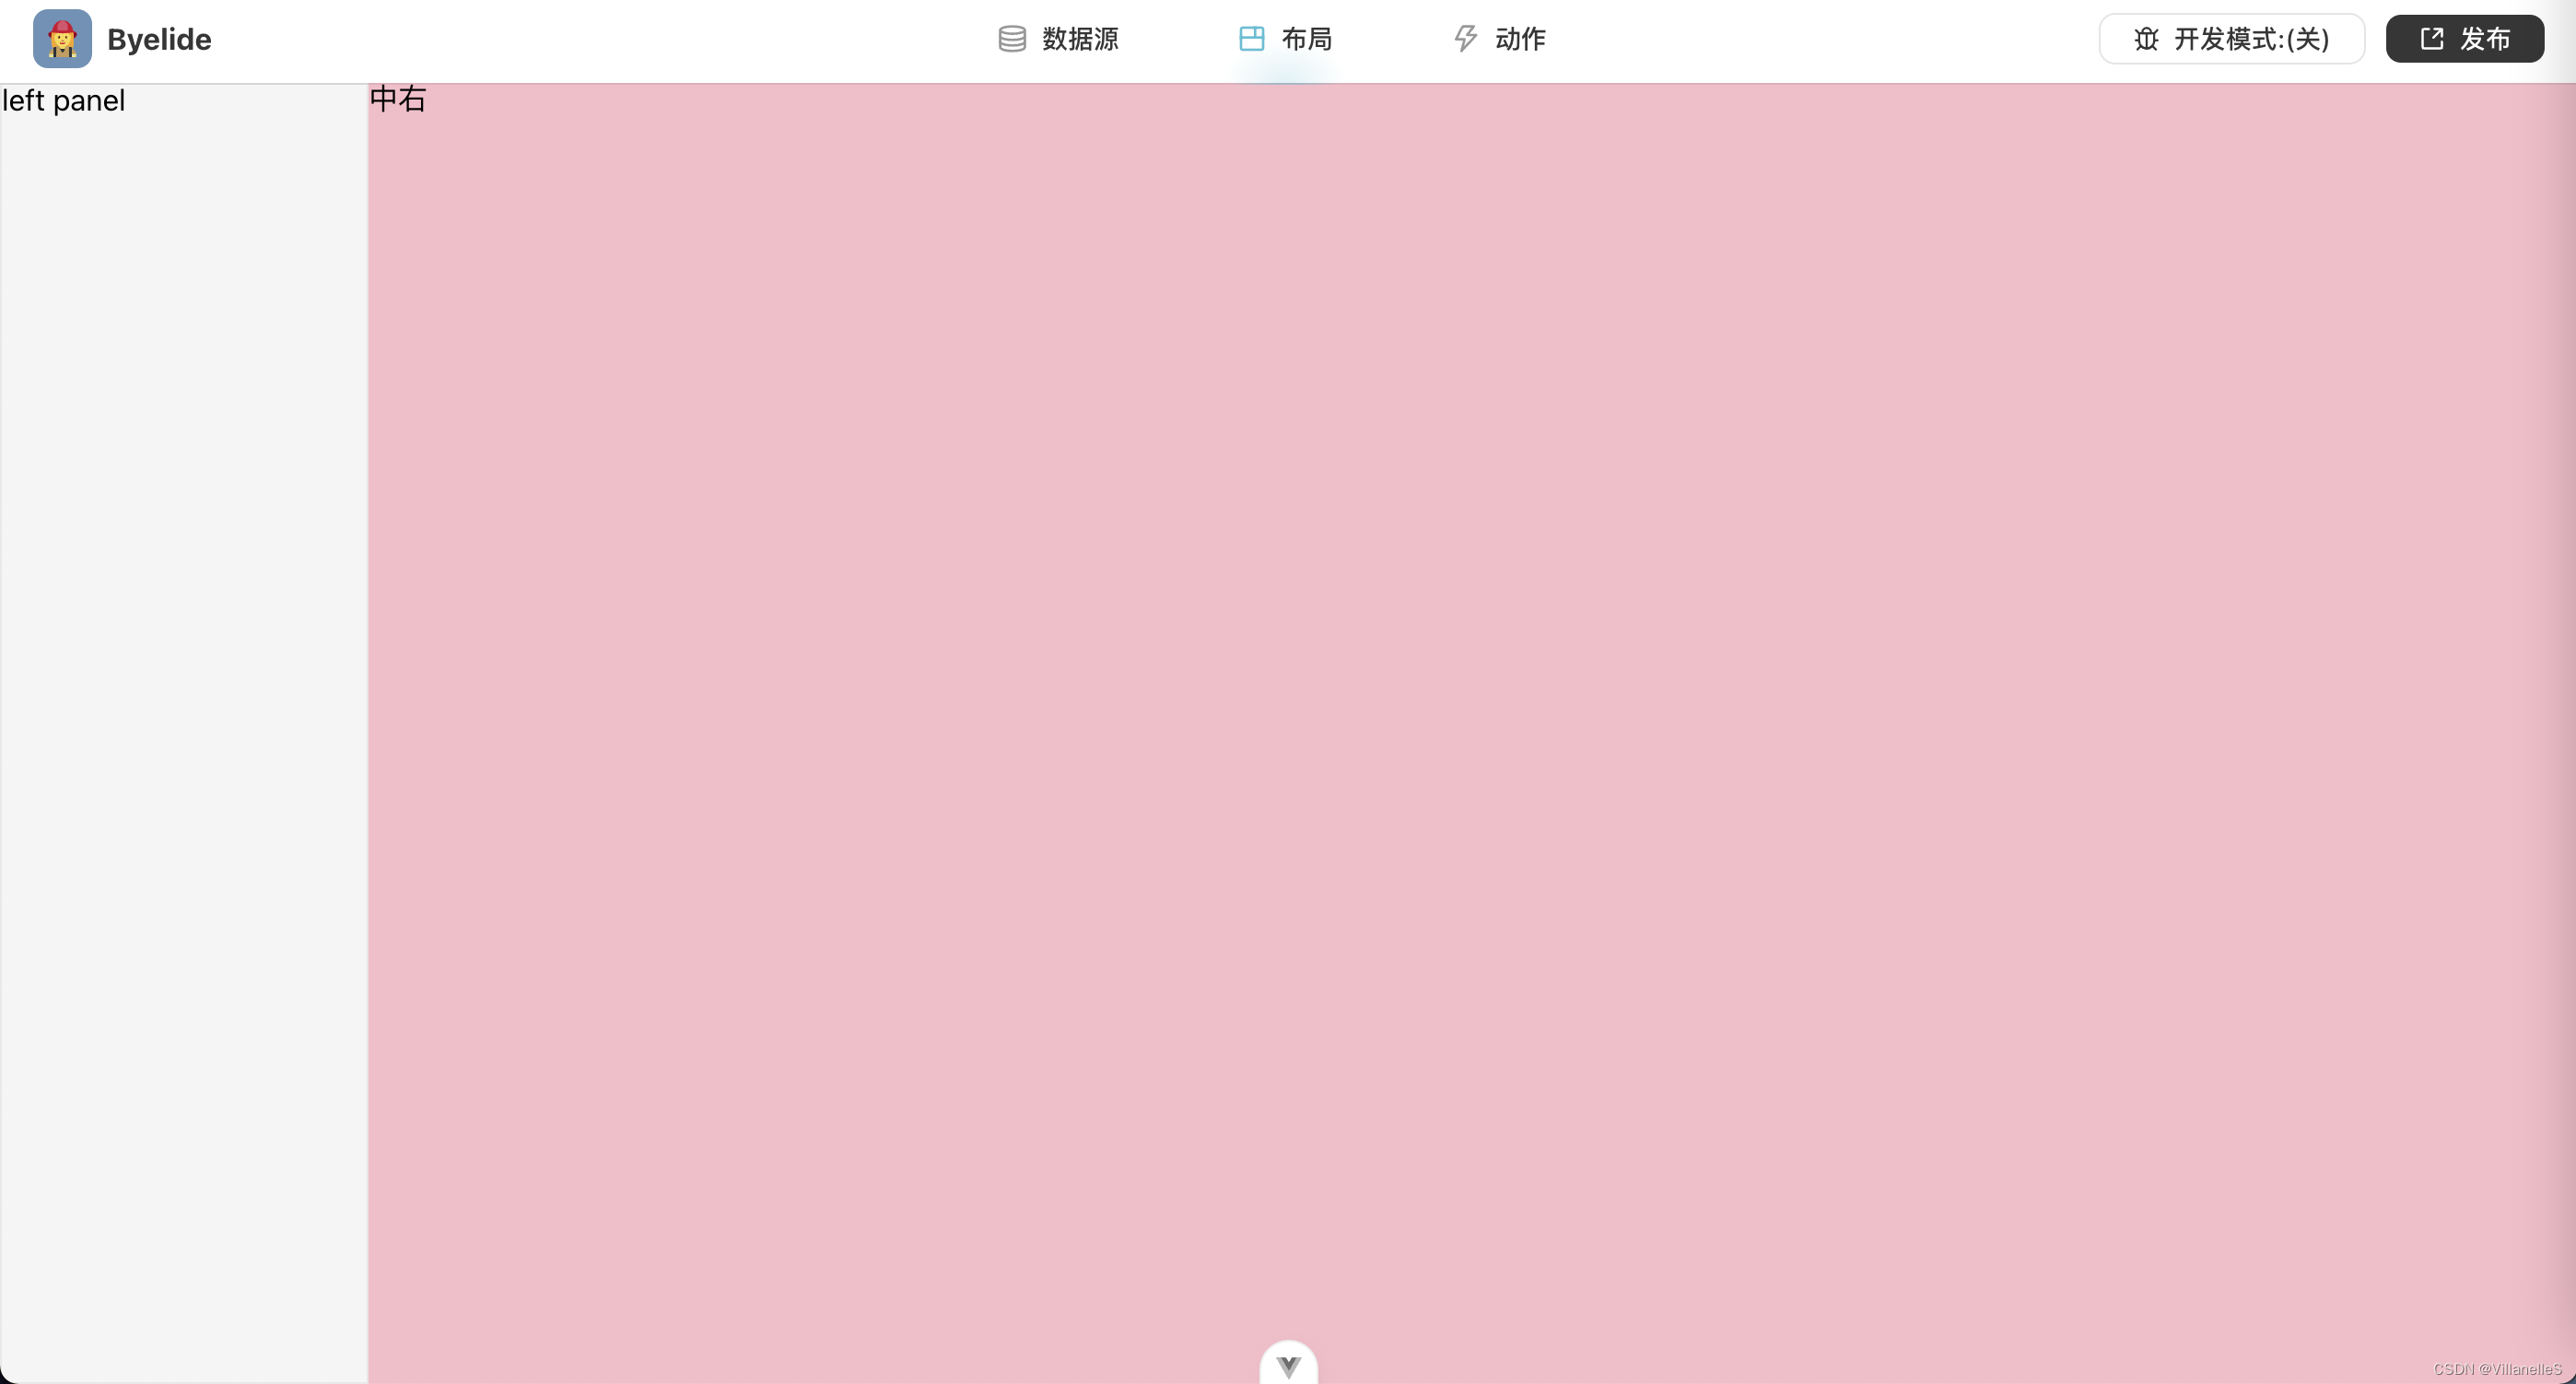
左侧栏
第一步
创建LeftPanel
LeftPanel.vue
<script setup lang="ts">
</script>

<template>
  <div class="left-panel-wrapper">
    left panel
  </div>
</template>

<style scoped>
.left-panel-wrapper {

  width: 200px;
  height: 100%;
  background-color: #f5f5f5;
  border: 1px solid #e8e8e8;
}
</style>
LayoutView.vue
<template>
  <div class="layout-wrapper" :class="{debug:editorStore.debug}" @click="editorStore.toggleDebug()">
      <LeftPanel />
      <div>
        中
      </div>
      <div>
        右
      </div>
</div>
</template>

<script lang="ts" setup>
import LeftPanel from '@/components/LeftPanel.vue';
import {
     useEditorStore} from '@/stores/editor'
const editorStore = useEditorStore()
</script>
<style>
.layout-wrapper {

  display: flex;
  flex-direction: row;
  height: 100%;
  background-color: pink;
}
</style>
base.css
html,
body,
#app{

  height:calc(100% - 48px);
}
全部代码:
*,
*::before,
*::after {

  box-sizing: border-box;
  margin: 0;
}
html,
body,
#app{

  height:calc(100% - 48px);
}
body {

  height: 100%;
  min-height: 100vh;
  color: var(--color-text);
  background: var(--color-background);
  transition:
    color 0.5s,
    background-color 0.5s;
  line-height: 1.6;
  font-family:
    Inter,
    -apple-system,
    BlinkMacSystemFont,
    'Segoe UI',
    Roboto,
    Oxygen,
    Ubuntu,
    Cantarell,
    'Open Sans',
    'Helvetica Neue',
    'Icons16',
    sans-serif;
  font-size: var(--font-size-normal);
  text-rendering: optimizelegibility;
  -webkit-font-smoothing: antialiased;
  -moz-osx-font-smoothing: grayscale;
}

/* .tiny-scrollbar::-webkit-scrollbar {
  scrollbar-width: thin;
  scrollbar-color: var(--color-gray-400) var(--color-gray-100);
} */

/* width */
.tiny-scrollbar::-webkit-scrollbar {

  width: 6px;
}

/* Track */
.tiny-scrollbar::-webkit-scrollbar-track {

  background: var(--color-gray-100);
}

/* Handle */
.tiny-scrollbar::-webkit-scrollbar-thumb {

  border-radius: 8px;
  background: var(--color-gray-400);
}

.i-icon {

  line-height: 0;
}
第二步
LayoutView.vue
<template>
  <div class="layout-wrapper" :class="{debug:editorStore.debug}" @click="editorStore.toggleDebug()">
    <div>
      <LeftPanel />
      <div>
        中
      </div>
      <div>
        右
      </div>
    </div>
</div>
</template>

<script lang="ts" setup>
// import AppLeftPanel from '@/components/AppLeftPanel/AppLeftPanel';
import LeftPanel from '@/components/LeftPanel.vue';
 最低0.47元/天 解锁文章


 923
923

 被折叠的 条评论
为什么被折叠?
被折叠的 条评论
为什么被折叠?
 到【灌水乐园】发言


