


SonarQube是一个用于代码质量管理的开源平台,可以快速的定位代码中潜在的或者明显的错误,支持包括java,C#,C/C++,PL/SQL,Cobol,JavaScrip,Groovy等等二十几种编程语言.
准备工作
1.SonarQube
2.Sonar-Scanner
3.mysql数据库(忽略安装过程)
安装
1.下载SonarQube之后,打开bin目录下的对应OS文件夹,如:
     cd /Users/cw/Downloads/sonarqube-7.3/bin/macosx-universal-64
     sonar.sh start

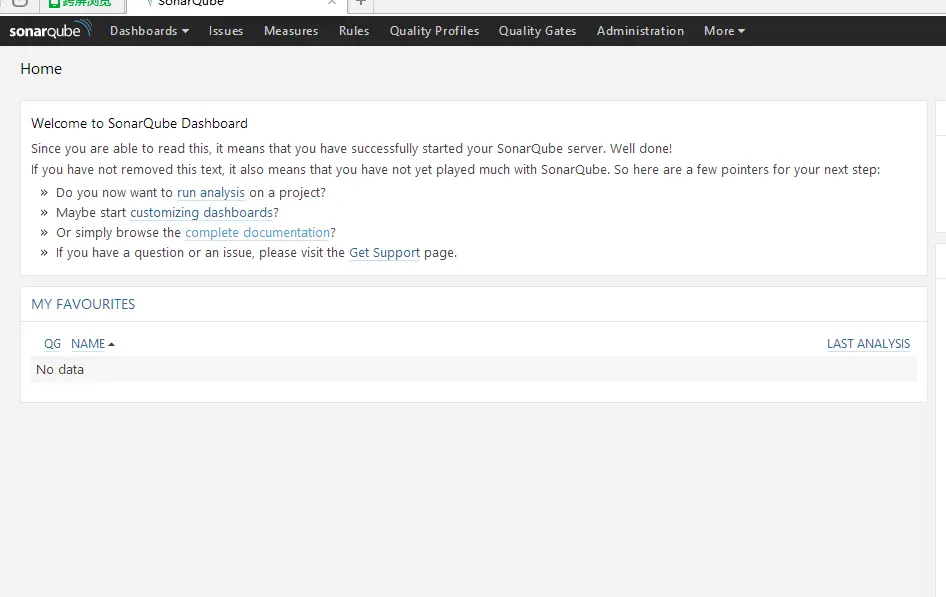
2.打开浏览器,访问SonarQube:http://localhost:9000,如出现下图则代表SonarQube启动成功
配置
- 打开mysql并新建一个数据库,数据库名称可任意指定。
- 打开SonarQube安装目录下的sonar.properties文件,目录为:
/path to your SoaneQube location directory/conf/sonar.properties
- 在sonar.properties文件中mysql下oracle前添加如下信息
    sonar.jdbc.url=jdbc:mysql:/localhost:3306/sonar?useUnicode=true&characterEncoding=utf8&rewriteBatchedStatements=true&useConfigs=maxPerformance
    sonar.jdbc.username=root
    sonar.jdbc.password=password
    sonar.sorceEncoding=UTF-8
    sonar.login=admin
    sonar.password=admin
sonar.jdbc.url是你的mysql数据库连接url,sonar.jdbc.username是mysql数据库用户名,sonar.jdbc.password是数据库用户密码,sonar.login是SonarQube的登录用户名,sonar.password是SonarQube的登录密码。
4.重启SonarQube服务
sonar.sh restart

5.打开浏览器,再次访问 SonarQube: http://localhost:9000,会稍微有点慢,因为需要初始化SonarQube数据库
6.初始化成功后登录

点击位置Log in进入登录页

输入admin/admin登录
7.安装中文语言包:
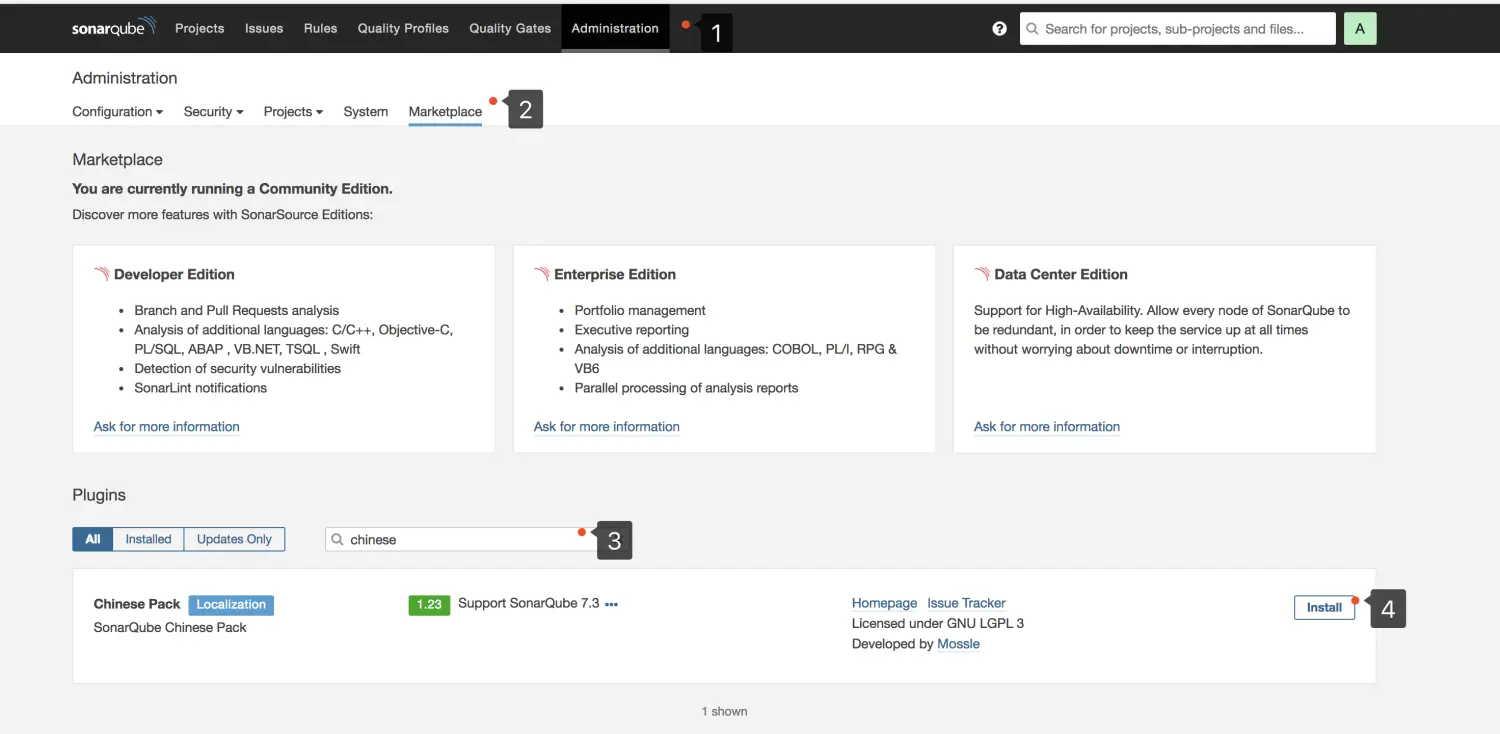
如图,先点击位置1,再点击位置2,在位置3中输入chinese,即可看见Chinese Pack,最后点击位置4以安装中文语言包。等待安装完成。出现如下图界面即安装完成:
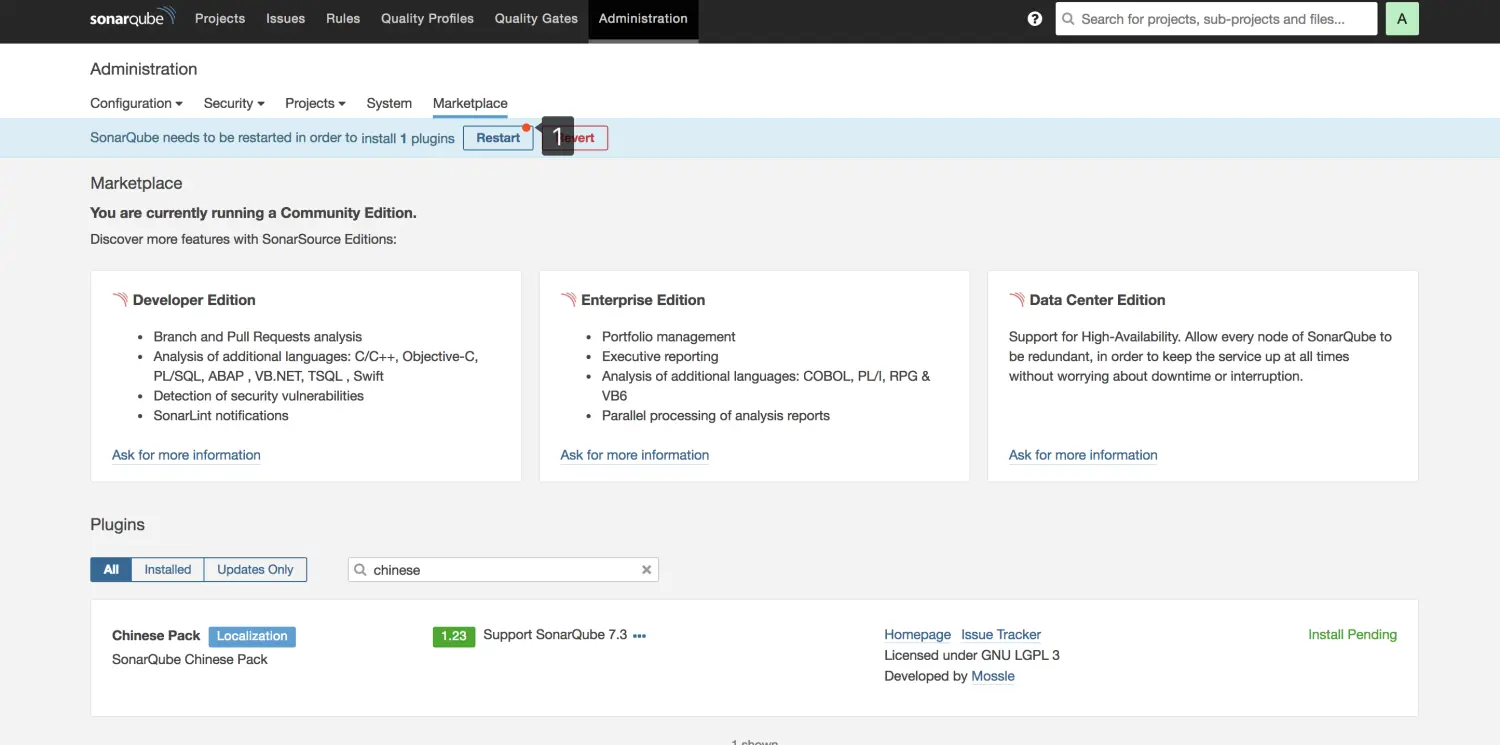
点击restart重启SonarQube服务器。

重启完成后即可看见中文界面。
使用
- 下载Sonar-Scanner
2.下载完成后打开Sonar-Scanner目录下sonar-runner.properties文件,目录如:
/Users/cw/Documents/devtools/sonar/sonar-scanner-2.8/conf/sonar-scanner.properties
3.在mysql节点下添加如下信息
    sonar.jdbc.url=jdbc:mysql:/localhost:3306/sonar?useUnicode=true&characterEncoding=utf8&rewriteBatchedStatements=true&useConfigs=maxPerformance
    sonar.jdbc.username=root
    sonar.jdbc.password=password
注意:如果待测试项目与SonarQube服务不在同一台机器,则需要添加SonarQube服务的IP:
    #----- Default SonarQube server
    sonar.host.url=http://XXX.XXX.XXX.XXX:9000
- 配置环境变量
打开终端进行如下操作:
    vim ~/.bash_profile
    在文件末尾添加如下字段:
    export SONAR_RUNNER_HOME=path to your Sonar-Scanner directory
    export PATH=$PATH:$SONAR_RUNNER_HOME/bin
    保存修改
    使配置立即生效:source ~/.bash_profile
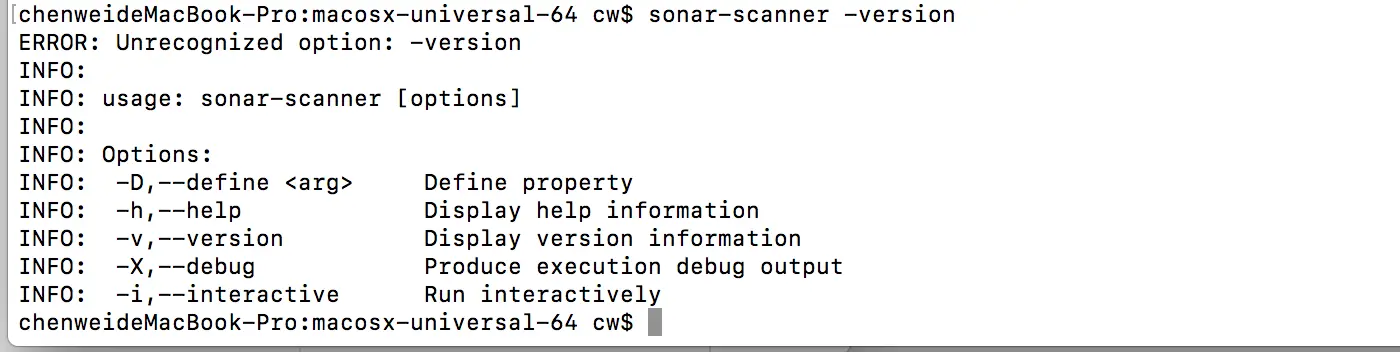
- 测试Sonar-Scanner
打开终端输入如下命令
sonar-runner -version
出现如下图则代表配置成功
6.打开待测试的项目根目录,新建sonar-project.properties文件并输入如下信息
1). SonarQube版本7以下:
    # must be unique in a given SonarQube instance
    sonar.projectKey=my:project
    # this is the name displayed in the SonarQube UI
    sonar.projectName=i2work-operation
    sonar.projectVersion=1.0
     # Path is relative to the sonar-project.properties file. Replace "\" by "/" on Windows.
    # Since SonarQube 4.2, this property is optional if sonar.modules is set.
    # If not set, SonarQube starts looking for source code from the directory containing
    # the sonar-project.properties file.
    sonar.sources=src
    # Encoding of the source code. Default is default system encoding
    #sonar.sourceEncoding=UTF-8
2). SonarQube版本7以上:
    # must be unique in a given SonarQube instance
    sonar.projectKey=my:project
    # this is the name displayed in the SonarQube UI
    sonar.projectName=i2work-operation
    sonar.projectVersion=1.0
    # Path is relative to the sonar-project.properties file. Replace "\" by "/" on Windows.
    # Since SonarQube 4.2, this property is optional if sonar.modules is set.
    # If not set, SonarQube starts looking for source code from the directory containing
    # the sonar-project.properties file.
    sonar.sources=src
    # Encoding of the source code. Default is default system encoding
    #sonar.sourceEncoding=UTF-8
    #path to your project build output path
    sonar.java.binaries=target/classes
其中:sonar.projectName是项目名字,sonar.sources=是源文件所在的目录,SonarQube新版相对于之前的版本新增要求必须指定项目class文件的目录,如果不配置会报错。
- 打开终端,进入待测试项目根目录,执行如下命令:
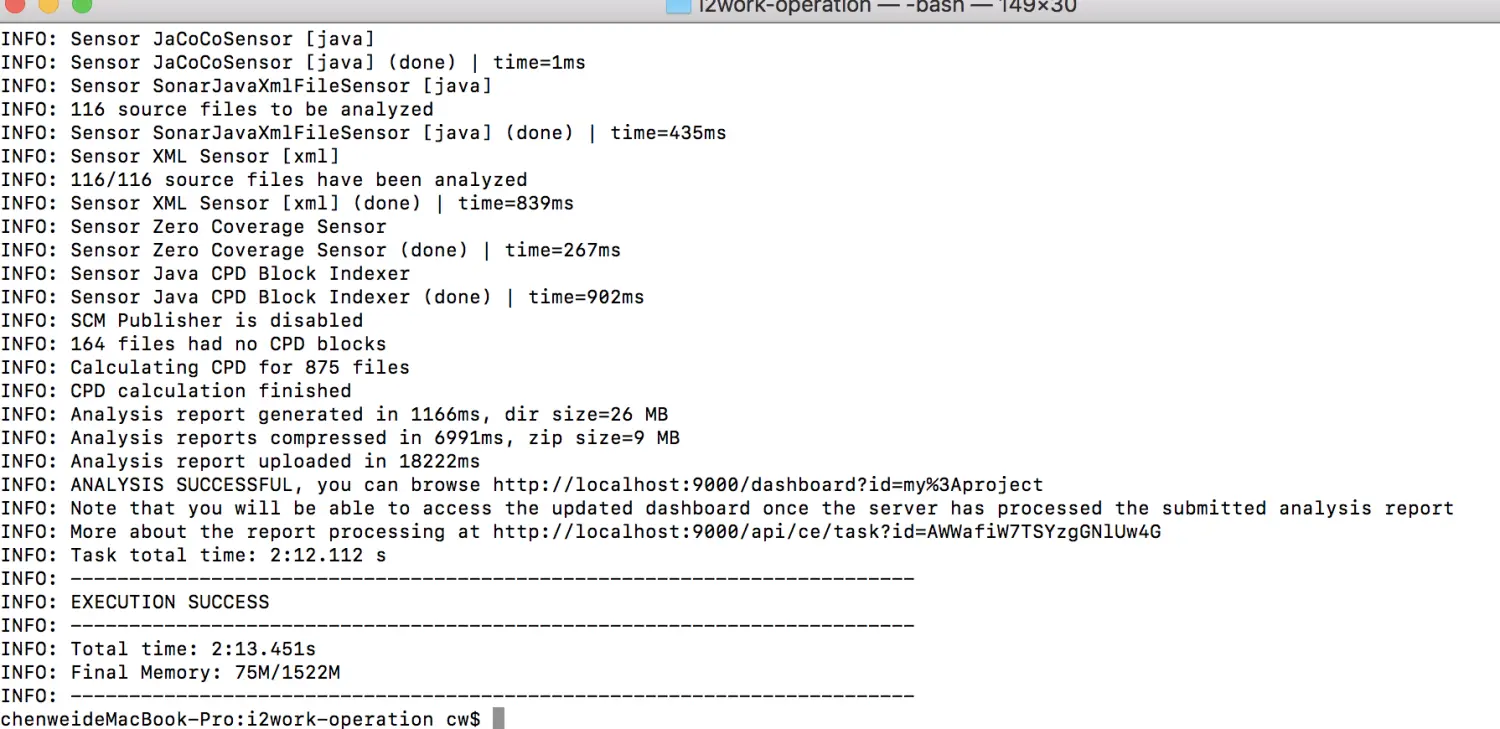
sonar-runner
执行完成后会出现下图内容
执行过程中可能会出现如下图所示类型的错误:
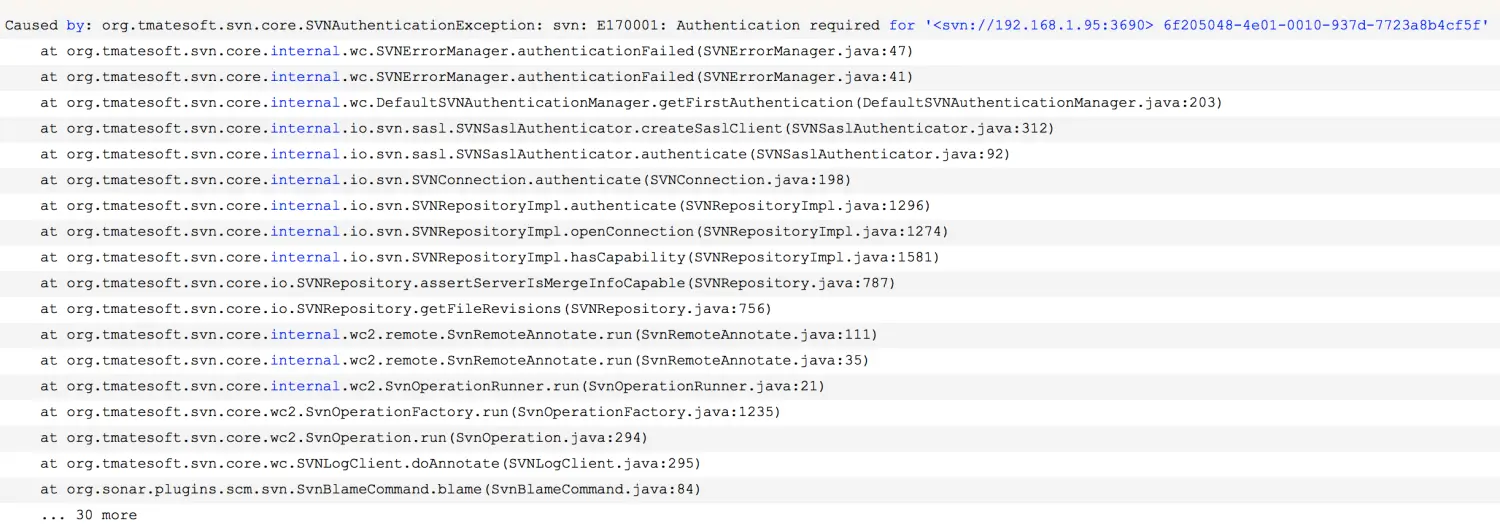
这是因为SonarScanner在扫描过程中发现了.svn文件,于是启动了自己的SVN插件,去访问SVN,但是又没有对应SVN路径的授权所以就报错。
解决方式:
-
打开sonarqube的控制台,使用admin登录后 按下图所示顺序进行操作
 image.png
在配置->SCM菜单中将Disable the SCM Sensor设置为TRUE,并在下面的SVN配置选项中配置自己的SVN路径及访问账号密码等信息。
- 打开SonarQube:http://localhost:9000
按图示顺序依次点击,即可看见正在分析中的后台任务
 image.png
分析一般会持续10分钟左右,待分析完成后回到SonarQube主页即项目页,即可看见项目的分析结果,如图:
 image.png
点击项目名即可进入查看分析报告的详细信息。
预知更多使用,请登录官网自行学习。


 413
413

 被折叠的 条评论
为什么被折叠?
被折叠的 条评论
为什么被折叠?
 到【灌水乐园】发言


