


先认清一个知识点:vue框架的版本和vue-cli3是两个东西
vue框架版本依然是2.X版本
vue-cli脚手架版本已经是到3.X版本
只要你会了2,3根本就不在话下,除了项目目录结构有一点不同外,没什么不同,该怎么用怎么用
vue-cli3创建项目和vue-cli2是不一样的
vue create app接下来就会出现如下列画面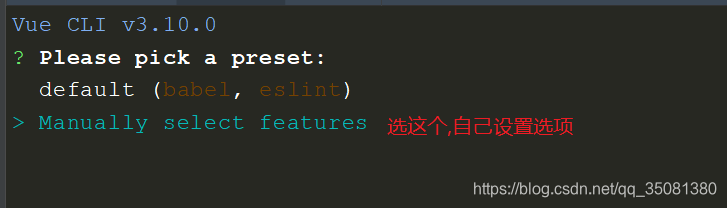


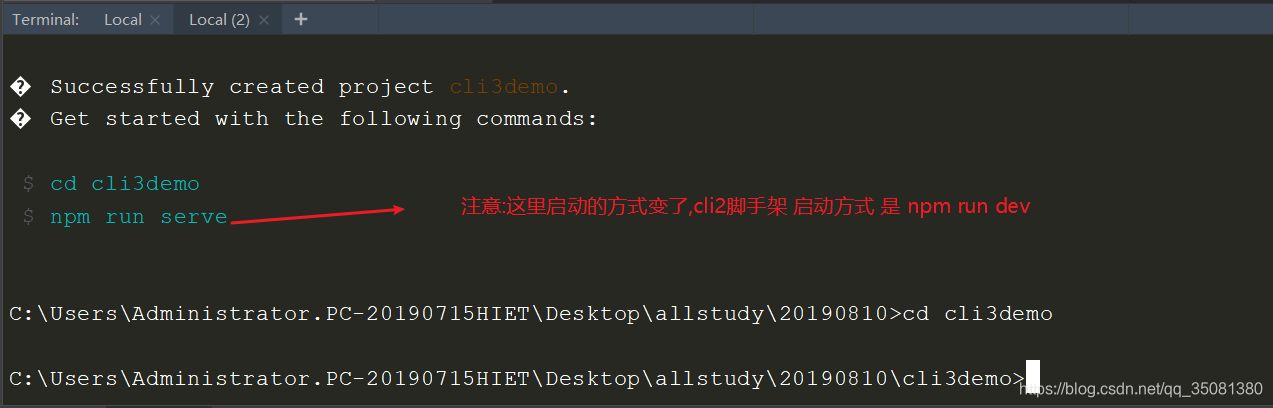
开始构建 cli3的项目
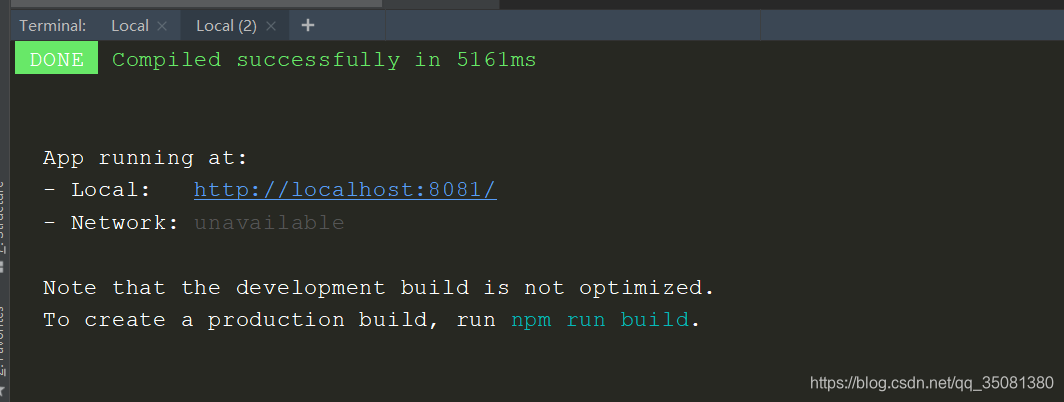
完毕

vue-cli3中新的添加插件的方法
vue add module模块名vue-cli3中的环境变量知识点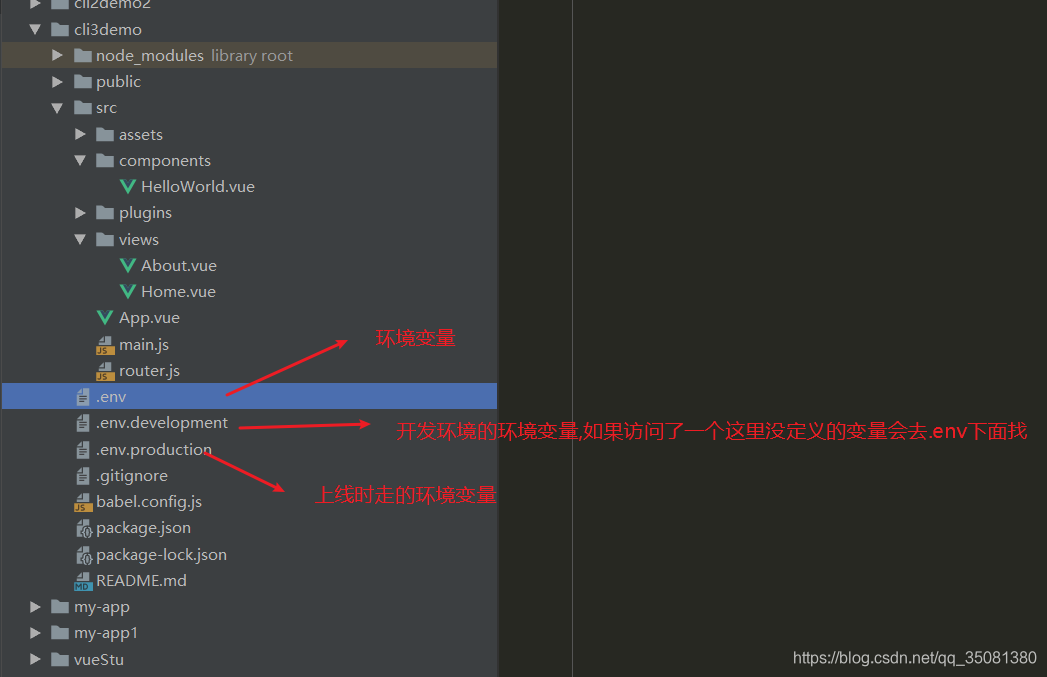
环境变量的使用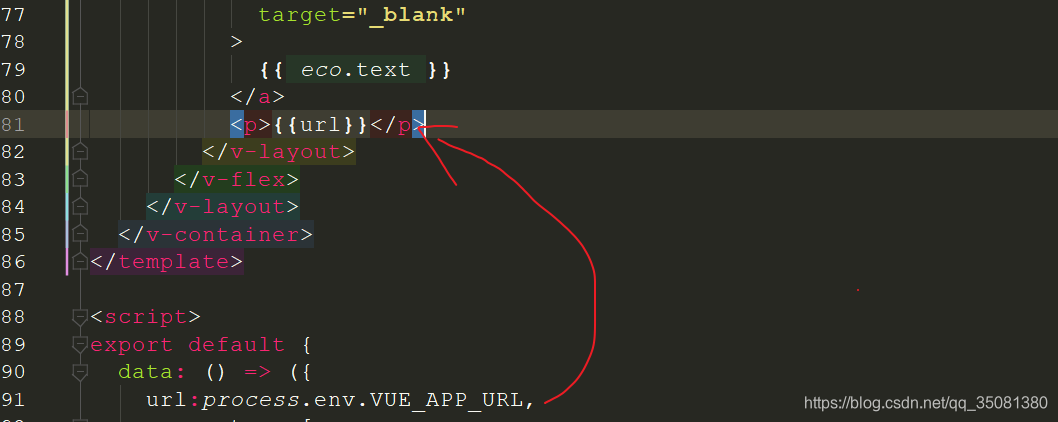
vue-cli3可以独立运行单个vue文件
npm install -g @vue/cli-service-global然后
vue serve xxx.vue
vue-cli3 的ui图形界面(了解就好,就用cmd命令比这个方便多了,因为cmd用习惯了)
vue-cli3的配置(跨域)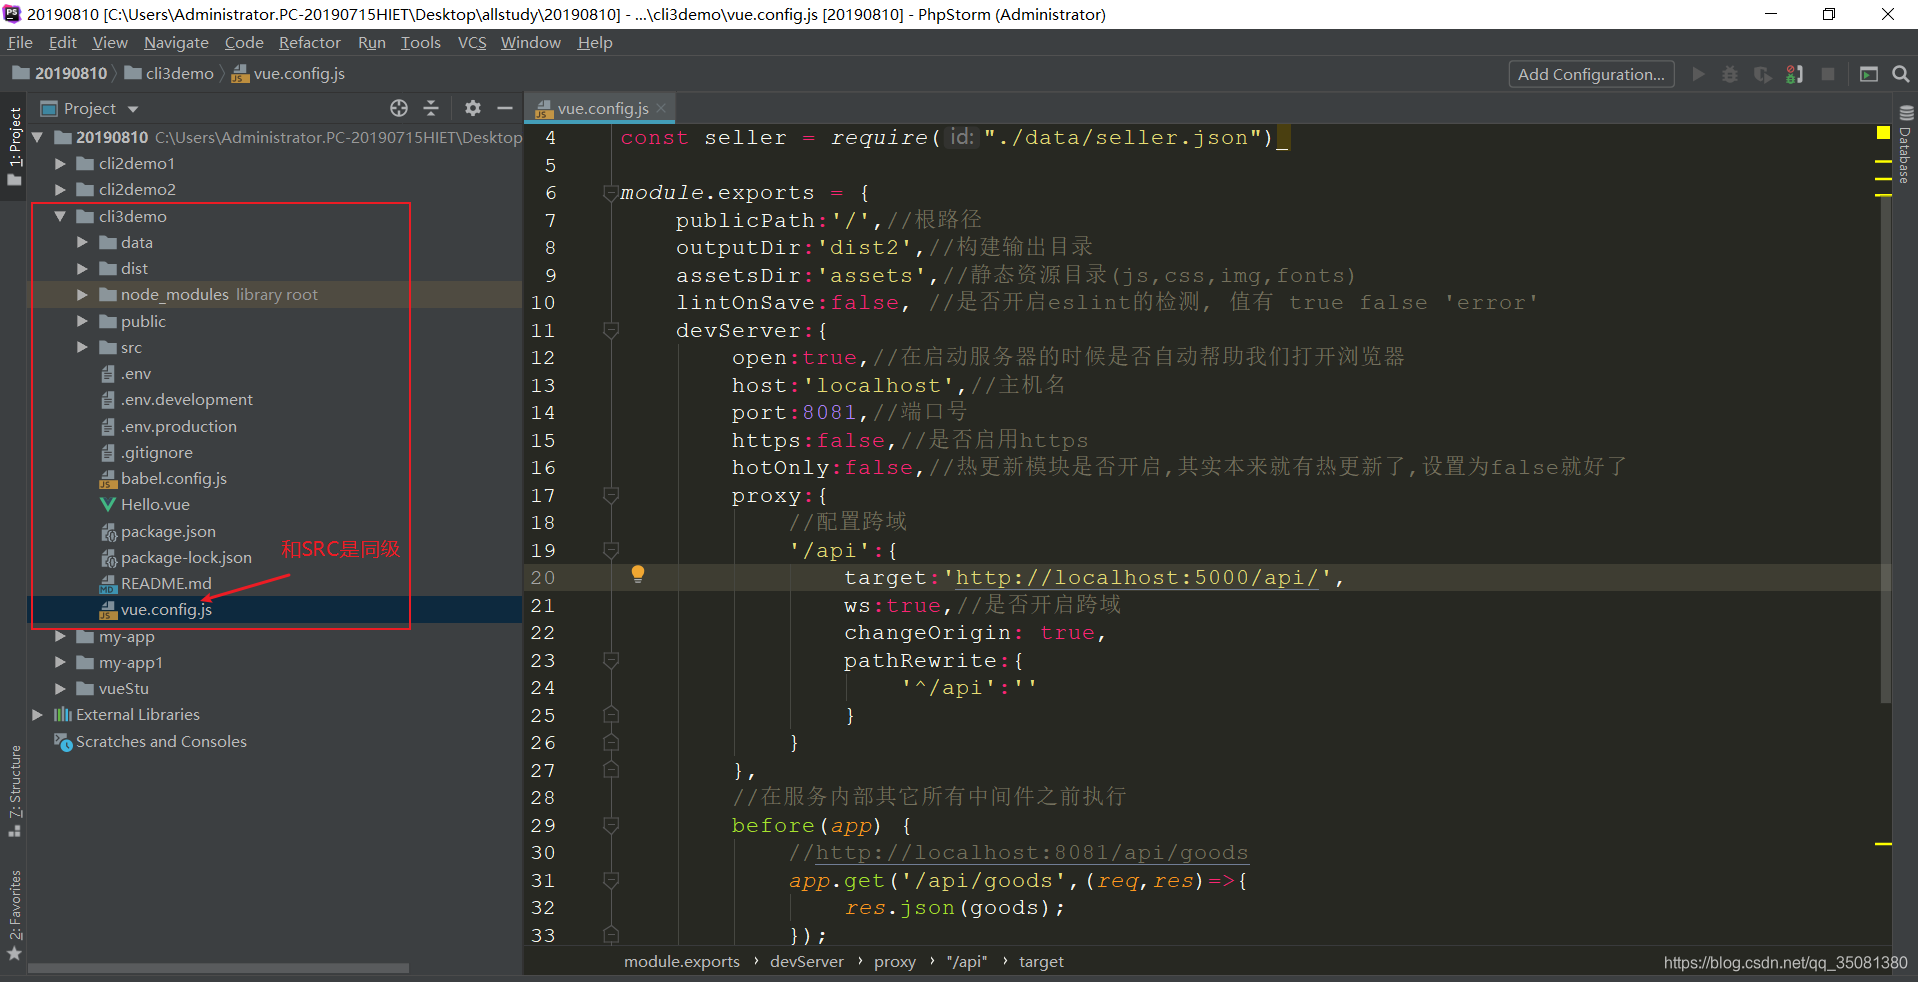
//引入JS数据
const goods = require("./data/goods.json")
const ratings = require("./data/ratings.json")
const seller = require("./data/seller.json")

module.exports = {
    publicPath:'/',//根路径
    outputDir:'dist2',//构建输出目录
    assetsDir:'assets',//静态资源目录(js,css,img,fonts)
    lintOnSave:false, //是否开启eslint的检测, 值有 true false 'error'
    devServer:{
        open:true,//在启动服务器的时候是否自动帮助我们打开浏览器
        host:'localhost',//主机名
        port:8081,//端口号
        https:false,//是否启用https
        hotOnly:false,//热更新模块是否开启,其实本来就有热更新了,设置为false就好了
        proxy:{
            //配置跨域
            '/api':{
                target:'http://localhost:5000/api/',
                ws:true,//是否开启跨域
                changeOrigin: true,
                pathRewrite:{
                    '^/api':''
                }
            }
        },
        //在服务内部其它所有中间件之前执行
        before(app) {
            //http://localhost:8081/api/goods
            app.get('/api/goods',(req,res)=>{
                res.json(goods);
            });
            app.get('/api/ratings',(req,res)=>{
                res.json(ratings);
            });
            app.get('/api/seller',(req,res)=>{
                res.json(seller);
            });
        }
    }
}


 635
635


 被折叠的 条评论
为什么被折叠?
被折叠的 条评论
为什么被折叠?
 到【灌水乐园】发言


