


记着拷贝文件的时候要在project模式下
1.下载JPushSDK http://docs.jiguang.cn/resources/
2.将下载的SDK解压,将..\jpush\jpush-android-release\libs文件夹中的文件拷贝到项目中,不要拷贝libs下的文件。
3.在项目中创建jniLibs文件夹,让jniLibs文件夹指向libs文件夹(或者直接将libs文件夹中的动态库文件拷贝到jniLibs中)
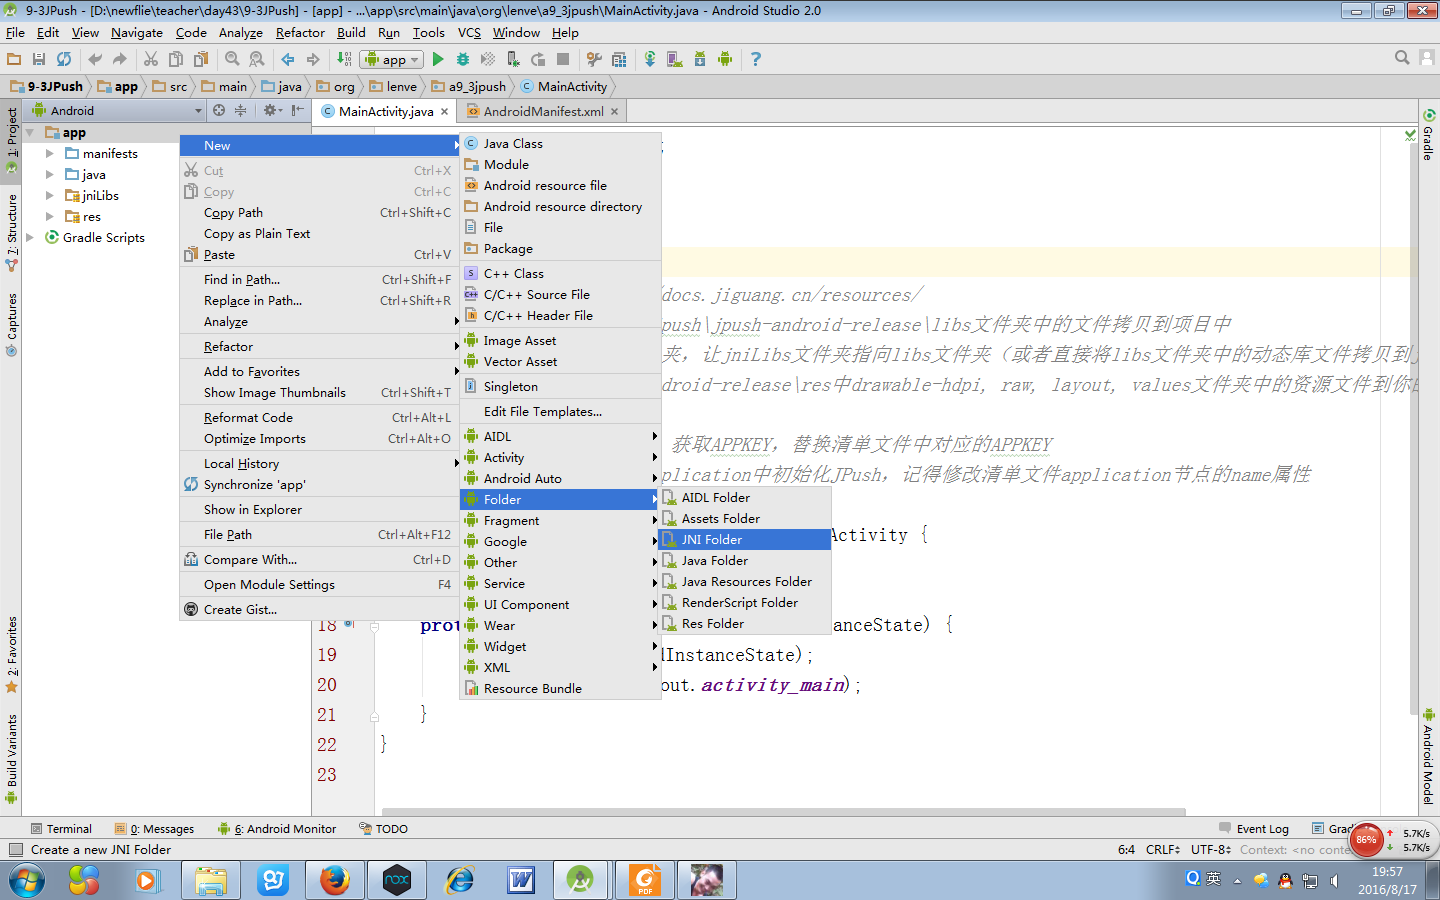
接下来
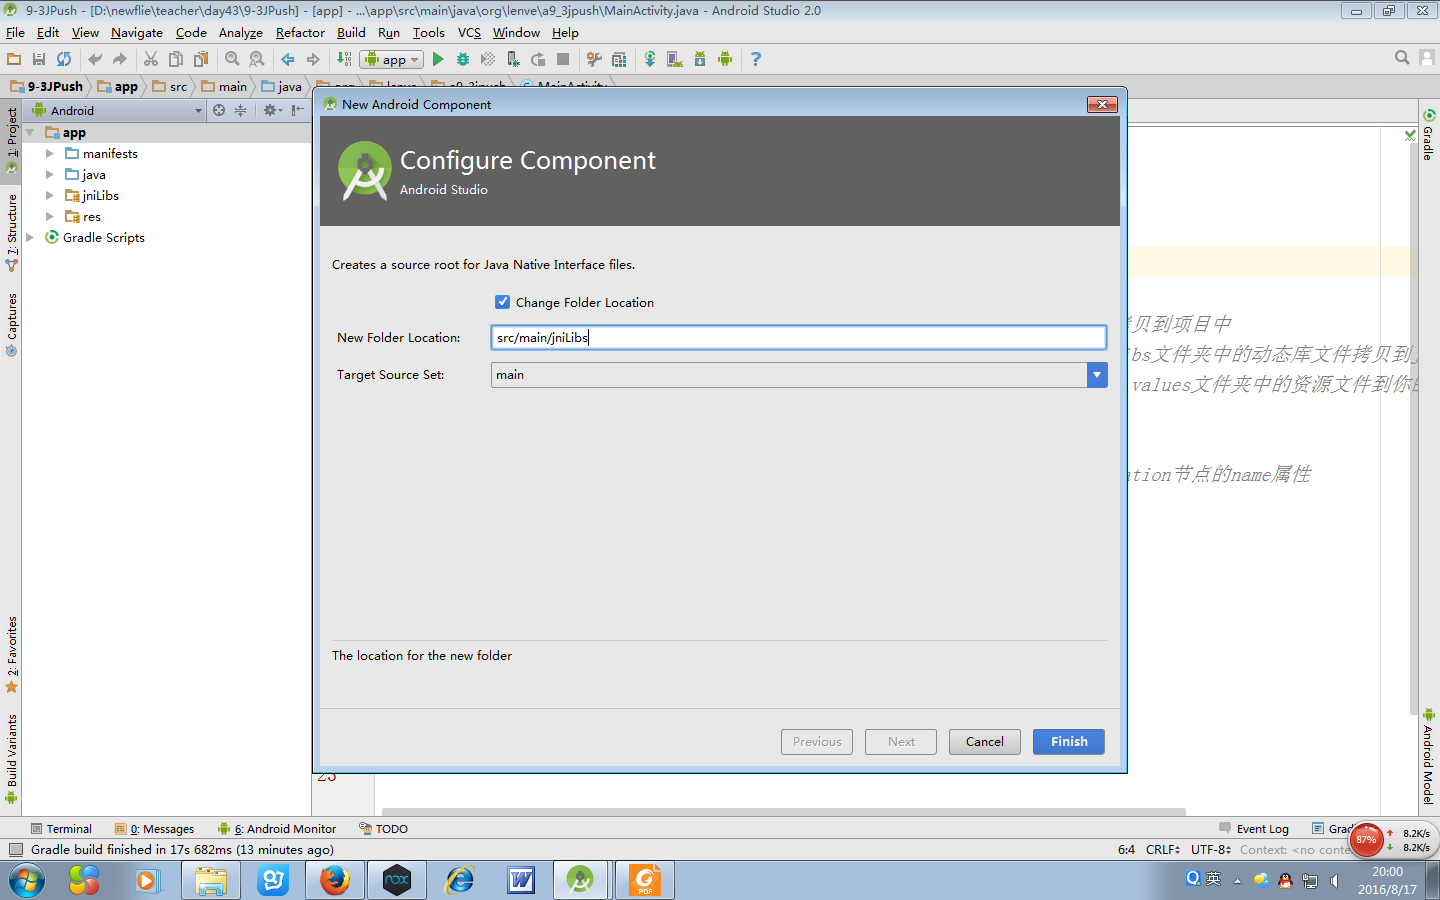
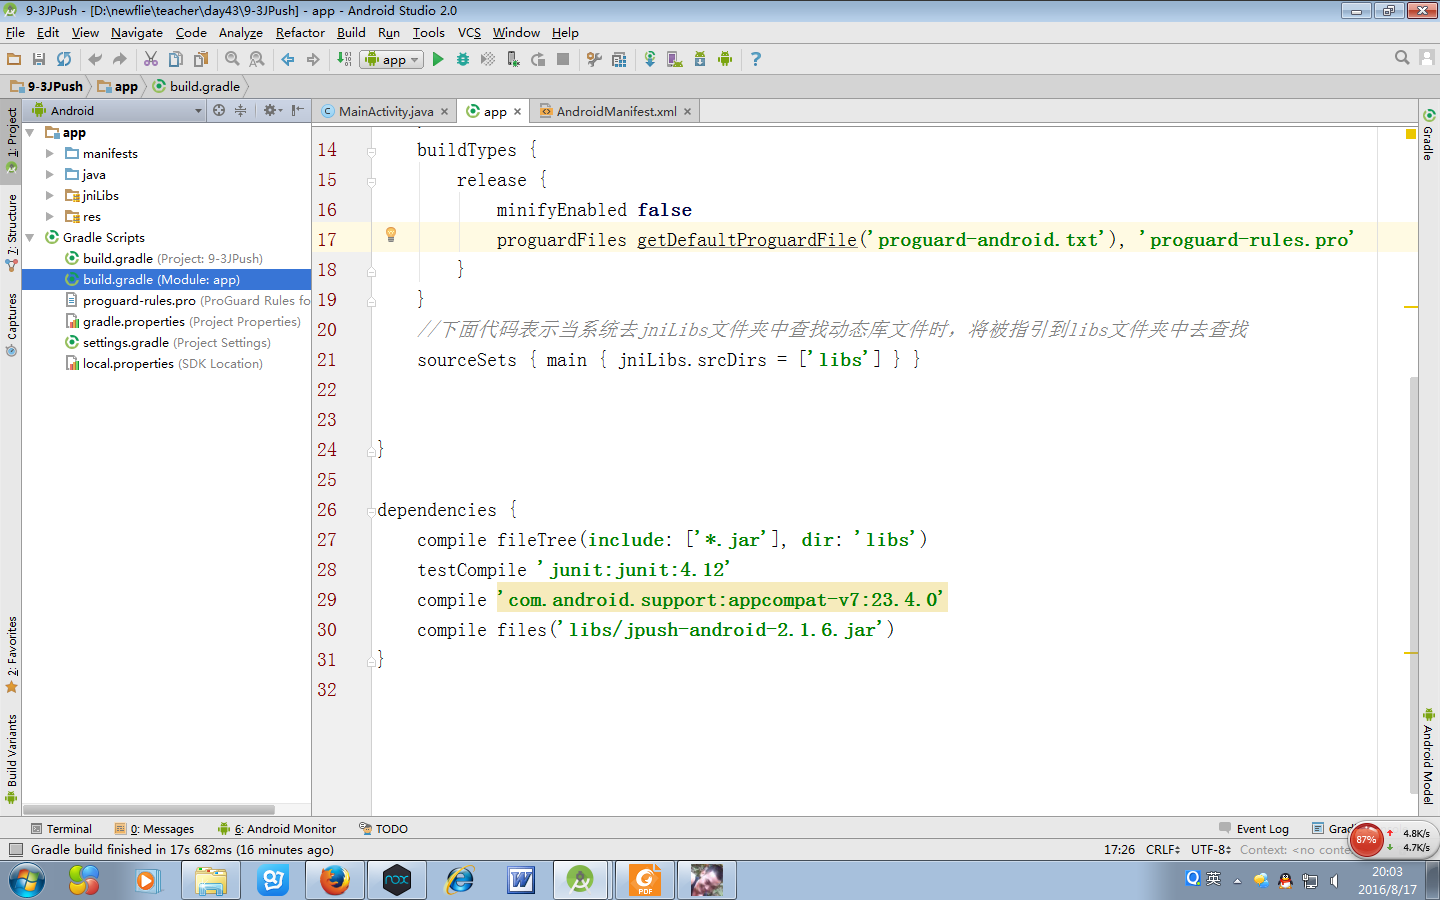
如果想将jniLibs文件夹指向libs文件夹还需要写一下东西(或者直接将libs文件夹中的动态库文件拷贝到jniLibs中就不需要做这步)
4.复制….\jpush\jpush-android-release\res中drawable-hdpi, raw, layout, values文件夹中的资源文件到你的工程中 res/ 对应的目录下。
5.配置清单文件http://docs.jiguang.cn/guideline/android_guide/,参照其中的AndroidManifest 示例。
注意其中的当中的节点service也可以是节点activity,该法一样
<service
            android:name="cn.jpush.android.service.PushService"
            android:enabled="true"
            android:exported="false" >
            <intent-filter>
                <action android:name="cn.jpush.android.intent.REGISTER" />
                <action android:name="cn.jpush.android.intent.REPORT" />
                <action android:name="cn.jpush.android.intent.PushService" />
                <action android:name="cn.jpush.android.intent.PUSH_TIME" />
            </intent-filter>
        </service>
6.在JPush网站注册一个APP,获取APPKEY,替换清单文件中对应的APPKEY
7.初始化JPush,在自定义Application中初始化JPush,记得修改清单文件application节点的name属性,android:name=”.你的继承Application的java文件的名字”。
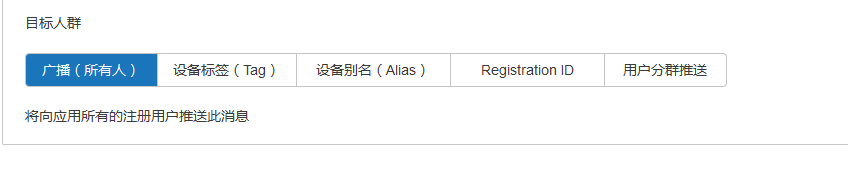
(二)
https://www.jiguang.cn/push/app/ce4e388aee174e6c1b3dc756/push/notification 在这个网站下发送广播,
//注意这个不是public class MainActivity extends AppCompatActivity{},是我们自己创建的JAVA文件
public class MyApp extends Application {
    @Override
    public void onCreate() {
        super.onCreate();
        JPushInterface.setDebugMode(true);
        JPushInterface.init(this);
        String alias = "android";
//设置别名,一个设备只能有一个别名,并且推送也是根据设备别名
//      JPushInterface.setAlias(this, alias, null);
        Set<String> tags = new HashSet<>();
        tags.add("hello");
        tags.add("jpush");
        //设置标签,一个用户可以有多个标签
//        JPushInterface.setTags(this, tags, null);
        //如果想既设置别名又设置标签,用下面的方式
        JPushInterface.setAliasAndTags(this, alias, tags, null);
    }
}


 1759
1759


 被折叠的 条评论
为什么被折叠?
被折叠的 条评论
为什么被折叠?
 到【灌水乐园】发言


