


使用AI4J快速接入OpenAI大模型
本博文给大家介绍一下如何使用AI4J快速接入OpenAI大模型,并且如何实现流式与非流式的输出,以及对函数调用的使用。
介绍
由于SpringAI需要使用JDK17和Spring Boot3,但是目前很多应用依旧使用的JDK8版本,所以使用可以支持JDK8的AI4J来接入OpenAI大模型。
AI4J是一款JavaSDK用于快速接入AI大模型应用,整合多平台大模型,如OpenAi、智谱Zhipu(ChatGLM)、深度求索DeepSeek、月之暗面Moonshot(Kimi)、腾讯混元Hunyuan、零一万物(01)等等,提供统一的输入输出(对齐OpenAi)消除差异化,优化函数调用(Tool Call),优化RAG调用、支持向量数据库(Pinecone),并且支持JDK1.8,为用户提供快速整合AI的能力。
快速使用
目前较多的应用场景为Spring应用,而AI4J接入SpringBoot应用也是非常简单的,本篇博文先带着大家为SpringBoot应用集成OpenAI服务,后续会介绍如何再非Spring项目中搭建。
创建SpringBoot项目
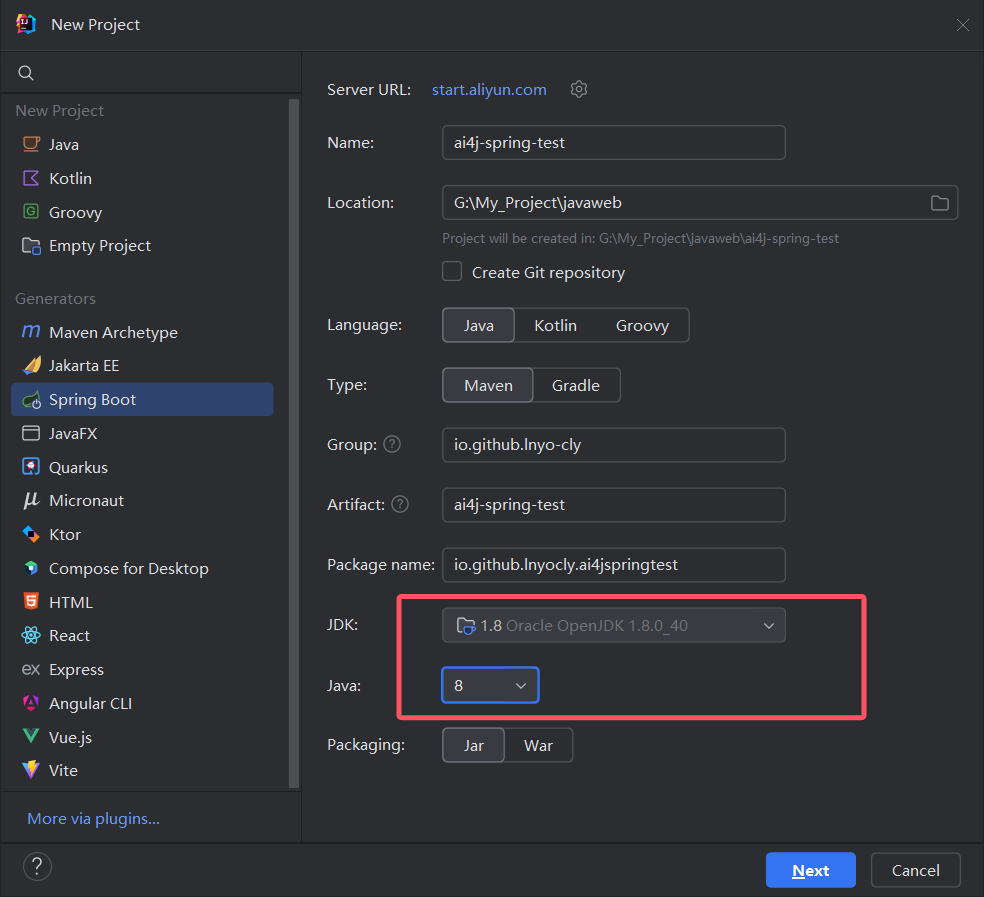
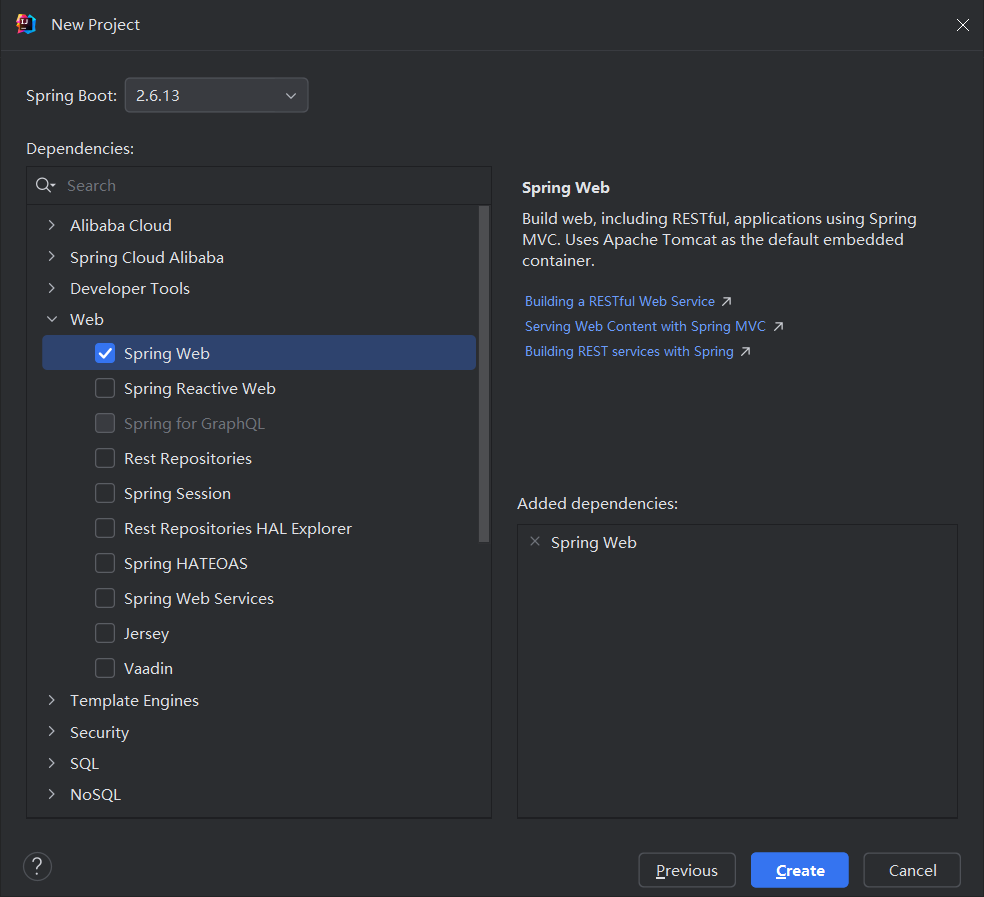
这里以JDK1.8为例创建SpringBoot2项目,当然你也可以创建JDK17、SpringBoot3。
引入AI4J依赖
<!-- Spring应用 -->
<dependency>
    <groupId>io.github.lnyo-cly</groupId>
    <artifactId>ai4j-spring-boot-stater</artifactId>
    <version>0.5.2</version>
</dependency>
如果你使用阿里源无法引入,可能是阿里云镜像还没有同步。
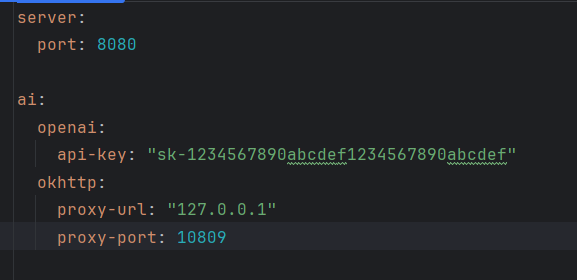
配置application.yml
给大家两种配置方法
第一种:使用官网的url,自己有代理
第二种:使用中转代理地址(或第三方中转平台)
如:https://api.openai-proxy.com
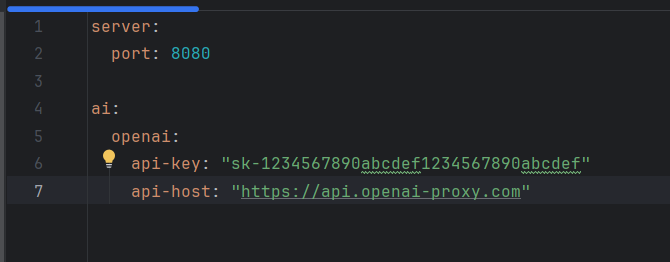
上面任意配置一种即可。
搭建聊天服务Controller
下面是一个小的demo演示:
@RestController
public class OpenAiController {
// 注入Ai服务
@Autowired
private AiService aiService;
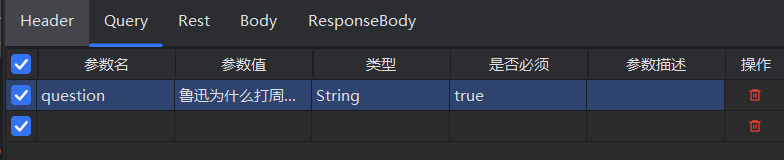
@GetMapping("/chat")
public String getChatMessage(@RequestParam String question) throws Exception {
// 获取OpenAi的聊天服务
IChatService chatService = aiService.getChatService(PlatformType.OPENAI);
// 创建请求参数
ChatCompletion chatCompletion = ChatCompletion.builder()
.model("gpt-4o-mini")
.message(ChatMessage.withUser(question))
.build();
System.out.println(chatCompletion);
// 发送chat请求
ChatCompletionResponse chatCompletionResponse = chatService.chatCompletion(chatCompletion);
// 获取聊天内容和token消耗
String content = chatCompletionResponse.getChoices().get(0).getMessage().getContent();
long totalTokens = chatCompletionResponse.getUsage().getTotalTokens();
System.out.println("总token消耗: " + totalTokens);
return content;
}
}

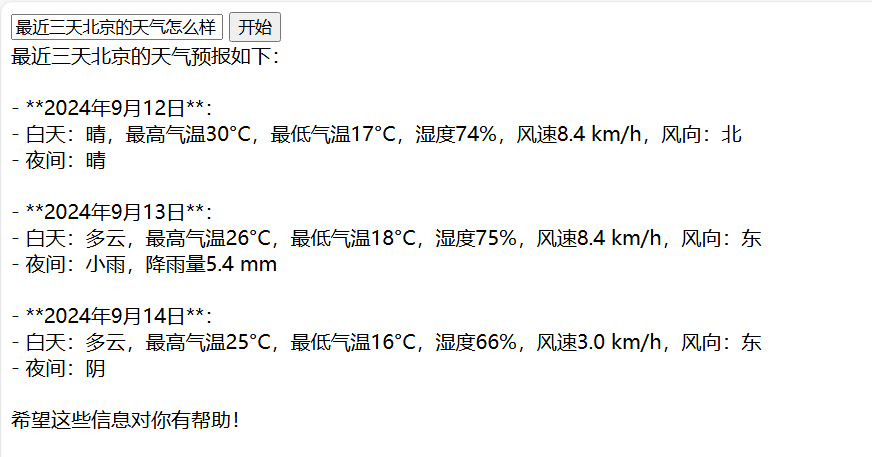
实现stream流式输出(打字机效果)
编写stream.html:
<!DOCTYPE html>
<html>
<head>
    <meta charset="UTF-8">
    <title>Stream Example</title>
</head>
<body>
<input id="question" type="text" placeholder="输入需要提问的问题"/>

<button id="startButton">开始</button>

<div id="output"></div>


<script>
    const input = document.getElementById("question");
    const outputDiv = document.getElementById('output');
    const startButton = document.getElementById('startButton');

    async function getResponse(){
        const question = input.value;
        const resp = await fetch("/chatStream" + "?question=" + question,{
            method: 'GET'
        })

        const reader = resp.body.getReader();
        const textDecoder = new TextDecoder();
        while (1){
            const { done , value } = await reader.read()
            if(done) break;
            const str = textDecoder.decode(value);
            outputDiv.innerText += str;
            console.log(str)
        }
    }
    startButton.addEventListener("click", getResponse)
</script>
</body>
</html>
向controller中添加stream接口:
    @GetMapping("/chatStream")
    public void getChatMessageStream(@RequestParam String question, HttpServletResponse response) throws Exception {
        // 中文乱码问题
        response.setCharacterEncoding("UTF-8");

        // 获取OpenAi的聊天服务
        IChatService chatService = aiService.getChatService(PlatformType.OPENAI);

        // 创建请求参数
        ChatCompletion chatCompletion = ChatCompletion.builder()
                .model("gpt-4o-mini")
                .message(ChatMessage.withUser(question))
                .build();


        PrintWriter writer = response.getWriter();
        // 发送chat请求
        SseListener sseListener = new SseListener() {
            @Override
            protected void send() {
                writer.write(this.getCurrStr());
                writer.flush();
                System.out.println(this.getCurrStr());
            }
        };
        chatService.chatCompletionStream(chatCompletion, sseListener);
        writer.close();
        System.out.println(sseListener.getOutput());

    }

注意:上面只是一个简单的示例,你也可以使用其它方法,比如:
    @GetMapping("/chatStream")
    public ResponseBodyEmitter getChatMessageStream(@RequestParam String question) {
        ResponseBodyEmitter emitter = new ResponseBodyEmitter();

        // 获取OpenAi的聊天服务
        IChatService chatService = aiService.getChatService(PlatformType.OPENAI);

        // 创建请求参数
        ChatCompletion chatCompletion = ChatCompletion.builder()
                .model("gpt-4o-mini")
                .message(ChatMessage.withUser(question))
                .build();

        Executors.newSingleThreadExecutor().submit(() -> {
            try {
                SseListener sseListener = new SseListener() {
                    @Override
                    protected void send() {
                        try {
                            emitter.send(this.getCurrStr());
                            System.out.println(this.getCurrStr());  // 打印当前发送的内容
                        } catch (IOException e) {
                            emitter.completeWithError(e);
                        }
                    }
                };

                // 发送流式数据
                chatService.chatCompletionStream(chatCompletion, sseListener);

                // 完成后关闭连接
                emitter.complete();
            } catch (Exception e) {
                emitter.completeWithError(e);
            }
        });

        return emitter;
    }
实现函数调用
首先我们需要编写一个函数,以天气预报为例子:
@FunctionCall(name = "queryWeather", description = "查询目标地点的天气预报")
public class QueryWeatherFunction implements Function<QueryWeatherFunction.Request, String> {
    @Override
    public String apply(Request request) {
        final String key = "abcdefg";
        // https://api.seniverse.com/v3/weather/hourly.json?key=your_api_key&location=beijing&start=0&hours=24
        // https://api.seniverse.com/v3/weather/daily.json?key=your_api_key&location=beijing&start=0&days=5
        String url = String.format("https://api.seniverse.com/v3/weather/%s.json?key=%s&location=%s&days=%d",
                request.type.name(),
                key,
                request.location,
                request.days);


        OkHttpClient client = new OkHttpClient();

        okhttp3.Request http = new okhttp3.Request.Builder()
                .url(url)
                .get()
                .build();

        try (Response response = client.newCall(http).execute()) {
            if (response.isSuccessful()) {
                // 解析响应体
                return response.body() != null ? response.body().string() : "";
            } else {
                return "获取天气失败 当前天气未知";
            }
        } catch (Exception e) {
            // 处理异常
            e.printStackTrace();
            return "获取天气失败 当前天气未知";
        }
    }

    @Data
    @FunctionRequest
    public static class Request{
        @FunctionParameter(description = "需要查询天气的目标位置, 可以是城市中文名、城市拼音/英文名、省市名称组合、IP 地址、经纬度")
        private String location;
        @FunctionParameter(description = "需要查询未来天气的天数, 最多15日")
        private int days = 15;
        @FunctionParameter(description = "预报的天气类型,daily表示预报多天天气、hourly表示预测当天24天气、now为当前天气实况")
        private Type type;
    }

    public enum Type{
        daily,
        hourly,
        now
    }
}
其中有三个核心注解:
@FunctionCall:标识这个类为一个函数@FunctionRequest:标识为该类为函数的请求类@FunctionParameter:标识为函数的具体参数
接下来稍微修改下刚刚编写的Stream实现函数:
    @GetMapping("/chatStream")
    public void getChatMessageStream(@RequestParam String question, HttpServletResponse response) throws Exception {

        // ......

        // 创建请求参数
        ChatCompletion chatCompletion = ChatCompletion.builder()
                .model("gpt-4o-mini")
                .message(ChatMessage.withUser(question))
                .functions("queryWeather") // 这里传入刚刚我们定义的函数名称即可
                .build();

        // ......

    }
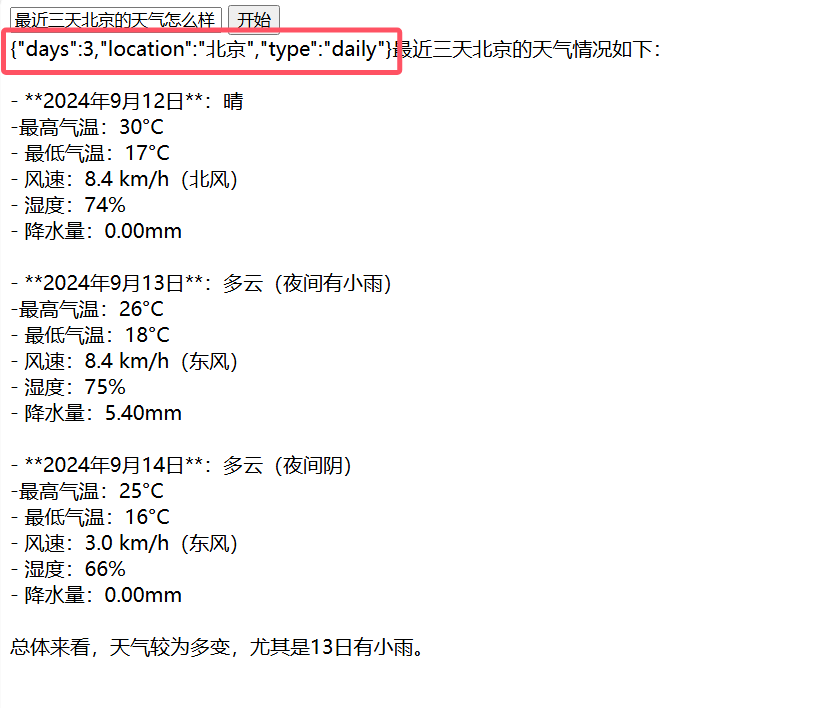
如果想要知道函数调用的参数,只需要在刚刚的代码中,添加下面这一行即可:
sseListener.setShowToolArgs(true);
更换其它平台
细心的你可能已经发现,我们在创建chatService的时候传入了PlatformType.OPENAI,如果我们想要更换其它平台,只需要更换PlatformType即可。如果你不懂,那下篇博文再详细的说说
IChatService chatService = aiService.getChatService(PlatformType.OPENAI);
其它功能
篇幅有限,其它功能使用,下篇再讲


 897
897

 被折叠的 条评论
为什么被折叠?
被折叠的 条评论
为什么被折叠?
 到【灌水乐园】发言


