


最近有一个项目,客户需要用户人体姿势识别,进行表演考核用途,或者康复中心用户恢复护理考核,需要用摄像头进行人体四肢进行肢体关键点对比考核,资料还是太少了。只有个别大佬发了部分技术指导。感觉写的不错。
阿里云-视觉智能开放平台提供sdk 服务
视觉智能开放平台
针对人体特性,定制15个肢体关键点,可以精准刻画人物姿态。对环境光、模糊等具有较强鲁棒性。
- 体育健身
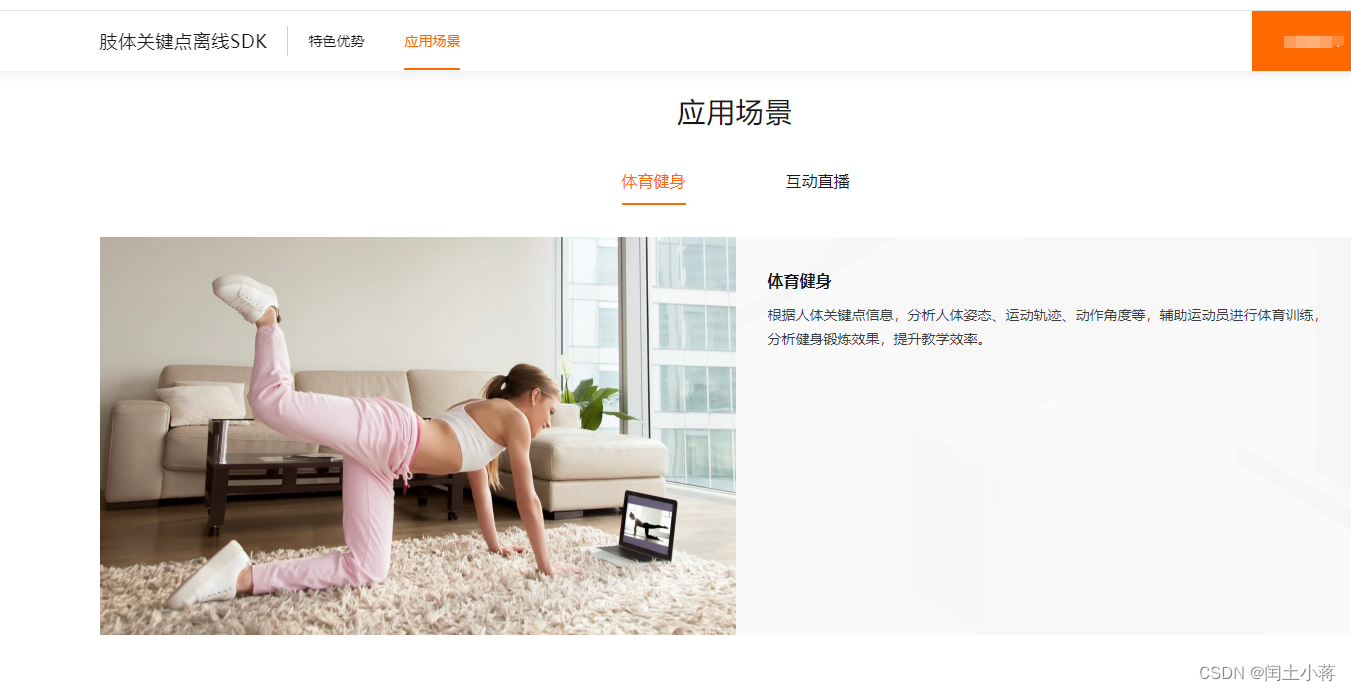
- 互动直播

看了以后奈何经费(W–七步包月扛不住啊,需要审核开通使用sdk)有点高。果断放弃了。
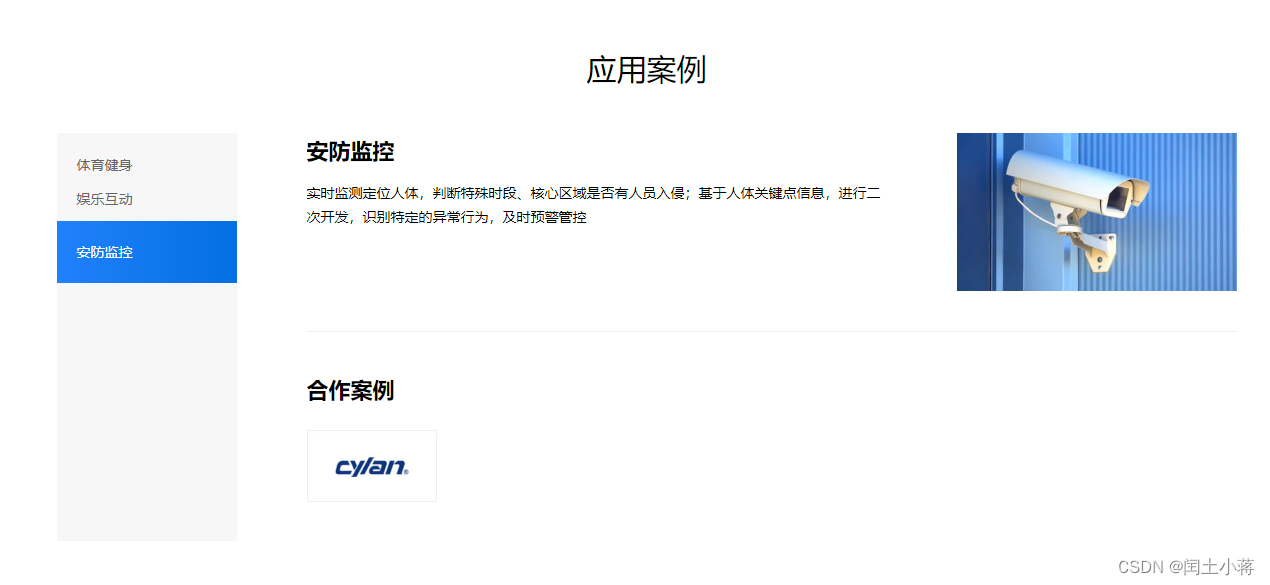
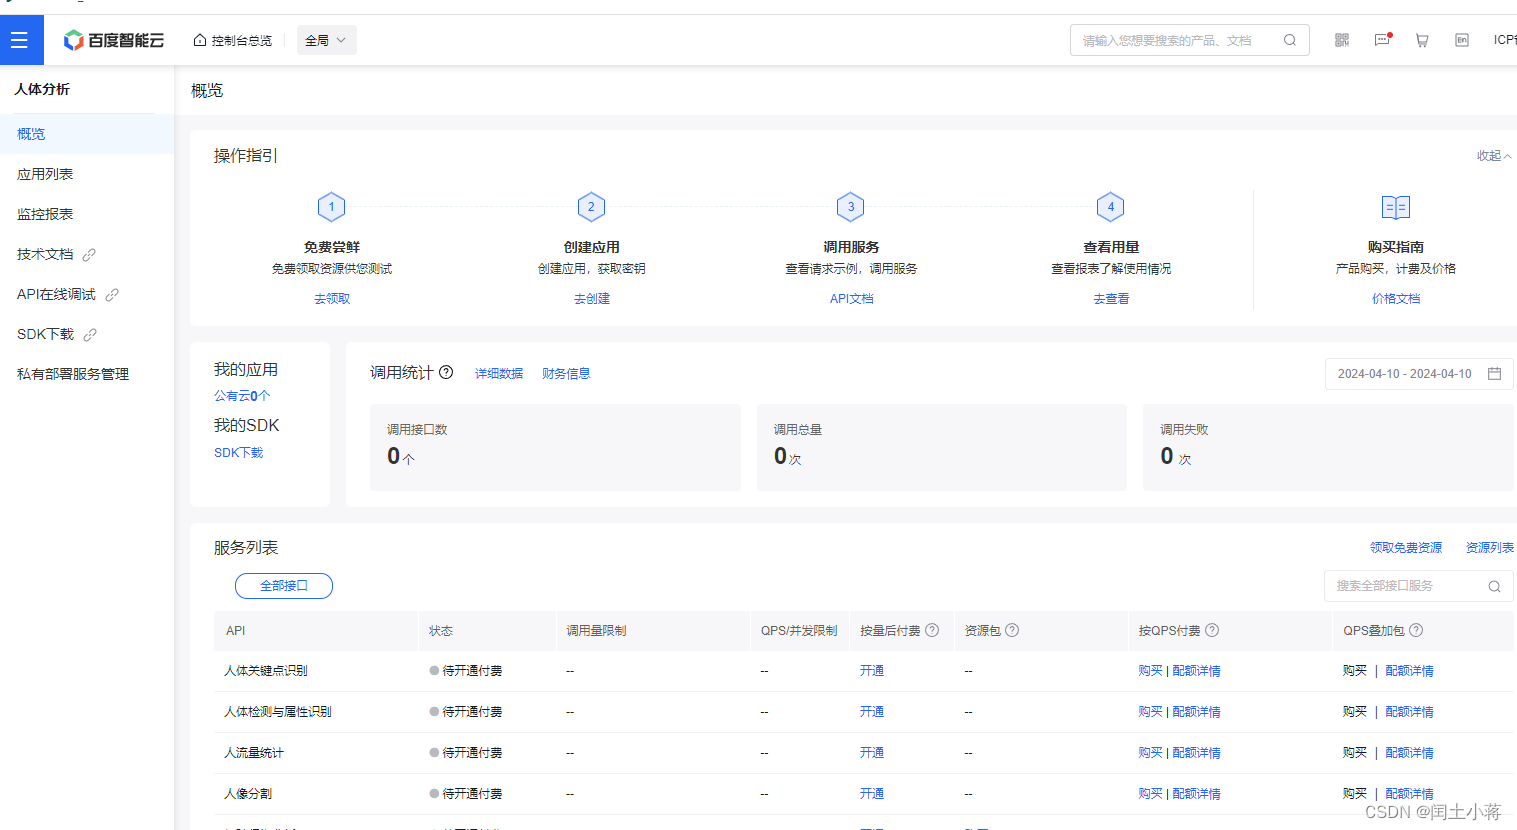
百度AI开放平台
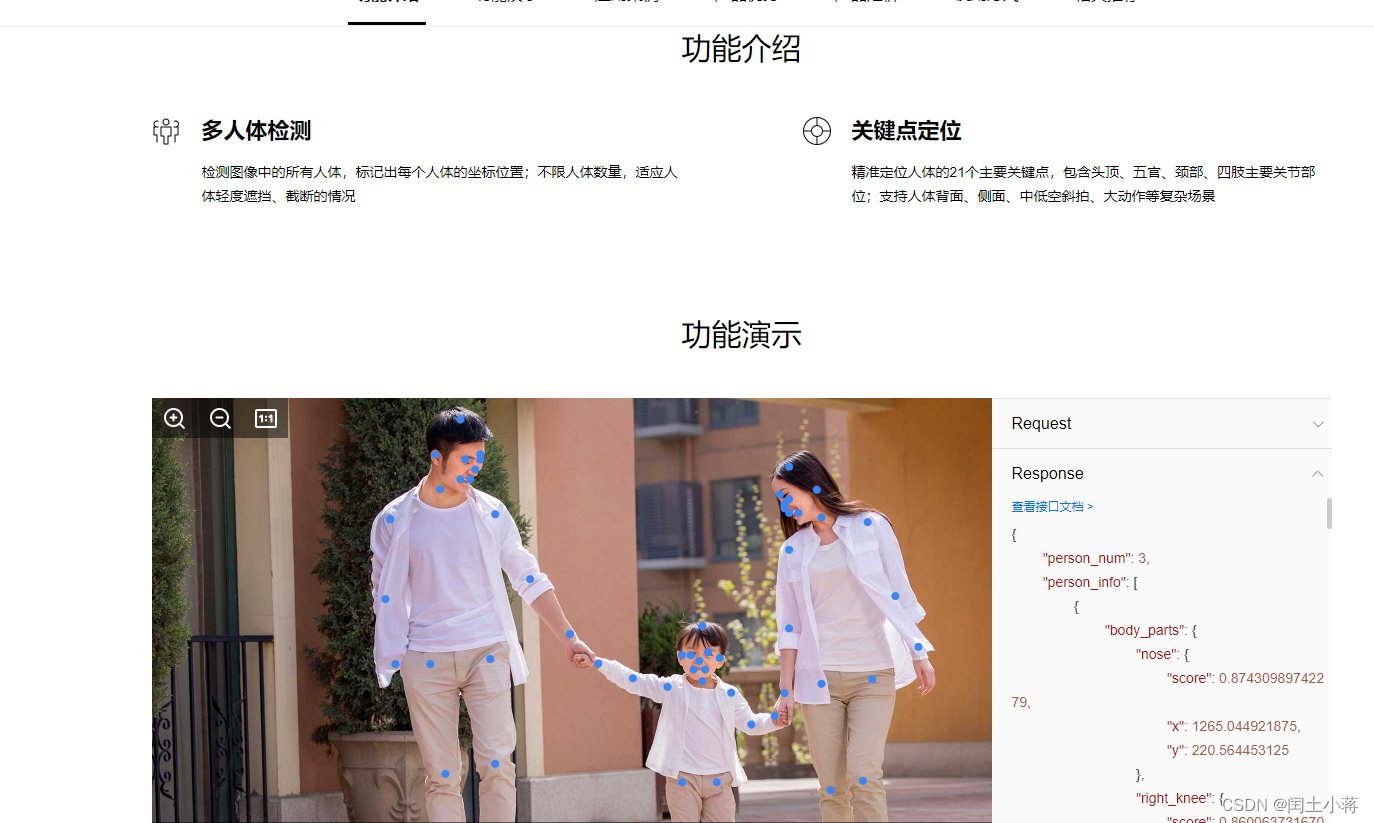
人体关键点识别
精准定位人体的21个主要关键点,包含头顶、五官、颈部、四肢主要关节部位;支持人体背面、侧面、中低空斜拍、大动作等复杂场景
-
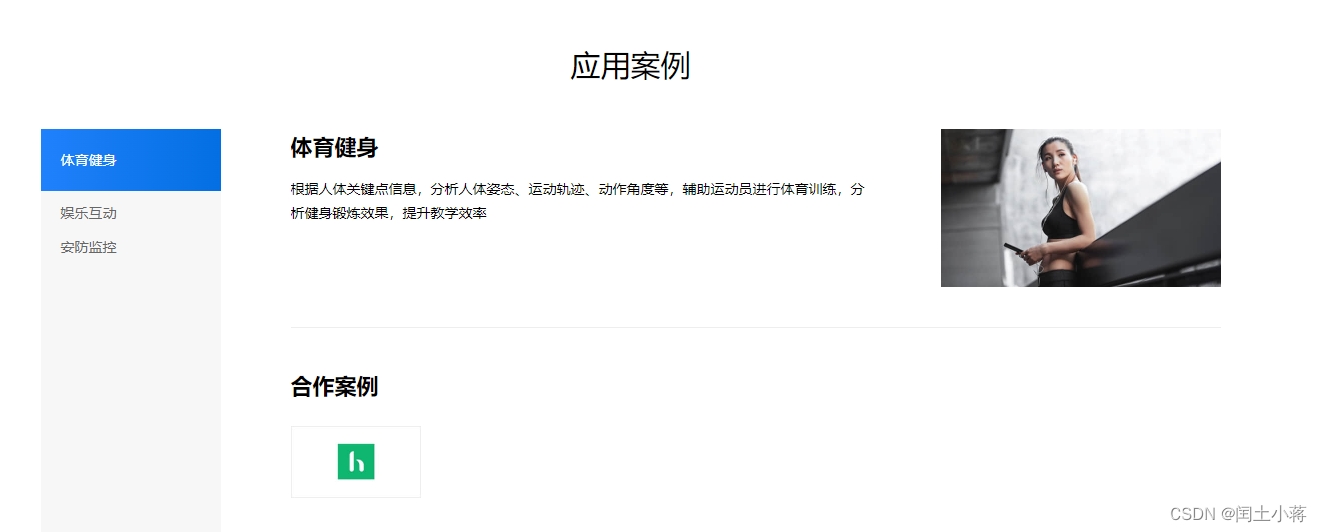
体育健身
-
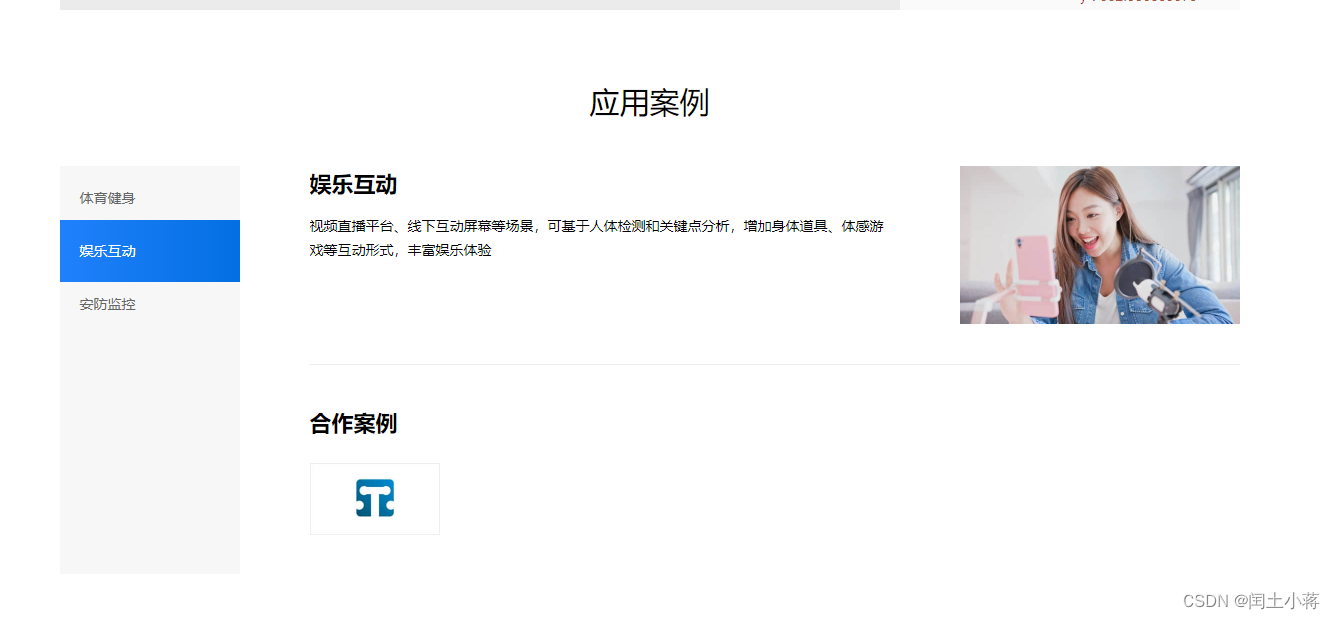
娱乐
-
安防
-
百度的可以免费体验使用,这个做的比较好,可能两个平台的侧重点不一样。
首先感谢大佬 【忠文老弟-知乎】
来源于:纯手撸(js+网络摄像头)实现的丐版动捕
视频展示效果
纯手撸(js+网络摄像头)实现的丐版动捕
技术依赖
1、WebRTC读取摄像头数据,这个是web规范,可以直接使用,注意如果不在本机调试(包括手机预览),需要支持Https;
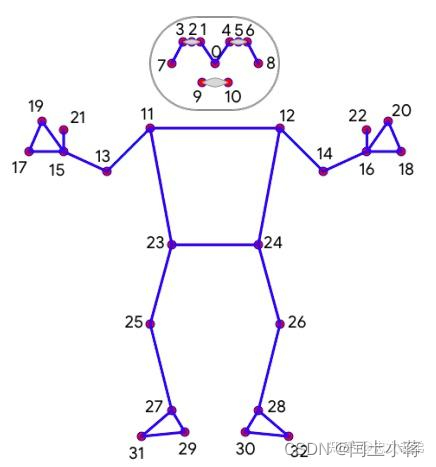
2、Google在2020年推出的神经网络模型BlazePose,可以对图像进行识别,同时给出 关键点 2d坐标值和3d坐标值。其中2d坐标值是相对于输入的图像坐标,3d坐标值是相当于人体臀部中间为原点的 2x2x2的立方体;
3、使用了Three.js作为可视化库和一些基础的数学函数库,再无其他依赖。
解决的问题及核心思路
虽然有了blazePose的加持,已经能够识别人体的姿态,在画布中直接绘制也是相当的方便(因为有了2d坐标),但是他们都没有3d的展示,有也仅仅是直接把3d坐标点直接渲染出来,相当于只有结果。但是对人体结构和动画来说,并不是说知道某个关键点的位置就完了,而是需要知道这些骨骼关节是怎么运动的,最后才达成了这个姿势,同时也不是单纯的 IK(反向运动学)去设置一些关键骨骼的到达点,然后算法直接驱动所有骨骼。因为现在BlazePose模型已经给出了每个关键点的位置,我们是可以通过计算获得骨骼关节的运动形态,从而驱动动画角色。
核心问题就变成了
0、BlazePose模型是对每幅图像直接给出预测值,但是并没有给定初始值,这里需要自己首先从T-Pose获取到位置并作为初始化位置。
1、单段骨骼的长度是不会改变的,因此只能通过关节的弯折、旋转,用来驱动整个身体的姿势变化。
2、对于大臂带动小臂,大腿带动小腿 这种问题,其实只关心的 大臂/小臂 两个关键点位置,而与其他关键点无关。
3、对于上半身的旋转,我们取左右肩膀与原始方向之间进行比较,就可以获得。
4、对于头部的旋转是最复杂的
头部的关键点坐标值取出来都很小,容易造成一些误差
头部是作为一个整体进行驱动的,所以头部的关键点相对于头部来说是没有变化的,都得统一转化到对于人体原点
根据关键点无法得到头部的原始访问,因此需要通过其他方式设定头部的方向
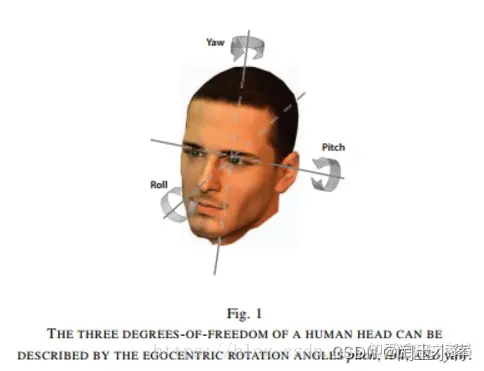
- 怎么获取头部基础坐标系
5、整个计算过程较长,怎么检测每步的计算逻辑和结果是否正确,因此需要一些辅助性的debug工具
关键代码实现
1、 通过WebRTC获取摄像头视频流
function getMedia() {

    const width = window.innerWidth / 2;
    const height = window.innerHeight / 2;
    let constraints = {

        //参数
        video: {
    width, height },
        audio: false
    };
    //获得video摄像头区域
    let video = document.getElementById("video");
    video.width = width;
    video.height = height;
    //返回的Promise对象
    let promise = navigator.mediaDevices.getUserMedia(constraints);
    promise.then(function (MediaStream) {

        video.srcObject = MediaStream;
        video.play();
    });
}
2、THREEJS加载带骨骼的模型,并设置辅助工具
直接使用Threejs自带的 /examples/models/gltf/XBot.glb 就可以,这块基础代码就不贴了,最后的结果如下
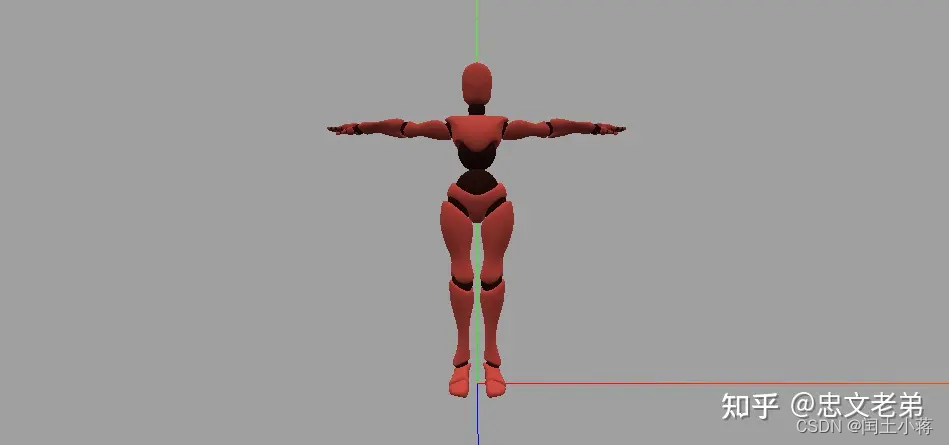
3、设置关键点骨骼初始化位置
BlazePose模型好像只能识别偏真人的模型,因此通过blender摆放的动漫的角色截图他是识别不了的,因此我找了一张跟真人比较像的T-Pose照片,用他来设置基础的关键点位置。
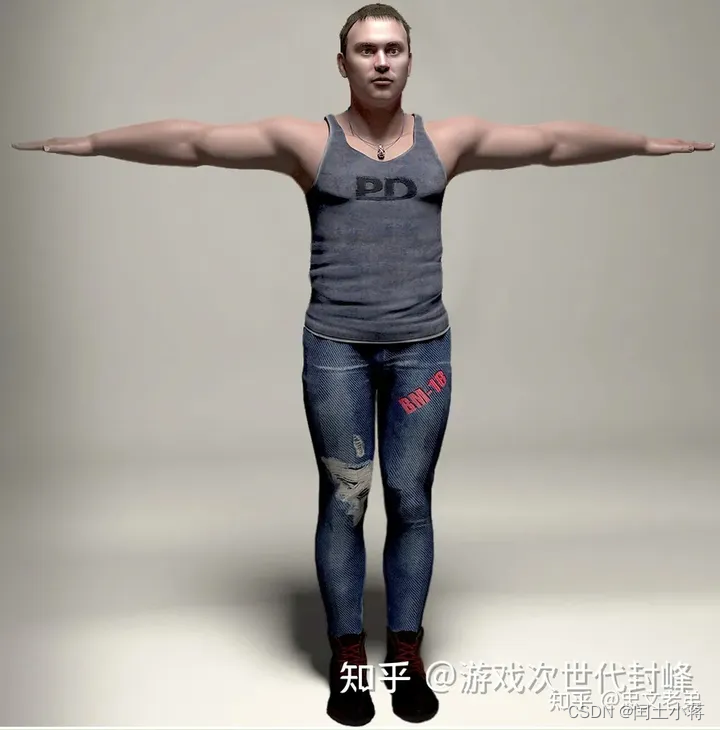
通过BlazePose预测,我们取到了一些想要的关键点,并进行和XBot模型绑定并设置初始化
let boneObj = {
   }
let viewModel;
   const loader = new THREE.GLTFLoader();
   loader.load('./Xbot.glb', function (gltf) {


       model = gltf.scene;
       scene.add(model);
       viewModel = model;
       bones = model.children[0].children[0]
       // 关键点由模型根据上面的T-Pose预测并绑定
       boneObj['left-shoulder'] = {
    bone: bones.getObjectByName('mixamorigLeftShoulder'), initPos: new THREE.Vector3(0.16728906333446503, -0.4775106608867645, -0.2042236328125) }
       boneObj['left-arm'] = {
    bone: bones.getObjectByName('mixamorigLeftArm'), initPos: new THREE.Vector3(0.38952040672302246, -0.4693129360675812, -0.207763671875) }
       boneObj['left-fore-arm'] = {
    bone: bones.getObjectByName('mixamorigLeftForeArm'), initPos: new THREE.Vector3(0.5944491624832153, -0.4565984904766083, -0.315185546875
最低0.47元/天 解锁文章


 被折叠的 条评论
为什么被折叠?
被折叠的 条评论
为什么被折叠?
 到【灌水乐园】发言


