


产生跨域的原因
由于浏览器的安全策略,避免在跨域名访问的时候页面资源被篡改。
当请求源地址与目的地址的协议、域名、端口有一个不同就会产生跨域。
本文主要提供三个方式来解决跨域问题,分别是服务端配置Access-Control-Allow-Origin、反向代理、JSONP
如何解决跨域
后端处理 CORS跨域
在后端响应头增加 Access-Control-Allow-Origin配置
//允许来自 www.google.com 源访问
Access-Control-Allow-Origin:www.google.com
//允许所有源访问
Access-Control-Allow-Origin:*
如果资源是html页面,可以设置header的meta标签
<meta http-equiv="Access-Control-Allow-Origin" content="*">
node.js 服务端配置
const http = require("http")
const port = 8001
const hosthame = "localhost"
const server = http.createServer(function (request, response) {
  response.setHeader("Content-Type", "text/plain")
  response.statusCode = 200
  response.end("Hello World!")
})
server.listen(port, () => {
  // 终端打印如下信息
  console.log(`Server running at http://${hosthame}:${port}/`)
})
启动后服务端对应的地址为http://localhost:8001/
前端发axios请求给到服务端
<script setup>
import axios from 'axios'
axios.defaults.baseURL = 'http://localhost:8001/';
axios.post().then((res) => {
  console.log(res)
})
</script>
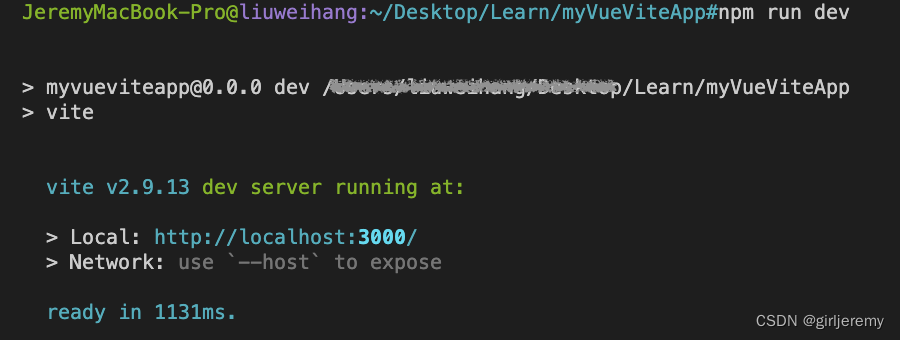
启动前端工程对应地址为http://localhost:3000/
两个地址的端口号不同请求时发生跨域,发生cors错误

此时修改node.js 服务端配置,服务端配置 Access-Control-Allow-Origin允许所有源的访问
const http = require("http")
const port = 8001
const hosthame = "localhost"
const server = http.createServer(function (request, response) {
  response.setHeader("Content-Type", "text/plain")
  response.setHeader("Access-Control-Allow-Origin", "*") // 服务端配置 Access-Control-Allow-Origin
  response.statusCode = 200
  response.end("Hello World!")
})
server.listen(port, () => {
  // 终端打印如下信息
  console.log(`Server running at http://${hosthame}:${port}/`)
})
重启服务,重新发起请求,成功获取响应

前端配置代理服务
可以有两种方式来配置反向代理
1.通过配置反向代理NGINX来实现代理转发
devServer: {
   //设置基本目录结构
    contentBase: [path.resolve(__dirname, '../')],
    //服务器的IP地址,可以使用IP也可以使用localhost
    host: '0.0.0.0',
    //服务端压缩是否开启
    compress: true,
    //配置服务端口号
    port: '1337',
	proxy: {
		'/api': {
			target: 'xxxxxxxx', // 目的地址
			changeOrigin: true,
			pathRewrite: {
				'/api': ''//代理的路径
			}
		}
    }
}
2.直接修改nginx配置文件
severProxy:配置目的地址
location:待反向代理的文件路径

JSONP
可以实现跨域读取数据,基于浏览器支持以<img>、<link>、<script>标签的src和href加载资源,这种方式也需要服务端同步改造,服务端接受请求后返回一个回调函数callback,调用前端定义好的函数,从而实现跨域请求。
- JSONP 仅支持 GET 请求,不支持 POST、PUT、DELETE 等请求
- JSONP 不属于真正的 Ajax 请求,因为它没有使用 XMLHttpRequest 这个对象
node.js服务端配置
const http = require("http") // 通过require将http库包含到程序中
const url = require("url") // 引入url模块解析url字符串
const server = http.createServer() // 创建新的HTTP服务器
server.on("request", function (req, res) {
  // 通过request事件来响应request请求
  let urlPath = url.parse(req.url).pathname // 获取url的路径信息
  let searchParams = new URLSearchParams(req.url.split("?")[1]) // 获取url的参数信息 用于提取callback变量
  if (urlPath === "/jsonp" && searchParams.has("callback")) {
    // 对应的路径为jsonp 并且参数包含callback变量时
    res.writeHead(200, { "Content-Type": "application/json;charset=utf-8" })
    let data = {
      // 模拟返回数据
      name: "Jeremy",
      age: "28",
    }
    data = JSON.stringify(data)
    let callback = searchParams.get("callback") + "(" + data + ")" //获取变量callback对应的数值 searchParams.get("callback")
    res.end(callback)
  } else {
    res.writeHead(200, { "Content-Type": "text/html;charset=utf-8" })
    res.end("Hello World")
  }
})
server.listen("8001", () => {
  console.log(`Server running at http://${hosthame}:${port}/`)
})
前端配置
<html>
  <head>
    <meta charset="UTF-8" />
    <link rel="icon" href="/favicon.ico" />
    <meta name="viewport" content="width=device-width, initial-scale=1.0" />
    <title>JSONP</title>
  </head>
  <script>
    function resFun(res) {
      console.log(res)
    }
  </script>
  <body>
    <div id="app"></div>
    <script src="http://localhost:8001/jsonp?callback=resFun"></script>
  </body>
</html>
结果

将前后端服务放在同一服务器下
跨域问题主在前后端分离流行起来之后比较常见,也可以将前后端服务放在同一服务器内来规避。


 1万+
1万+


 被折叠的 条评论
为什么被折叠?
被折叠的 条评论
为什么被折叠?
 到【灌水乐园】发言


