💓 博客主页:瑕疵的CSDN主页
📝 Gitee主页:瑕疵的gitee主页
⏩ 文章专栏:《热点资讯》
使用Web USB API实现Web应用与物理设备的直接通信
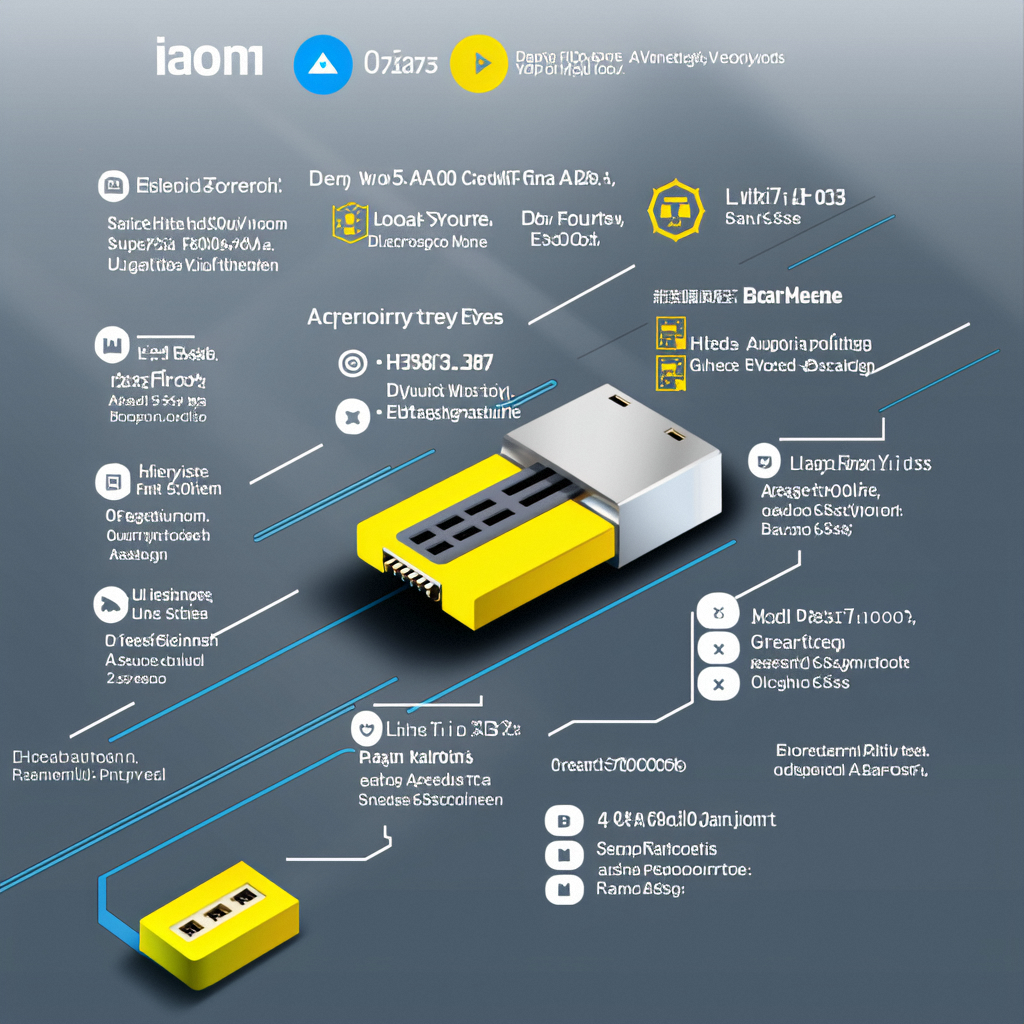
在现代 Web 开发中,实现 Web 应用与物理设备的直接通信是一个重要的需求。Web USB API 是一种基于 Web 标准的技术,允许 Web 应用发现、连接和通信 USB 设备。本文将详细介绍 Web USB API 的基本概念、实现方法、最佳实践以及实际案例,帮助开发者实现 Web 应用与物理设备的直接通信。
Web USB API 是一个浏览器 API,允许 Web 应用发现、连接和通信 USB 设备。它支持各种类型的 USB 设备,如打印机、扫描仪、游戏控制器等,广泛应用于物联网、工业自动化、科学实验等领域。
- 跨平台:基于 Web 标准,支持多种浏览器和操作系统。
- 安全性:通过浏览器的安全机制,确保数据传输的安全性。
- 易用性:提供简单易用的 API,降低开发难度。
- 广泛适用:适用于各种 USB 设备,如打印机、扫描仪、游戏控制器等。
通过 navigator.usb.requestDevice 方法,用户可以选择并连接到 USB 设备。
navigator.usb.requestDevice({ filters: [{ vendorId: 0x1234 }] }).then(device => {
  console.log('Device selected:', device.productName);
  // 连接设备
  return device.open();
}).then(() => {  console.log('Device opened');
  // 配置设备
  return device.selectConfiguration(1);
}).then(() => {
  console.log('Configuration selected');
  // 声明接口
  return device.claimInterface(0);
}).then(() => {
  console.log('Interface claimed');
}).catch(error => {
  console.error('Error:', error);
});
通过 transferIn 和 transferOut 方法,可以读取和写入 USB 设备的数据。
// 读取数据
device.transferIn(1, 64).then(result => {
  const data = new Uint8Array(result.data.buffer);
  console.log('Data received:', data);
}).catch(error => {
  console.error('Error reading data:', error);
});

// 写入数据
const data = new Uint8Array([1, 2, 3]);
device.transferOut(2, data).then(() => {
  console.log('Data written successfully');
}).catch(error => {
  console.error('Error writing data:', error);
});
通过 controlTransferIn 和 controlTransferOut 方法,可以发送控制命令和读取控制响应。
// 发送控制命令
const command = new Uint8Array([0x01, 0x02, 0x03]);
device.controlTransferOut({ requestType: 'vendor', recipient: 'device', request: 0x01, value: 0x0000, index: 0x0000, data: command }).then(() => {
  console.log('Control command sent successfully');
}).catch(error => {
  console.error('Error sending control command:', error);
});

// 读取控制响应
device.controlTransferIn({ requestType: 'vendor', recipient: 'device', request: 0x02, value: 0x0000, index: 0x0000, length: 64 }).then(result => {
  const data = new Uint8Array(result.data.buffer);
  console.log('Control response received:', data);
}).catch(error => {
  console.error('Error reading control response:', error);
});
在使用 Web USB API 之前,需要请求用户授权。
if (navigator.usb) {
  navigator.usb.requestDevice({ filters: [{ vendorId: 0x1234 }] }).then(device => {
    console.log('Device selected:', device.productName);
  }).catch(error => {
    console.error('Error:', error);
  });
} else {
  console.error('Web USB API not supported');
}
选择设备后,需要打开设备并配置接口。
const device = await navigator.usb.requestDevice({ filters: [{ vendorId: 0x1234 }] });

await device.open();
console.log('Device opened');

await device.selectConfiguration(1);
console.log('Configuration selected');

await device.claimInterface(0);
console.log('Interface claimed');
通过 transferIn 和 transferOut 方法,可以读取和写入数据。
// 读取数据
await device.transferIn(1, 64).then(result => {
  const data = new Uint8Array(result.data.buffer);
  console.log('Data received:', data);
}).catch(error => {
  console.error('Error reading data:', error);
});

// 写入数据
const data = new Uint8Array([1, 2, 3]);
await device.transferOut(2, data).then(() => {
  console.log('Data written successfully');
}).catch(error => {
  console.error('Error writing data:', error);
});
通过 controlTransferOut 方法,可以发送控制命令。
const command = new Uint8Array([0x01, 0x02, 0x03]);
await device.controlTransferOut({ requestType: 'vendor', recipient: 'device', request: 0x01, value: 0x0000, index: 0x0000, data: command }).then(() => {
  console.log('Control command sent successfully');
}).catch(error => {
  console.error('Error sending control command:', error);
});
通过 controlTransferIn 方法,可以读取控制响应。
await device.controlTransferIn({ requestType: 'vendor', recipient: 'device', request: 0x02, value: 0x0000, index: 0x0000, length: 64 }).then(result => {
  const data = new Uint8Array(result.data.buffer);
  console.log('Control response received:', data);
}).catch(error => {
  console.error('Error reading control response:', error);
});

- 用户授权:确保在使用 Web USB API 之前,请求用户授权。
- 数据加密:对于敏感数据,使用加密技术保护数据传输的安全性。
- 浏览器支持:确保目标浏览器支持 Web USB API。
- 设备兼容:测试不同品牌和型号的 USB 设备,确保兼容性。
- 异常捕获:使用
try...catch语句捕获和处理异常。 - 用户提示:在发生错误时,向用户显示友好的提示信息。
- 懒加载:延迟非关键数据的读取和写入,提高页面加载速度。
- 批量操作:尽量减少网络请求次数,批量读取和写入数据。
- 进度提示:在连接设备和读取数据时,显示进度提示信息。
- 错误恢复:在发生错误时,提供恢复机制,避免用户陷入死循环。
假设我们有一个打印机,需要通过 Web 应用控制其打印文本。通过 Web USB API,可以轻松实现这一点。
请求设备权限:
navigator.usb.requestDevice({ filters: [{ vendorId: 0x1234 }] }).then(device => { console.log('Device selected:', device.productName); // 连接设备 return device.open(); }).then(() => { return device.selectConfiguration(1); }).then(() => { return device.claimInterface(0); }).then(() => { console.log('Interface claimed'); }).catch(error => { console.error('Error:', error); });发送打印命令:
const text = 'Hello, World!';
const data = new TextEncoder().encode(text);
device.transferOut(2, data).then(() => {
  console.log('Text sent to printer');
}).catch(error => {
  console.error('Error sending text:', error);
});

假设我们有一个温度传感器,需要通过 Web 应用读取其数据。通过 Web USB API,可以轻松实现这一点。
请求设备权限:
navigator.usb.requestDevice({ filters: [{ vendorId: 0x1234 }] }).then(device => { console.log('Device selected:', device.productName); // 连接设备 return device.open(); }).then(() => { return device.selectConfiguration(1); }).then(() => { return device.claimInterface(0); }).then(() => { console.log('Interface claimed'); }).catch(error => { console.error('Error:', error); });读取温度数据:
device.transferIn(1, 64).then(result => {
  const data = new Uint8Array(result.data.buffer);
  const temperature = data[0];
  console.log('Temperature:', temperature, '°C');
}).catch(error => {
  console.error('Error reading temperature:', error);
});
- 检查设备状态:确保 USB 设备已正确连接并处于可用状态。
- 检查权限:确保已请求用户授权。
- 检查浏览器支持:确保目标浏览器支持 Web USB API。
- 检查端点配置:确保端点配置正确。
- 检查设备固件:确保设备固件版本支持所需的操作。
- 检查控制命令:确保控制命令的参数正确。
- 检查设备支持:确保设备支持所需的控制命令。
- 懒加载:延迟非关键数据的读取和写入,提高页面加载速度。
- 批量操作:尽量减少网络请求次数,批量读取和写入数据。
Web USB API 是实现 Web 应用与物理设备直接通信的强大工具。通过本文的介绍,希望读者能够更好地理解和应用 Web USB API,提升 Web 应用的功能和用户体验。实际案例展示了如何在不同场景下使用 Web USB API,希望这些案例能够为读者提供实际的参考和启发。


 2492
2492

 被折叠的 条评论
为什么被折叠?


