


JUnit是什么
JUnit是一个Java编程语言编写的单元测试框架。 重要的是在测试驱动开发中,并且是一个家族的统称为xUnit单元测试框架中的一个。
JUnit促进“先测试再编码”,它强调建立测试数据的一段代码可以被测试,先测试再编码实现的想法。这种做法就像是“试了一下,码了一点,测试了一下,代码一点点……”这增加了程序员的工作效率和程序代码的稳定性,减少程序员的压力和花在调试的时间。
在Eclipse下使用JUnit测试
- Eclipse都集成有JUnit的环境,不需要我们手动导入JUnit的jar包,如果想自己导入JUnit的jar包,请到此下载,导入自己的工程,Build Path一下就可以了
- 编写需要测试的类
public class Calculate {
    public int add(int a, int b) {
        return a + b;
    }
    public int sub(int a, int b) {
        return a - b;
    }
    public int mul(int a, int b) {
        return a * b;
    }
    public int div(int a, int b) {
        return a / b;
    }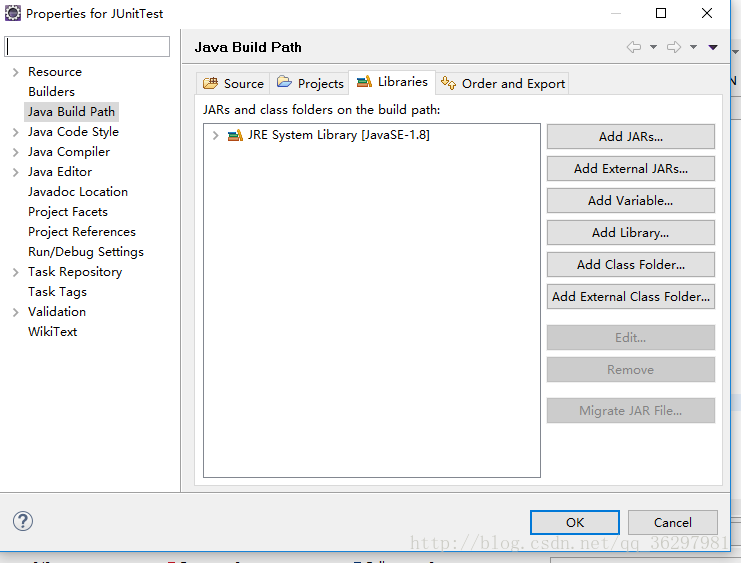
}- 导入JUni的环境
右键->Build Path -> Configure BuildPath -> Libraries
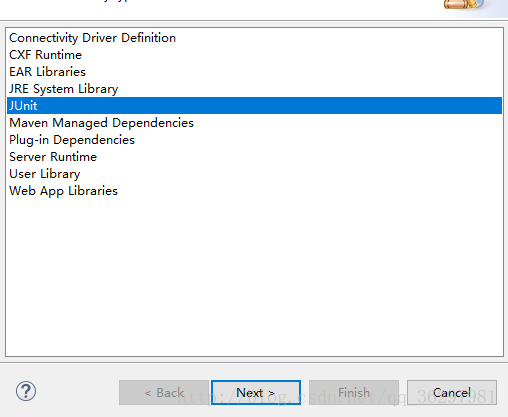
点击Add Library -> 将JUnit添加进入工程
- 编写测试类
package cn.sysu.calculate;
import org.junit.Test;
public class CalulateTest {
@Test
public void Test() {
System.out.println(new Calculate().add(1, 2));
}
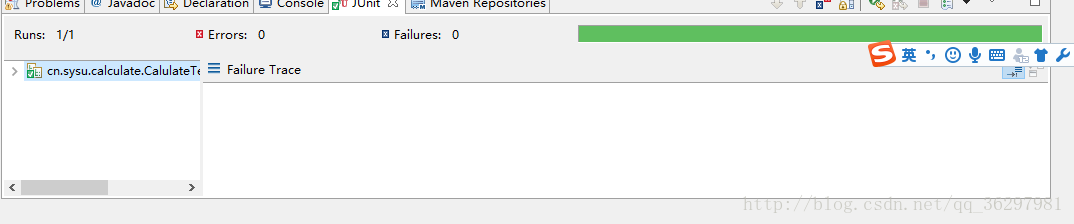
}右键 -> Run as -> JUnit Test

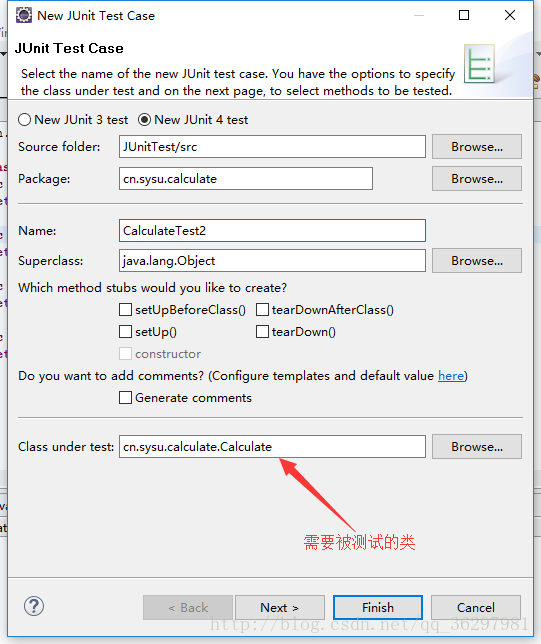
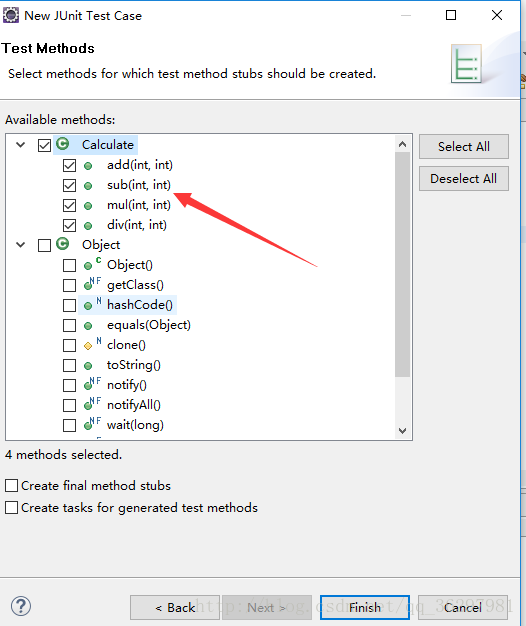
使用Eclipse自动生成测试方法
- 在测试类new 一个JUnit Test Case
Next -> 选择不要测试的方法
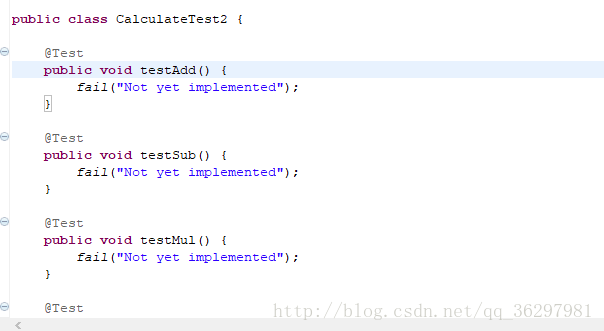
编写测试方法即可
Junit常用注解
1.@Test: 测试方法
a)(expected=XXException.class)如果程序的异常和XXException.class一样,则测试通过
b)(timeout=100)如果程序的执行能在100毫秒之内完成,则测试通过
2.@Ignore: 被忽略的测试方法:加上之后,暂时不运行此段代码
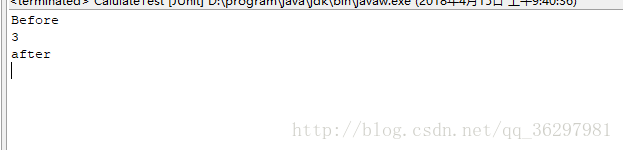
3.@Before: 每一个测试方法之前运行
4.@After: 每一个测试方法之后运行
5.@BeforeClass: 方法必须必须要是静态方法(static 声明),所有测试开始之前运行,注意区分before,是所有测试方法
6.@AfterClass: 方法必须要是静态方法(static 声明),所有测试结束之后运行,注意区分 @After
public class CalulateTest {
    Calculate cal;
    @Before
    public void before() {
        System.out.println("Before");
        cal = new Calculate();
    }
    @Test
    public void Test() {
        System.out.println(cal.add(1, 2));
    }

    @After
    public void after() {
        System.out.println("after");
    }
}
ant和JUnit的简单结合
<project name="JunitTest" default="test" basedir=".">
   <property name="testdir" location="test" />
   <property name="srcdir" location="src" />
   <property name="full-compile" value="true" />
   <path id="classpath.test">
      <pathelement location="/lib/junit-4.10.jar" />
      <pathelement location="${testdir}" />
      <pathelement location="${srcdir}" />
   </path>
   <target name="clean" >
      <delete verbose="${full-compile}">
         <fileset dir="${testdir}" includes="**/*.class" />
      </delete>
   </target>
   <target name="compile" depends="clean">
      <javac srcdir="${srcdir}" destdir="${testdir}"
         verbose="${full-compile}">
         <classpath refid="classpath.test"/>
      </javac>
   </target>
   <target name="test" depends="compile">
      <junit>
         <classpath refid="classpath.test" />
         <formatter type="brief" usefile="false" />
         <!--编写的测试类的类名-->
         <test name="CalculateTest" />
      </junit>
   </target>
</project>


 2万+
2万+


 被折叠的 条评论
为什么被折叠?
被折叠的 条评论
为什么被折叠?
 到【灌水乐园】发言


