


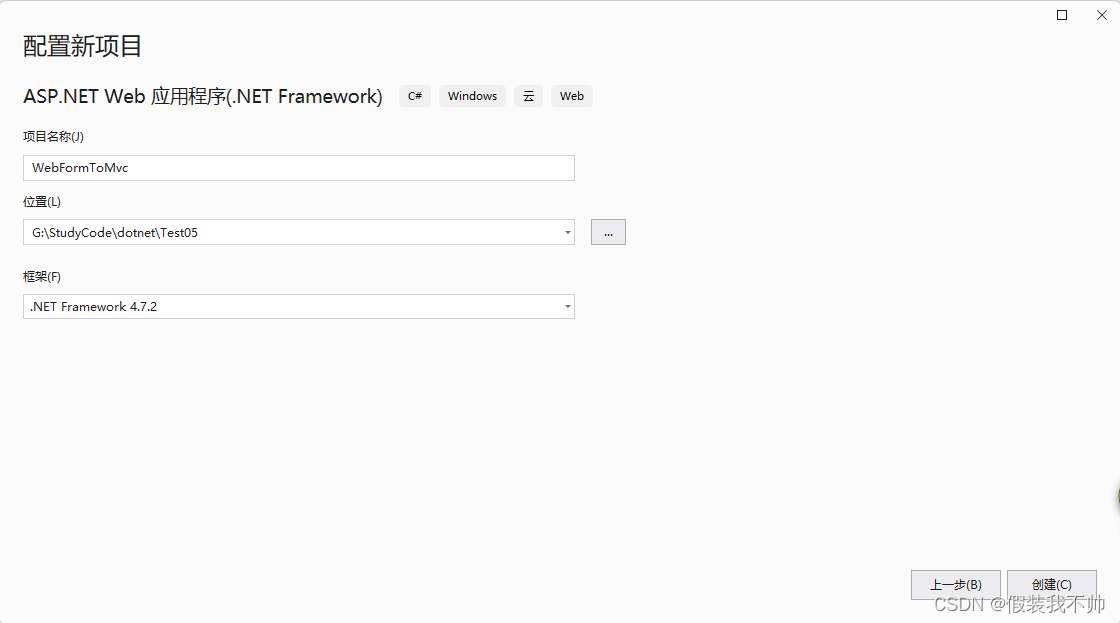
1.创建项目

给项目起名字然后指定存储位置
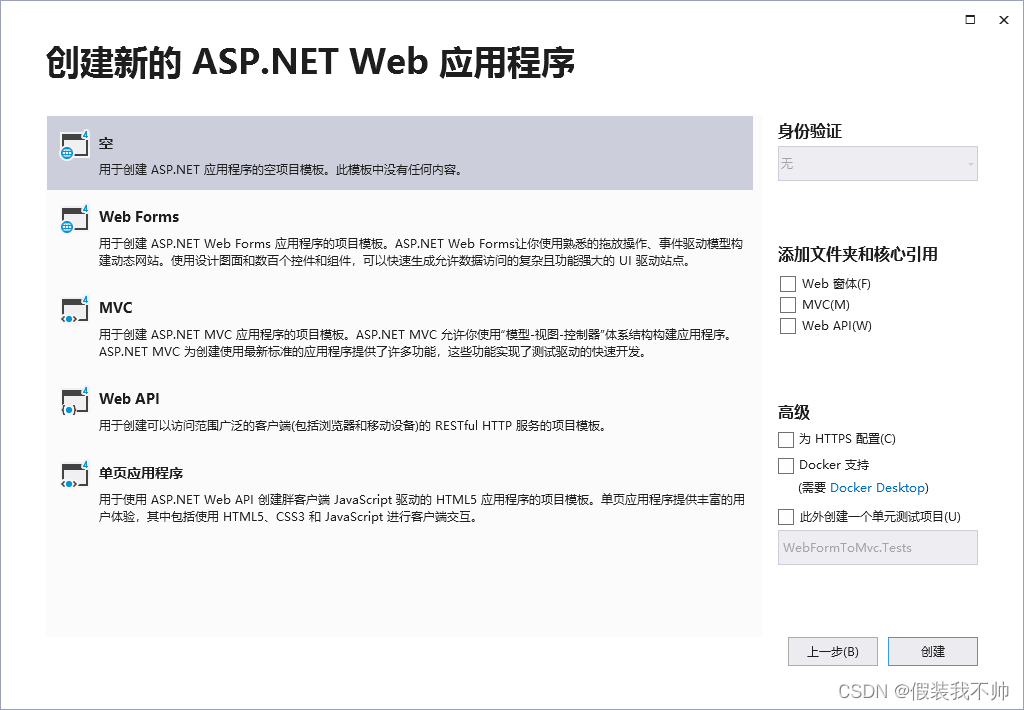
选择asp.net 空项目
2.新建model
namespace WebFormToMvc
{
    /// <summary>
    /// 用户模型
    /// </summary>
    public class UserModel
    {
        /// <summary>
        /// id
        /// </summary>
        public int Id { get; set; }

        /// <summary>
        /// 姓名
        /// </summary>
        public string Name { get; set; }
    }
}
3.新建Service,模拟数据库调用
using System.Collections.Generic;

namespace WebFormToMvc
{
    public class Services
    {
        /// <summary>
        /// 获取全部的用户
        /// </summary>
        /// <returns></returns>
        public List<UserModel> GetAllUsers()
        {
            //模拟数据库查询
            List<UserModel> res = new List<UserModel>();
            for (int i = 0; i < 10; i++)
            {
                res.Add(new UserModel() { Id = i + 1, Name = "小明" + i });
            }
            return res;
        }
    }
}
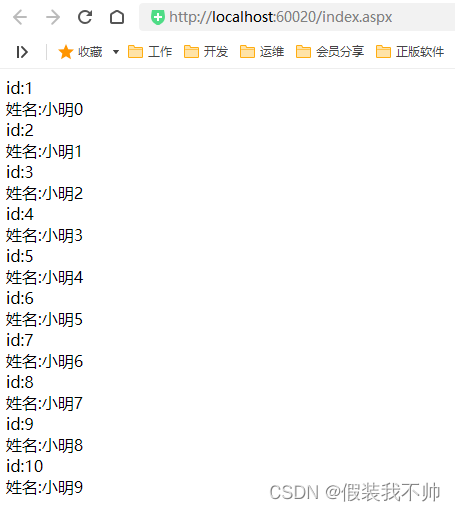
4.新建aspx页面
新建index.aspx
<%@ Page Language="C#" AutoEventWireup="true" CodeBehind="index.aspx.cs" Inherits="WebFormToMvc.index" %>

<!DOCTYPE html>

<html xmlns="http://www.w3.org/1999/xhtml">
<head runat="server">
<meta http-equiv="Content-Type" content="text/html; charset=utf-8"/>
    <title></title>
</head>
<body>
    <form id="form1" runat="server">
        <asp:Repeater runat="server" ID="rpt1">
            <ItemTemplate>
                <div>id:<%#Eval("Id") %></div>
                <div>姓名:<%#Eval("Name") %></div>
            </ItemTemplate>
        </asp:Repeater>
    </form>
</body>
</html>
index.aspx.cs
using System;

namespace WebFormToMvc
{
    public partial class index : System.Web.UI.Page
    {
        protected void Page_Load(object sender, EventArgs e)
        {
            this.rpt1.DataSource = new Services().GetAllUsers();
            this.rpt1.DataBind();
        }
    }
}
5.配置mvc
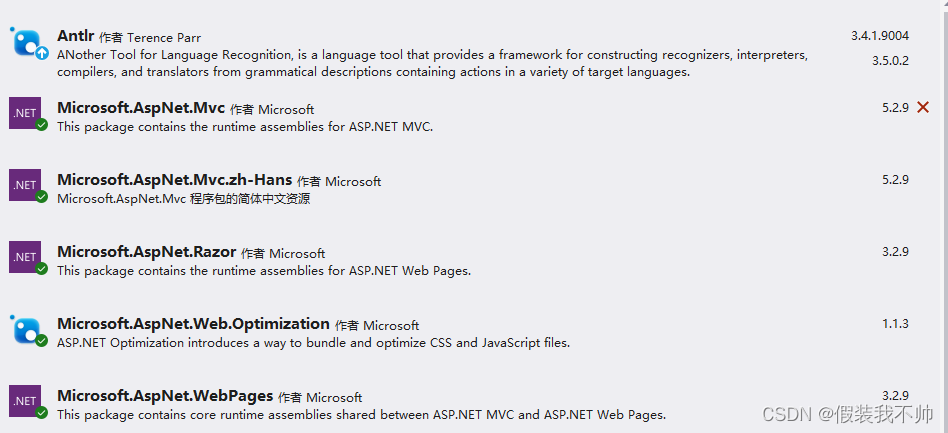
5.1 安装nuget包
Microsoft.AspNet.Mvc
Microsoft.AspNet.Mvc.zh-Hans
Microsoft.AspNet.Web.Optimization
Microsoft.AspNet.Razor
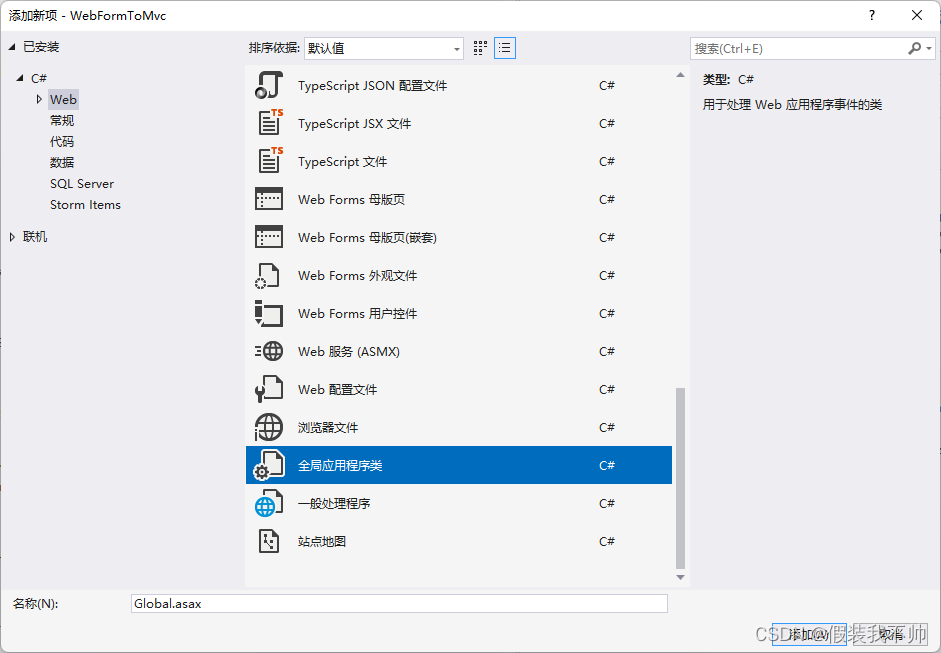
5.2 新增全局程序类
5.3 创建App_Start和Controllers以及Views文件夹
App_Start下新建RouteConfig
using System.Web.Mvc;
using System.Web.Routing;

namespace WebFormToMvc.App_Start
{
    public class RouteConfig
    {
        public static void RegisterRoutes(RouteCollection routes)
        {
            routes.IgnoreRoute("{resource}.axd/{*pathInfo}");

            routes.MapRoute(
                name: "Default",
            url: "{controller}/{action}/{id}",
                defaults: new { controller = "Home", action = "Index", id = UrlParameter.Optional }
            );
        }
    }
}
Controllers下新建HomeController
using System.Web.Mvc;

namespace WebFormToMvc.Controllers
{
    public class HomeController : Controller
    {
        /// <summary>
        /// 首页
        /// </summary>
        /// <returns></returns>
        public ActionResult Index()
        {
            var users = new Services().GetAllUsers();
            return View(users);
        }
    }
}
Views下新建web.config
引入mvc控制器
<?xml version="1.0"?>

<configuration>
	<configSections>
		<sectionGroup name="system.web.webPages.razor" type="System.Web.WebPages.Razor.Configuration.RazorWebSectionGroup, System.Web.WebPages.Razor, Version=3.0.0.0, Culture=neutral, PublicKeyToken=31BF3856AD364E35">
			<section name="host" type="System.Web.WebPages.Razor.Configuration.HostSection, System.Web.WebPages.Razor, Version=3.0.0.0, Culture=neutral, PublicKeyToken=31BF3856AD364E35" requirePermission="false" />
			<section name="pages" type="System.Web.WebPages.Razor.Configuration.RazorPagesSection, System.Web.WebPages.Razor, Version=3.0.0.0, Culture=neutral, PublicKeyToken=31BF3856AD364E35" requirePermission="false" />
		</sectionGroup>
	</configSections>

	<system.web.webPages.razor>
		<host factoryType="System.Web.Mvc.MvcWebRazorHostFactory, System.Web.Mvc, Version=5.2.9.0, Culture=neutral, PublicKeyToken=31BF3856AD364E35" />
		<pages pageBaseType="System.Web.Mvc.WebViewPage">
			<namespaces>
				<add namespace="System.Web.Mvc" />
				<add namespace="System.Web.Mvc.Ajax" />
				<add namespace="System.Web.Mvc.Html" />
				<add namespace="System.Web.Optimization"/>
				<add namespace="System.Web.Routing" />
			</namespaces>
		</pages>
	</system.web.webPages.razor>

	<appSettings>
		<add key="webpages:Enabled" value="false" />
	</appSettings>

	<system.webServer>
		<handlers>
			<remove name="BlockViewHandler"/>
			<add name="BlockViewHandler" path="*" verb="*" preCondition="integratedMode" type="System.Web.HttpNotFoundHandler" />
		</handlers>
	</system.webServer>

	<system.web>
		<compilation>
			<assemblies>
				<add assembly="System.Web.Mvc, Version=5.2.9.0, Culture=neutral, PublicKeyToken=31BF3856AD364E35" />
			</assemblies>
		</compilation>
	</system.web>
</configuration>
Views下新建Home/Index.cshtml
@model List<WebFormToMvc.UserModel>
@{
    Layout = null;
}

<!DOCTYPE html>

<html>
<head>
    <meta name="viewport" content="width=device-width" />
    <title>首页</title>
</head>
<body>
    <div>
        @foreach (var item in Model)
        {
            <div>id:@item.Id</div>
            <div>姓名:@item.Name</div>
        }
    </div>
</body>
</html>
修改Global.ashx
using System;
using System.Web.Mvc;
using System.Web.Routing;
using WebFormToMvc.App_Start;

namespace WebFormToMvc
{
    public class Global : System.Web.HttpApplication
    {
        /// <summary>
        /// 应用程序启动时触发
        /// </summary>
        /// <param name="sender"></param>
        /// <param name="e"></param>
        protected void Application_Start(object sender, EventArgs e)
        {
            AreaRegistration.RegisterAllAreas();
            //添加其他过滤器
            //FilterConfig.RegisterGlobalFilters(GlobalFilters.Filters);
            RouteConfig.RegisterRoutes(RouteTable.Routes);
            //添加捆绑
            //BundleConfig.RegisterBundles(BundleTable.Bundles);
        }
    }
}

实现了aspx转mvc,也能保证aspx和mvc项目的共存


 757
757


 被折叠的 条评论
为什么被折叠?
被折叠的 条评论
为什么被折叠?
 到【灌水乐园】发言


