


首先会分析Dubbo是如何进行远程服务调用的,如果不了解dubbo的服务暴露和服务调用,请去看前两篇dubbo的文章,然后后面我还会说一下dubbo的SPI机制
当我们在使用@reference 注解的时候,来调用我们的提供者的Service对象的时候,Dubbo中的服务调用是怎么实现的
Dubbo的远程服务调用
(1)首选Dubbo是通过Poxy对象来生成一个代理对象的
- 具体实现是在ReferenceConfig对象中调用的private T createProxy(Map<String, String> map)方法的,这个方法中有三种生成Invoker对象的方式,第一种是通过本地JVM,第二种是通过URL对象是不是为空判断进行判断,然后如果为空就从注册中心获取这个Invoker对象,否则就是从ReferenceConfig中的URL中拿到
- 上面那个方法中还会通过获取到的Invoker这里的【生成Invoker的过程后面补充】的对象去通过ProxyFactory生成Poxy对象,代码为:
return proxyFactory.getProxy(this.invoker);,这里proxyFactory其实就是
	//ProxyFactory接口的javassist扩展类JavassistProxyFactory的getProxy方法实现
  public <T> T getProxy(Invoker<T> invoker, Class<?>[] interfaces) {
        return Proxy.getProxy(interfaces).newInstance(new InvokerInvocationHandler(invoker));
    }
- 然后通过第2步的getPoxy()方法去动态代理生成代理Poxy对象
    public static Proxy getProxy(Class<?>... ics) {
        return getProxy(ClassHelper.getClassLoader(Proxy.class), ics);
    }

   /**
     * Get proxy.
     *
     * @param cl  class loader.
     * @param ics interface class array. 可以实现多个接口
     * @return Proxy instance.
     */
    public static Proxy getProxy(ClassLoader cl, Class<?>... ics) {
        if (ics.length > 65535)
            throw new IllegalArgumentException("interface limit exceeded");

        StringBuilder sb = new StringBuilder();
        for (int i = 0; i < ics.length; i++) {
            String itf = ics[i].getName();
            if (!ics[i].isInterface())
                throw new RuntimeException(itf + " is not a interface.");

            Class<?> tmp = null;
            try {
                tmp = Class.forName(itf, false, cl);
            } catch (ClassNotFoundException e) {
            }

            if (tmp != ics[i])
                throw new IllegalArgumentException(ics[i] + " is not visible from class loader");

            sb.append(itf).append(';');
        }

        // use interface class name list as key.
        // 用接口类名做key,多个接口以分号分开。
        String key = sb.toString();

        // get cache by class loader.
        // 缓存
        Map<String, Object> cache;
        synchronized (ProxyCacheMap) {
            cache = ProxyCacheMap.get(cl);
            if (cache == null) {
                cache = new HashMap<String, Object>();
                ProxyCacheMap.put(cl, cache);
            }
        }

        Proxy proxy = null;
        synchronized (cache) {
            do {
                Object value = cache.get(key);
                if (value instanceof Reference<?>) {
                    //如果有存在引用对象,返回缓存对象。
                    proxy = (Proxy) ((Reference<?>) value).get();
                    if (proxy != null)
                        return proxy;
                }
                //对象正在生成,线程挂起,等待
                if (value == PendingGenerationMarker) {
                    try {
                        cache.wait();
                    } catch (InterruptedException e) {
                    }
                } else {//放入正在生成标识
                    cache.put(key, PendingGenerationMarker);
                    break;
                }
            }
            while (true);
        }
        //类名称后自动加序列号 0,1,2,3...
        long id = PROXY_CLASS_COUNTER.getAndIncrement();
        String pkg = null;
        //ClassGenerator dubbo用javassist实现的工具类
        ClassGenerator ccp = null, ccm = null;
        try {
            ccp = ClassGenerator.newInstance(cl);

            Set<String> worked = new HashSet<String>();
            List<Method> methods = new ArrayList<Method>();

            for (int i = 0; i < ics.length; i++) {
                //检查包名称及不同包的修饰符
                if (!Modifier.isPublic(ics[i].getModifiers())) {
                    String npkg = ics[i].getPackage().getName();
                    if (pkg == null) {
                        pkg = npkg;
                    } else {
                        if (!pkg.equals(npkg))
                            throw new IllegalArgumentException("non-public interfaces from different packages");
                    }
                }
                //代理类添加要实现的接口Class对象
                ccp.addInterface(ics[i]);

                for (Method method : ics[i].getMethods()) {
                    //获取方法描述符,不同接口,同样的方法,只能被实现一次。
                    String desc = ReflectUtils.getDesc(method);
                    if (worked.contains(desc))
                        continue;
                    worked.add(desc);

                    int ix = methods.size();
                    //方法返回类型
                    Class<?> rt = method.getReturnType();
                    //方法参数类型列表
                    Class<?>[] pts = method.getParameterTypes();
                    //生成接口的实现代码,每个方法都一样
                    StringBuilder code = new StringBuilder("Object[] args = new Object[").append(pts.length).append("];");
                    for (int j = 0; j < pts.length; j++)
                        code.append(" args[").append(j).append("] = ($w)$").append(j + 1).append(";");
                    code.append(" Object ret = handler.invoke(this, methods[" + ix + "], args);");
                    if (!Void.TYPE.equals(rt))
                        code.append(" return ").append(asArgument(rt, "ret")).append(";");

                    methods.add(method);
                    ccp.addMethod(method.getName(), method.getModifiers(), rt, pts, method.getExceptionTypes(), code.toString());
                }
            }

            if (pkg == null)
                pkg = PACKAGE_NAME;

            // create ProxyInstance class.
            // 具体代理类名称,这里是类全名
            String pcn = pkg + ".proxy" + id;
            ccp.setClassName(pcn);
            ccp.addField("public static java.lang.reflect.Method[] methods;");
            ccp.addField("private " + InvocationHandler.class.getName() + " handler;");
            //创建构造函数
            ccp.addConstructor(Modifier.PUBLIC, new Class<?>[]{InvocationHandler.class}, new Class<?>[0], "handler=$1;");
            ccp.addDefaultConstructor();
            Class<?> clazz = ccp.toClass();
            //通过反射,把method数组放入,静态变量methods中,
            clazz.getField("methods").set(null, methods.toArray(new Method[0]));

            // create Proxy class.
            String fcn = Proxy.class.getName() + id;
            ccm = ClassGenerator.newInstance(cl);
            ccm.setClassName(fcn);
            ccm.addDefaultConstructor();
	    //设置父类为抽象类,Proxy类子类,
            ccm.setSuperClass(Proxy.class);
	    //生成实现它的抽象方法newInstance代码
	    //new 的实例对象,是上面生成的代理类 pcn
            ccm.addMethod("public Object newInstance(" + InvocationHandler.class.getName() + " h){ return new " + pcn + "($1); }");
            Class<?> pc = ccm.toClass();
            proxy = (Proxy) pc.newInstance();
        } catch (RuntimeException e) {
            throw e;
        } catch (Exception e) {
            throw new RuntimeException(e.getMessage(), e);
        } finally {
            // release ClassGenerator
            if (ccp != null)
                ccp.release();
            if (ccm != null)
                ccm.release();
            synchronized (cache) {
                if (proxy == null)
                    cache.remove(key);
                else
                    //放入缓存,key:实现的接口名,value 代理对象,这个用弱引用,
                    //当jvm gc时,会打断对实例对象的引用,对象接下来就等待被回收。
                    cache.put(key, new WeakReference<Proxy>(proxy));
                cache.notifyAll();
            }
        }
        return proxy;
    }
(2)这里是进行补充上面的那个【Invoker的怎么生成的步骤】,看一下Invoker中都包含了什么信息这么重要,这里需要强调一下这个Invoker生成的过程和Dubbo服务的暴露和导出生成的Invoker不太一样
- invoker对象是通过 InvokerInvocationHandler构造方法传入,而InvokerInvocationHandler对象是由JavassistProxyFactory类getProxy(Invoker invoker, Class<?>[] interfaces)方法创建。
这还要回到调用proxyFactory.getProxy(invoker);方法的地方,即ReferenceConfig类的createProxy(Map<String, String> map)方法中 - 所以这个Invoker其实是通过ReferenceConfig 中的createProxy(Map<String, String> map)方法来生成的Invoker对象,这个就是下面中使用到的对象refprotocol ,
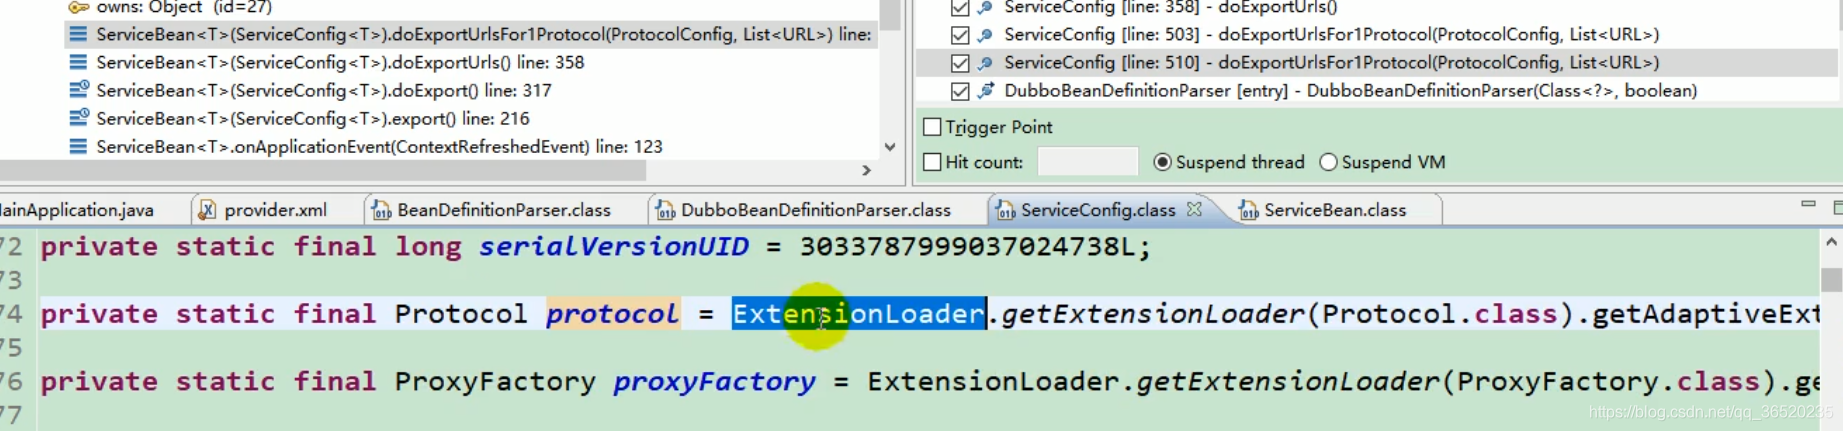
private static final Protocol refprotocol = (Protocol)ExtensionLoader.getExtensionLoader(Protocol.class).getAdaptiveExtension();
 if (urls.size() == 1) {//只有一个直连地址或一个注册中心配置地址
	//这里的urls.get(0)协议,可能是直连地址(默认dubbo协议),也可能是regiter注册地址(zookeeper协议)
	//我们这里走的是注册中心,所以
	invoker = refprotocol.refer(interfaceClass, urls.get(0));//本例通过配置一个注册中心的形式(***看这里***)
    } else {//多个直连地址或者多个注册中心地址,甚至是两者的组合。
	List<Invoker<?>> invokers = new ArrayList<Invoker<?>>();
	URL registryURL = null;
	for (URL url : urls) {
	    //创建invoker放入invokers
	    invokers.add(refprotocol.refer(interfaceClass, url));
	    if (Constants.REGISTRY_PROTOCOL.equals(url.getProtocol())) {
		registryURL = url; // 多个注册中心,用最后一个registry url
	    }
	}
	if (registryURL != null) { //有注册中心协议的URL,
	    //对多个url,其中存在有注册中心的,写死用AvailableCluster集群策略
	    //这其中包括直连和注册中心混合或者都是注册中心两种情况
	    URL u = registryURL.addParameter(Constants.CLUSTER_KEY, AvailableCluster.NAME);
	    invoker = cluster.join(new StaticDirectory(u, invokers));
	} else { // 多个直连的url
	    invoker = cluster.join(new StaticDirectory(invokers));
	}
    }
- 上面的代码可以看出生成Invoker的有三种方式,
- 第一种是refprotocol.refer(this.interfaceClass, (URL),这里的接口用的是SPI机制的dubbo对应下面的那个@SPI注解=com.alibaba.dubbo.rpc.protocol.dubbo.DubboProtocol这一句,所以这一种主要是使用的是Dubbo直连的协议都会走这一层
- 第二种是 cluster.join(new StaticDirectory(u, invokers));,这个是加了路由的负载均衡相关的,这一部分主要都是路由层的东西
- 第三种是 this.invoker = cluster.join(new StaticDirectory(invokers));也是路由层的东西, 路由层:封装多个提供者的路由及负载均衡,并桥接注册中心,以 Invoker 为中心,扩展接口为 Cluster, Directory, Router, LoadBalance
@SPI("dubbo")
public interface Protocol {
    int getDefaultPort();

    @Adaptive
    <T> Exporter<T> export(Invoker<T> var1) throws RpcException;

    @Adaptive
    <T> Invoker<T> refer(Class<T> var1, URL var2) throws RpcException;

    void destroy();
}
因为Dubbo中在实现远程调用的时候其实是通过Poxy对象生成的Invoker对象,那么就先看一下Invoker的怎么生成的,里面都包含了什么信息?
- 这里的invoker对象,通过InvokerInvocationHandler构造方法传入,而InvokerInvocationHandler对象是由JavassistProxyFactory类
getProxy(Invoker invoker, Class<?>[] interfaces)方法创建
Dubbo中的SPI机制的使用和分析


 355
355


 被折叠的 条评论
为什么被折叠?
被折叠的 条评论
为什么被折叠?
 到【灌水乐园】发言


