在之前的例子学习了如何使用JPA,如何通过Apache olingo来将JPA数据库自动转化为RESTful Web Service。
学习了如何使用SAPUI5,现在我来把它们整合起来。
开发环境:
开发环境是:Eclipse Juno, MySQL 5.5,olingo 1.2,EclipseLink 2.4, Tomcat 7, SAPUI5 1.18
这里数据层就直接使用上一个练习完成的jpa2项目,它实现了一个对后台数据库表employee操作的RESTful Web Service,
url: http://localhost:8080/jpa2/Employee.svc/
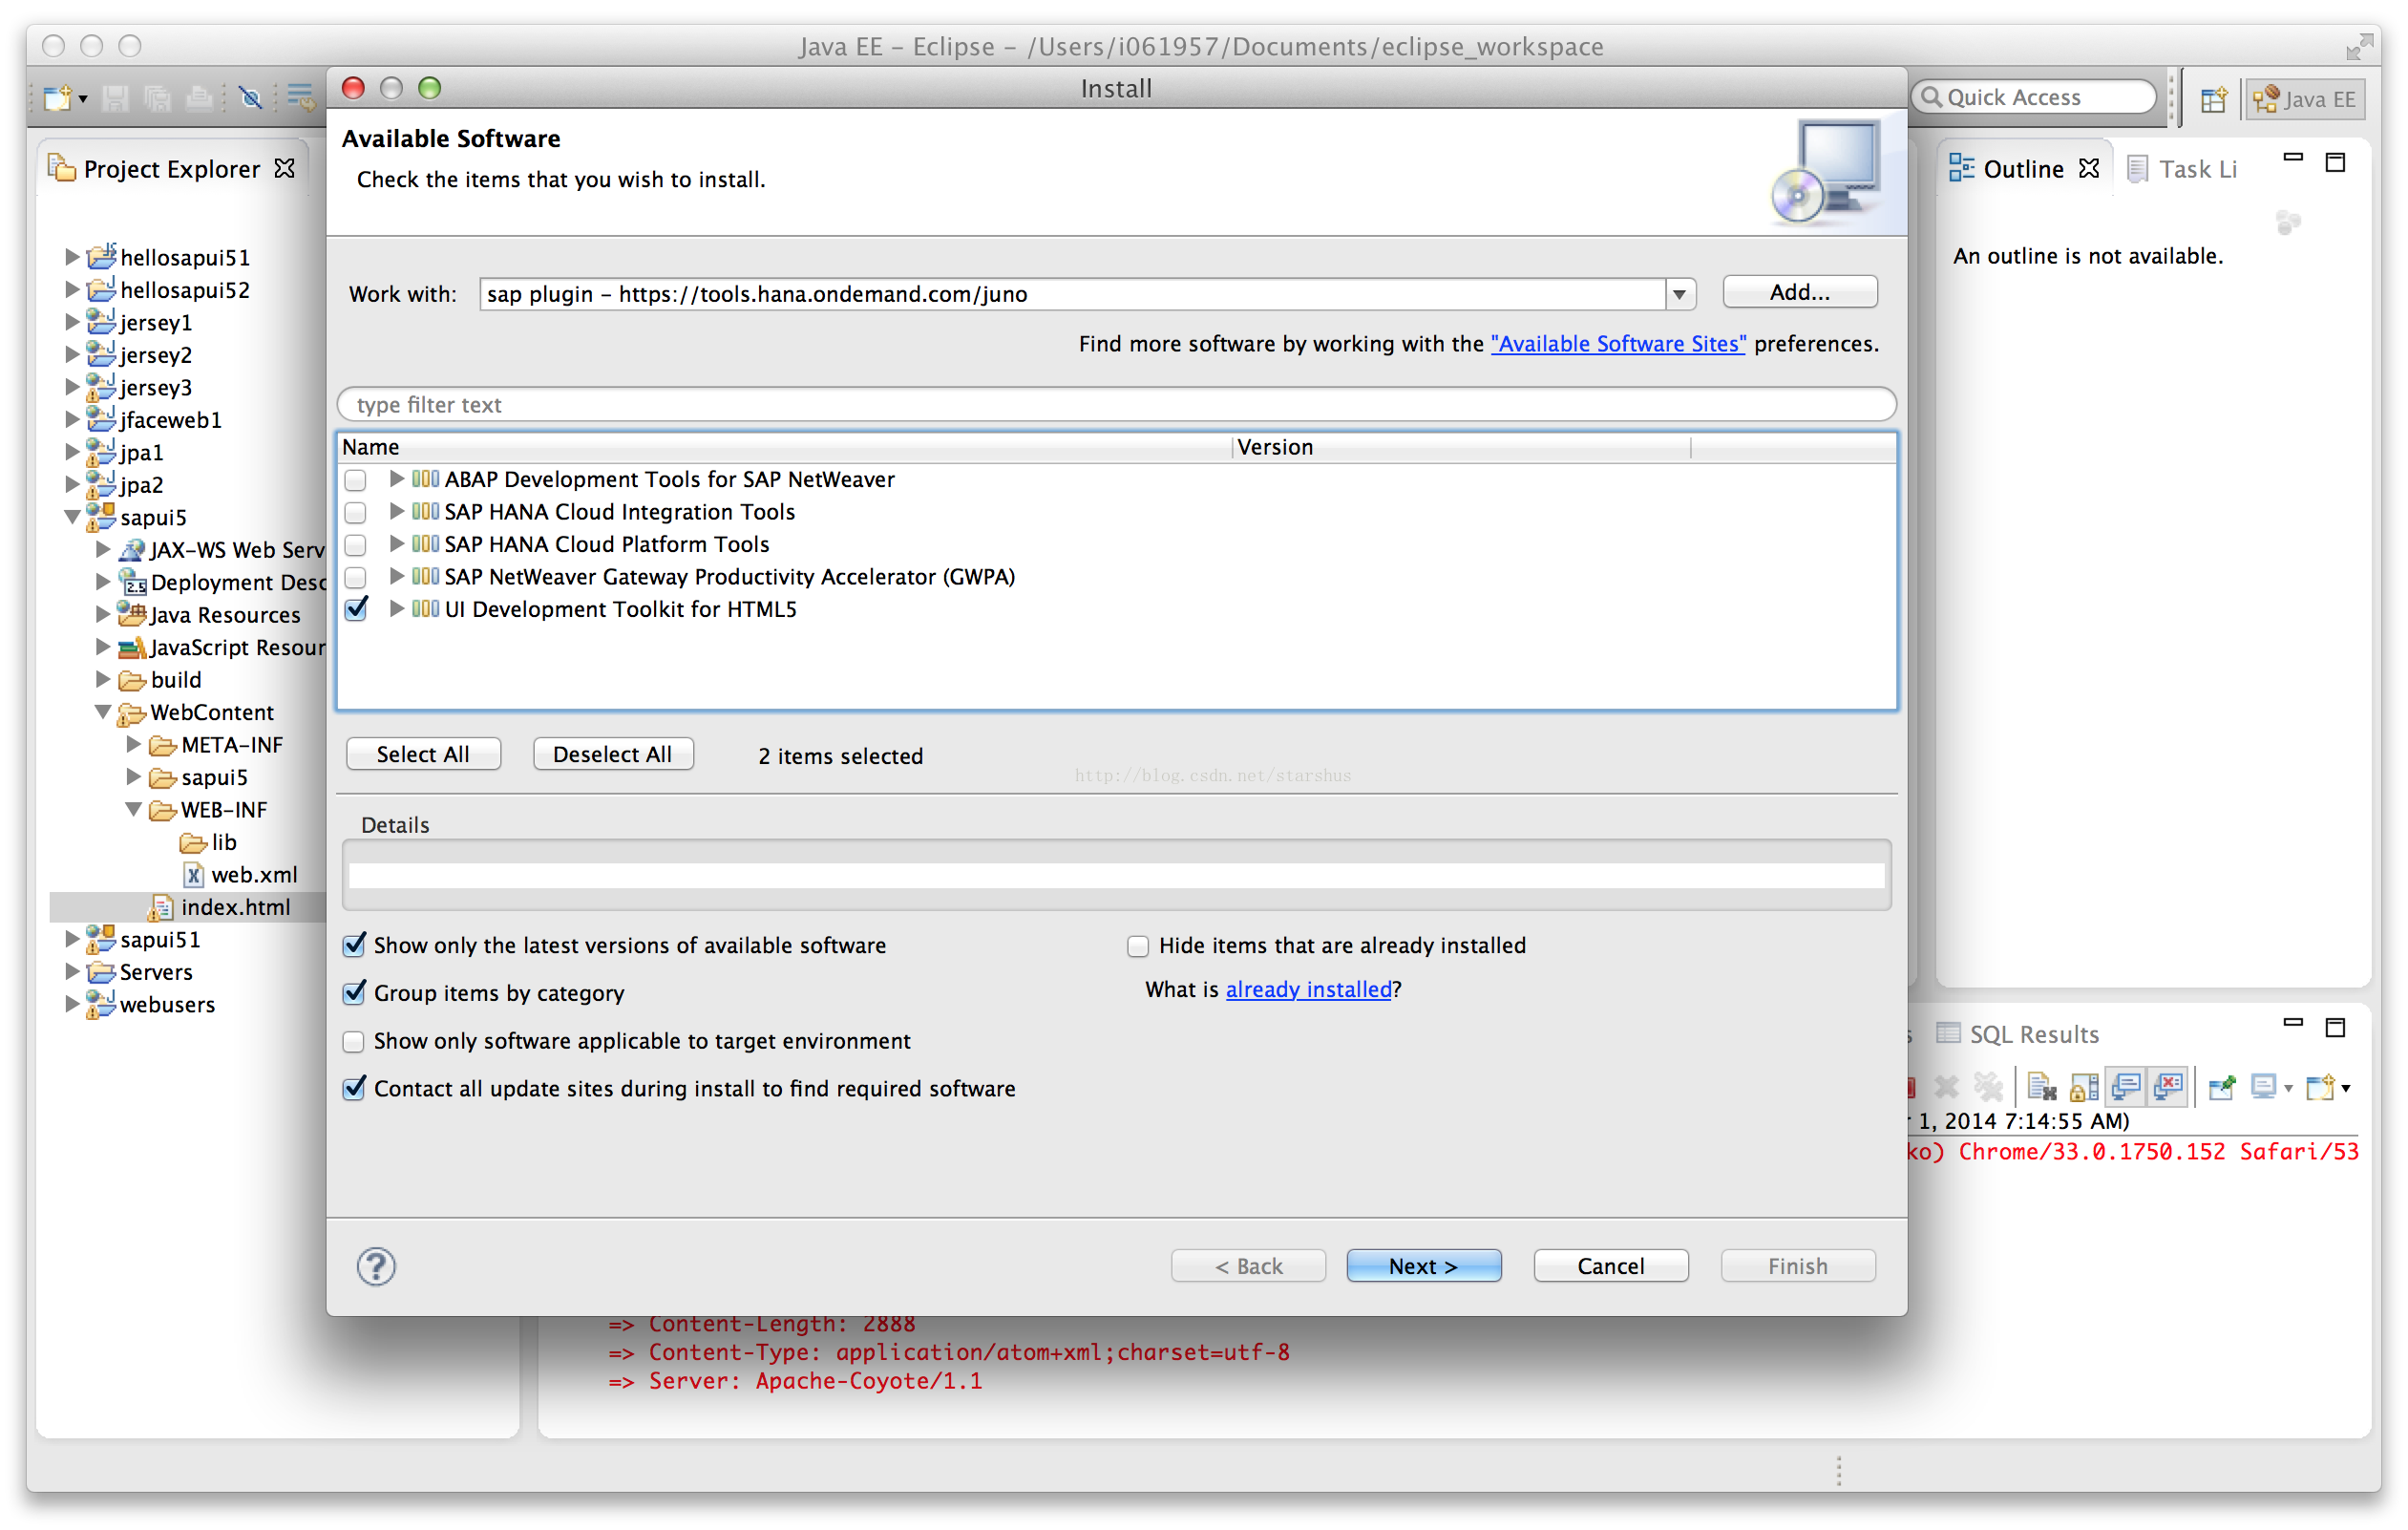
1.安装SAP提供的Eclipse SAPUI5插件。
https://tools.hana.ondemand.com
2.创建一个SAPUI5的Web Project,名字叫sapui5
3.由于我的服务是local的,所以需要使用proxy来访问,修改一下web.xml
添加:
- <servlet>
- <servlet-name>SimpleProxyServlet</servlet-name>
- <servlet-class>com.sap.ui5.proxy.SimpleProxyServlet</servlet-class>
- </servlet>
- <servlet-mapping>
- <servlet-name>SimpleProxyServlet</servlet-name>
- <url-pattern>/proxy/*</url-pattern>
- </servlet-mapping>
- <context-param>
- <param-name>com.sap.ui5.proxy.REMOTE_LOCATION</param-name>
- <param-value>http://localhost:8080</param-value>
- </context-param>
4.修改index.html文件:
- <!DOCTYPE HTML>
- <html>
- <head>
- <meta http-equiv="X-UA-Compatible" content="IE=edge">
- <meta http-equiv='Content-Type' content='text/html;charset=UTF-8' />
-
- <script src="resources/sap-ui-core.js" id="sap-ui-bootstrap"
- data-sap-ui-libs="sap.ui.commons, sap.ui.table"
- data-sap-ui-theme="sap_bluecrystal">
-
- </script>
- <script>
- //One place for defining service URLs - either in the index.html file,
- //or in one separate .js file which needs to be included.
- //The application is responsible for exchanging the URLs before checking in and
- //after checking out to SAPUI5 Repository;
- //or using a helper function getServiceUrl for which also the application
- //is responsible.
-
- //var serviceUrl = "/mypath/myservice"; //url when running on the ABAP system
- //var serviceUrl = "proxy/mypath/myservice"; //url when running locally in Eclipse
-
- var serviceUrl = getServiceUrl("/jpa2/Employee.svc/");
-
- function getServiceUrl(sServiceUrl) {
- //for local testing prefix with proxy
- //if you and your team use a special host name or IP like 127.0.0.1 for localhost please adapt the if statement below
- if (window.location.hostname == "localhost") {
- return "proxy" + sServiceUrl;
- } else {
- return sServiceUrl;
- }
- }
- </script>
-
- <script>
- // create the DataTable control
- var oTable = new sap.ui.table.Table({
- editable : true
- });
-
- // define the Table columns
- var oControl = new sap.ui.commons.TextView({
- text : "{Id}"
- }); // short binding notation
- oTable.addColumn(new sap.ui.table.Column({
- label : new sap.ui.commons.Label({
- text : "ID"
- }),
- template : oControl,
- sortProperty : "id",
- filterProperty : "id",
- width : "100px"
- }));
-
- // define the Table columns
- var oControl = new sap.ui.commons.TextView({
- text : "{FirstName}"
- }); // short binding notation
- oTable.addColumn(new sap.ui.table.Column({
- label : new sap.ui.commons.Label({
- text : "First Name"
- }),
- template : oControl,
- sortProperty : "firstName",
- filterProperty : "firstName",
- width : "100px"
- }));
-
- // define the Table columns
- var oControl = new sap.ui.commons.TextView({
- text : "{LastName}"
- }); // short binding notation
- oTable.addColumn(new sap.ui.table.Column({
- label : new sap.ui.commons.Label({
- text : "Last Name"
- }),
- template : oControl,
- sortProperty : "lastName",
- filterProperty : "lastName",
- width : "100px"
- }));
-
- var oModel = new sap.ui.model.odata.ODataModel(serviceUrl);
-
- oTable.setModel(oModel);
- oTable.bindRows("/Employees");
-
- // finally place the Table into the UI
- oTable.placeAt("content");
- </script>
-
- </head>
- <body class="sapUiBody" role="application">
- <div id="content"></div>
- </body>
- </html>
这里主要就是创建一个table组件,然后创建一个odata model,然后它们绑定一下就行了。
5.部署项目在Tomcat上,运行:
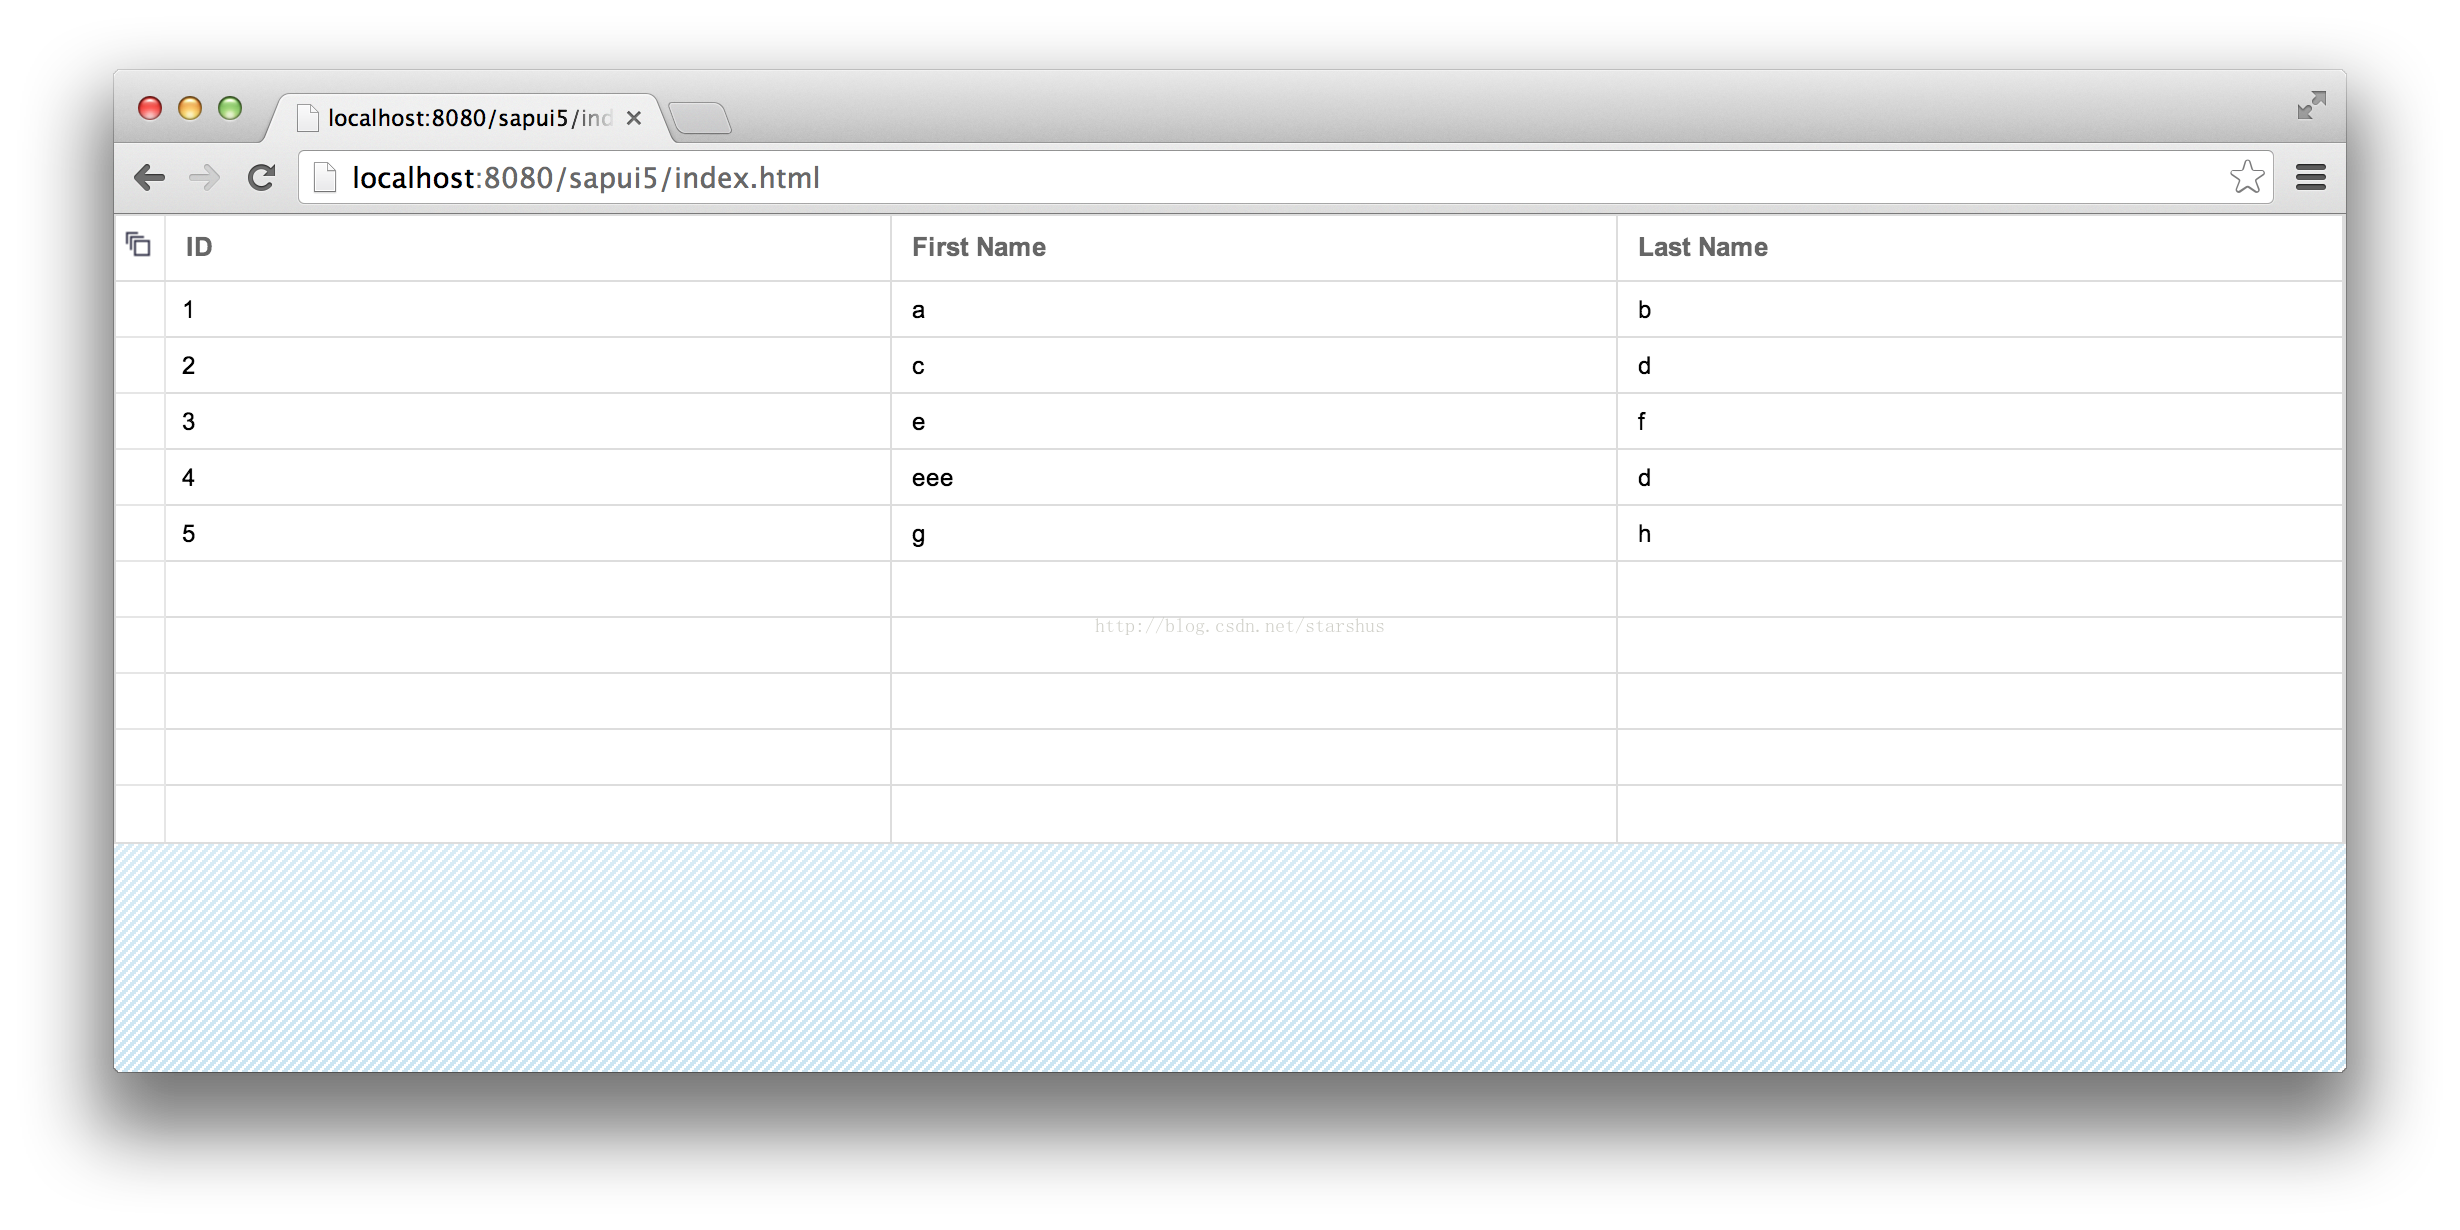
6.小结:在得到了RESTful的service以后,进行web和移动开发以后就非常方便了,而使用SAPUI5则变得更方便了,不仅界面漂亮,还可以大大提高开发效率。


 150
150


 被折叠的 条评论
为什么被折叠?
被折叠的 条评论
为什么被折叠?
 到【灌水乐园】发言


