


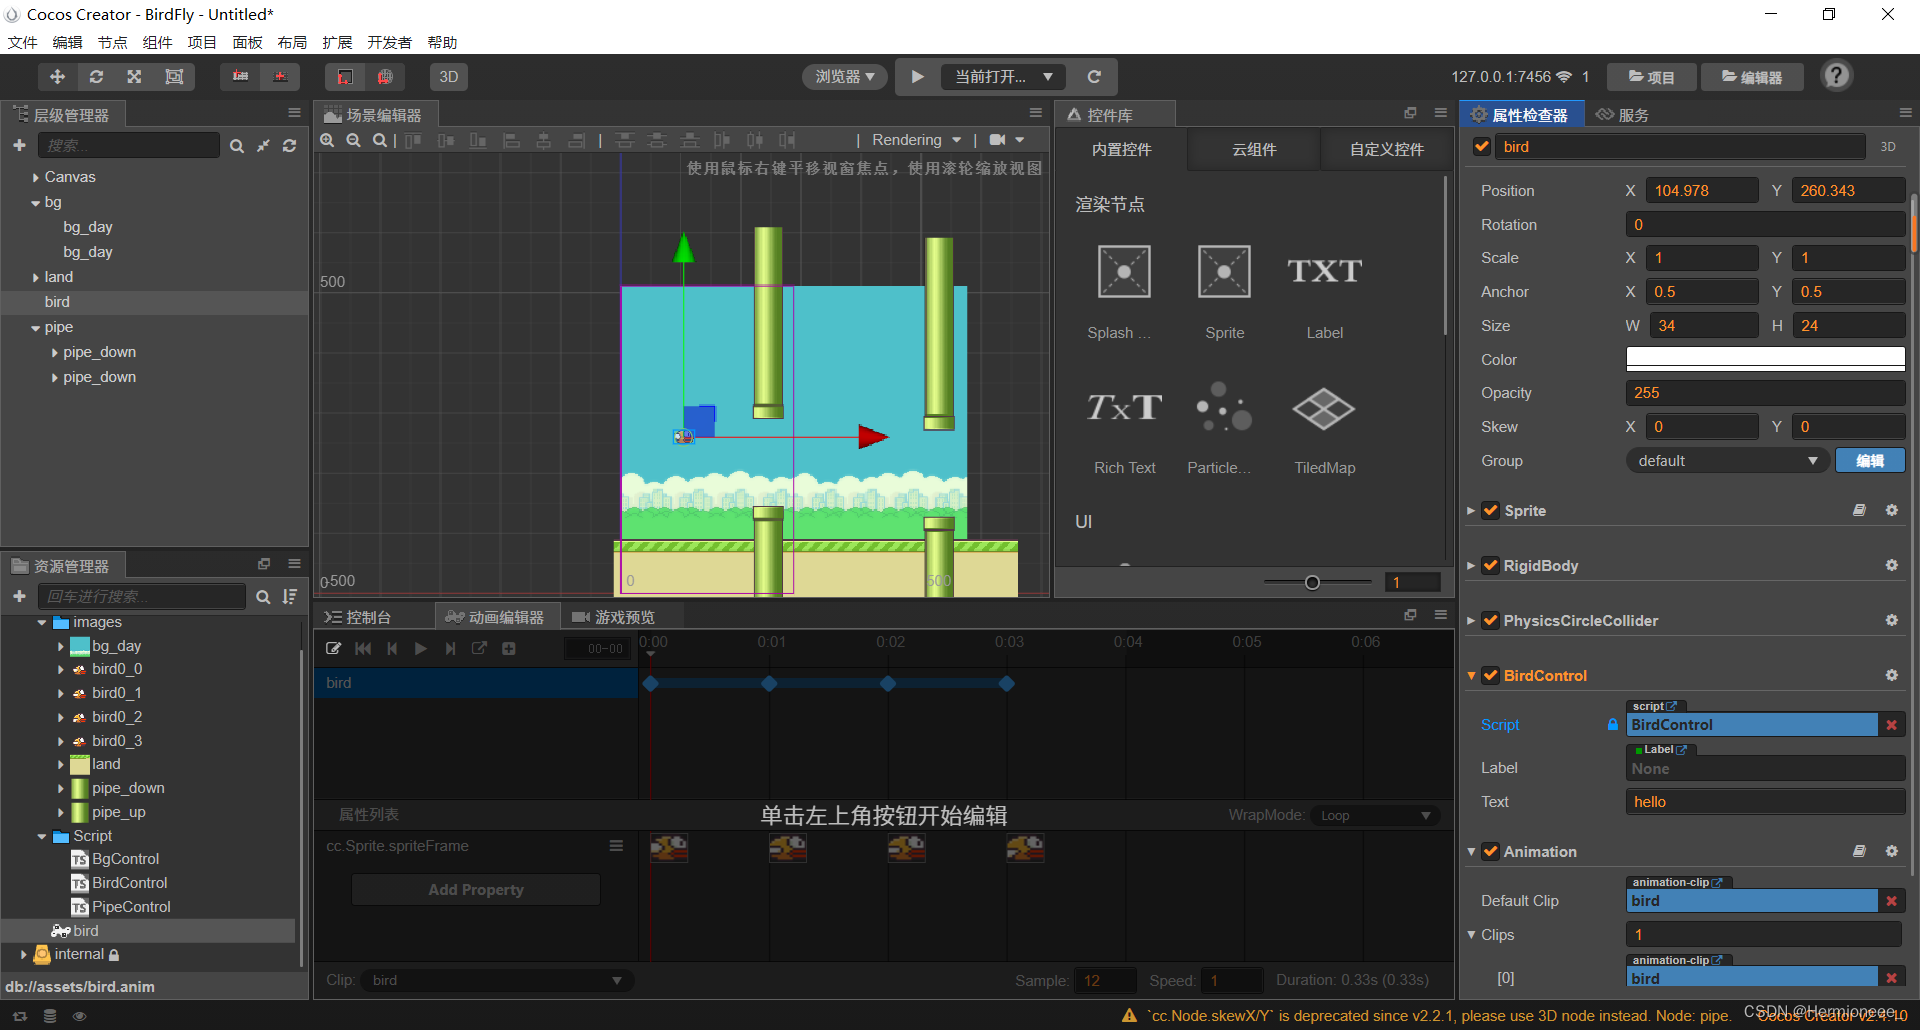
BirdControl源码
const {ccclass, property} = cc._decorator;
@ccclass
export default class BirdControl extends cc.Component {
@property(cc.Label)
label: cc.Label = null;
@property
text: string = 'hello';
// LIFE-CYCLE CALLBACKS:
onLoad () {
cc.director.getPhysicsManager().enabled = true;
}
start () {
}
fly(){
//给他一个线性的y方向速度
this.getComponent(cc.RigidBody).linearVelocity = cc.v2(0,150);
}
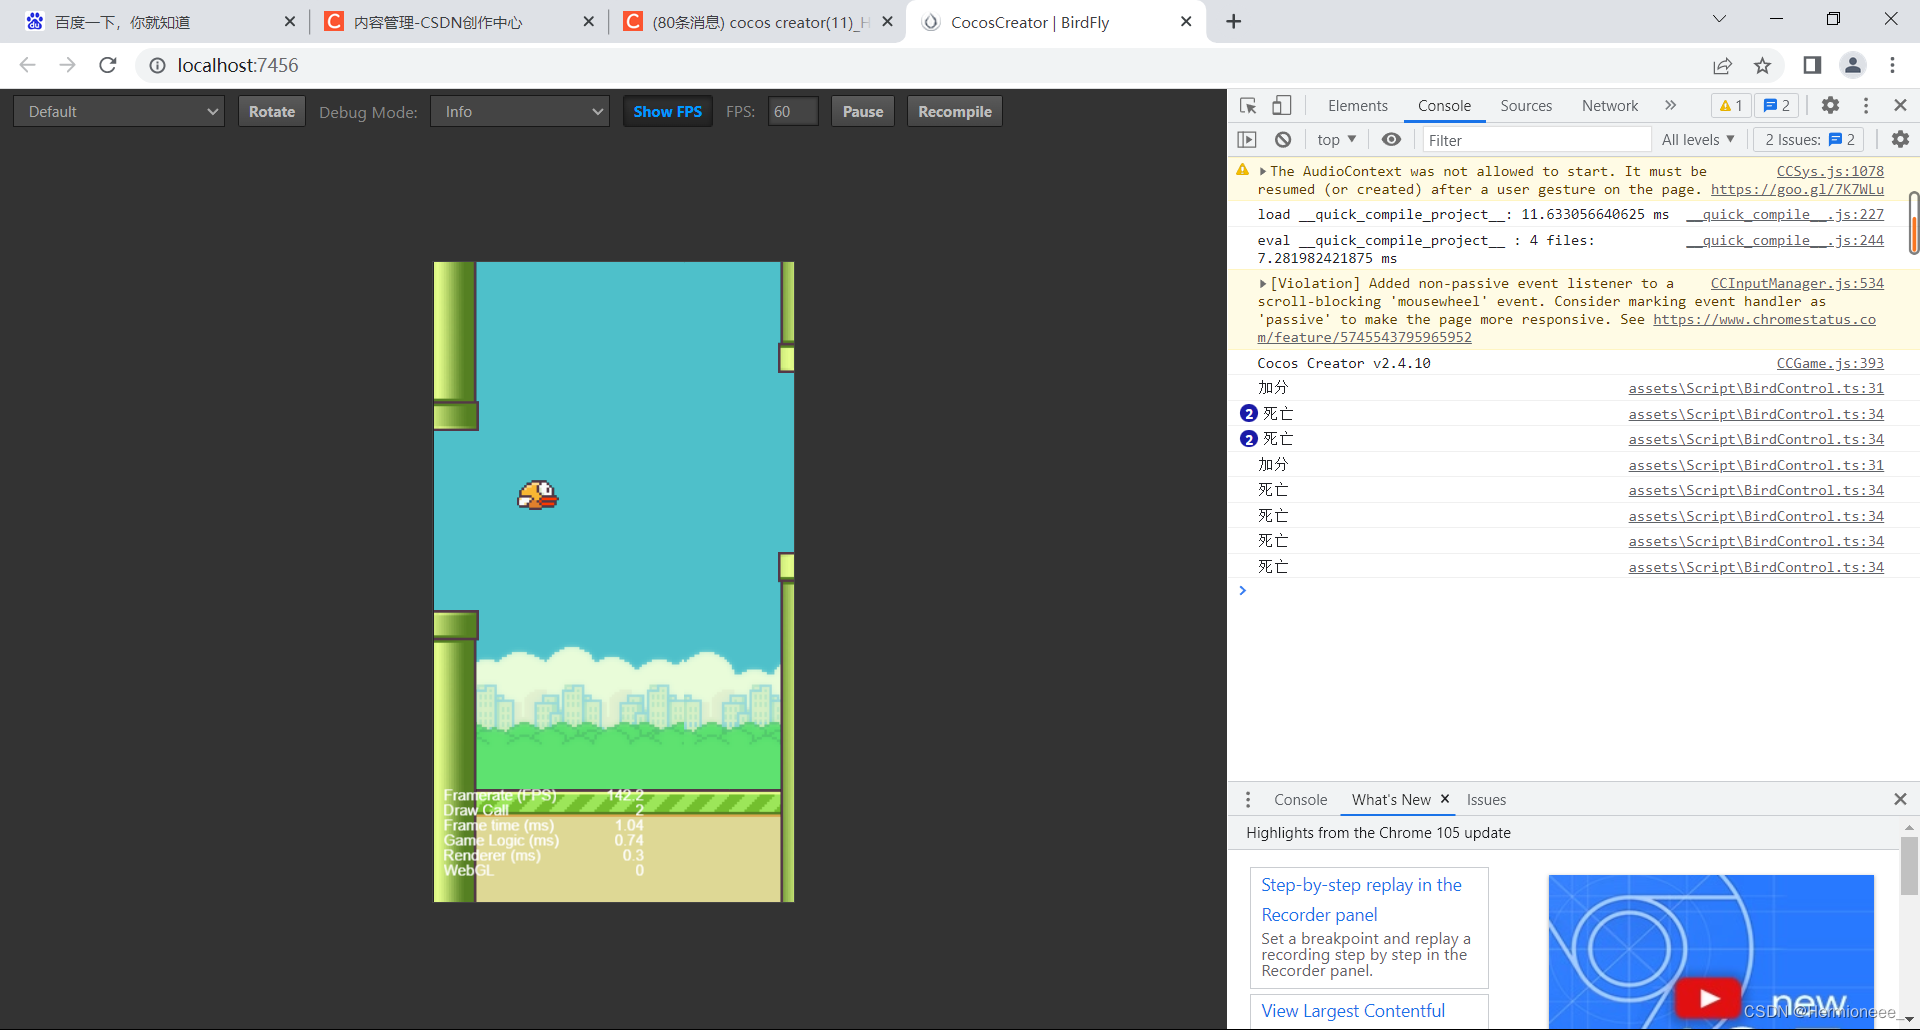
//监听
onBeginContact(contact,self,other){
if(other.tag == 1){
console.debug("加分");
}
else{
console.debug("死亡");
}
}
// update (dt) {}
}
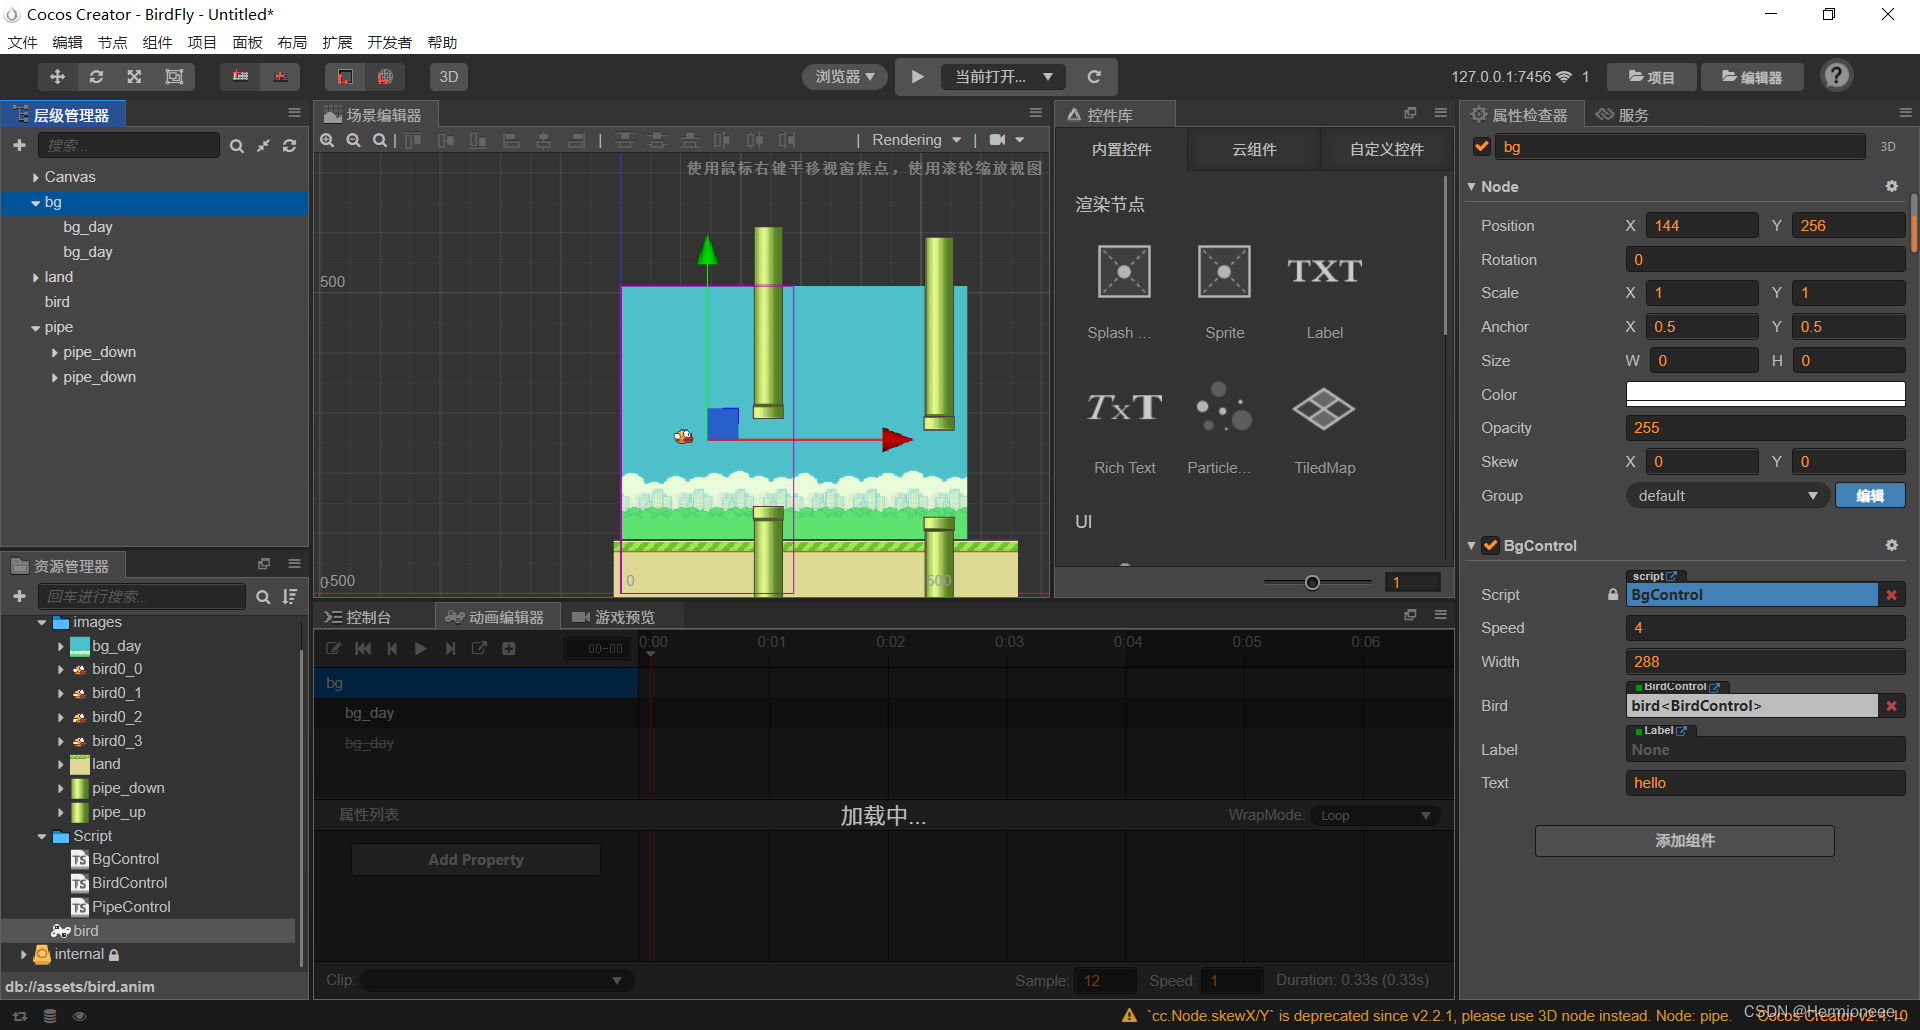
BgControl源码
import BirdControl from "./BirdControl";

const {ccclass, property} = cc._decorator;

@ccclass
export default class BgControl extends cc.Component {
    //把数值写成属性
    //速度
    @property
    speed: number = 4;

    //宽度
    @property
    width: number = 288;

    //小鸟  设置bird control组件
    @property(BirdControl)
    bird:BirdControl = null;

    @property(cc.Label)
    label: cc.Label = null;

    @property
    text: string = 'hello';

    start () {
        //监听  跨脚本调用
        for(let bg of this.node.children){
            bg.on(cc.Node.EventType.MOUSE_DOWN,()=>{
                this.bird.fly();
            })
        }
    }

    update (dt) {
        //移动
        for(let bg of this.node.children){
            bg.x -= this.speed * dt;

        //背景超出屏幕
        if(bg.x < -this.width){//小于负的
            bg.x += this.width * 2;
        }
        }
    }
}
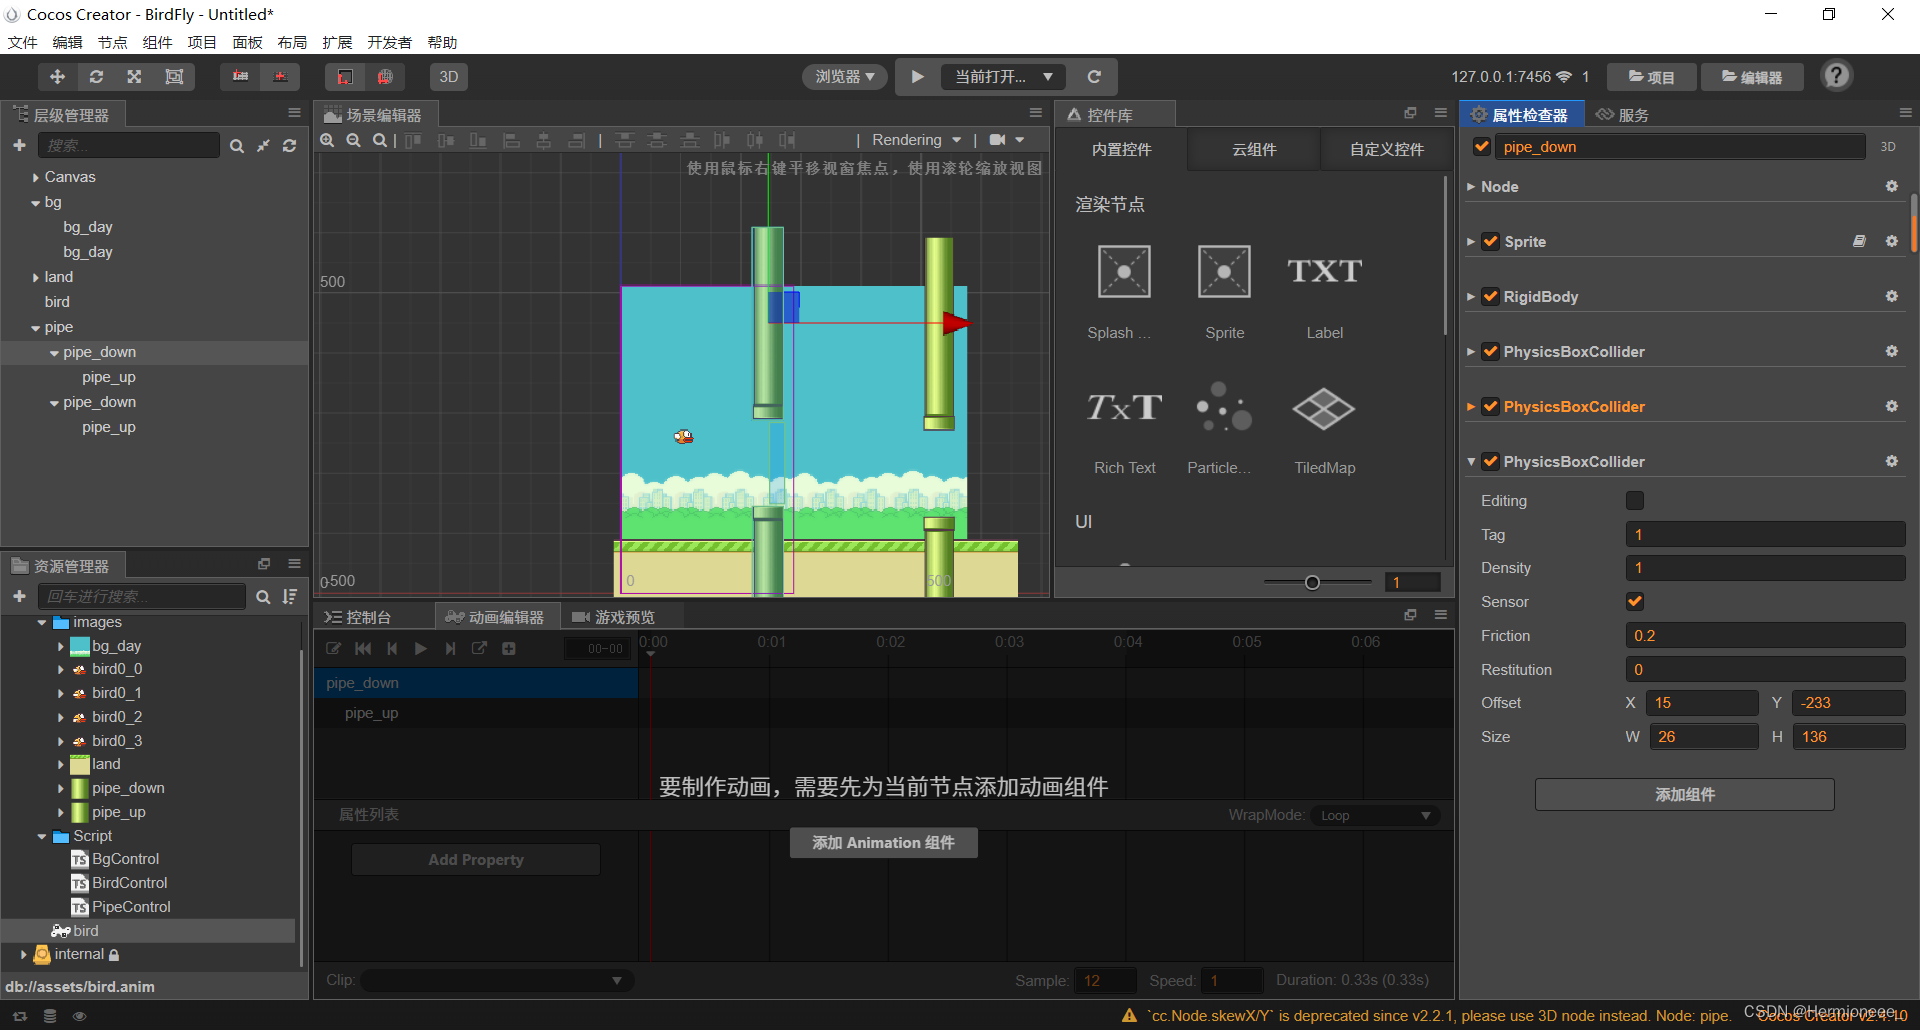
PipeControl源码
const {ccclass, property} = cc._decorator;

@ccclass
export default class PipeControl extends cc.Component {

    //管道速度
    @property
    speed:number = 50;

    @property(cc.Label)
    label: cc.Label = null;

    @property
    text: string = 'hello';

    // LIFE-CYCLE CALLBACKS:

    // onLoad () {}

    start () {

    }

    update (dt) {
        for(let pipe of this.node.children){
            pipe.x -=this.speed * dt;

            //出屏幕后
            if(pipe.x < -50){
                pipe.x += 288 * 2;
                pipe.y = Math.random() *200 + 450;
            }
        }
    }
}
最终结果
总结
1.若需要在任意地点点击都可以触发,可以把监听设置在背景上
2.跨脚本调用
@property(BirdControl)
    bird:BirdControl = null;
在Bgcontrol中 创造BirdControl的组件
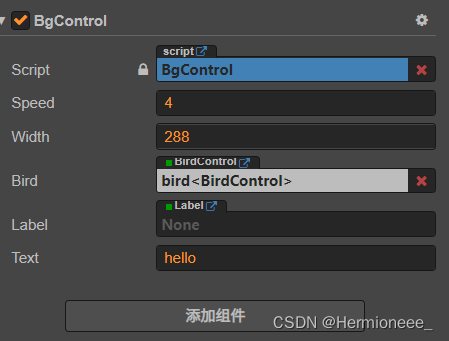
再将Bird位置把bird精灵放置进去,就可以在bgcontrol中调用birdcontrol的方法
3.需要原理相同但需要的对应的数据不同,可以在脚本中把元素写成数据,可以让不同的精灵都应用该脚本,并在需要修改的地方对应修改
//把数值写成属性
    //速度
    @property
    speed: number = 4;

    //宽度
    @property
    width: number = 288;
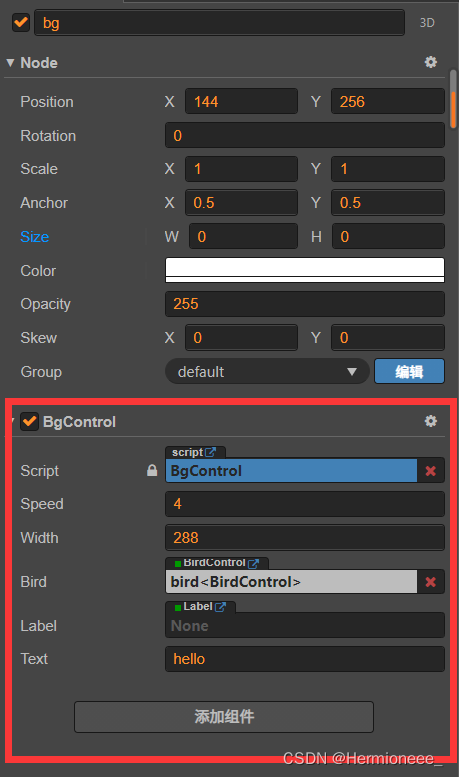
bg中的BgControl
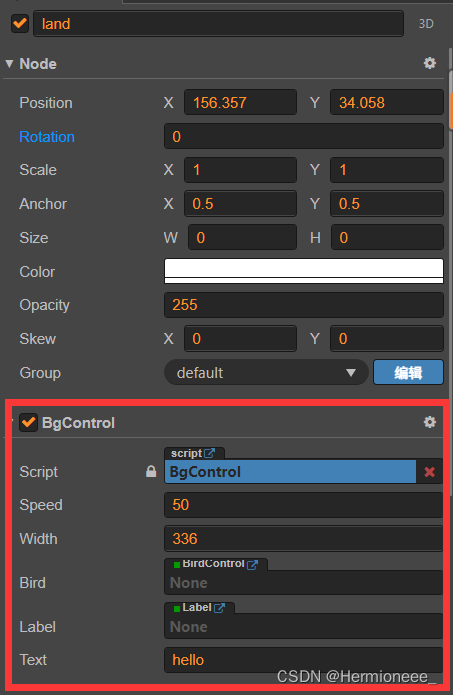
land中的BgControl


 1022
1022


 被折叠的 条评论
为什么被折叠?
被折叠的 条评论
为什么被折叠?
 到【灌水乐园】发言


