


前言
gitlab 是在k8s上部署的,具体部署步骤请看这片博客,本文不在详述
gitlab 使用钉钉登陆
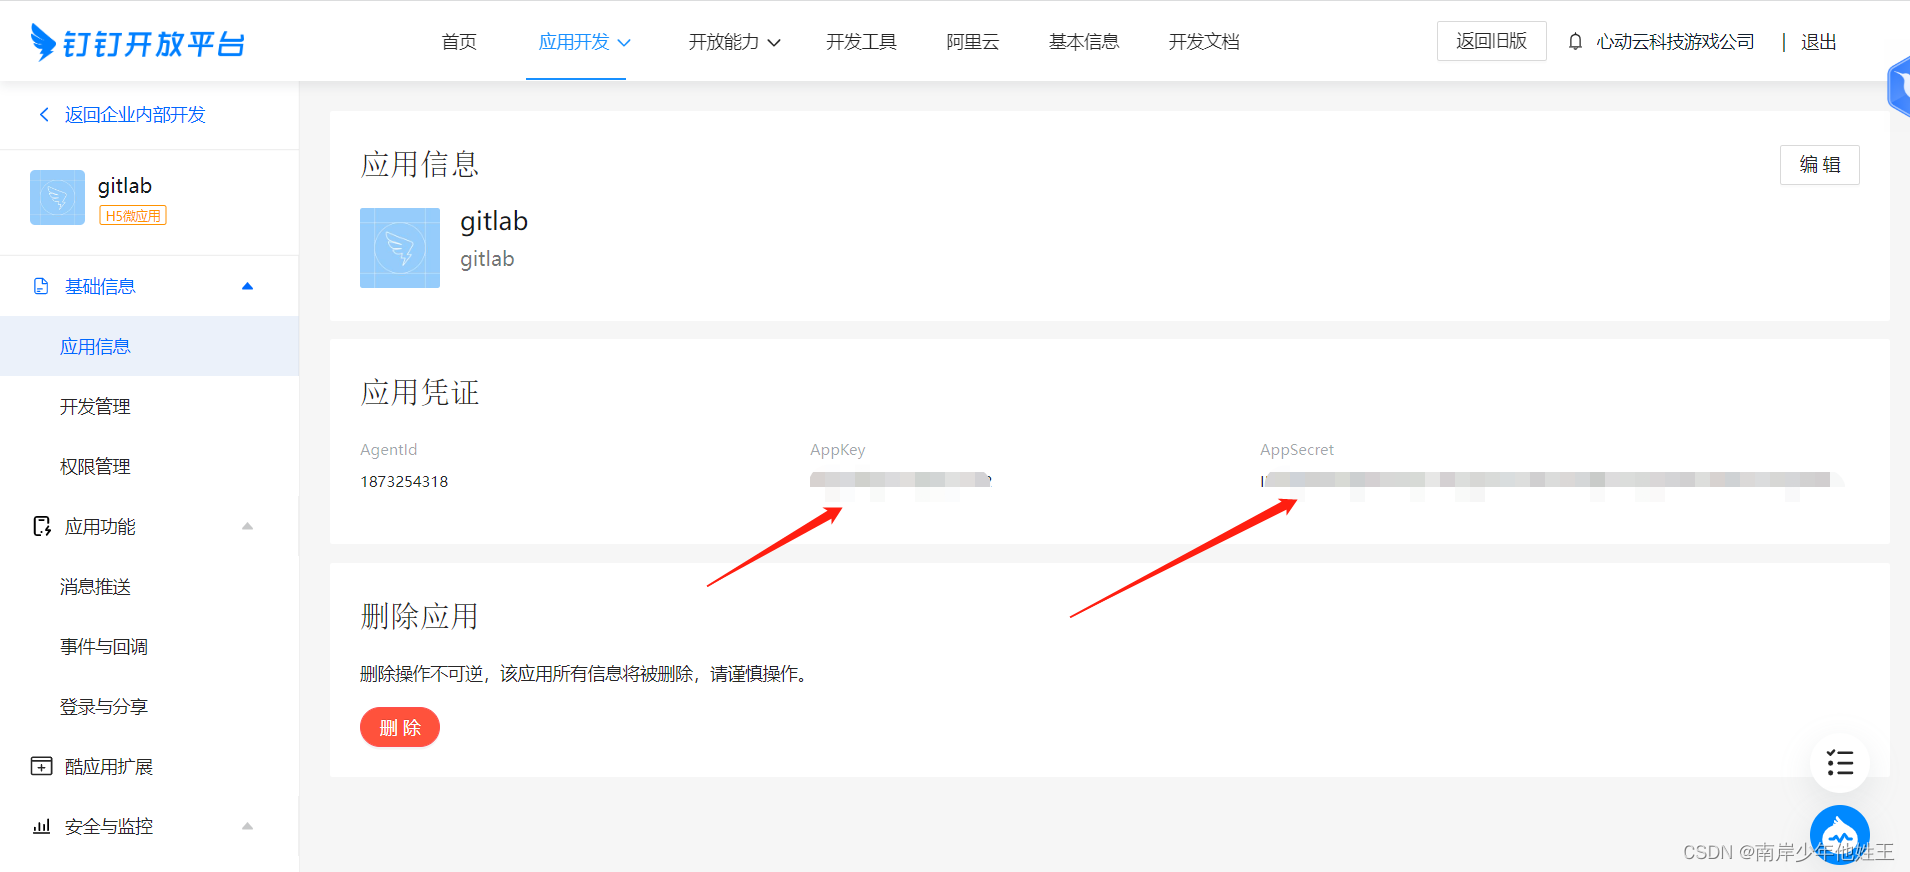
进入钉钉开放平台,创建企业内部开发,获取到AppKey、AppSecret凭证,例如下图
添加登陆回调域名(请根据实际情况修改)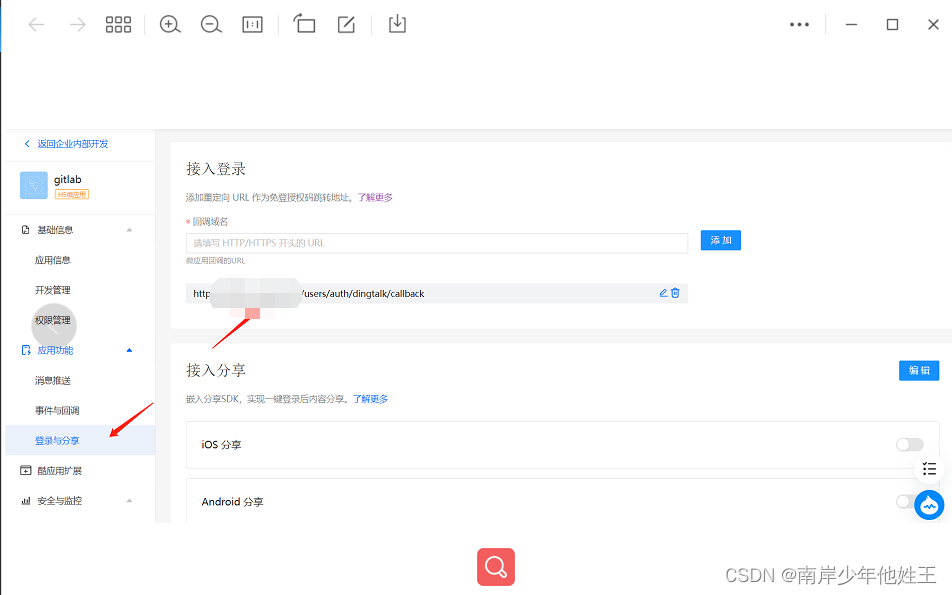
https://gitlab访问地址/users/auth/dingtalk/callback

# 修改上面的链接的gitlab访问地址为自己的
根据前面获取到的AppKey、AppSecret创建secret
# 编写provider.yaml
cat>provider.yaml<<EOF
name: "dingtalk"
label: "dingtalk"
app_id: "AppKey"                          # 填入AppKey
app_secret: "AppSecret"                   # 填入AppSecret
EOF

# 创建secret,放在跟gitlab同一namespace下
kubectl create secret generic -n gitlab dingtalk --from-file=provider=provider.yaml
修改gitlab.yaml文件
    omniauth:
      enabled: true
      autoSignInWithProvider:
      syncProfileFromProvider: []
      syncProfileAttributes: [email]
      allowSingleSignOn: ['saml','dingtalk']
      blockAutoCreatedUsers: false
      autoLinkLdapUser: true
      autoLinkSamlUser: true
      autoLinkUser: []
      externalProviders: ['dingtalk']
      allowBypassTwoFactor: []
      providers:
       - secret: dingtalk  #上面创建的secret的命令
       #- secret: gitlab-google-oauth2
         key: provider
更新gitlab
helm upgrade --install gitlab gitlab/gitlab -n gitlab -f gitlab.yaml -f storage.yaml
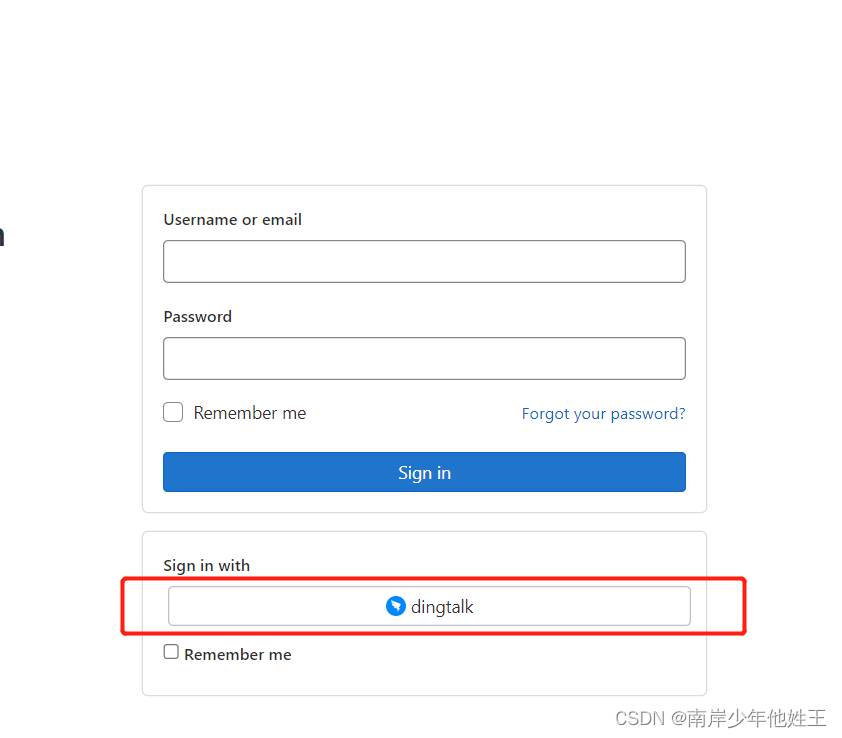
网页打开就会看到gitlab 钉钉登陆接口,就可以进行扫码登陆了


 1198
1198


 被折叠的 条评论
为什么被折叠?
被折叠的 条评论
为什么被折叠?
 到【灌水乐园】发言


