


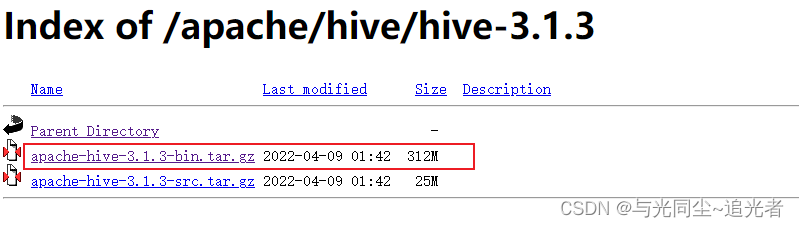
一、下载安装包
https://mirrors.tuna.tsinghua.edu.cn/apache/hive/hive-3.1.3/
二、环境准备
mysql可以参考:
Mysql5.7 Yum安装详解_与光同尘~追光者的博客-CSDN博客_yum安装mysql5.7
hadoop参考:
Hadoop 3.3.1 分布式部署_与光同尘~追光者的博客-CSDN博客
三、上报压缩包并解压到指定目录
tar -zxf apache-hive-3.1.3-bin.tar.gz -C /opt/module/四、修改配置
4.1 hive-env.sh
cp hive-env.sh.template hive-env.sh

export HADOOP_HOME=/opt/module/hadoop-3.3.3/
export HIVE_CONF_DIR=/opt/module/hive-3.1.3/conf/
4.2 hive-site.xml
<?xml version="1.0" encoding="UTF-8"?>
<?xml-stylesheet type="text/xsl" href="configuration.xsl"?>
<configuration>
<!-- 存储元数据mysql相关配置 -->
<property>
<name>javax.jdo.option.ConnectionURL</name>
<value>jdbc:mysql://bigdata03:3306/hive?createDatabaseIfNotExist=true&useSSL=false&useUnicode=true&characterEncoding=UTF-8</value>
</property>
<property>
<name>javax.jdo.option.ConnectionDriverName</name>
<value>com.mysql.jdbc.Driver</value>
</property>
<property>
<name>javax.jdo.option.ConnectionUserName</name>
<value>root</value>
</property>
<property>
<name>javax.jdo.option.ConnectionPassword</name>
<value>root</value>
</property>
<!-- H2S运行绑定host -->
<property>
<name>hive.server2.thrift.bind.host</name>
<value>bigdata01</value>
</property>
<!-- 远程模式部署metastore metastore地址 -->
<property>
<name>hive.metastore.uris</name>
<value>thrift://bigdata01:9083</value>
</property>
<property>
<name>hive.metastore.warehouse.dir</name>
<value>/user/hive/warehouse</value>
<description>location of default database for the warehouse</description>
</property>
<!-- 关闭元数据存储授权 -->
<property>
<name>hive.metastore.event.db.notification.api.auth</name>
<value>false</value>
</property>
</configuration>
4.4 hive-log4j2.properties
cp hive-log4j2.properties.template hive-log4j2.properties
vim hive-log4j2.properties

#修改日志存放路径
property.hive.log.dir = /data/emr/hive/logs
4.5 上传mysql jdbc驱动到hive lib目录下

五、添加环境变量
vim /etc/profile.d/my_env.sh
#HIVE_HOME
export HIVE_HOME=/opt/module/hive-3.1.3
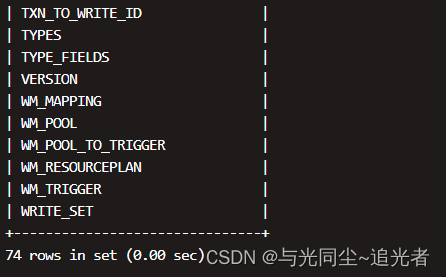
export PATH=$PATH:$HIVE_HOME/bin六、初始化
schematool -dbType mysql -initSchema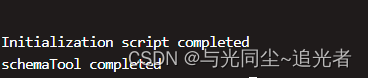
在hdfs创建hive存储目录(如存在则不用操作)
hadoop fs -mkdir /tmp
hadoop fs -mkdir -p /user/hive/warehouse
hadoop fs -chmod g+w /tmp
hadoop fs -chmod g+w /user/hive/warehouse
七、启动
7.1 启动metastore服务
#前台启动  关闭ctrl+c
hive --service metastore

#前台启动  开启debug日志
hive --service metastore --hiveconf hive.root.logger=DEBUG,console

#后台启动 进程挂起
nohup hive --service metastore &
7.2 启动hiveserver2服务
#启动hiveserver2后需要等一会儿再进行beeline连接 要不可能连接不上
nohup hive --service hiveserver2 &
7.3 beeline客户端连接
把bigdata01上的安装包 scp到bigdata02上 执行beeline
报错1:
Could not open connection to the HS2 server. Please check the server URI and if the URI is correct, then ask the administrator to check the server status.
Error: Could not open client transport with JDBC Uri: jdbc:hive2://bigdata01:10000: java.net.ConnectException: Connection refused
#在hadoop core-site.xml填加如下内容

<property>
<name>dfs.permissions.enabled</name>
<value>false</value>
</property>

<property>
<name>hadoop.proxyuser.hadoop.hosts</name>
<value>*</value>
</property>

<property>
<name>hadoop.proxyuser.hadoop.groups</name>
<value>*</value>

#需要重启hadoop
报错2:
org.apache.hadoop.security.authorize.AuthorizationException: User: hadoop is not allowed to impersonate hadoop

#在 hive-site.xml文件中添加如下内容
#重启hive metastore 和hiveserver2 服务

<property>
  <name>hive.metastore.sasl.enabled</name>
  <value>false</value>
  <description>If true, the metastore Thrift interface will be secured with SASL. Clients must authenticate with Kerberos.</description>
</property>

<property>
  <name>hive.server2.enable.doAs</name>
  <value>false</value>
</property>

<property>
  <name>hive.server2.authentication</name>
  <value>NONE</value>
</property>
报错3:
FAILED: Execution Error, return code 1 from org.apache.hadoop.hive.ql.exec.StatsTask
#在hive中设置一下
set hive.stats.column.autogather=false;
set hive.optimize.sort.dynamic.partition=true;参考:Error: Error while processing statement: FAILED: E... - Cloudera Community - 315296

重新执行 beeline -u jdbc:hive2://bigdata01:10000 -n hadoop


 382
382


 被折叠的 条评论
为什么被折叠?
被折叠的 条评论
为什么被折叠?
 到【灌水乐园】发言


