


使用Http访问网络
对于HTTP 简单理解就是客户端向服务器端发出一条HTTP请求,服务器收到请求之后会返回一些数据给客户端,然后客户端再对这些数据进行解析和处理就可以了。
使用HttpURLConnection (官方建议使用的方法)
步骤:
1.获取HttpURLConnection 的实例,一般只需要创建一个URL对象,并传入目标网络的地址,然后调用openConnection()方法即可。
val url = URL("https://www.baidu.com")
val connection = url.openConnection() as HttpsURLConnection // as强制类型转换操作符
2.在得到HttpURLConnection的实例之后,我们可以设置HTTP请求所使用的方法,常用的方法有post 和 GET。
connection.requestMethod = "GET" //表示从服务器获取数据3.接着设置连接超时,读取超时的时间,以及服务器希望得到的消息头等。
connection.connectTimeout = 8000 //设置时间的目的是如果超时,不会让线程卡死在这里
connection.readTimeout = 8000
4.之后再调用getinputStream()方法获得服务器返回的输入流。然后可以自行读取
val input = connection.inputStream //获取输入流5.调用完成关闭http连接
connection.disconnect()下面用一个具体的例子展示以下:
activity_main.xml
<?xml version="1.0" encoding="utf-8"?>
<LinearLayout xmlns:android="http://schemas.android.com/apk/res/android"
    android:layout_width="match_parent"
    android:layout_height="match_parent"
    android:orientation="vertical">

    <Button
        android:layout_width="match_parent"
        android:layout_height="wrap_content"
        android:id="@+id/sendRequestBtn"
        android:text="Send Request" />

    <ScrollView   //借助带有滚轮的view可以查看更多得内容
        android:layout_width="match_parent"
        android:layout_height="match_parent">

        <TextView
            android:layout_width="match_parent"
            android:layout_height="wrap_content"
            android:id="@+id/responseText" />

    </ScrollView>

</LinearLayout>
其中Button用来发送HTTP请求,TextView用来将服务器返回的数据显示出来。
class MainActivity : AppCompatActivity() {
override fun onCreate(savedInstanceState: Bundle?) {
super.onCreate(savedInstanceState)
setContentView(R.layout.activity_main)
//按钮响事件
sendRequestBtn.setOnClickListener {
sendRequestWithHttpURLConnection()
}
}
/* 1、为了避免导致UI卡顿的情况:比如在OnCreate 里面先进行网络请求然后还要加载布局 。
2、在Android4.0以后,在主线程中的HTTP请求,运行时都会报错 ANRs (“Application Not Responding”),”应用没有响应“。
所以:当进行网络请求的时候 还是需要开辟一个子线程,然后等到数据返回成功后再刷新UI*/
private fun sendRequestWithHttpURLConnection() {
//开启线程发起网络请求
thread {
var connection: HttpsURLConnection? = null //先初始化数据
try {
val response = StringBuilder() //服务器返回的回复
val url = URL("https://www.baidu.com")
val connection = url.openConnection() as HttpsURLConnection // as强制转换操作符
connection.requestMethod = "GET"
connection.connectTimeout = 8000 //如果超时,不会让线程卡死在这里
connection.readTimeout = 8000
val input = connection.inputStream //获取输入流
//对获取到的输入流进行读取
val reader = BufferedReader(InputStreamReader(input))
//use函数内部实现也是通过try-catch-finally块捕捉的方式,
// 所以不用担心会有异常抛出导致程序退出
//并且上下文是reader
reader.use{
reader.forEachLine {
response.append(it) //读取消息添加到response里
}
}
showResponse(response.toString())
} catch (e: Exception) {
e.printStackTrace()
} finally {
connection?.disconnect()
}
}
}
private fun showResponse(response: String) {
//开启Ui线程,将结果显示在界面上
runOnUiThread {
responseText.text = response
}
}
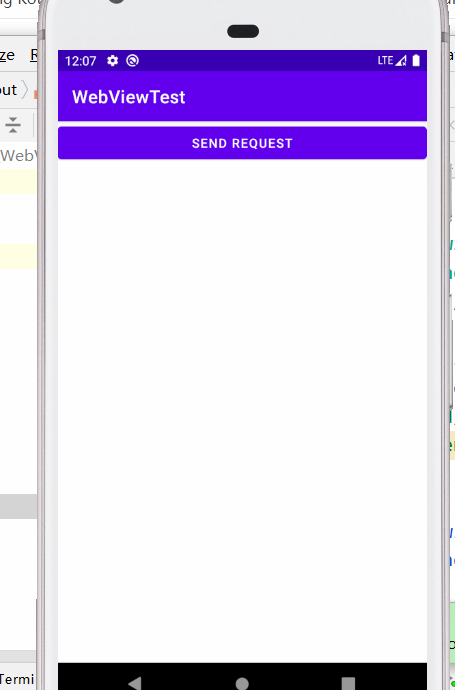
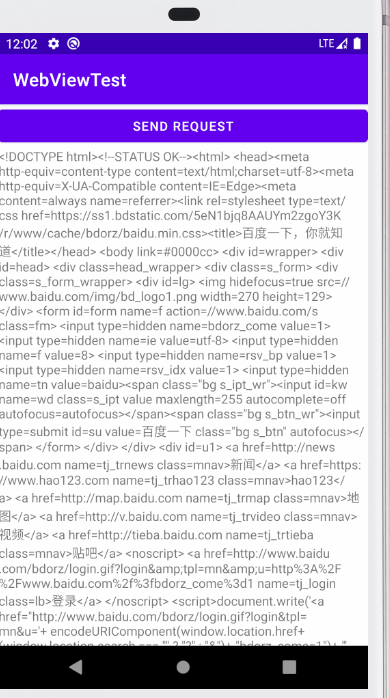
}//注意千万别忘了再AndroidManifest.xml文件里加入网络允许权限
<uses-permission android:name="android.permission.INTERNET" />效果图:


 4678
4678


 被折叠的 条评论
为什么被折叠?
被折叠的 条评论
为什么被折叠?
 到【灌水乐园】发言


