vue koa post 请求代理失败问题总结

场景是在使用 koa 写接口时,客户端发送 post 请求,服务端会报下面这个错误,导致接口未能访问成功:
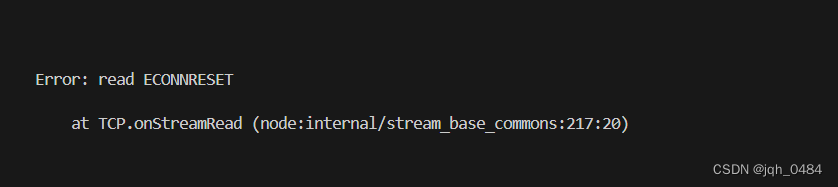
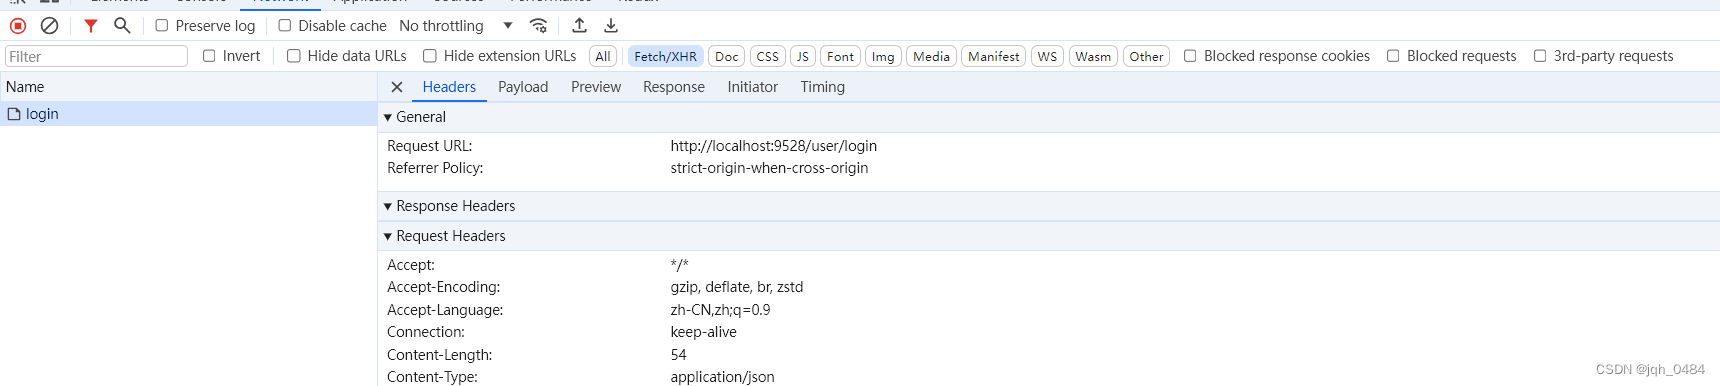
前端接口一直 Pending 状态,

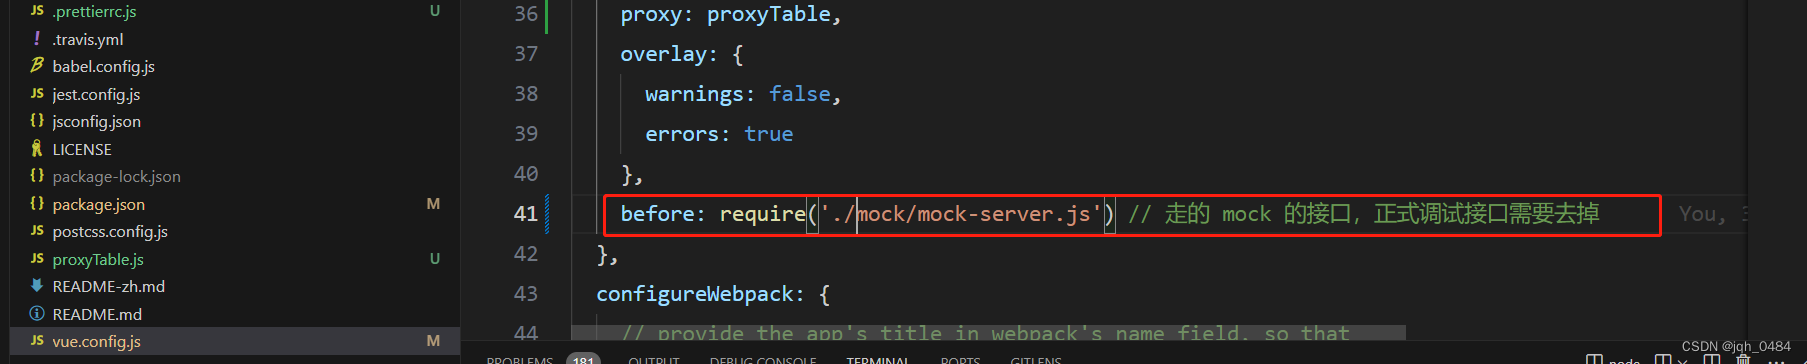
解决方案:走的是本地 mock 数据,未访问服务端的接口

总结:

解决问题的方向错了,两个错误方向,一个是服务端 post 请求问题,另一个是客户端 proxy 代理转发问题。考虑是服务端 post 请求问题的额原因是,将接口改为 get 请求是正常的。考虑是客户端 proxy 原因是,postman 上访问 post 接口是能正常访问的。最后无意间看到在代理之前有一个 before 才恍然大悟找到问题的根本原因,使问题得以解决。

反思,当问题一直没有按照自己的猜测得以解决时,大概率是猜测的方向出了问题,将问题适当的放一放,转换一下思路,会更容易发现产生的根本原因。

  • 3
    点赞
  • 0
    收藏
    觉得还不错? 一键收藏
  • 0
    评论
本篇文章介绍如何使用VueKoa实现手动图片上传。 前置知识 - Vue.js - Koa.js - FormData 步骤 1. 创建Vue项目 首先,我们需要创建一个Vue项目。在终端中输入以下命令: ``` vue create vue-koa-upload ``` 然后选择默认选项即可。 2. 安装koakoa-router 在Vue项目的根目录中打开终端,并输入以下命令: ``` npm install koa koa-router ``` 这将会安装koakoa-router。 3. 创建koa服务器 在根目录下创建一个server.js文件,并输入以下代码: ``` const Koa = require('koa'); const koaBody = require('koa-body'); const Router = require('koa-router'); const app = new Koa(); const router = new Router(); router.post('/upload', async (ctx, next) => { // TODO: 处理图片上传 }); app.use(koaBody()); app.use(router.routes()); app.listen(3000, () => { console.log('Server is running at http://localhost:3000'); }); ``` 以上代码创建了一个koa服务器,并添加了一个路由'/upload'。在该路由处理函数中,我们将在之后添加处理图片上传的代码。 4. 创建Vue组件 在src/components目录下创建一个Upload.vue文件,并输入以下代码: ``` <template> <div> <input type="file" ref="fileInput" @change="onFileChange" /> <button @click="upload">上传</button> </div> </template> <script> export default { methods: { onFileChange(event) { const file = event.target.files[0]; this.file = file; }, async upload() { const formData = new FormData(); formData.append('file', this.file); const response = await fetch('http://localhost:3000/upload', { method: 'POST', body: formData, }); console.log(response); }, }, }; </script> ``` 以上代码创建了一个Upload组件,并添加了一个fileInput和一个上传按钮。在onFileChange方法中,我们将选中的文件赋值给file变量。在upload方法中,我们使用FormData将file变量打包,并使用fetch发送POST请求到服务器的'/upload'路由。 5. 添加Vue路由 在src/router/index.js文件中,输入以下代码: ``` import Vue from 'vue'; import VueRouter from 'vue-router'; import Upload from '../components/Upload.vue'; Vue.use(VueRouter); const routes = [ { path: '/', name: 'Upload', component: Upload, }, ]; const router = new VueRouter({ mode: 'history', base: process.env.BASE_URL, routes, }); export default router; ``` 以上代码添加了一个Upload组件路由。 6. 运行项目 在终端中输入以下命令来运行Vue项目和koa服务器: ``` npm run serve ``` 在另一个终端中输入以下命令来运行koa服务器: ``` node server.js ``` 然后在浏览器中访问http://localhost:8080/,就可以看到一个上传图片的页面。选择一张图片并点击上传按钮,就可以将图片上传到服务器。 7. 处理图片上传 在server.js文件中,添加以下代码: ``` const path = require('path'); const fs = require('fs'); router.post('/upload', async (ctx, next) => { const file = ctx.request.files.file; const reader = fs.createReadStream(file.path); const extname = path.extname(file.name); const uploadPath = path.join(__dirname, '/uploads', `${Date.now()}${extname}`); const stream = fs.createWriteStream(uploadPath); reader.pipe(stream); ctx.body = { success: true, message: '上传成功', imageUrl: `http://localhost:3000/uploads/${path.basename(uploadPath)}`, }; }); ``` 以上代码处理了图片上传。我们从请求中获取到上传的文件,然后使用fs和path模块处理文件流和文件路径。最后,我们将上传的图片的URL返回给客户端。 通过以上步骤,我们成功地使用VueKoa实现了手动图片上传。

“相关推荐”对你有帮助么?

  • 非常没帮助
  • 没帮助
  • 一般
  • 有帮助
  • 非常有帮助
提交
评论
添加红包

请填写红包祝福语或标题

红包个数最小为10个

红包金额最低5元

当前余额3.43前往充值 >
需支付:10.00
成就一亿技术人!
领取后你会自动成为博主和红包主的粉丝 规则
hope_wisdom
发出的红包
实付
使用余额支付
点击重新获取
扫码支付
钱包余额 0

抵扣说明:

1.余额是钱包充值的虚拟货币,按照1:1的比例进行支付金额的抵扣。
2.余额无法直接购买下载,可以购买VIP、付费专栏及课程。

余额充值