springboot整合websocket上传文件
1 依赖
<dependency>
           <groupId>org.springframework.boot</groupId>
           <artifactId>spring-boot-starter-web</artifactId>
       </dependency>
       <!--websocket-->
       <dependency>
           <groupId>org.springframework.boot</groupId>
           <artifactId>spring-boot-starter-websocket</artifactId>
       </dependency>
       <dependency>
           <groupId>org.springframework.boot</groupId>
           <artifactId>spring-boot-starter-thymeleaf</artifactId>
       </dependency>
       <dependency>
           <groupId>com.alibaba</groupId>
           <artifactId>fastjson</artifactId>
       </dependency>
2 配置文件
@Slf4j
//@Configuration
@Component
//开启websocket支持
@EnableWebSocket
@ServerEndpoint("/websocket")
public class WebsocketConfig
{

    /*注解	作用	备注
    @ServerEndpoint	用于声明websocket响应类,有点像@RequestMapping	@ServerEndpoint("/websocket")
    @OnOpen	websocket连接时触发	参数有:Session session, EndpointConfig config
    @OnMessage	有消息时触发	参数很多,一会再说
    @OnClose	连接关闭时触发	参数有:Session session, CloseReason closeReason
    @OnError	有异常时触发	参数有:Session session, Throwable throwable*/

    /**
     * 必须要有的
     *
     * @return
     */
    @Bean
    public ServerEndpointExporter serverEndpointExporter()
    {
        return new ServerEndpointExporter();
    }

    /**
     * websocket 配置信息
     *
     * @return
     */
    @Bean
    public ServletServerContainerFactoryBean createWebSocketContainer()
    {
        ServletServerContainerFactoryBean bean = new ServletServerContainerFactoryBean();
        //文本缓冲区大小
        bean.setMaxTextMessageBufferSize(8192);
        //字节缓冲区大小
        bean.setMaxBinaryMessageBufferSize(8192);
        return bean;
    }

    //使用 ConcurrentHashMap, 保证线程安全, static全局共享 session

    //这里之所以static,是因为这个类不是单例的!!
    //他虽然有@Controller注解,但是不适用Ioc容器中拿对象,每一次请求过来都是一个新的对象

    //存放 session
    private final static Map<String, Session> sessions = new ConcurrentHashMap<>();

    //onopen 在连接创建(用户进入聊天室)时触发
    @OnOpen
    public void openSession(Session session, EndpointConfig config)
    {
        //将session存起来, 用于服务器向浏览器发送消息
        sessions.put(session.getId(), session);
        sendAll("[" + session.getId() + "]进入房间");
    }

    //响应字符串
    @OnMessage
    public void onMessage(Session session, String message)
    {
        sendAll("[" + session.getId() + "]" + message);
        //使用 fastjson 解析 json 字符串
        final Message data = JSONObject.parseObject(message, Message.class);
        //响应的信息
        final Message response = Message.builder()
                .operation(data.getOperation())         //将请求的 operation 放入
                .build();
        //根据不同的 operation 执行不同的操作
        switch (data.getOperation()) {
            //进入聊天室后保存用户名
            case "tip":
                session.getUserProperties().put("username", data.getMsg());
                sessions.put(session.getId(), session);
                response.setMsg("[" + data.getMsg() + "]进入房间");
                sendAll(JSONObject.toJSONString(response));
                break;
            //发送消息
            case "msg":
                final String username = (String) session.getUserProperties().get("username");
                response.setMsg("[" + username + "]" + data.getMsg());
                sendAll(JSONObject.toJSONString(response));
                break;
        }
    }

    //响应字节流
    @OnMessage
    public void onMessage(Session session, byte[] message) throws IOException {
        final Message response = new Message();

        final String username = (String) session.getUserProperties().get("username");
        final File file = (File) session.getUserProperties().get("file");
        log.info(file.getCanonicalPath());

        if (saveFile(file, message)) {
            response.setOperation("file-upload-success");
            response.setMsg("[" + username + "]上传了一个文件【" + file.getName() + "】");
            sendAll(JSONObject.toJSONString(response));
        }
        else {
            response.setOperation("file-upload-fail");
            response.setMsg("文件【" + file.getName() + "】上传失败");
            sendTo(session, JSONObject.toJSONString(response));
        }
    }

    /*细心的小伙伴可能发现,我有两个 @OnMessage,
    这是因为websocket能发送三种请求(我知道的三种),
    一种是字符串,一种是字节流(用于上传文件),一种是ping-pong(乒乓机制),因为js不好发送ping请求,我这里就只有响应字符串和字节流两种方法。*/

    /*接下来的篇幅将只演示字符串的,字节流咱再另一篇说,不然太多了看的头痛*/

    //onclose 在连接断开(用户离开聊天室)时触发
    @OnClose
    public void closeSession(Session session, CloseReason closeReason)
    {
        //记得移除相对应的session
        sessions.remove(session.getId());
        sendAll("[" + session.getId() + "]离开了房间");
    }

    @OnError
    public void sessionError(Session session, Throwable throwable)
    {
        //通常有异常会关闭session
        try {
            session.close();
        }
        catch (IOException e) {
            e.printStackTrace();
        }
    }


    /*1、再OnOpen中将session存起来,并通知其他用户,有人来啦。
    2、有消息来的时候,再OnMessage中,通知其他用户
    3、OnClose中,通知其他用户,别人溜了
    4、OnError中,有异常就关闭websocket*/

    private void sendAll(String message)
    {
        for (Session s : sessions.values()) {
            //获得session发送消息的对象
            //Basic是同步, 会阻塞
            //Async是异步, 这个会有多线程并发导致异常, 发送消息太快也会有并发异常, 需要有 消息队列 来辅助使用
            final RemoteEndpoint.Basic remote = s.getBasicRemote();
            try {
                //发送消息
                remote.sendText(message);
            }
            catch (IOException e) {
                e.printStackTrace();
            }
        }
    }

    private void sendTo(Session session, String message)
    {
        final RemoteEndpoint.Basic remote = session.getBasicRemote();
        try {
            //发送消息
            remote.sendText(message);
        }
        catch (IOException e) {
            e.printStackTrace();
        }
    }

    private boolean saveFile(File file, byte[] message)
    {
        try (OutputStream os = new FileOutputStream(file)) {
            os.write(message, 0, message.length);
            return true;
        }
        catch (IOException e) {
            e.printStackTrace();
            return false;
        }
    }
}
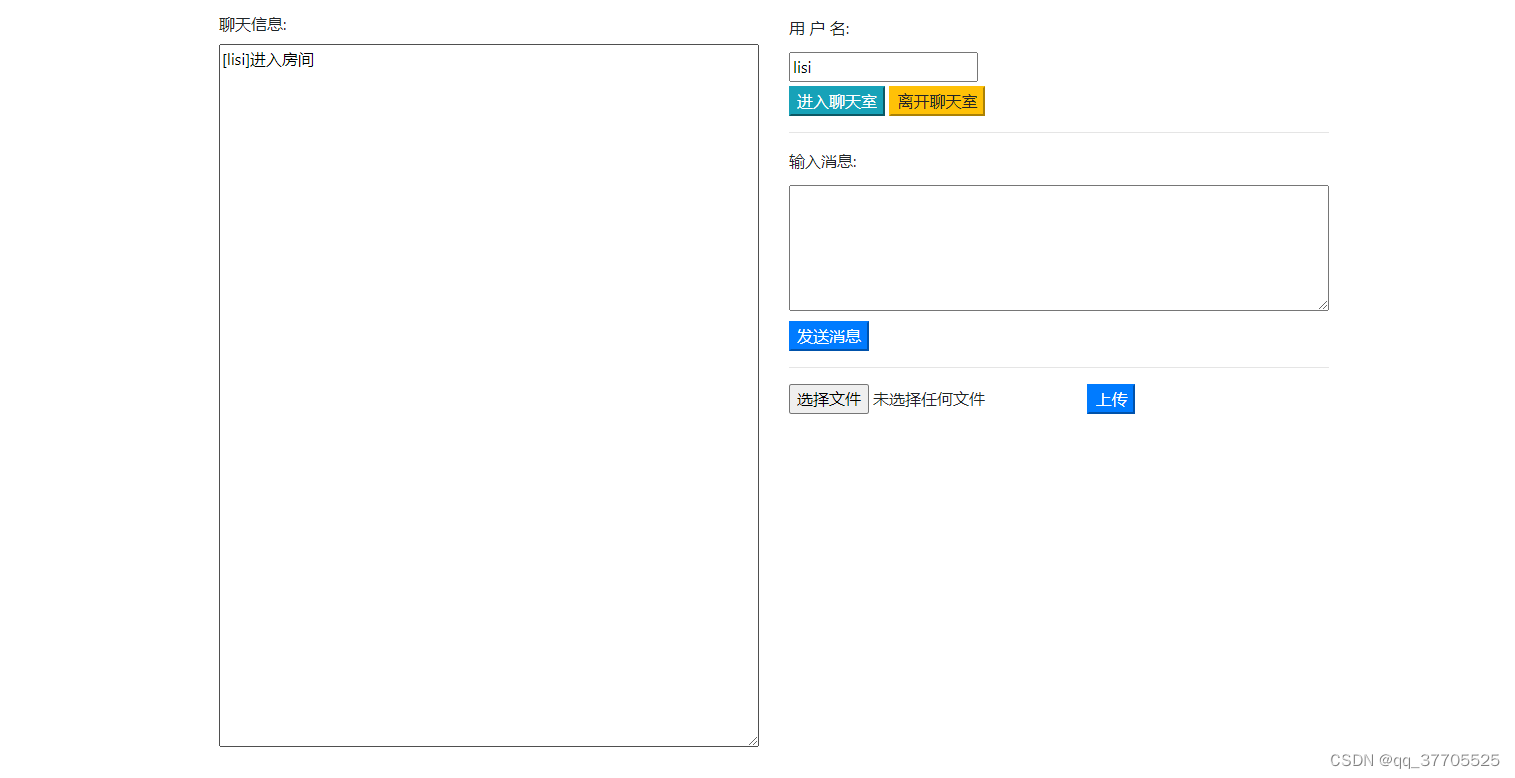
3 页面
<!DOCTYPE html>
<html xmlns:th="http://www.thymeleaf.org" lang="en">
<head>
    <meta charset="UTF-8">
    <title>websocket-demo</title>

    <link rel="stylesheet" href="https://cdn.bootcdn.net/ajax/libs/twitter-bootstrap/4.2.1/css/bootstrap.min.css">
</head>
<body>
<div class="container py-3">

    <div class="row">

        <div class="col-6">
            <div>
                <label for="messageArea">聊天信息:</label>
            </div>
            <div>
                <textarea id="messageArea" readonly class="w-100" style="height: 75vh;"></textarea>
            </div>
        </div>

        <div class="col">

            <div class="my-1">
                <label for="messageArea">用 户 名:</label>
            </div>

            <div class="my-1">
                <input type="text" id="username" autocomplete="off">
            </div>

            <div class="my-1">
                <button class="btn-info" id="joinRoomBtn">进入聊天室</button>
                <button class="btn-warning" id="leaveRoomBtn">离开聊天室</button>
            </div>

            <hr/>

            <div class="my-1">
                <label for="sendMessage">输入消息:</label>
            </div>
            <div>
                <textarea id="sendMessage" rows="5" class="w-100" style="max-height: 50vh"></textarea>
            </div>

            <div class="my-1">
                <button class="btn-primary" id="sendBtn">发送消息</button>
            </div>

            <hr/>

            <div class="my-1">
                <input id="file" type="file" value="选择文件"/>
                <button id="fileBtn" class="btn-primary">上传</button>
            </div>

        </div>

    </div>

</div>

<script src="https://s3.pstatp.com/cdn/expire-1-M/jquery/3.3.1/jquery.min.js"></script>

<script>
    let webSocket;
    //ip和端口号用自己项目的
    //{websocket}: 其实是刚刚那个@ServerEndpoint("/websocket")中定义的
    let url = 'ws://127.0.0.1:8080/websocket';

    let file;

    $('#username').keyup(function (e) {
        let keycode = e.which;
        if (keycode == 13) {
            $('#joinRoomBtn').click();
        }
    });

    //进入聊天室
    $('#joinRoomBtn').click(function () {
        let username = $('#username').val();
        webSocket = new WebSocket(url);
        webSocket.onopen = function () {
            console.log('webSocket连接创建。。。');
            sendMessage('tip', username);
        }
        webSocket.onclose = function () {
            console.log('webSocket已断开。。。');
            $('#messageArea').append('websocket已断开\n');
        }
        webSocket.onmessage = function (event) {
            //这个 data 和刚刚的 Message 一样
            let data = {
                operation: '',
                msg: ''
            };

            data = JSON.parse(event.data);
            switch (data.operation) {
                case "tip":
                    $('#messageArea').append(data.msg + '\n');
                    break;
                case "msg":     //显示消息
                    $('#messageArea').append(data.msg + '\n');
                    break;
                case "filename":
                    $('#messageArea').append(data.msg + '\n');
                    sendFile(file);
                    break;
                case "file-upload-success":
                    $('#messageArea').append(data.msg + '\n');
                    break;
                case "file-upload-fail":
                    $('#messageArea').append(data.msg + '\n');
                    break;
            }
        }
        webSocket.onerror = function (event) {
            console.log(event)
            console.log('webSocket连接异常。。。');
        }
    });

    //退出聊天室
    $('#leaveRoomBtn').click(function () {
        if (webSocket) {
            //关闭连接
            webSocket.close();
        }
    });

    //发送消息
    $('#sendBtn').click(function () {
        var msg = $('#sendMessage').val();
        if (msg.trim().length === 0) {
            alert('请输入内容');
            return;
        }
        sendMessage('msg', $('#sendMessage').val());

        $('#sendMessage').val('');
    });

    //上传文件
    // https://www.cnblogs.com/myfjd/archive/2012/03/22/2411374.html
    $('#fileBtn').click(function () {
        let files = [];
        files = $('#file')[0].files;
        if (files.length === 0) {
            alert('请选择文件');
            return;
        }

        //发送文件名
        file = files[0];
        sendMessage('filename', file.name);

    });

    //发送消息
    function sendMessage(operation, msg) {
        //这个 data 和刚刚的 Message 一样
        let data = {
            operation: operation,
            msg: msg,
        };

        //将 data 转成 json 字符串
        webSocket.send(JSON.stringify(data));
    }

    //发送文件
    function sendFile(file){
        //挖个坑先
        let blob = file;
        //文件读取对象
        let reader = new FileReader();

        //文件加载后的回调函数
        reader.onload = ev => {
            let buffer = ev.target.result;
            webSocket.send(buffer);
        }
        //二进制加载文件
        reader.readAsArrayBuffer(blob);
    }

</script>

</body>
</html>


 830
830


 被折叠的 条评论
为什么被折叠?
被折叠的 条评论
为什么被折叠?
 到【灌水乐园】发言


