


主要是通过控制
y轴坐标达到降落效果,反之可以制作粒子上升效果。
链接:使用canvas制作粒子上升特效
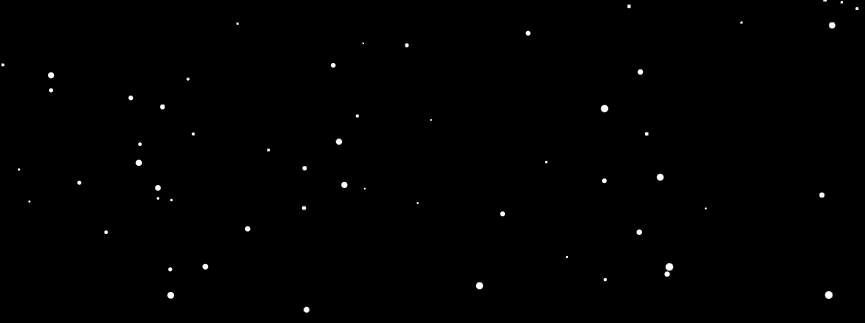
渲染效果
<!DOCTYPE html>
<html lang="en">

<head>
  <meta charset="UTF-8">
  <meta name="viewport" content="width=device-width, initial-scale=1.0">
  <title>Document</title>
  <style>
    canvas {
      background: black;
    }
  </style>
</head>

<body>
  <canvas id="myCanvas"></canvas>

  <script>
    const w = window.innerWidth;
    const h = window.innerHeight;

    //存放200个雪花,x坐标,y坐标,r半径
    let snowArr = [];
    for (let i = 0; i < 200; i++) {
      snowArr.push({
        x: Math.random() * w,
        y: Math.random() * h - h,
        r: Math.random() * 3
      })
    }

    function draw() {
      const myCanvas = document.getElementById('myCanvas');
      if (!myCanvas.getContext) return
      const ctx = myCanvas.getContext('2d')


      myCanvas.width = w;
      myCanvas.height = h;

      ctx.clearRect(0, 0, w, h)

      //绘制雪花
      snowArr.forEach(item => {
        //超过页面高度,重新渲染位置
        if (item.y > h) {
          item.x = Math.random() * w;
          item.y = Math.random() * h - h;
          item.r = Math.random() * 3;
        } else {
          //绘制雪花(圆),y坐标每次+0.5达到降落效果
          ctx.beginPath();
          ctx.arc(item.x, item.y += 0.5, item.r + Math.random(), 0, Math.PI * 2, false)
          ctx.fillStyle = 'white';
          ctx.fill()
        }
      })

      requestAnimationFrame(draw)
    }
    draw()
  </script>
</body>

</html>


 4004
4004


 被折叠的 条评论
为什么被折叠?
被折叠的 条评论
为什么被折叠?
 到【灌水乐园】发言


