


前言
在平时测试的过程中,会遇到一些特殊的测试场景,需要进入指定服务发送对应消息,触发某一测试场景。为了提升测试效率,于是便开发了一个对应的测试工具,方便后续这对一模块的测试。
一、前端代码
<style lang="postcss" scoped>
.home-container{

}
</style>
<template>
<section class="home-container">
    <MasterPage title="测试工具">
        <div slot="title-icon">
            <Icon type="ios-game-controller-b" />
        </div>
         <div slot="searchContent" class="search-content-slot">
          <Form :model="formItem" :label-width="100" >
              <Row>
                <Col span="5">
                    <FormItem label="功能:" style="font-weight:bold">
                    <Input v-model.trim="form1.collection.command" type="textarea" :rows="4" placeholder="请输入linux指令,保证命令准确性" style="width:800px;"></Input>
                    </FormItem>
                </Col>
              </Row>
              <Row>
                <Col span="2">
                  <!-- <FormItem label=""> -->
                      <Button type="primary" icon="ios-search" @click="collection">提交</Button>
                  <!-- </FormItem>    -->
                 </Col>
                 <Col span="2">
                    <Input v-model.trim="form1.message" type="textarea" :rows="2" placeholder="输出结果,请耐心等待结果..." style="width:1000px;"></Input>
                 </Col>
              </Row>
          </Form>
        </div>
    </MasterPage>
</section>
</template>
<script>
import MasterPage from '@/components/Master'

export default {
    components:{
        MasterPage
    },
    data(){
      return{
        form1:{
            collection:{command:""},
            message:""
        },
      }
    },
    created(){
    },

    methods:{
      collection:function() {
      this.$axios.post("/v1/collection/",this.form1.collection).then((res)=>
      {
        console.log(res);
        this.form1.message=JSON.stringify(res.data);
      })
    }
  }

}
</script>
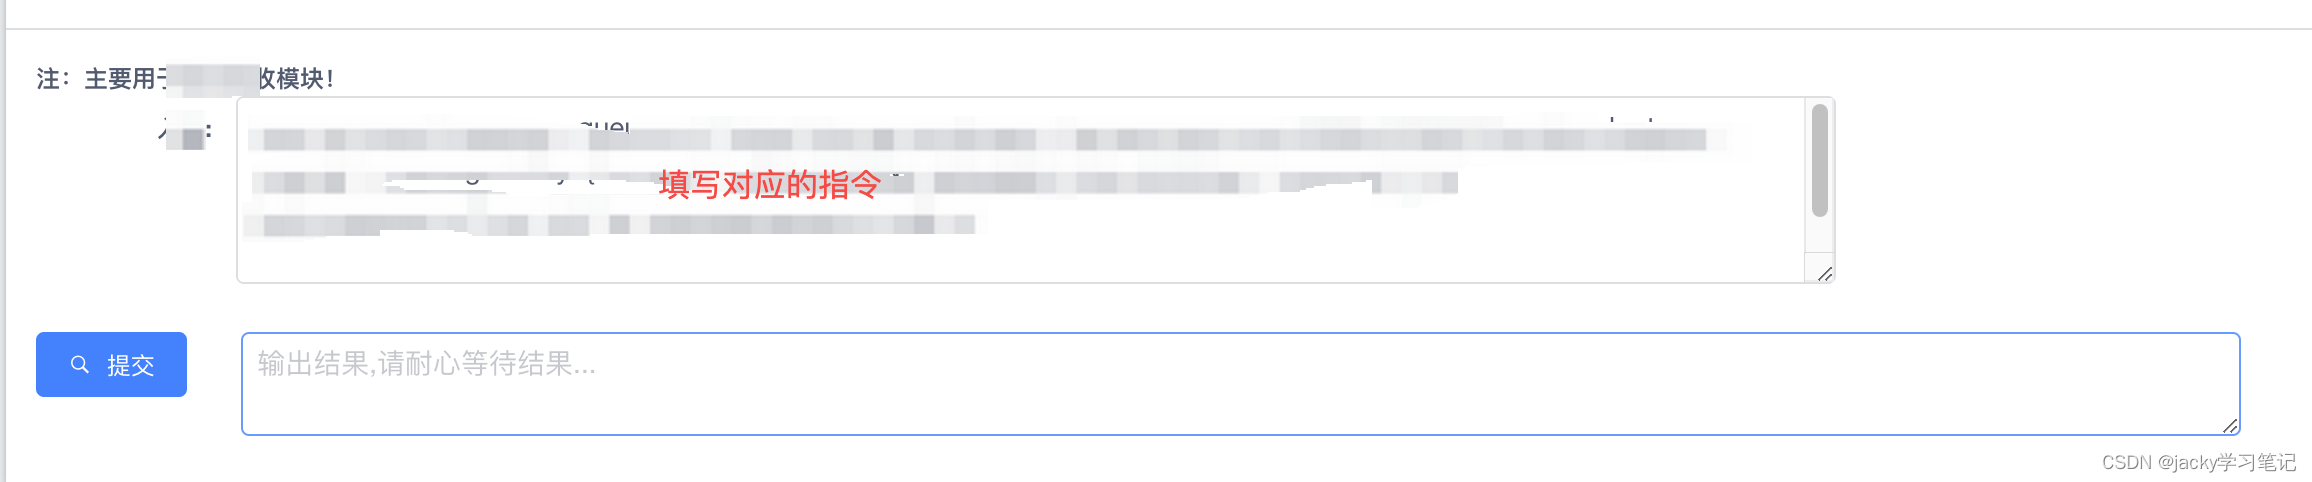
界面展示
二、Jsch工具后端代码
后端主要写一个接口给前端调用
1.controller层
@RestController
@RequestMapping("v1")
public class CollectionController {

    @Autowired
    private JschUtil jschUtil;

    /**
     * post请求
     * @return
     */
    @RequestMapping(value = "/collection",method = RequestMethod.POST)
    public String enterCollection(@RequestBody CollectionEntity collectionEntity){
        String command=collectionEntity.getCommand();
        return jschUtil.createSession(command);
    }

}
2.实体类
import lombok.Data;

@Data
public class CollectionEntity {

    private String command;
}
3.工具类
import com.jcraft.jsch.*;
import org.springframework.stereotype.Component;
import org.springframework.util.ObjectUtils;

import java.io.BufferedReader;
import java.io.IOException;
import java.io.InputStream;
import java.io.InputStreamReader;
import java.util.ArrayList;
import java.util.List;

/**
 * @program: simple_tools
 * @description: 连接远程ES通道
 * @author: Mr.chen
 * @create: 2020-04-27 13:52
 **/
@Component
public class JschUtil {

    /**
     * 创建与远程服务的连接
     */
    public String createSession(String command){
        try {
            JSch jsch = new JSch();
            Session session = jsch.getSession("服务器用户名", "服务器ip", 22);
            session.setPassword("服务器密码";
            session.setConfig("StrictHostKeyChecking", "no");
            session.connect();

            List<String> result=exec(session,command);
            StringBuilder s= new StringBuilder();
            if(!ObjectUtils.isEmpty(result)){
                for (int i = 0; i < result.size(); i++) {
                    s.append(result.get(i));
                }
            }
            //返回执行指定命令后的结果
            return s.toString();
        } catch (JSchException e) {
            System.out.println(e);
            return e.toString();
        }
    }

    /**
     * 执行命令
     * @param command 命令
     * @return list
     * @throws JSchException err
     */
    public static List<String> exec(Session session, String command) throws JSchException {
        List<String> resultLines = new ArrayList<>();
        ChannelExec channel = null;
        try{
            channel = (ChannelExec) session.openChannel("exec");
            channel.setCommand(command);
            channel.setInputStream(null);
            channel.setErrStream(System.err);
            channel.connect(10000);
            InputStream input = channel.getInputStream();
            try {
                BufferedReader inputReader = new BufferedReader(new InputStreamReader(input));
                String inputLine = null;
                System.out.println(inputReader);
                while((inputLine = inputReader.readLine()) != null) {
                    resultLines.add(inputLine);
                }
            } finally {
                if (input != null) {
                    try {
                        input.close();
                    } catch (Exception e) {
                        // todo...
                        e.printStackTrace();
                    }
                }
            }
        } catch (IOException e) {
        } finally {
            if (channel != null) {
                try {
                    channel.disconnect();
                } catch (Exception e) {
                    e.printStackTrace();
                }
            }
        }
        return resultLines;
    }
}
总结
最终实现效果,如图

这样一个简单好用的测试工具就写完了,喜欢的同学给个点赞👍吧,谢谢


 368
368


 被折叠的 条评论
为什么被折叠?
被折叠的 条评论
为什么被折叠?
 到【灌水乐园】发言


