


文章目录
1.使用方法
1.html
安装
npm install vditor --save
vue页面
<div id="markdownContent"></div>
2.dom(发布和编辑页面)
引入
import Vditor from "vditor"
import "vditor/dist/index.css"
mounted() {
 this.getToken()
 this.vditorFun()
},
methods: {
//编辑器
      vditorFun() {
        let self = this
        this.contentEditor = new Vditor("markdownContent",{
          height:600,
          width:800,
          placeholder:'开始编辑...',
          toolbar: [
            // "emoji",  表情
            "headings",
            "bold",
            "italic",
            "strike",
            "link",
            "|",
            "list",
            "ordered-list",
            // "check",
            "outdent",
            "indent",
            "|",
            "quote",
            "line",
            "code",
            "inline-code",
            "insert-before",
            "insert-after",
            "|",
            // "upload",默认上传
            { //自定义上传
              hotkey: "",
              name: "upload",
              // tipPosition: "s",
              tip: "上传图片",
              className: "right",
            },
            // "record",
            "table",
            "|",
            "undo",
            "redo",
            "|",
            "fullscreen",
            "edit-mode",
            {
              name: "more",
              toolbar: [
                "both",
                // "code-theme",
                // "content-theme",
                "export",
                "outline",
                "preview",
                // "devtools",
                // "info",
                // "help",
              ],
            }
            // ,"|",
            // {
            //   hotkey: "⌘-S",
            //   name: "save",
            //   tipPosition: "s",
            //   tip: "保存",
            //   className: "right",
            //   icon: `<img style="height: 16px" src='https://img.58cdn.com.cn/escstatic/docs/imgUpload/idocs/save.svg'/>`,
            //   click() {
            //     that.saveDoc();
            //   }
            // },
          ],
          toolbarConfig:{
            pin:true
          },
          counter: {
	          enable: true,
	          type:'字数统计',
	        },
          //默认开启了大纲
          outline: {
            enable: true
          },
          cache:{
            enable:false
          },
          //编辑器有焦点和失去焦点可以判断是否有内容,此处自己封装检查校验即可
          blur() {
            self.vaditEditorContent()
          },
          focus() {
            self.vaditEditorContent()
          },
          //因我的需求是不需要表情符号,所以把编辑器中的表情符号都删除
          input(val) {
            let pattern = new RegExp('[^\\u0020-\\u007E\\u00A0-\\u00BE\\u2E80-\\uA4CF\\uF900-\\uFAFF\\uFE30-\\uFE4F\\uFF00-\\uFFEF\\u0080-\\u009F\\u2000-\\u201f\r\n]');
            if (val != "" && val != null) {
             //去除表情
            let rs = "";
            if (pattern.test(val)) {
              for (let i = 0; i < val.length; i++) {
                rs = rs + val.substr(i, 1).replace(pattern, '');
              }
            } else {
              rs = val
            }
            //替换防盗链图片,有两种方法,第一种是替换页面的图片路径,替换页面的需要在详情回显的时候也需要进行处理,方法和替换页面的方法一样;第二是直接替换md格式数据中的地址

			 第一种:
	           let reg = /(http|https):\/\/([\w.]+\/?)\S*/gi;
	            let valueMatch = rs.match(reg);
	            let replaceUrl = self.gb.mdImgPath('')
	            self.contentEditor.setValue(rs)
	            setTimeout(() => {
	              let imgLinkPar = $('.vditor-ir').find('.vditor-reset').children('p')
	              let childTag = imgLinkPar.find('span.vditor-ir__node')
	              childTag.each(function () {
	                let imgLinkTag = $(this).find('img').attr('src')+')'
	                for (let k = 0; k < valueMatch.length; k++) {
	                  if (imgLinkTag == valueMatch[k]) {
	                    $(this).find('img').attr('src', replaceUrl)
	                  }
	                }
	              })
	            }, 300);
	           第二种:
	            setTimeout(() => {
	              //替换防盗链图片
	              let reg = /(http|https):\/\/([\w.]+\/?)\S*/gi;
	              if (reg.test(rs)) {
	                let valueMatch = rs.match(reg);
	                // console.log(valueMatch)
	                let replaceUrl = self.gb.mdImgPath('')+')'
	                let linkOutUrl = rs
	                let urlStr
	                for (let k = 0; k < valueMatch.length; k++) {
	                  let ishttps = 'https:' == valueMatch[k] ? true: false;
	                  if(ishttps){
	                    urlStr = valueMatch[k].split("https://");
	                  }else{
	                    urlStr = valueMatch[k].split("http://");
	                  }
	                  // console.log(urlStr)
	                  const index = valueMatch[k].indexOf("/")+2;
	                  let endUrl = valueMatch[k].substring(index)
	                  let threeSplit = endUrl.split('/')
	                  let getThree = threeSplit.slice(0, threeSplit.length-3).join('/')
	                  // console.log(getThree)
	                  if (getThree == 'mmbiz.qpic.cn') {
	                    linkOutUrl = linkOutUrl.replace(valueMatch[k], replaceUrl)
	                  }
	                }
	                self.contentEditor.setValue(linkOutUrl)
	              }
	            }, 2000);
            }
          },
          //编辑页面使用,发布页面不需要
          after: () => {
            self.contentEditor.setValue(self.activityForm.activity_content)
          },
          //这里写上传
          upload:{
            accept:'image/jpg, image/jpeg, image/png',//规定上传的图片格式
            url:this.gb.reqPath('/v1/Activity/upload'),//请求的接口
            multiple: false,
            fieldName: 'file',
            max: 2 * 1024 * 1024,//上传图片的大小
            extraData: {'access_token': this.token}, //为 FormData 添加额外的参数
            linkToImgUrl:this.gb.reqPath('/v1/Activity/upload'),
            filename(name) {
              return name.replace(/[^(a-zA-Z0-9\u4e00-\u9fa5\.)]/g, "")
                .replace(/[\?\\/:|<>\*\[\]\(\)\$%\{\}@~]/g, "")
                .replace("/\\s/g", "");
            },
            validate(msg) {
              console.log(msg+"格式")
            },
            //粘贴图片回显处理,如果有图片加了防盗链,则让后台代理替换成自己的图片
            linkToImgFormat(files) {
              let code = 0
              let msg = ''
              let data = JSON.parse(files)
              // let linkImgName = data.result.path
              // //上传图片请求状态
              if(data.ret_code == 200) {
                // let lastTipNum = linkImgName.substr(linkImgName.lastIndexOf('/', linkImgName.lastIndexOf('/') - 1) + 1);
                // let index = lastTipNum.lastIndexOf("\/");
                // let imgUrl = decodeURI(lastTipNum.substring(index + 1, lastTipNum.length));
                let responseData = self.gb.imgOutLinkPath(data.result.path)
                let succUrl = {}
                let originalURL = 'originalURL'
                let url = 'url'
                succUrl[originalURL] = data.result.originalURL
                succUrl[url] = responseData
                let end = JSON.stringify({
                  msg,
                  code,
                  data: succUrl
                })
                return end
              } else {
                self.$message({
                  message: '图片上传失败!',
                  type: 'error'
                })
              }
            },
            //上传图片回显处理
            format(files, responseText){
              // let imageResult = JSON.parse(responseText)
              let code = JSON.parse(responseText)
              let msg = JSON.parse(responseText)
              let data = JSON.parse(responseText)
              let filName = data.result.cover_files
              //上传图片请求状态
              if(data.ret_code == 200) {
                let lastTipNum = filName.substr(filName.lastIndexOf('/', filName.lastIndexOf('/') - 1) + 1);
                let index = lastTipNum.lastIndexOf("\/");
                self.imgNameStr = decodeURI(lastTipNum.substring(index + 1, lastTipNum.length));
                let responseData = self.gb.imgPath(data.result.cover_files)
                let succ = {}
                succ[self.imgNameStr] = responseData
                //图片回显
                return JSON.stringify({
                  msg,
                  code,
                  data:{
                    errFiles: [],
                    succMap: succ
                    // succMap: {
                    //   'default.png': `${responseData}`
                    // }
                  }
                })
              } else {
                self.$message({
                  message: '图片上传失败!',
                  type: 'error'
                })
              }

            },
            error(msg) {
              console.log(msg+"上传失败了")
            },
          }
        })
      },
      //token
      getToken () {
        this.token = getStore('token')
      },
}
3.(详情页面)
1.页面
<span class="markDownTitle">活动详情:</span>
<div id="previewVd"></div>
2.引入
  import Vditor from "vditor"
  import "vditor/dist/index.css"
3.dom
mounted() {
      setTimeout(() => {
        //编辑器回显,this.activityInfo为后端返回的编辑器内容,也可在返回成功中引用
        Vditor.preview(document.getElementById('previewVd'),this.activityInfo)
      }, 500);
    },
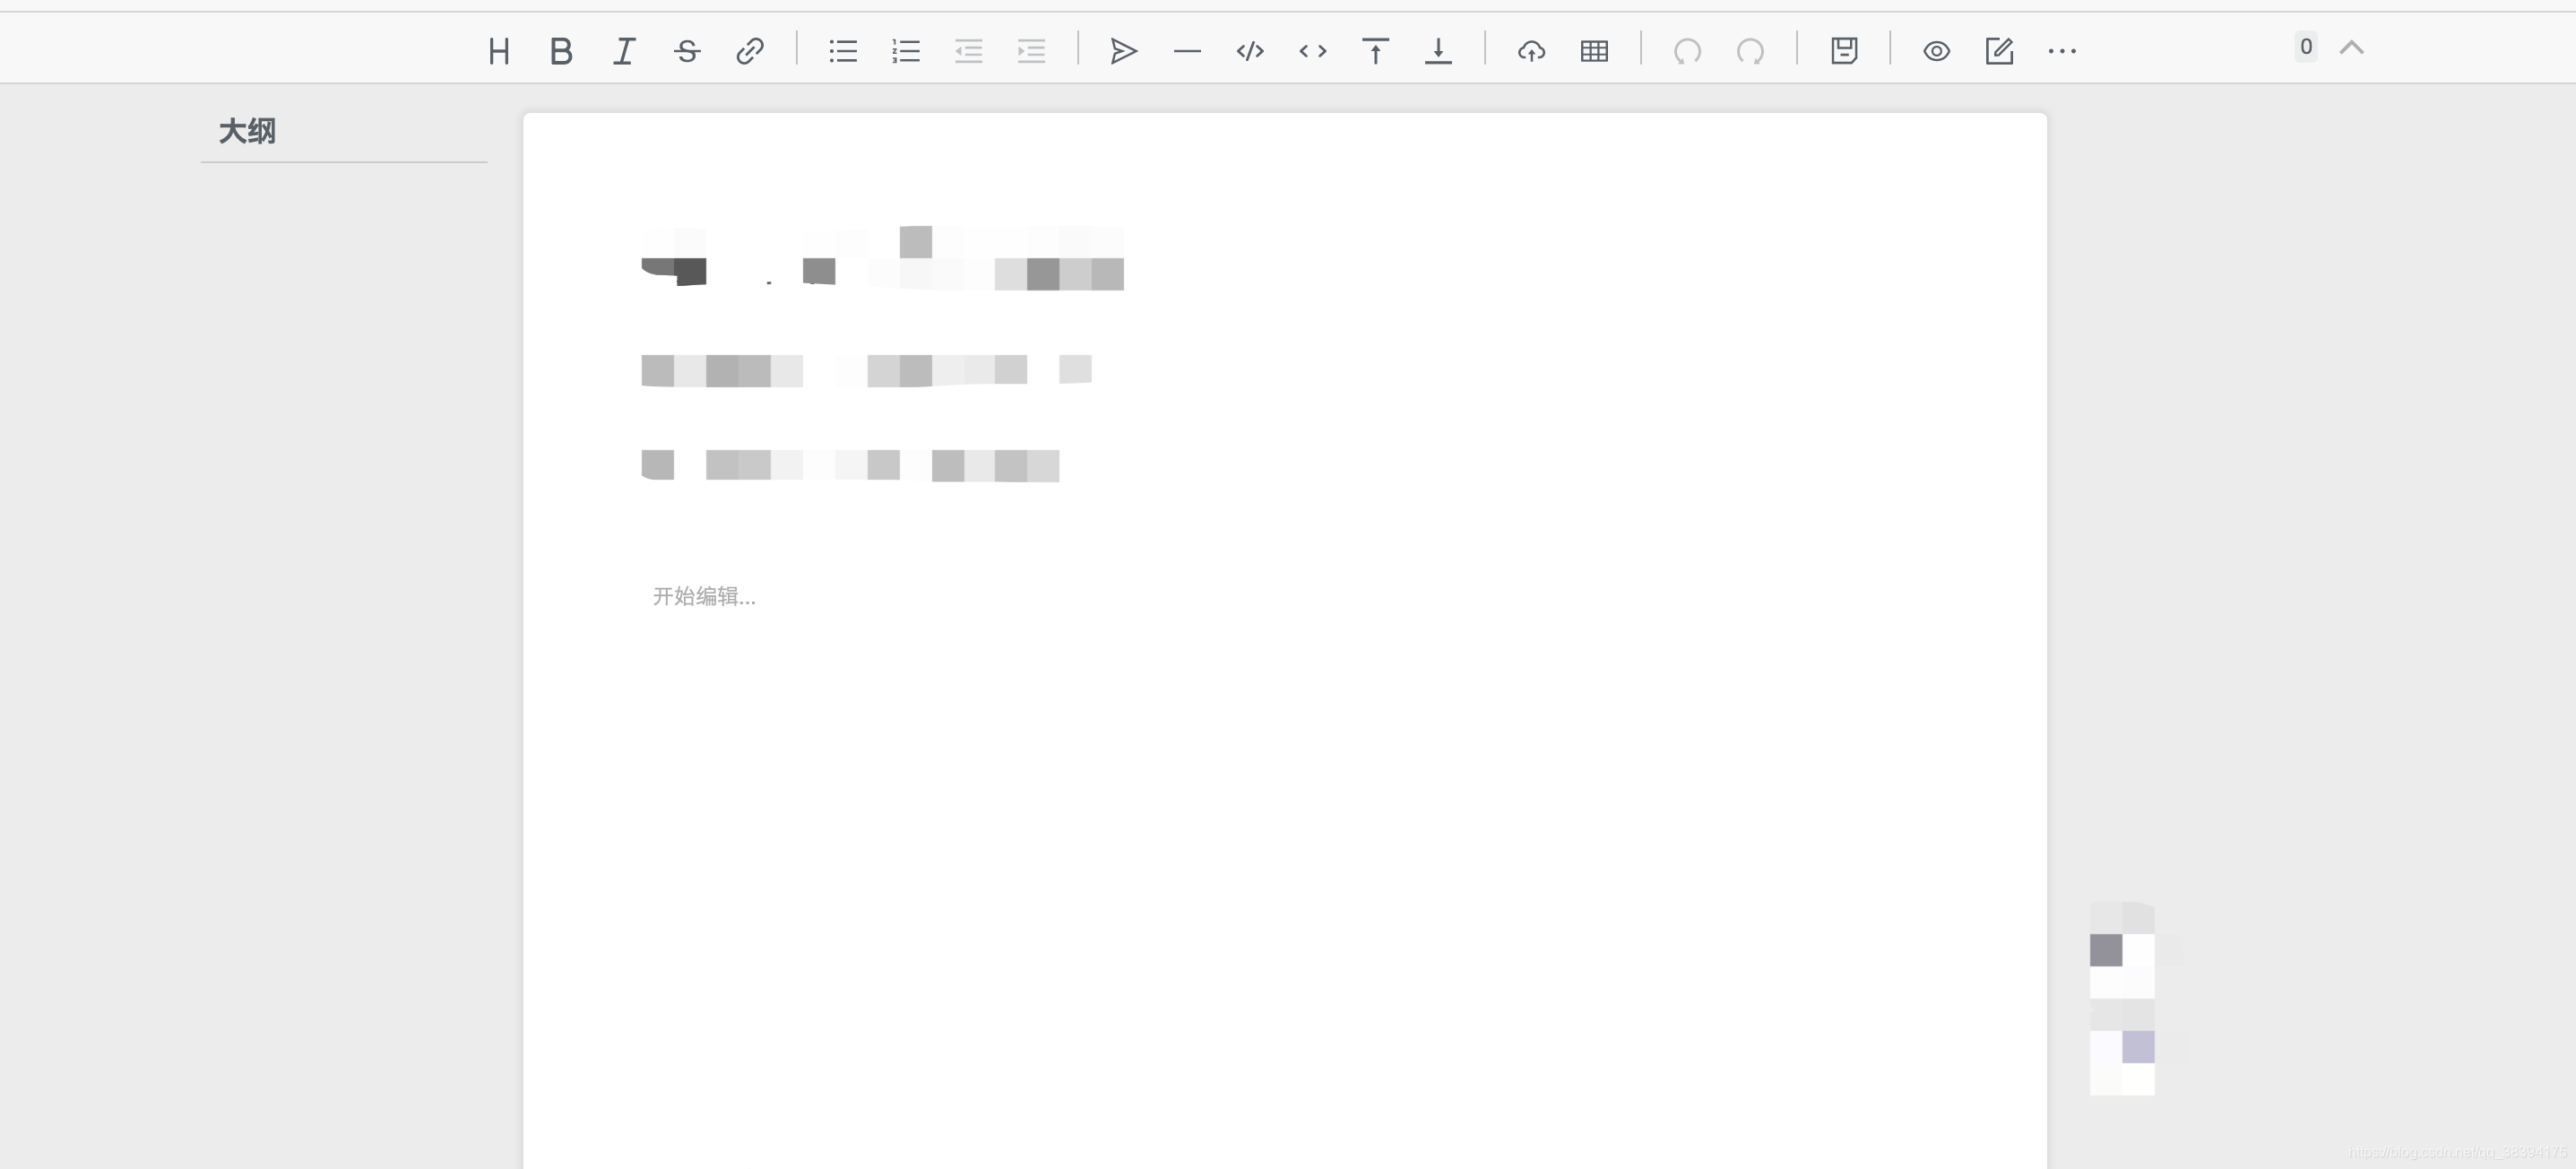
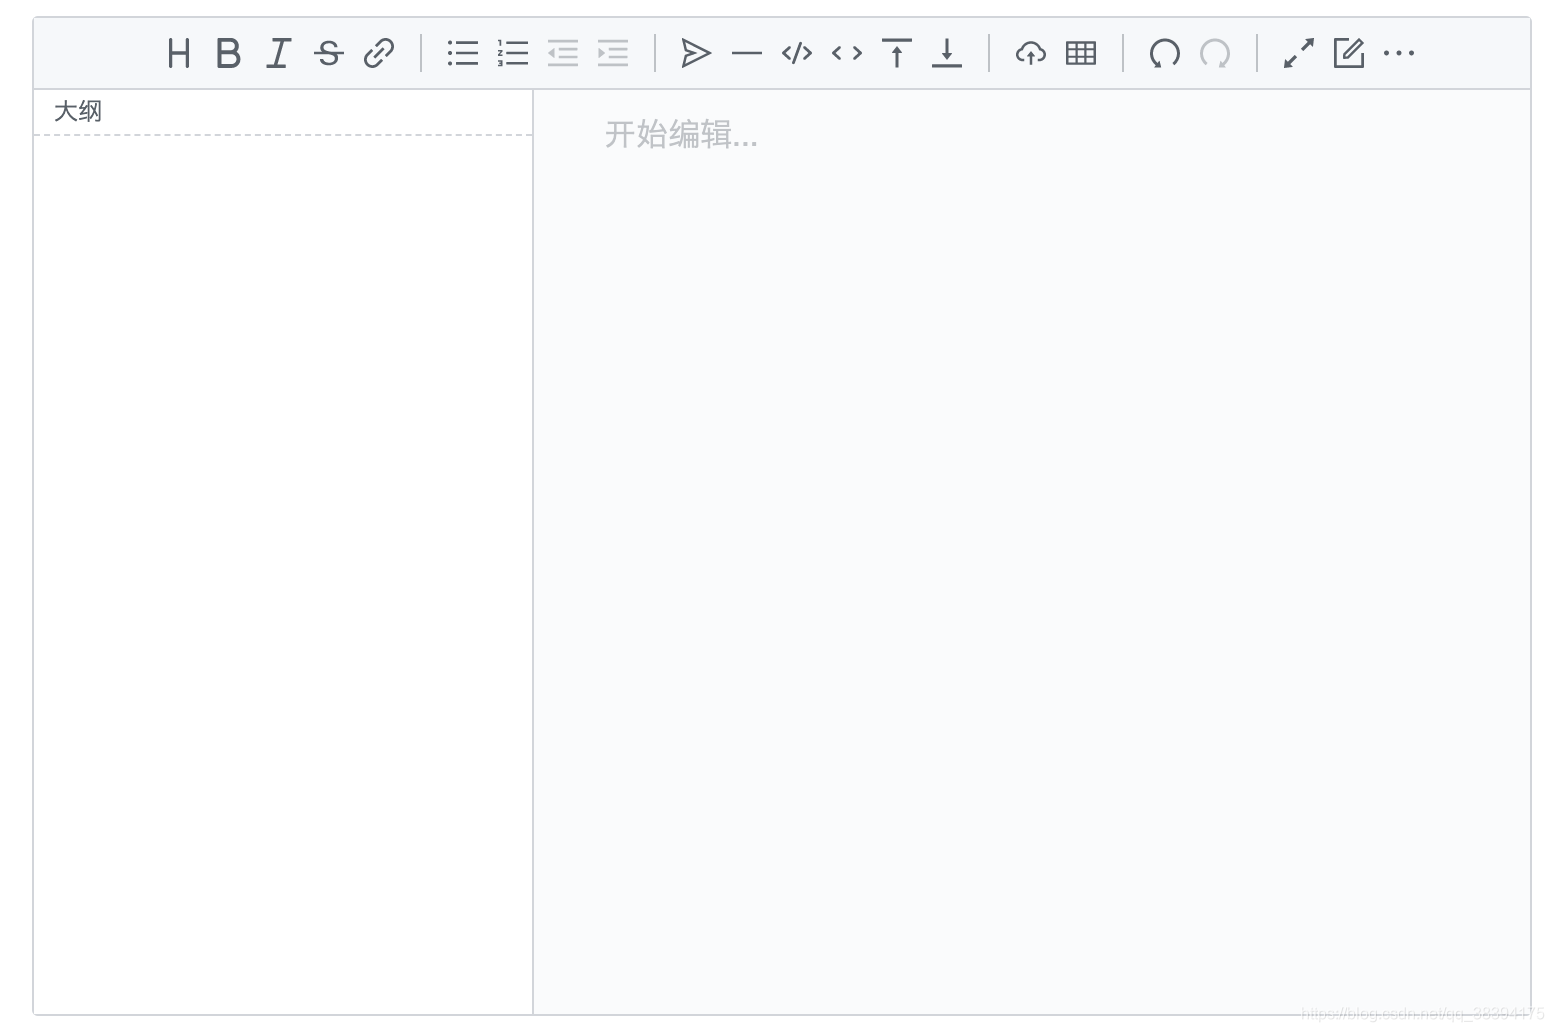
效果图
两种样式,图一有的图标是自己加的
补充遗漏的XSS过滤
1.注入脚本
[XSS](javascript:alert(123454566))


<iframe src="data:text/html;base64,PGJvZEpPg==">
2.过滤方法
passXssFun() {
  let findHaveTag = $('.vditor-ir').find(".vditor-reset").children("p");
  let findHaveDiv = $('.vditor-ir').find(".vditor-reset").children("div.vditor-ir__node");
  let childTag = findHaveTag.find("span.vditor-ir__node");
  let preCode = findHaveDiv.find("pre.vditor-ir__preview")
  childTag.each(function () {
    let xssGet = $(this).find('.vditor-ir__marker--link').html();
    let getHtml = $(this).find('.vditor-ir__link').html();
    if(xssGet == undefined) {
    } else {
      if(xssGet.indexOf("javascript:alert") >= 0 ) {
        $(this).closest('p').html(getHtml)
      }
    }
  })
  preCode.each(function () {
    let preCodeHtml = $(this).prev().find('code').html();
    let haveStatus = preCodeHtml.indexOf("<iframe src=\"data:") >= 0
    if (haveStatus == false) {
    } else {
      $(this).html(preCodeHtml)
    }
  })
},
3.在input(val)中调用
setTimeout(() => {
   self.passXssFun()
 }, 500);
补充防盗链功能,此方法有视觉变化,3秒后如果接口没有返回或者进行处理的,统一都换成防盗链,同在input(val)中调用
//替换防盗链图片
 outLinkImgFun() {
   let markCont = this.contentEditor.getValue();
   let reg = /(http|https):\/\/([\w.]+\/?)\S*/gi;
   let replaceUrl = this.gb.mdImgPath("");
   let valueMatch = markCont.match(reg);
   let imgLinkPar = $(".vditor-ir").find(".vditor-reset").children("p");
   let childTag = imgLinkPar.find("span.vditor-ir__node");
   childTag.each(function () {
     let imgLinkTag = $(this).find("img").attr("src") + ")";
     // console.log(imgLinkTag)
     for (let k = 0; k < valueMatch.length; k++) {
       if (imgLinkTag == valueMatch[k]) {
         $(this).find(".vditor-ir__marker--link").html(replaceUrl);
         $(this).find("img").attr("src", replaceUrl);
       }
     }
   });
 },


 2095
2095

 被折叠的 条评论
为什么被折叠?
被折叠的 条评论
为什么被折叠?
 到【灌水乐园】发言


