前言
自定义事件主要用于用户实现自己所需要的变化
1.自定义事件的定义
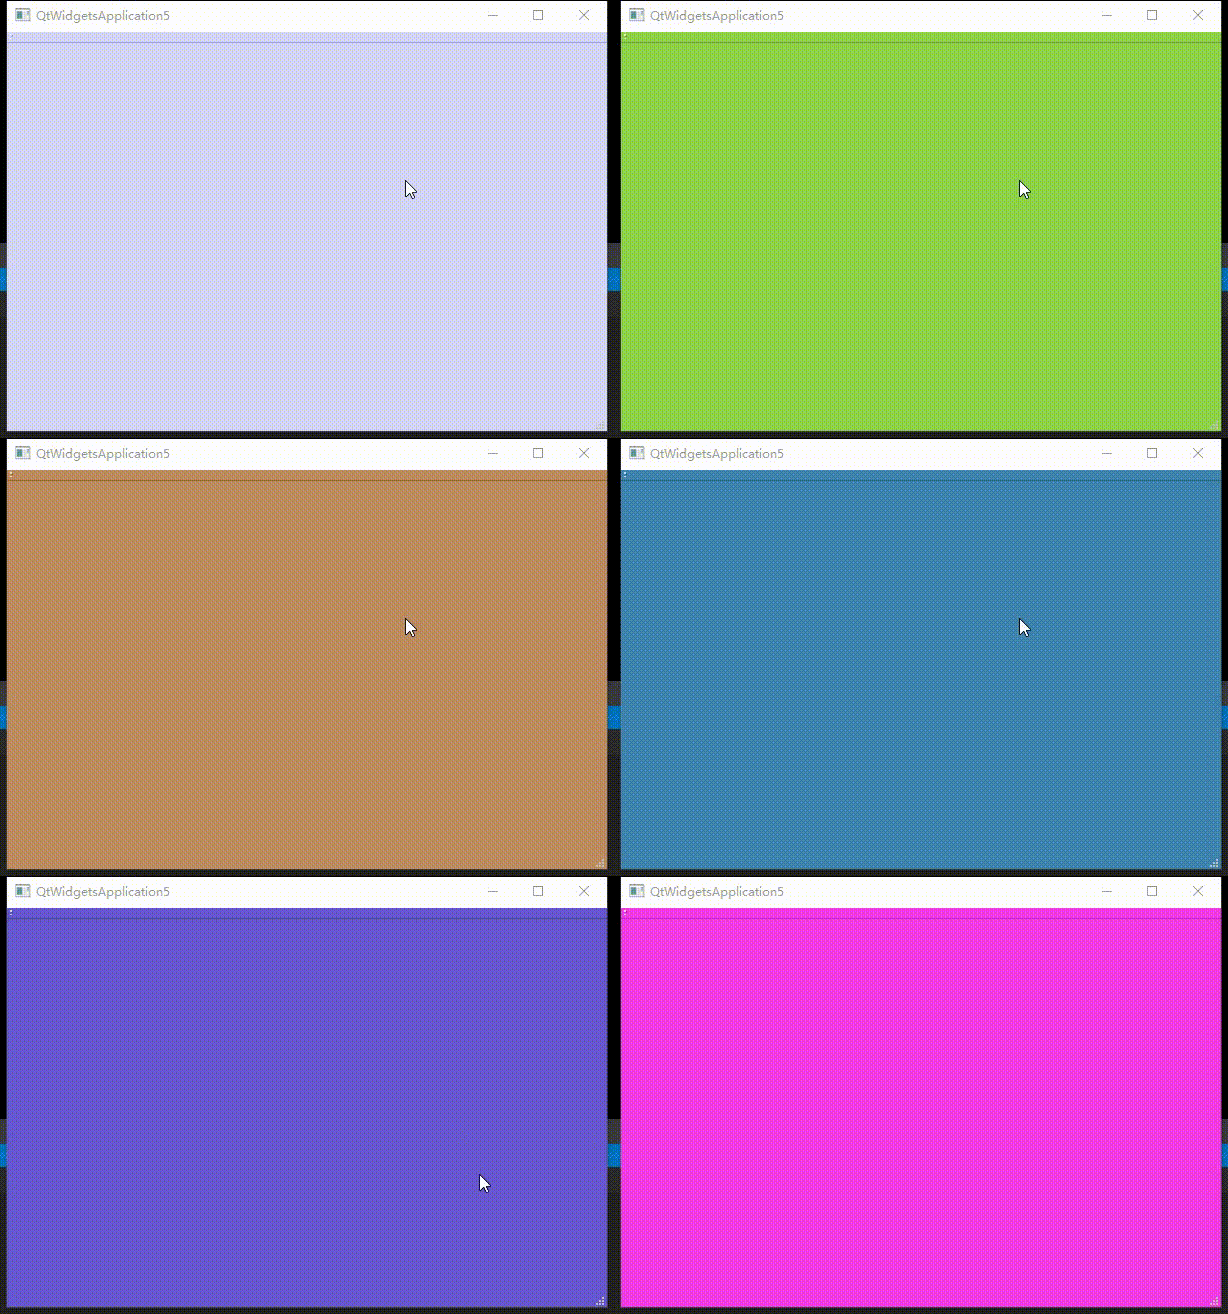
自定义事件从user:1000 max:MaxUser(65535),本例子我们简单更改界面颜色
#pragma once

#include <QEvent>
#include<QColor>
const int CustomEventBaseID = QEvent::User;
const int ChangeNumberEventID = CustomEventBaseID + 1;
class ChangeColorEvent : public QEvent
{

public:
	ChangeColorEvent(QObject *parent, QColor clr);
	~ChangeColorEvent();
	QColor clr;
};


#include "ChangeColorEvent.h"

ChangeColorEvent::ChangeColorEvent(QObject *parent, QColor clr)
	: QEvent(QEvent::Type(ChangeNumberEventID))
{
	this->clr = clr;
}

ChangeColorEvent::~ChangeColorEvent()
{
}
2.自定义事件的调用
主要有sendevent和popevent两种方式,本文采用sendevent。
#pragma once

#include <QtWidgets/QMainWindow>
#include "ui_QtWidgetsApplication5.h"
#include"ChangeColorEvent.h"
#include<QTimer>
class QtWidgetsApplication5 : public QMainWindow
{
    Q_OBJECT

public:
    QtWidgetsApplication5(QWidget *parent = Q_NULLPTR);
protected:
	void customEvent(QEvent *event);
private slots:
	void randdomData();//随机颜色
private:
    Ui::QtWidgetsApplication5Class ui;
	QColor clr;
	QApplication* m_pApp = nullptr;
	QTimer *timer;//定时刷新
};


#include "QtWidgetsApplication5.h"
#include"qthread.h"
#include<QDebug>
QtWidgetsApplication5::QtWidgetsApplication5(QWidget *parent)
    : QMainWindow(parent)
{
    ui.setupUi(this);
	timer = new QTimer(this);
	connect(timer, SIGNAL(timeout()), this, SLOT(randdomData()));
	timer->start(100);
	randdomData();
}

void QtWidgetsApplication5::customEvent(QEvent * event)
{
	ChangeColorEvent* e = dynamic_cast<ChangeColorEvent*>(event);
	if (e)
	{

		QPalette pal(this->palette());
		qDebug() << e->clr;
		pal.setColor(QPalette::Background, e->clr);
		this->setAutoFillBackground(true);
		this->setPalette(pal);
		this->show();

	}
}
void QtWidgetsApplication5::randdomData()
{

		QColor clr2(rand() % 256, rand() % 256, rand() % 256);

		if (clr != clr2)
		{
			clr = clr2;
			ChangeColorEvent e(this, clr);//构造函数传参
			m_pApp->sendEvent(this, &e);
		}
}
3.效果


 2666
2666


 被折叠的 条评论
为什么被折叠?


