


一、搭建项目工程


二、整合tomcat
2.1 下载tomcat
百度云下载:http://pan.baidu.com/s/1c18VOwo
下载完之后解压,如下

2.2 配置tomcat
idea启动如果出现乱码,在这里可以配置为相应编码

2.3 启动tomcat
在bin目录下启动和停止tomcat

启动之后,访问http://localhost:8080/ 如果加载出Apache Tomcat的页面,即说明启动成功。
三、Idea整合tomcat搭建servlet Demo
3.1 业务类
public class HelloServlet extends HttpServlet {

    protected void doGet(HttpServletRequest req, HttpServletResponse resp) throws ServletException, IOException {
        //1.获取前端参数
        String method = req.getParameter("method");
        if (method.equals("add")) {
            req.getSession().setAttribute("msg", "aaa");
        }
        if (method.equals("delete")) {
            req.getSession().setAttribute("msg", "执行了delete方法");
        }
        //2.调用业务层
        //3.视图转发或者重定向
        req.getRequestDispatcher("/WEB-INF/jsp/test.jsp").forward(req, resp);
    }

    protected void doPost(HttpServletRequest req, HttpServletResponse resp) throws ServletException, IOException {
        doGet(req, resp);
    }
}
3.2 web.xml
<?xml version="1.0" encoding="UTF-8"?>
<web-app xmlns="http://xmlns.jcp.org/xml/ns/javaee"
         xmlns:xsi="http://www.w3.org/2001/XMLSchema-instance"
         xsi:schemaLocation="http://xmlns.jcp.org/xml/ns/javaee http://xmlns.jcp.org/xml/ns/javaee/web-app_4_0.xsd"
         version="4.0">

    <servlet>
        <servlet-name>hello</servlet-name>
        <servlet-class>com.best.servlet.HelloServlet</servlet-class>
    </servlet>

    <servlet-mapping>
        <servlet-name>hello</servlet-name>
        <url-pattern>/hello</url-pattern>
    </servlet-mapping>

    <session-config>
        <session-timeout>15</session-timeout>
    </session-config>

    <welcome-file-list>
        <welcome-file>index.jsp</welcome-file>
    </welcome-file-list>
</web-app>
3.3 jsp
3.3.1 form.jsp
<%@ page contentType="text/html;charset=UTF-8" language="java" %>
<html>
<head>
    <title>Title</title>
</head>
<body>

<form action="/hello" method="post">
    <input type="text" name="method">
    <input type="submit">
</form>

</body>
</html>
3.3.2 test.jsp
<%@ page contentType="text/html;charset=UTF-8" language="java" %>
<html>
<head>
    <title>Title</title>
</head>
<body>
${msg}
</body>
</html>
3.4 集成Tomcat

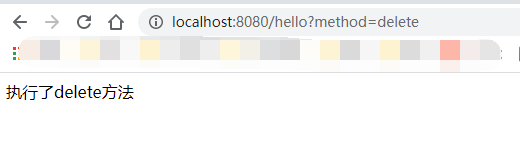
3.5 测试
启动程序


访问: http://localhost:8080/hello?method=delete


 1605
1605


 被折叠的 条评论
为什么被折叠?
被折叠的 条评论
为什么被折叠?
 到【灌水乐园】发言


