


⭐前言
大家好,我是yma16,本期给大家分享next项目搭建卡通风的登录注册。
该系列的往期文章
博客搭建_初始化next项目
登录注册的交互效果如下:
背景图为卡通的动画,符合六一的风格!

react 函数组件风格介绍
React 函数组件是一个简单的 React 组件,是一个纯 JavaScript 函数,用于定义组件的结构和行为。相比于 Class 组件,函数组件的代码量更少,结构更清晰,也更易于测试和维护。下面是一些函数组件的风格介绍:
- 使用箭头函数定义函数组件:
const MyComponent = () => {
  return <div>Hello World</div>;
}
- 使用 props 传递数据:
const MyComponent = (props) => {
  return <div>Hello {props.name}</div>;
}

// 使用组件时传递 props
<MyComponent name="World" />
- 使用解构赋值获取 props:
const MyComponent = ({ name }) => {
  return <div>Hello {name}</div>;
}

// 使用组件时传递 props
<MyComponent name="World" />
- 通过 useState Hook 管理组件状态:
import React, { useState } from "react";

const MyComponent = () => {
  const [count, setCount] = useState(0);

  return (
    <div>
      <p>Count: {count}</p>
      <button onClick={() => setCount(count + 1)}>Increment</button>
    </div>
  );
}
- 使用 useEffect Hook 处理副作用:
import React, { useState, useEffect } from "react";

const MyComponent = () => {
  const [count, setCount] = useState(0);

  useEffect(() => {
    document.title = `Count: ${count}`;
  }, [count]);

  return (
    <div>
      <p>Count: {count}</p>
      <button onClick={() => setCount(count + 1)}>Increment</button>
    </div>
  );
}
这些风格可以帮助您更加简洁和有效地编写 React 函数组件。
⭐ 登录界面搭建
页面元素:
- 登录的表单包括账号和密码
- 没有账号可以跳转到注册页面的按钮
- 表单校验
💖 登录效果

定义onSubmit 提交事件去校验输入框的内容,jumpAction的函数跳转到注册页面,添加reset重置form表单的方法
代码实现如下:
import React from 'react';
import { Form, Input, Button, MessagePlugin,Link } from 'tdesign-react';
import { DesktopIcon, LockOnIcon } from 'tdesign-icons-react';
import {loginAction} from "../../service/user/userApi"
import { useRouter } from 'next/router'

const { FormItem } = Form;

export default function BaseForm() {
    const router = useRouter()
    const rules=[
        { required: true, message: '不能为空', type: 'warning' }
    ]
    const onSubmit = (e:any) => {
        console.log(e);
        if (e.validateResult === true) {

            loginAction({
                name:e.fields?.account,
                password:e.fields?.password
            }).then(res=>{
                console.log('res',res)
                MessagePlugin.info('登录成功');
            }).catch(r=>{
                MessagePlugin.error('登录失败\n'+JSON.stringify(r));
            })
        }
    };

    const jumpAction=()=>{
        router.push('/views/sys/register')
    }

    const onReset = (e) => {
        console.log(e);
        MessagePlugin.info('重置成功');
    };

    return (
        <div className={"login-box"}>
        <div className={"login-container"}>
            <div style={{width:'100%',textAlign:'center',marginBottom:'20px',fontWeight:'bold'}}>
                登录
            </div>
        <div style={{ width: 350 }}>
            <Form statusIcon={true} onSubmit={onSubmit} onReset={onReset} colon={true} labelWidth={0}>
                <FormItem name="account" rules={rules}>
                    <Input clearable={true} prefixIcon={<DesktopIcon />} placeholder="请输入账户名" />
                </FormItem>
                <FormItem name="password" rules={rules}>
                    <Input type="password" prefixIcon={<LockOnIcon />} clearable={true} placeholder="请输入密码"
                    />
                </FormItem>
                <FormItem>
                    <Button theme="primary" type="submit" block>
                        登录
                    </Button>
                </FormItem>
            </Form>
            <div style={{width:'100%',textAlign:'center',marginTop:'10px'}} onClick={jumpAction}>
                没有账号?<Link theme="primary">前往注册</Link>
            </div>
        </div>
        </div>
        </div>
    );
}
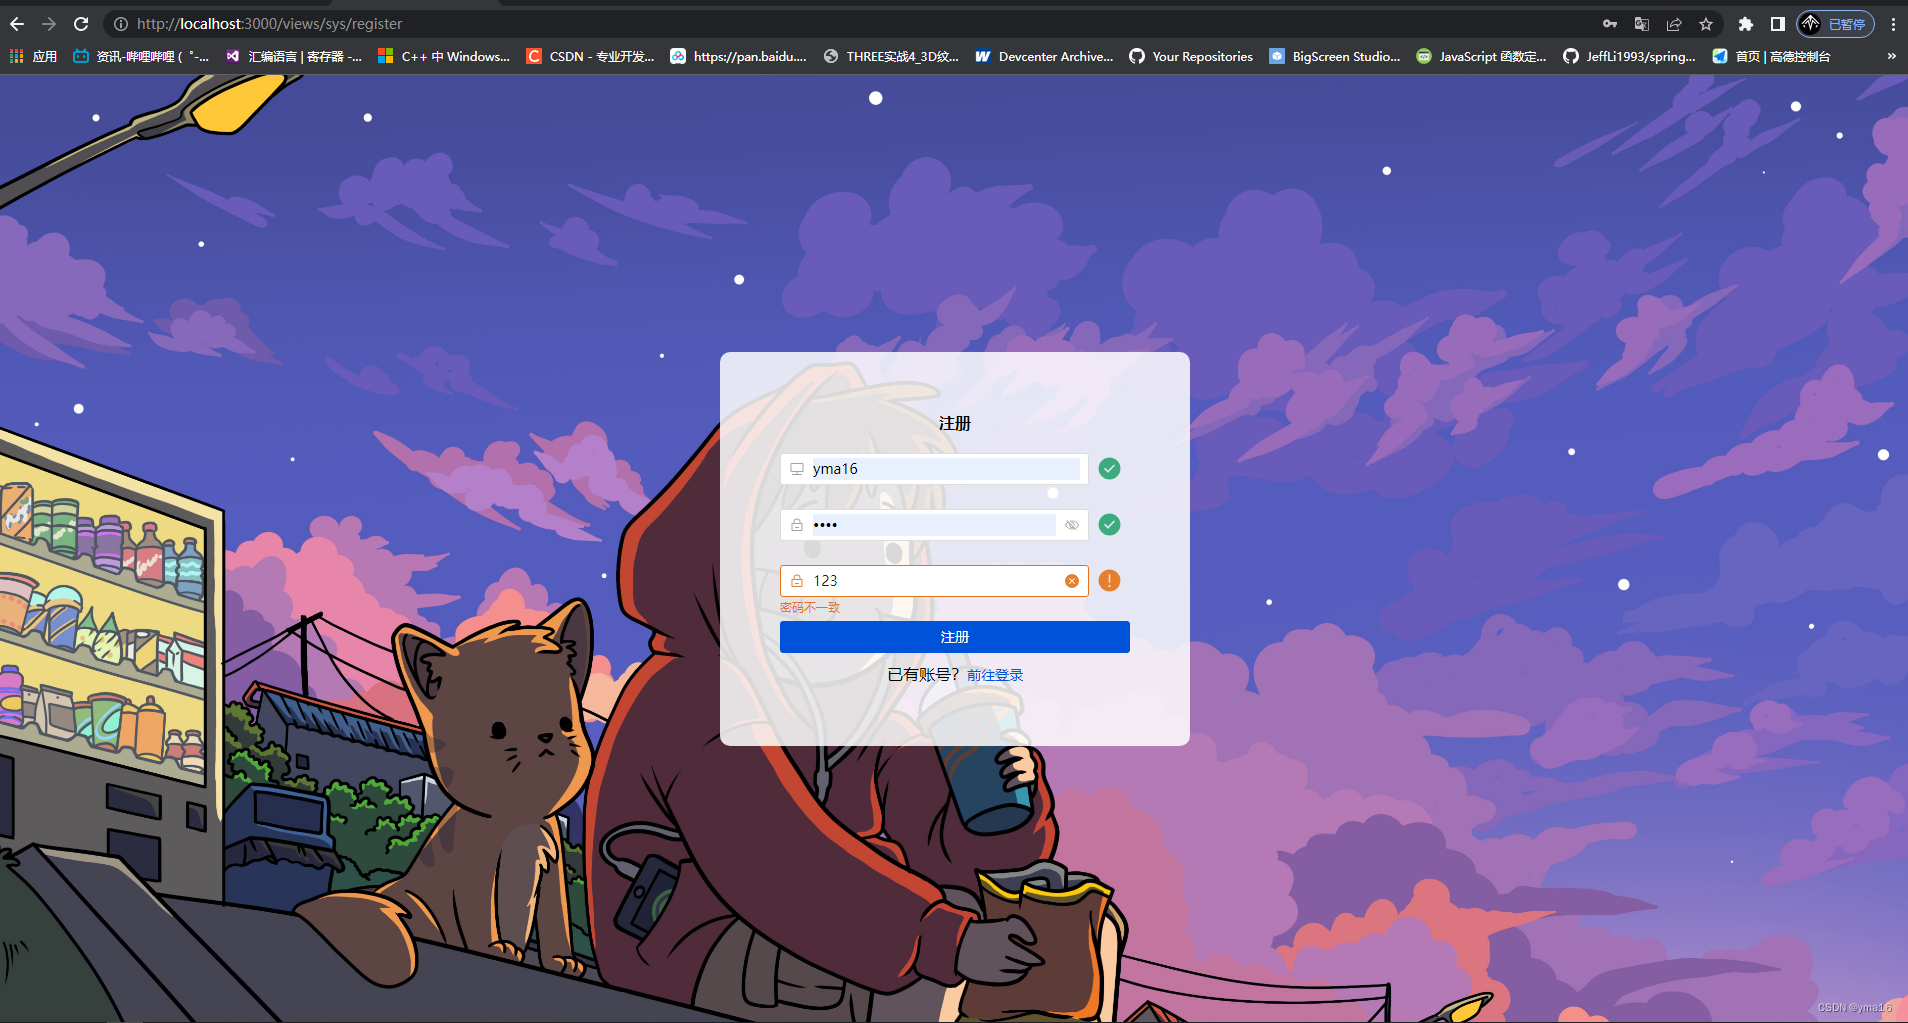
⭐ 注册界面搭建
思路分解
页面元素:
- 注册的表单包括账号、密码和确认密码
- 有账号可以跳转到登录页面
- 表单校验
registerAction注册对接后端的接口,jumpAction跳转到登录的方法,reset重置表单的方法。
注册页面的代码如下:
import React from 'react';
import { Form, Input, Button, MessagePlugin,Link } from 'tdesign-react';
import { DesktopIcon, LockOnIcon } from 'tdesign-icons-react';
import {registerAction} from "../../service/user/userApi"
import { useRouter } from 'next/router'

const { FormItem } = Form;

export default function BaseForm() {
    const [form]=Form.useForm()
    const router = useRouter()
    const rules=[
        { required: true, message: '不能为空', type: 'warning' }
    ]
    const pwdRules=[
        { required: true, message: '不能为空', type: 'warning' },
        { validator: asyncValidatePwd, message: '密码不一致', type: 'warning', trigger: 'blur' },
    ]

    function asyncValidatePwd(val) {
        // 密码不一致的校验
        return new Promise((resolve) => {
            setTimeout(() => {
                if (val === form.getFieldValue('password')) {
                    resolve(true);
                } else {
                    resolve(false);
                }
            }, 1000);
        });
    }
    const onSubmit = (e:any) => {
        console.log(e);
        if (e.validateResult === true) {

            registerAction({
                name:e.fields?.account,
                password:e.fields?.password
            }).then(res=>{
                console.log('res',res)
                if(res.data.code){
                    MessagePlugin.info('注册成功');
                }
                else{
                    MessagePlugin.error('注册失败\n'+res.data.msg);
                }

            }).catch(r=>{
                MessagePlugin.error('注册失败\n'+JSON.stringify(r));
            })
        }
    };

    const jumpAction=()=>{
        router.push('/views/sys/login')
    }

    const onReset = (e) => {
        console.log(e);
        MessagePlugin.info('重置成功');
    };

    return (
        <div className={"login-box"}>
            <div className={"login-container"}>
                <div style={{width:'100%',textAlign:'center',marginBottom:'20px',fontWeight:'bold'}}>
                    注册
                </div>
                <div style={{ width: 350 }}>
                    <Form statusIcon={true} onSubmit={onSubmit} onReset={onReset} colon={true} labelWidth={0} form={form}>
                        <FormItem name="account" rules={rules}>
                            <Input clearable={true} prefixIcon={<DesktopIcon />} placeholder="请输入账户名" />
                        </FormItem>
                        <FormItem name="password" rules={rules}>
                            <Input type="password" prefixIcon={<LockOnIcon />} clearable={true} placeholder="请输入密码"
                            />
                        </FormItem>
                        <FormItem name="confirmPwd" rules={pwdRules}>
                            <Input type="confirmPwd" prefixIcon={<LockOnIcon />} clearable={true} placeholder="请确认密码"
                            />
                        </FormItem>
                        <FormItem>
                            <Button theme="primary" type="submit" block>
                                注册
                            </Button>
                        </FormItem>
                    </Form>
                    <div style={{width:'100%',textAlign:'center',marginTop:'10px'}} onClick={jumpAction}>
                        已有账号?<Link theme="primary">前往登录</Link>
                    </div>
                </div>
            </div>
        </div>
    );
}
💖 注册效果
⭐ 结束
博客的卡通风格登录注册到这结束,如有不足欢迎指出!
💖 感谢你的阅读 💖
我们下篇博客见!


 649
649


 被折叠的 条评论
为什么被折叠?
被折叠的 条评论
为什么被折叠?
 到【灌水乐园】发言


