


使用sentry 监控前端报错
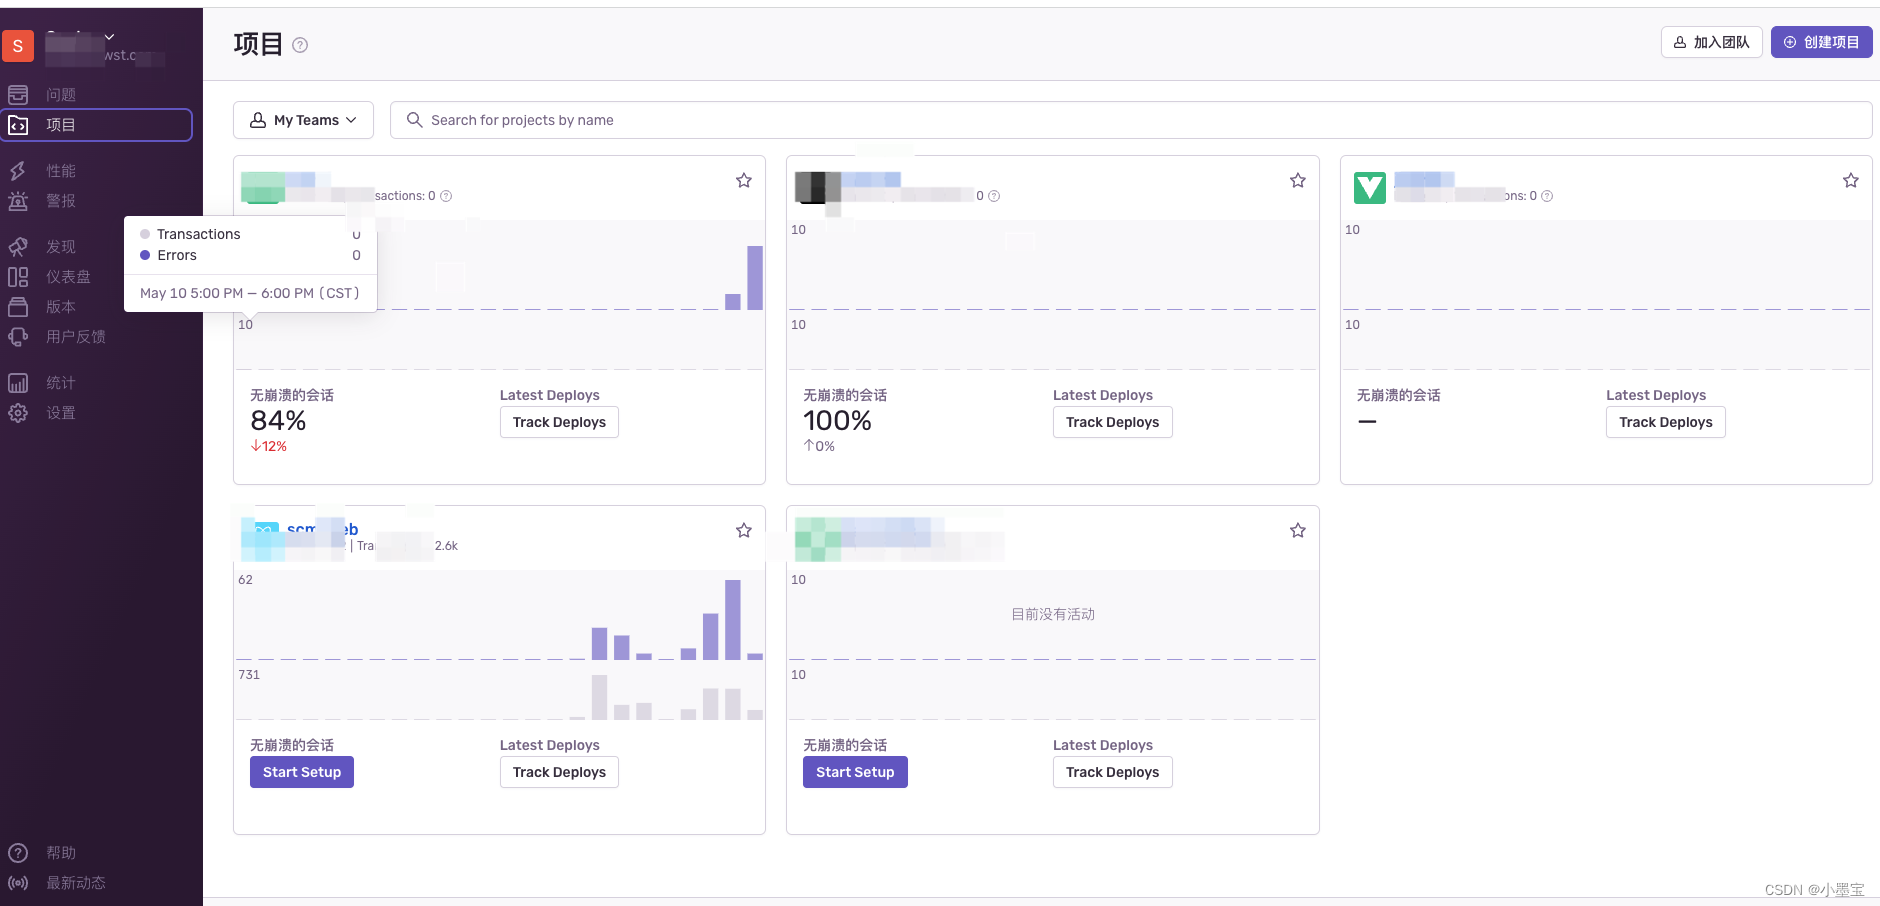
1.先创建项目
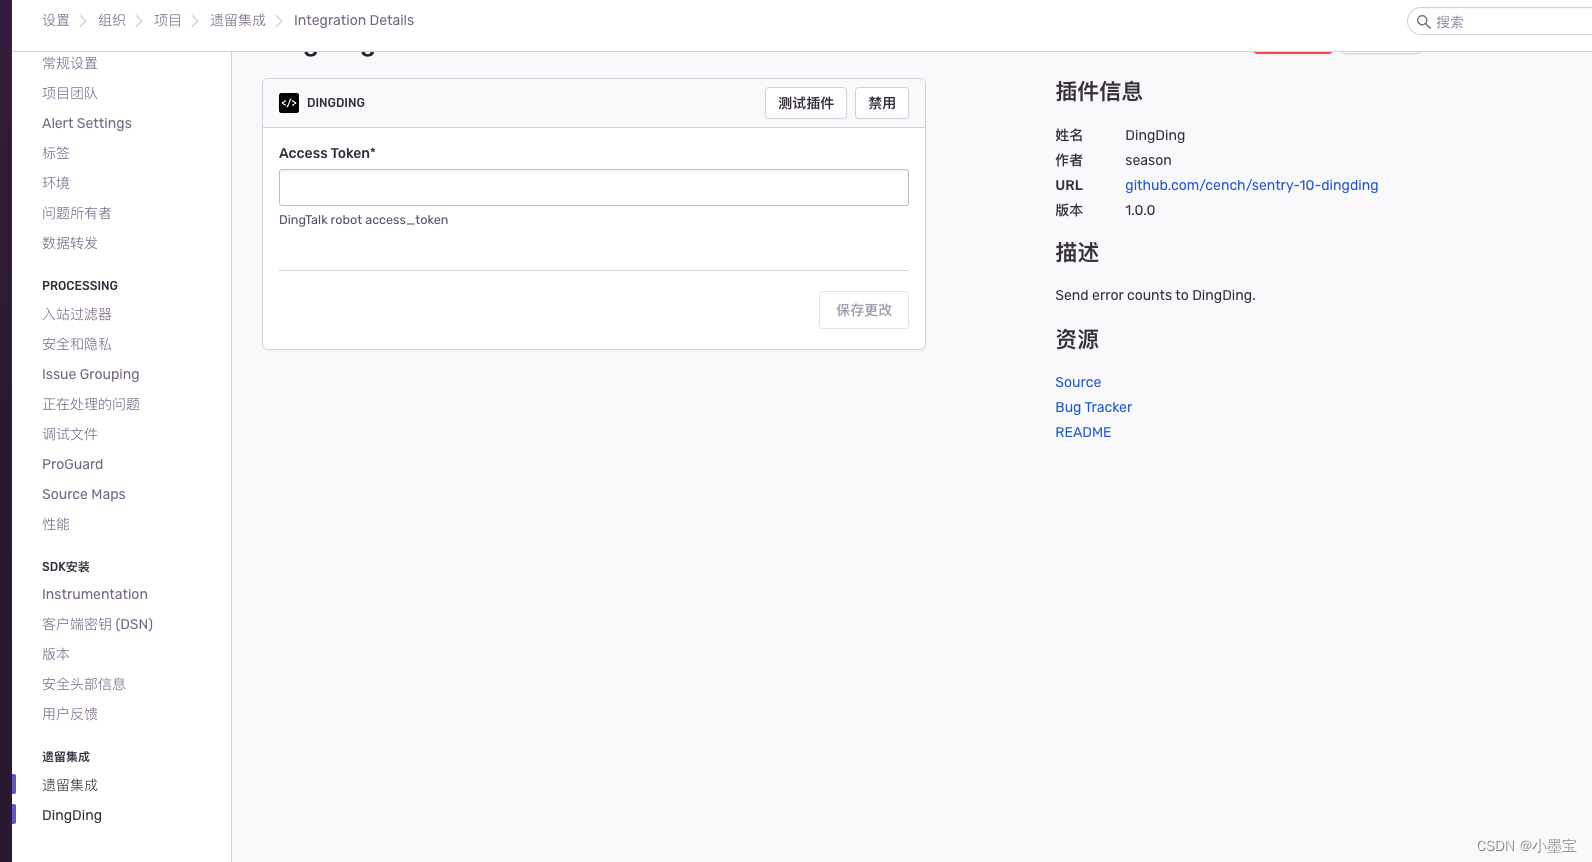
2.关联叮叮报警
将叮叮机器人token填入
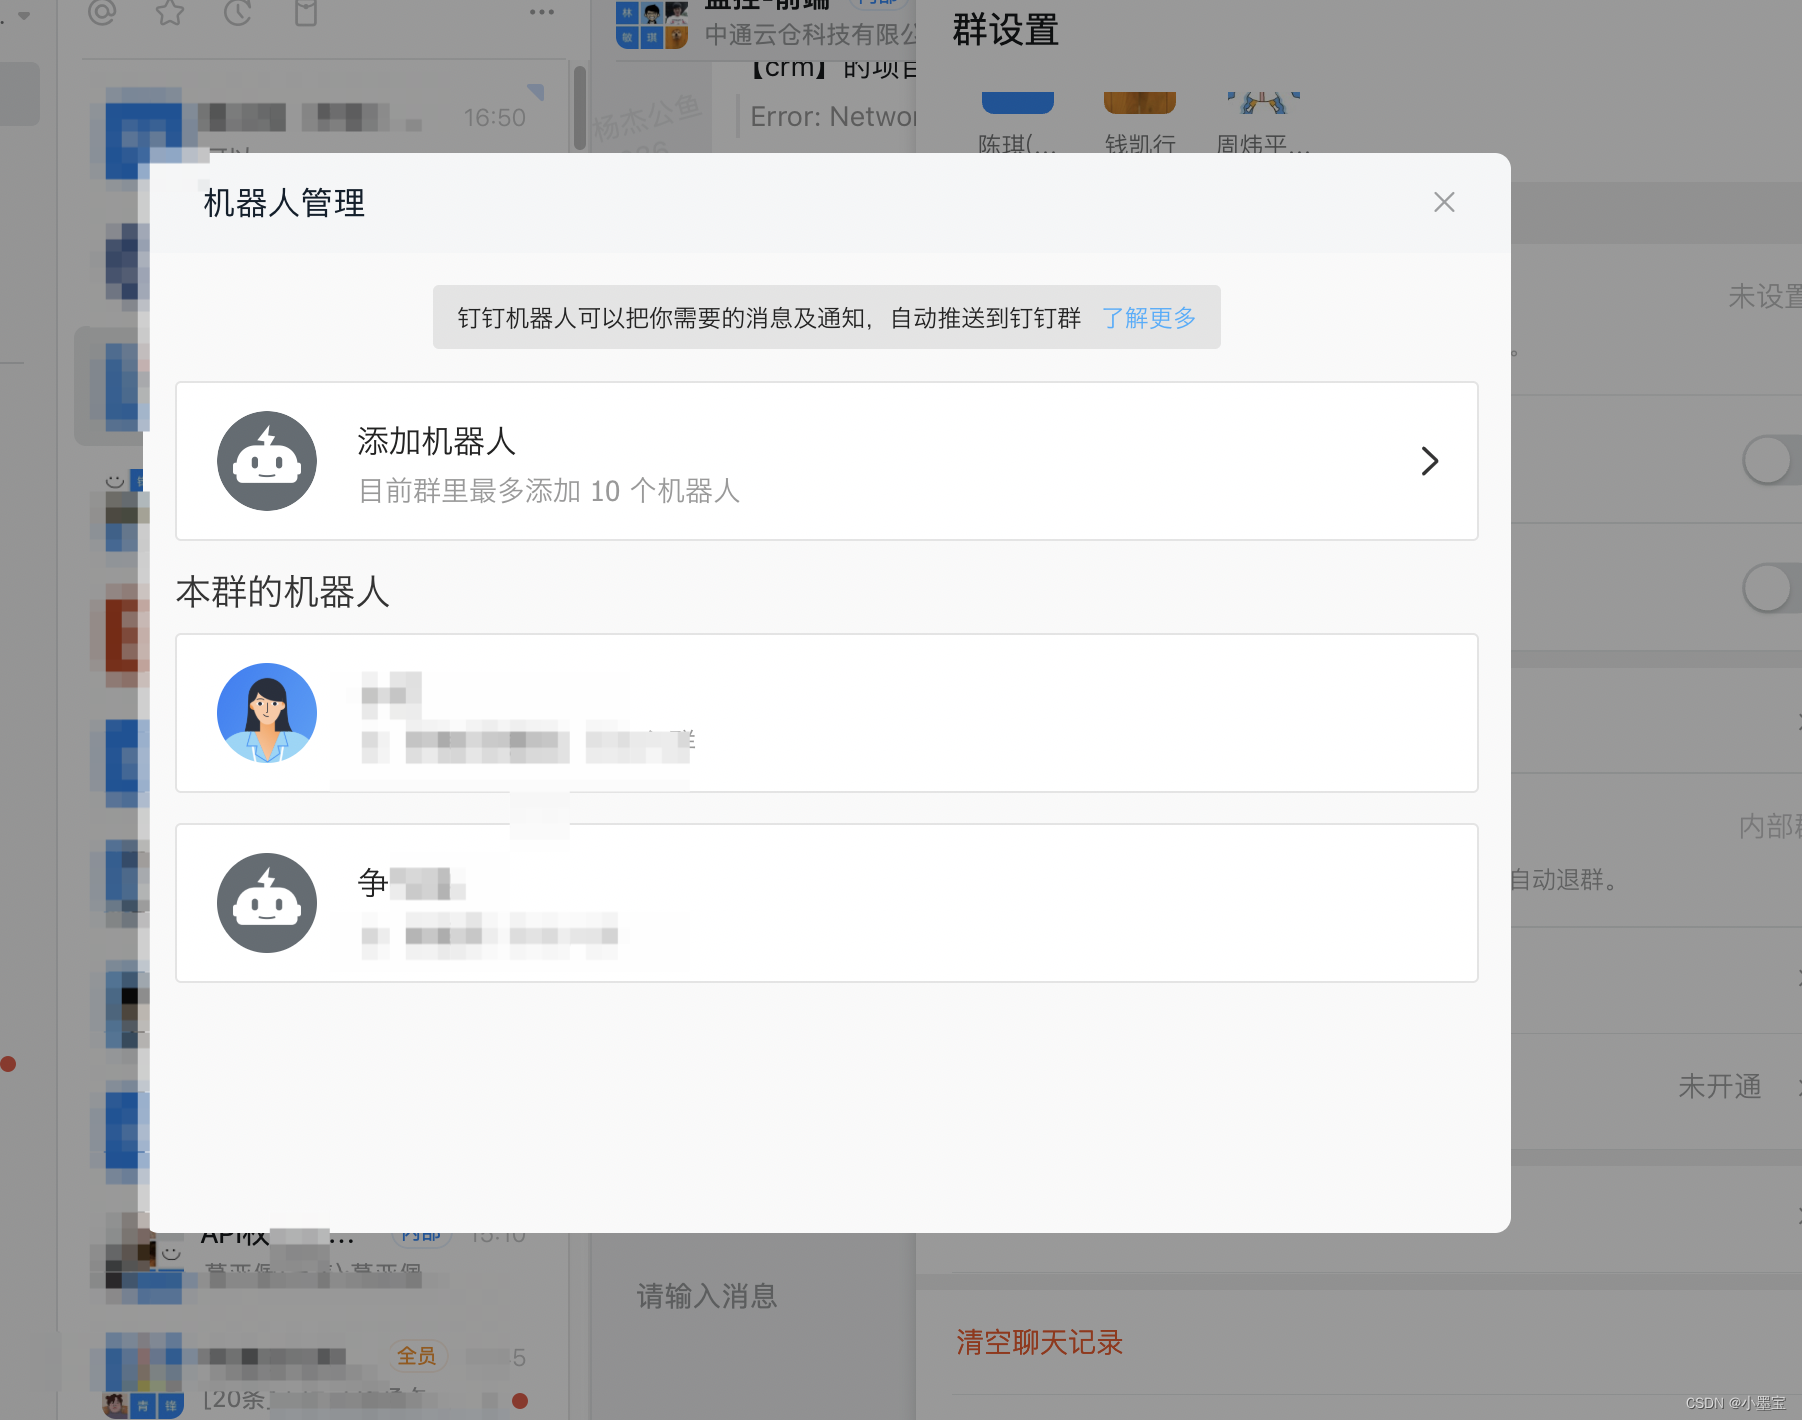
3.寻找叮叮token 这里可能需要权限 找找就有了填入上面
4,项目配置
使用 “@sentry/webpack-plugin”: “^1.12.1”,
安装
使用
webpack 项目
const SentryCliPlugin = require("@sentry/webpack-plugin");

//条件自己定义 根据情况来设置是否开启
if (config.build.sentry && config.build.sentry.user) {
  console.log('SentryCliPlugin','线上');
  webpackConfig.plugins.push(
    new SentryCliPlugin({
      include: "./dist",
      ignore: ["node_modules"],
      configFile: "./.sentryclirc",
      release: config.build.sentry.release, // 版本号
      environment: config.build.sentry.environment,
      deleteAfterCompile: true,
      ext: ["map"]
    })
  );
}
vue项目
vue.config.js
const SentryPlugin = require('@sentry/webpack-plugin');

module.exports = {

    chainWebpack: config => {

           config.plugin('sentry').use(SentryPlugin, [{
               ignore: ['node_modules'],
               include: './dist', // 上传dist文件的js
               configFile: './.sentryclirc', // 配置文件地址
               release: PZ.RELEASE_SENTRY, // 版本号
               environment: PZ.ENVIRONMENT,
               deleteAfterCompile: true
           }]);

    },

};
5.配置sentryclirc文件
根目录下新建 .sentryclirc 文件
[defaults]
url = http://10.300.48.120:9000/ //监控地址
org = sentry  //项目团队
project = jingtian //项目名称

[auth]
token = x x x x x x
6.上面的token取
创建一个


 1285
1285


 被折叠的 条评论
为什么被折叠?
被折叠的 条评论
为什么被折叠?
 到【灌水乐园】发言


