


环境配置
1、创建虚拟环境
conda create -n lgsc python=3.7
conda activate lgsc
2、安装paddlepaddle
# 安装gpu版本
pip install paddlepaddle-gpu
# 安装cpu版本
pip install paddlepaddle
3、安装common
pip install common4、安装dual, tight, data, prox
pip install dual tight data prox5、安装paddle
pip install paddle6、安装cudnn
conda install pytorch==1.7.1 torchvision==0.8.2 torchaudio==0.7.2 cudatoolkit=10.1 -c pytorch7、安装matplotlib,sklearn,opencv-python
pip install matplotlib sklearn opencv-python代码修改
1、根据以下代码创建保存模型的文件夹
如:'./work_dir/FAS/Best_model'
checkpoint_cfg = dict(
    work_dir='./work_dir/FAS_add_val',
    load_from='./work_dir/FAS/Best_model',  # 这里
    save_interval=10000,
    eval_interval=200,
    log_interval=10,
    eval_type='acc'
)
2、修改数据集路径
# 改成自己的数据集路径
data_root = 'D:/Projects/face_anti_spoofing/LGSC-for-FAS-master/data/'
train_dataset = FaceForensics(
    img_prefix=data_root,
    ann_file=data_root + 'train.txt',  # txt文件需要根据自己的label文件名进行修改
    mask_file=None,
    img_scale=(224, 224),
    img_norm_cfg=dict(mean=(100, 100, 100), std=(80, 80, 80)),
    extra_aug=extra_aug,
    crop_face=0.1,
)

val_dataset = FaceForensics(
    img_prefix=data_root,
    ann_file=data_root + 'test.txt',
    img_scale=(224, 224),
    img_norm_cfg=dict(mean=(100, 100, 100), std=(80, 80, 80)),
    extra_aug=dict(),
    test_mode=True,
    crop_face=0.1,
)
3、使用自己的数据集进行训练
由于 FaceForensics 数据集下载很慢,我就用了自己原有的数据去训练,我自己的数据是经裁剪后的人脸图,如果小伙伴的图片没经过裁剪就拿图片去跑个人脸检测模型,对模型输出的人脸框进行裁剪即可。
数据问题解决了,接下来就是生成对应的txt文件,下面的代码是我自己写的一个生成txt文件的脚本,大家可以参考一下,
import os,shutil


# 根据自己的数据路径进行修改
real_root_path = 'D:/Projects/FAS/datasets/real/'
real_img_list = []
for path, dir, imgs in os.walk(real_root_path):
    for img in imgs:
        img_path= os.path.join(path, img)
        if img_path.endswith('jpg') or img_path.endswith('png'):
            real_img_list.append(img_path)

fake_root_path = 'D:/Projects/FAS/datasets/fake/'
fake_img_list = []
for path, dir, imgs in os.walk(fake_root_path):
    for img in imgs:
        img_path= os.path.join(path, img)
        if img_path.endswith('jpg') or img_path.endswith('png'):
            fake_img_list.append(img_path)

train_txt = open('./data/train.txt','w')

for img in real_img_list:
    label = 0
    train_txt.write('{} {}\n'.format(img , label))

for img in fake_img_list:
    label = 1
    train_txt.write('{} {}\n'.format(img , label))

train_txt.close()
4、接下来就可以训练啦
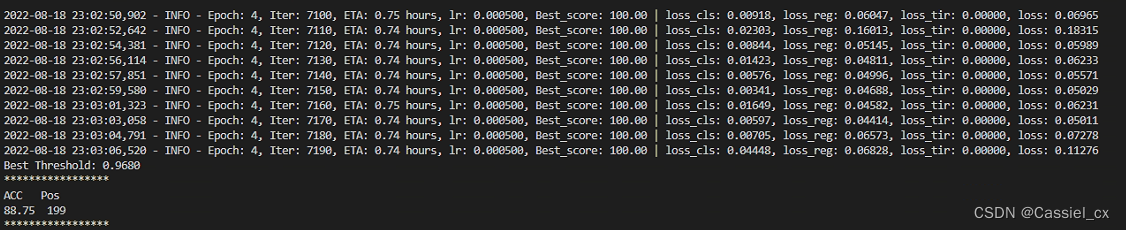
如果遇到如下错误:
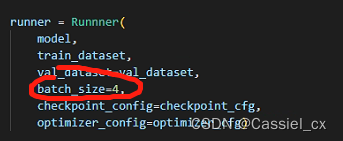
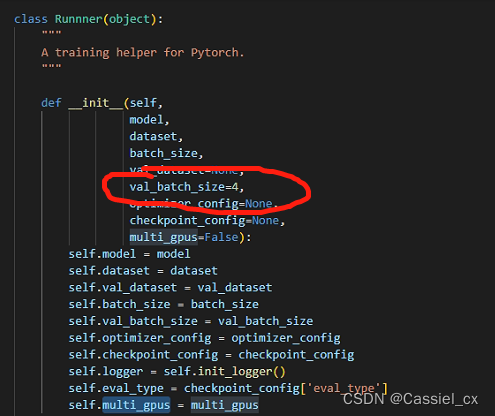
Out of memory error on GPU 0. Cannot allocate 612.500000MB memory on GPU 0, 5.999695GB memory has been allocated and available memory is only 0.000000B.则需要把训练及验证时的 batch size 调小,如下图所示:


 9244
9244


 被折叠的 条评论
为什么被折叠?
被折叠的 条评论
为什么被折叠?
 到【灌水乐园】发言


