


1. 基础环境
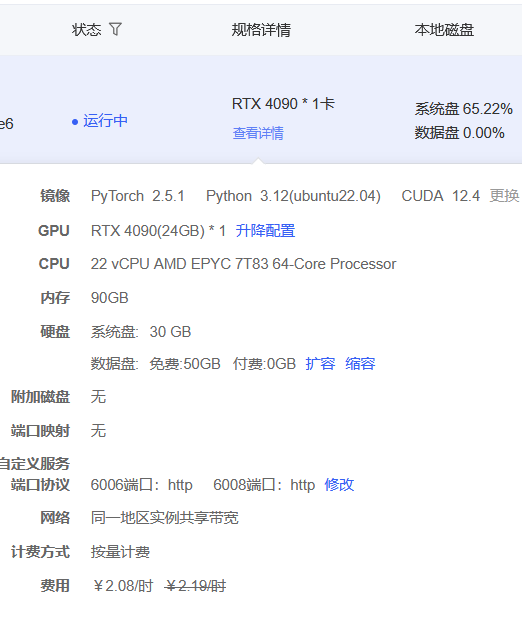
本次实验采用的是AutoDL,具体版本信息如图所示
2. 基于源码安装MinerU
conda create -n mineru python=3.10 -y
conda activate mineru
pip install uv -i https://mirrors.aliyun.com/pypi/simple
source /etc/network_turbo (为了访问github,开启学术加速)
git clone https://github.com/opendatalab/MinerU.git
unset http_proxy && unset https_proxy(关闭学术加速)
cd MinerU
uv pip install -e .[all] -i https://mirrors.aliyun.com/pypi/simple
3. 模型下载
执行mineru-models-download
接着会出现下载源选项包括huggingface 或者modelscope,默认为huggingface,选择其中一个即可。
程序继续执行,出现选择执行方式,包括pipline vllm all 三个选项, 默认为all,选择一个就行。
模型下载完成后在默认位置, 同时会生成一个"mineru.json" 文件在根目录。
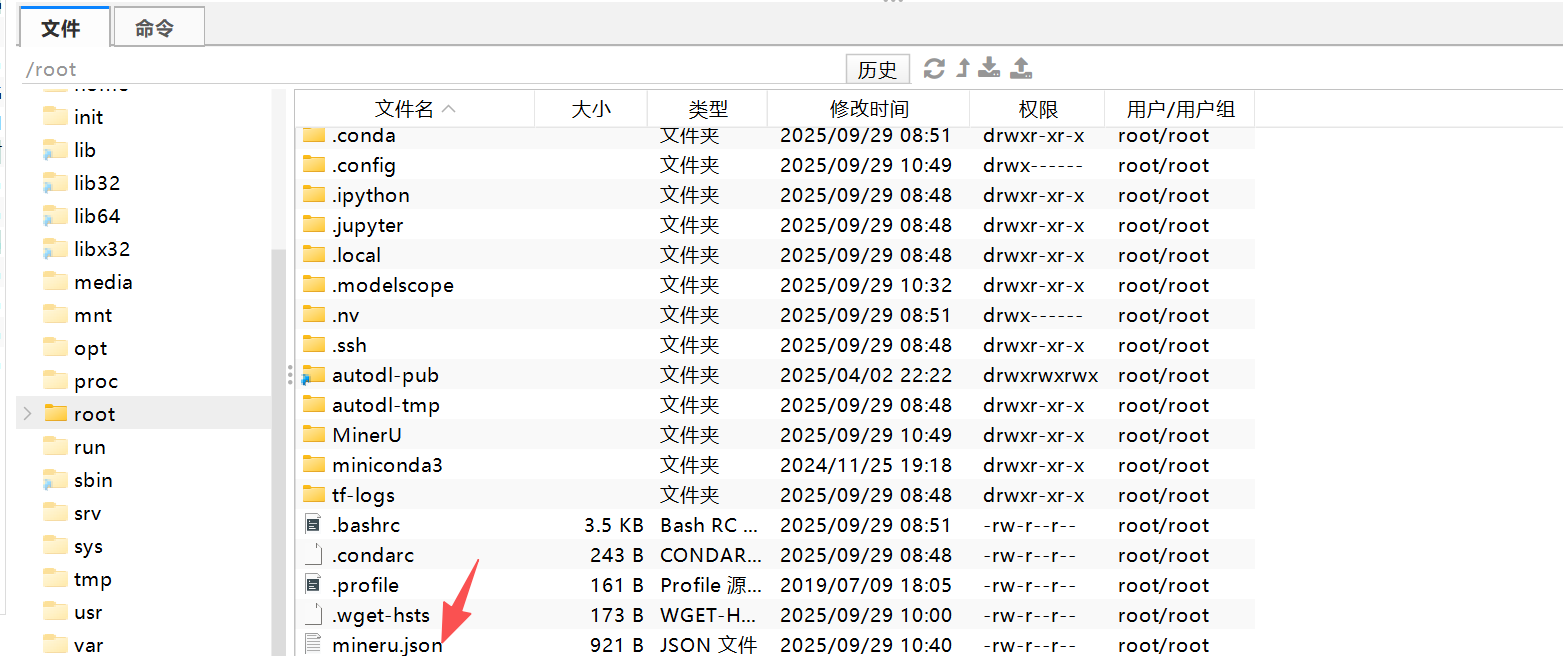
“miru.json”文件中包括一些默认模型信息, 如果要修改模型位置的话,就更改“miru.json” 的模型的位置信息就行,换成自己需要的即可。

4. pipline尝试
export MINERU_MODEL_SOURCE =modelscope
mineru -p /root/MinerU/tests/unittest/pdfs/test.pdf -o /root/MinerU/tests/unittest/pdfs/output
mineru -p <input_dir> -o <output_dir>


 被折叠的 条评论
为什么被折叠?
被折叠的 条评论
为什么被折叠?
 到【灌水乐园】发言


