


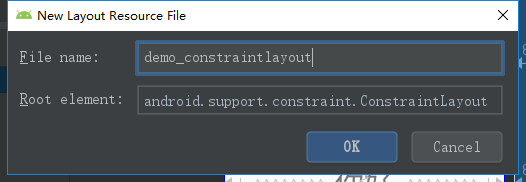
一、约束布局
Android Studio中默认为约束布局,自己创建的话,在layout文件下创建xml文件,
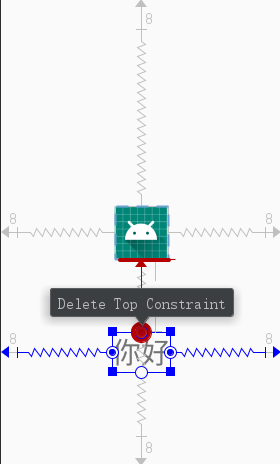
布局方式使用组件周围的控键进行布局,如下图
二、线性布局
在layout文件夹下创建xml文件,
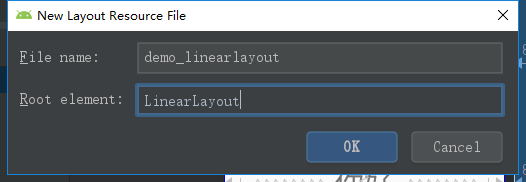
线性布局默认是从上往下的格式进行布局,可以设置android:orientation="horizontal"从左到右进行布局,一个线性布局里可以嵌套多个线性布局。

三、相对布局
layout文件夹下创建xml文件
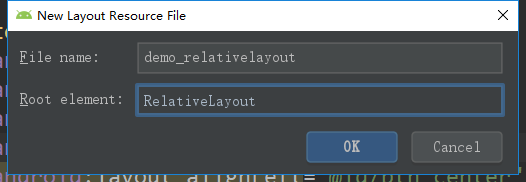
相对布局可以控制几个组件之间的相对位置

	<Button
    android:id="@+id/btn_center"
    android:layout_width="wrap_content"
    android:layout_height="wrap_content"
    android:layout_centerHorizontal="true"//水平居中
    android:layout_centerVertical="true"//竖直居中
    android:text="Center" />
    <Button
        android:id="@+id/btn_left"
        android:layout_width="wrap_content"
        android:layout_height="wrap_content"
        android:layout_toLeftOf="@id/btn_center"//相对于center按钮的左侧
        android:layout_alignBottom="@id/btn_center"//与center按钮下底对齐
        android:text="Left" />

    <Button
        android:id="@+id/btn_top"
        android:layout_width="wrap_content"
        android:layout_height="wrap_content"
        android:layout_above="@id/btn_center"//相对于center按钮的上面
        android:layout_alignLeft="@id/btn_center"//与center按钮左侧对齐
        android:text="Top" />
    <Button
        android:id="@+id/btn_right"
        android:layout_width="wrap_content"
        android:layout_height="wrap_content"
        android:layout_toRightOf="@id/btn_center"//相对于center按钮的右侧
        android:layout_alignBottom="@id/btn_center"//与center按钮下底对齐
        android:text="Right" />
    <Button
        android:id="@+id/btn_bottom"
        android:layout_width="wrap_content"
        android:layout_height="wrap_content"
        android:layout_below="@id/btn_center"//相对于center按钮下面
        android:layout_alignLeft="@id/btn_center"//与center按钮左侧对齐
        android:text="Bottom" />
四、表格布局
layout文件夹下创建xml文件
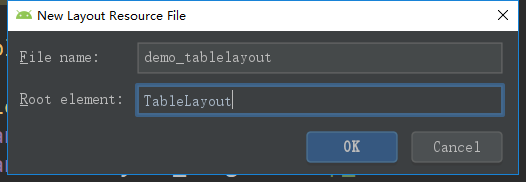
表格布局一般很少使用,一般表格行TableRow的形式进行布局,然后在行中放置控件,下面为一个两行的表格布局

	<TableRow
        android:layout_width="wrap_content"
        android:layout_height="wrap_content">
        <Button android:text="工资" />
        <Button android:text="人数"/>
    </TableRow>
    <TableRow
        android:layout_width="wrap_content"
        android:layout_height="wrap_content">
        <Button android:text="工资" />
        <Button android:text="人数"/>
        <Button android:text="工资" />
        <TextView android:text="你好啊"/>
    </TableRow>
五、帧布局
layout文件夹下创建xml文件
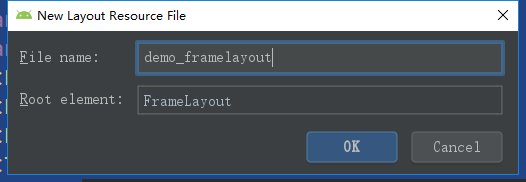
帧布局的特点是控件之间可以覆盖,如下图

	<TextView
        android:layout_width="200dp"
        android:layout_height="200dp"
        android:layout_gravity="center"
        android:background="#ff0000"/>
    <TextView
        android:layout_width="100dp"
        android:layout_height="100dp"
        android:layout_gravity="center"
        android:background="#00ff00"/>
    <TextView
        android:layout_width="50dp"
        android:layout_height="50dp"
        android:layout_gravity="center"
        android:background="#0000ff"/>
    <TextView
        android:layout_width="20dp"
        android:layout_height="20dp"
        android:layout_gravity="center"
        android:background="#ff00ff"/>


 1711
1711


 被折叠的 条评论
为什么被折叠?
被折叠的 条评论
为什么被折叠?
 到【灌水乐园】发言


