


 本文详细描述了如何将单机版Elasticsearch 7.13.3改造为集群部署,包括在两台ECS上配置节点、修改配置文件、设置seed_hosts和master节点,以及调整kibana连接。
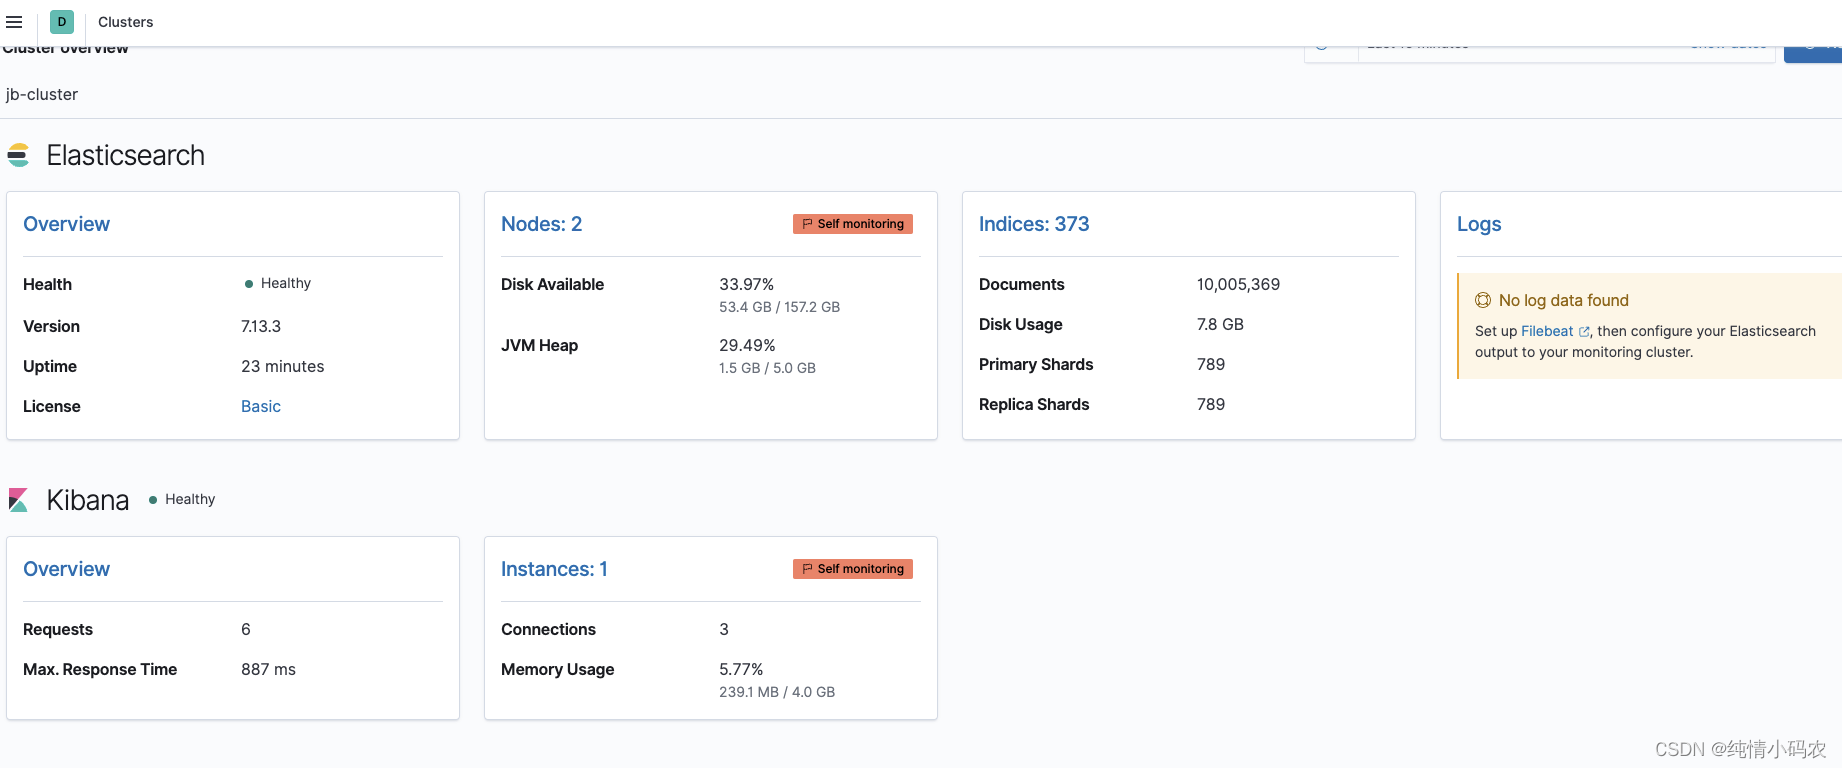
Elasticsearch集群改造
一、前言
集群部署基于单机版ES改造
| 清单 | 备注 |
|---|---|
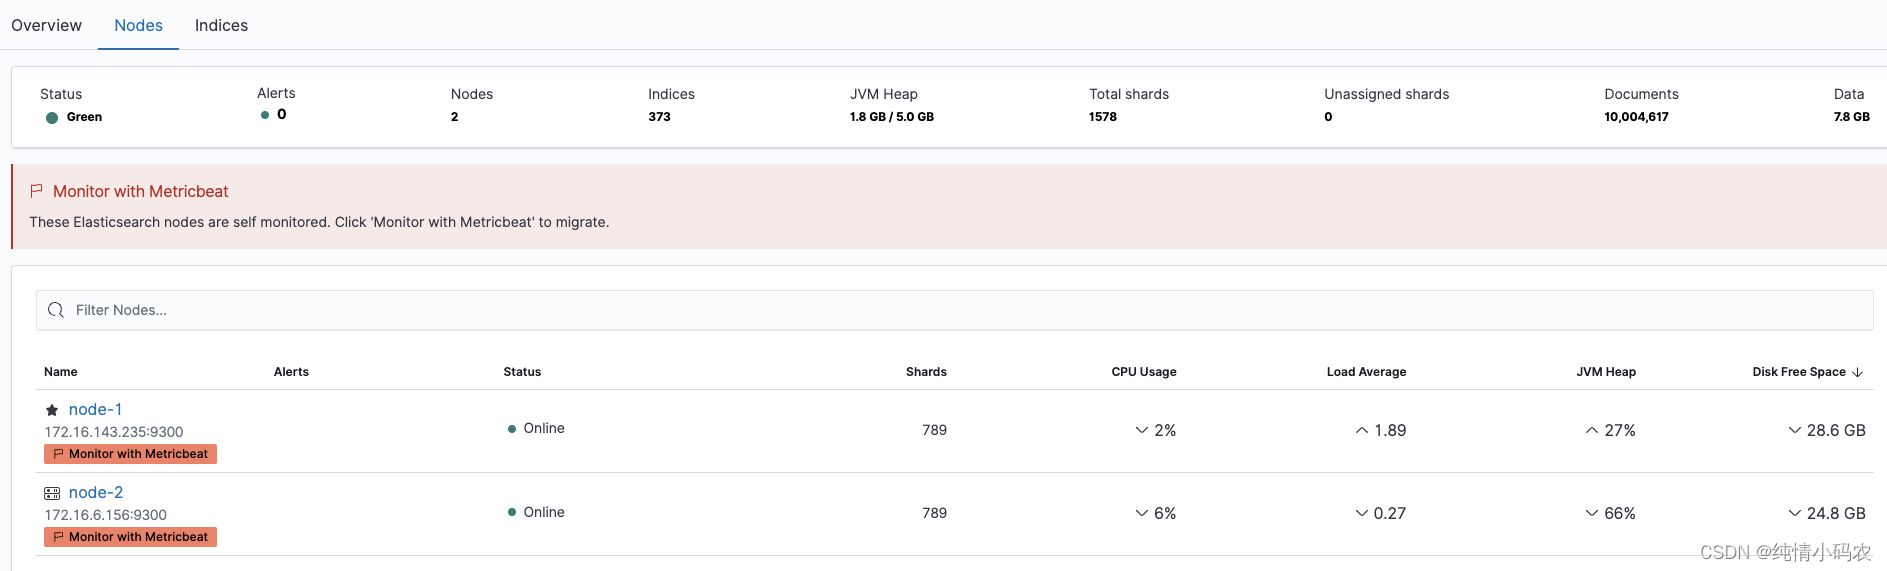
| ECS(两台) | 172.16.143.235(ECS_1) 172.16.6.156(ECS_2) |
| Elasticsearch版本 | 7.13.3 |
二、详细步骤
2.1 修改ECS_1机器中elasticsearch.yml文件并重启
cd /usr/local/es/elasticsearch-7.13.3/config
path.data: /usr/local/es/data
path.logs: /usr/local/es/logs
network.host: 172.16.143.235
http.port: 9200
http.cors.enabled: true
http.cors.allow-origin: "*"
cluster.name: jb-cluster
node.name: node-1
node.master: true
node.data: true
transport.tcp.port: 9300
node.max_local_storage_nodes: 2
discovery.seed_hosts: ["172.16.143.235","172.16.6.156"]
cluster.initial_master_nodes: ["node-1","node-2"]
2.2 在ECS_2中安装ES
2.2.1 选择安装目录
/usr/local
wget https://artifacts.elastic.co/downloads/elasticsearch/elasticsearch-7.13.3-linux-x86_64.tar.gz
tar -xzf elasticsearch-7.13.3-linux-x86_64.tar.gz
cd elasticsearch-7.13.3/
2.2.2 修改配置文件
进入到es安装目录下的config文件夹中,修改elasticsearch.yml 文件
#集群名称
cluster.name: jb-cluster
#节点名称
node.name: node-2
#设置索引数据的存储路径
path.data: /usr/local/elasticsearch-7.13.3/data
#设置日志的存储路径
path.logs: /usr/local/elasticsearch-7.13.3/logs
bootstrap.system_call_filter: false
network.host: 172.16.6.156
http.port: 9200
http.cors.enabled: true
http.cors.allow-origin: "*"

node.max_local_storage_nodes: 2
node.master: true
node.data: true

transport.tcp.port: 9300
discovery.seed_hosts: ["172.16.143.235","172.16.6.156"]
cluster.initial_master_nodes: ["node-1","node-2"]
2.2.3 补齐目录
mkdir -p /usr/local/elasticsearch-7.13.3/data
mkdir -p /usr/local/elasticsearch-7.13.3/logs
2.2.4 创建用户并赋权限
安全问题elasticsearch 不让用root用户直接运行
useradd elk
passwd elk
再输入两次密码(自定义) elk
为用户赋权限 chown -R elk:elk /usr/local/elasticsearch-7.13.3
2.2.5 修改虚拟内存
vim /etc/sysctl.conf
添加
vm.max_map_count = 262144
保存执行
sysctl -p
2.2.6 启动es
nohup bin/elasticsearch &
访问http://172.16.6.156:9200/

2.3 修改kibana配置
elasticsearch.hosts: ["http://172.16.143.235:9200","http://172.16.6.156:9200"]
elasticsearch.username: elastic
elasticsearch.password: 2020admin
server.name: 120.55.59.185
server.host: 0.0.0.0


 3221
3221

 被折叠的 条评论
为什么被折叠?
被折叠的 条评论
为什么被折叠?
 到【灌水乐园】发言


