


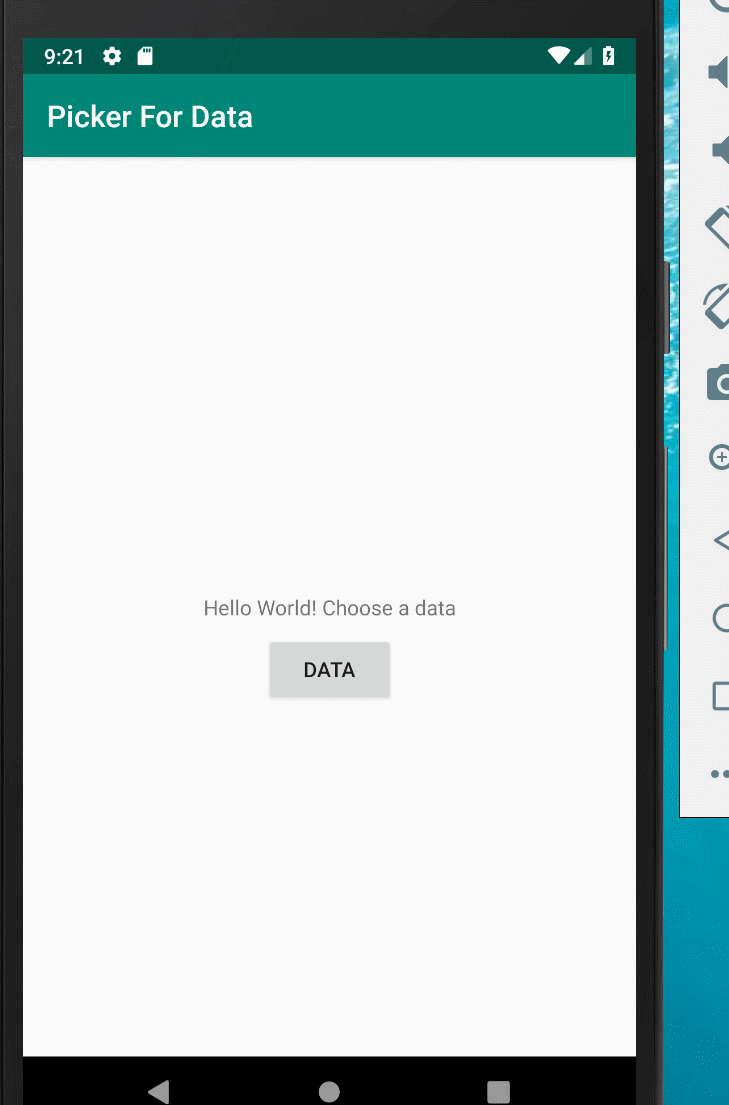
效果
Android provides ready-to-use dialogs, called pickers, for picking a time or a date. You can use them to ensure that your users pick a valid time or date that is formatted correctly and adjusted to the user’s local time and date
步骤
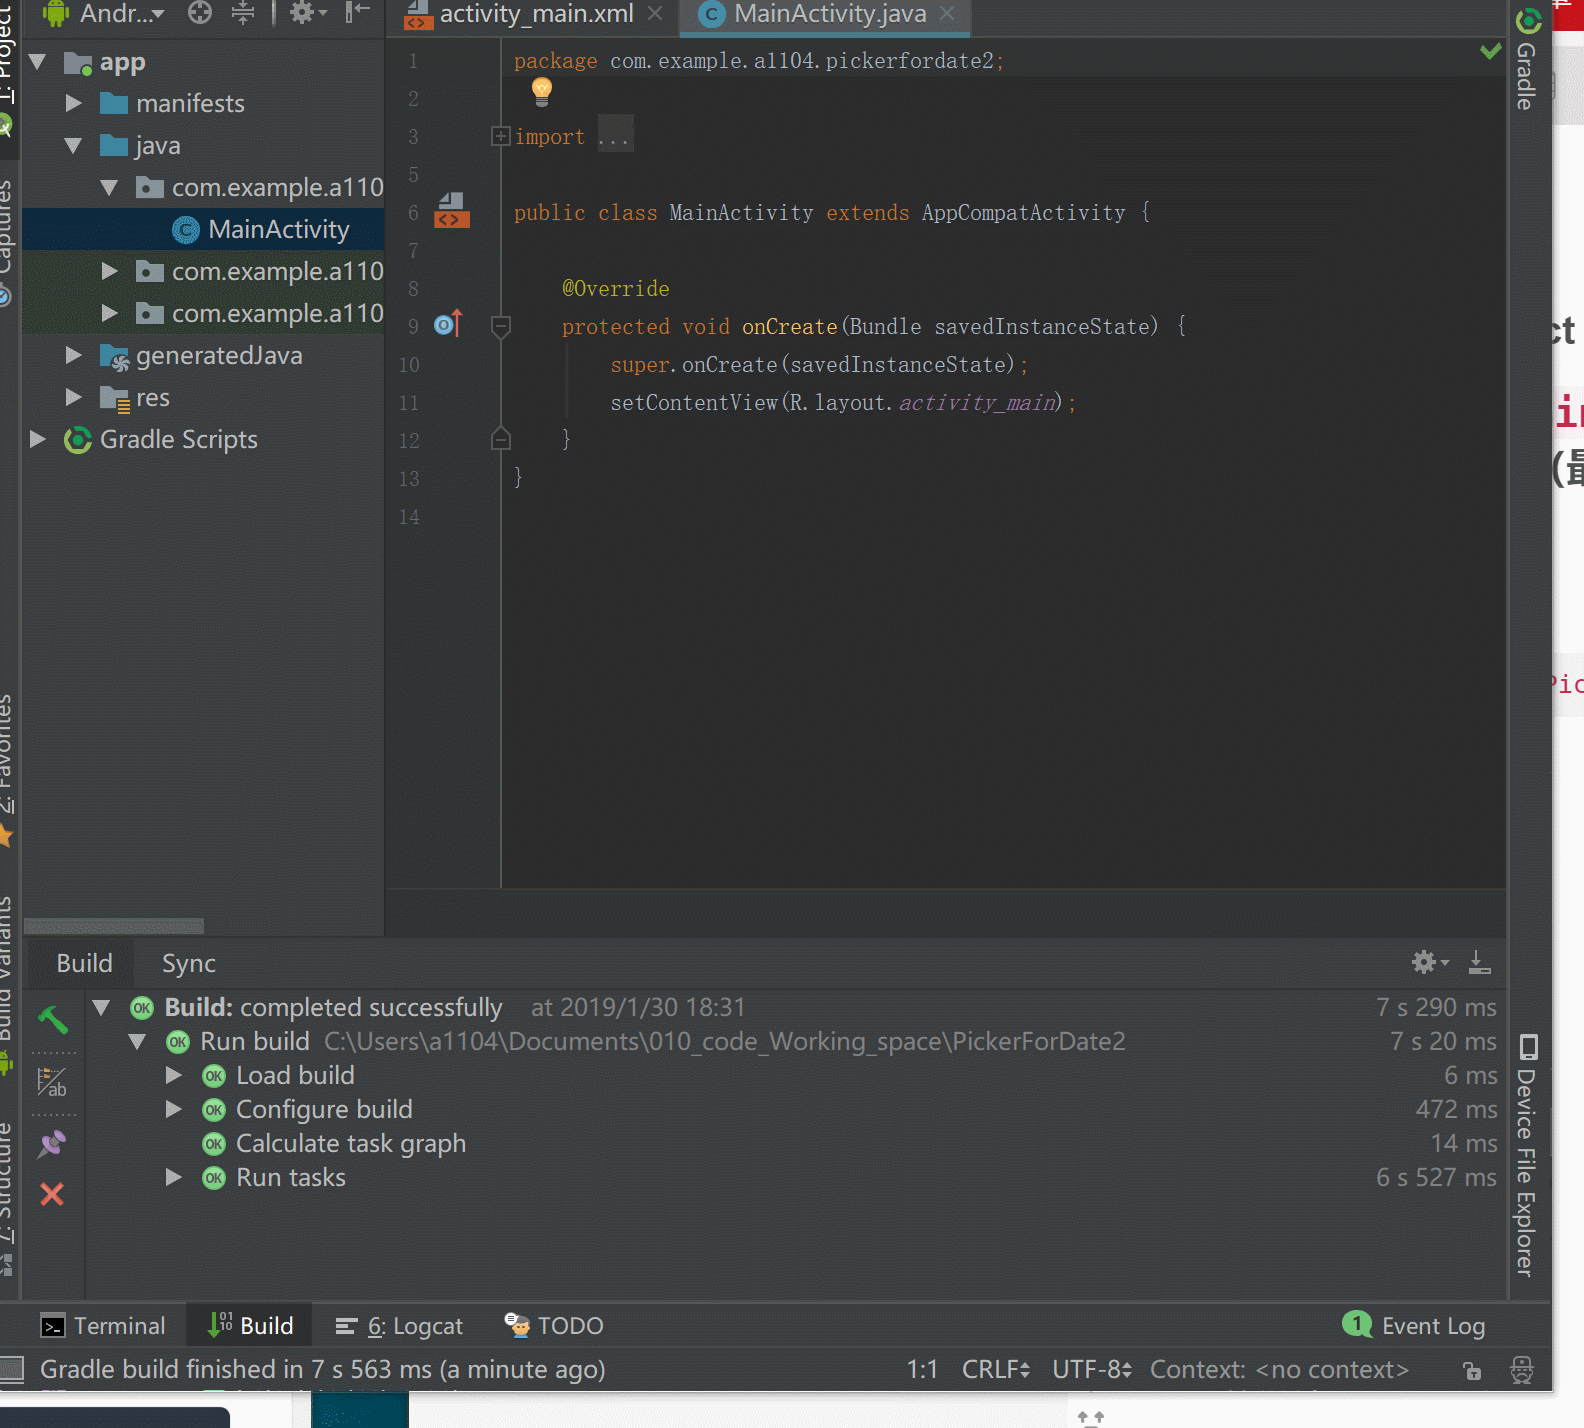
1. 创建一个新的 project
2. 打开 activity_main.xml 编辑文本框和Button (最终代码见最后附加)
对Button 添加响应:
android:onClick="showDatePicker"
3. 创建一个 Fragment
4 编辑创建的 DataPickerFragment 类
- 此处继承 DialogFragment 接口设为
DatePickerDialog.OnDateSetListener
public class DataPickerFragment extends DialogFragment
        implements DatePickerDialog.OnDateSetListener {
        //此处我打错一个单词Date ,我打成Data了 注意.
此时会产生红色线错误,选择ALT +ENTER,之后选择 Implement methods 创建一个方法,
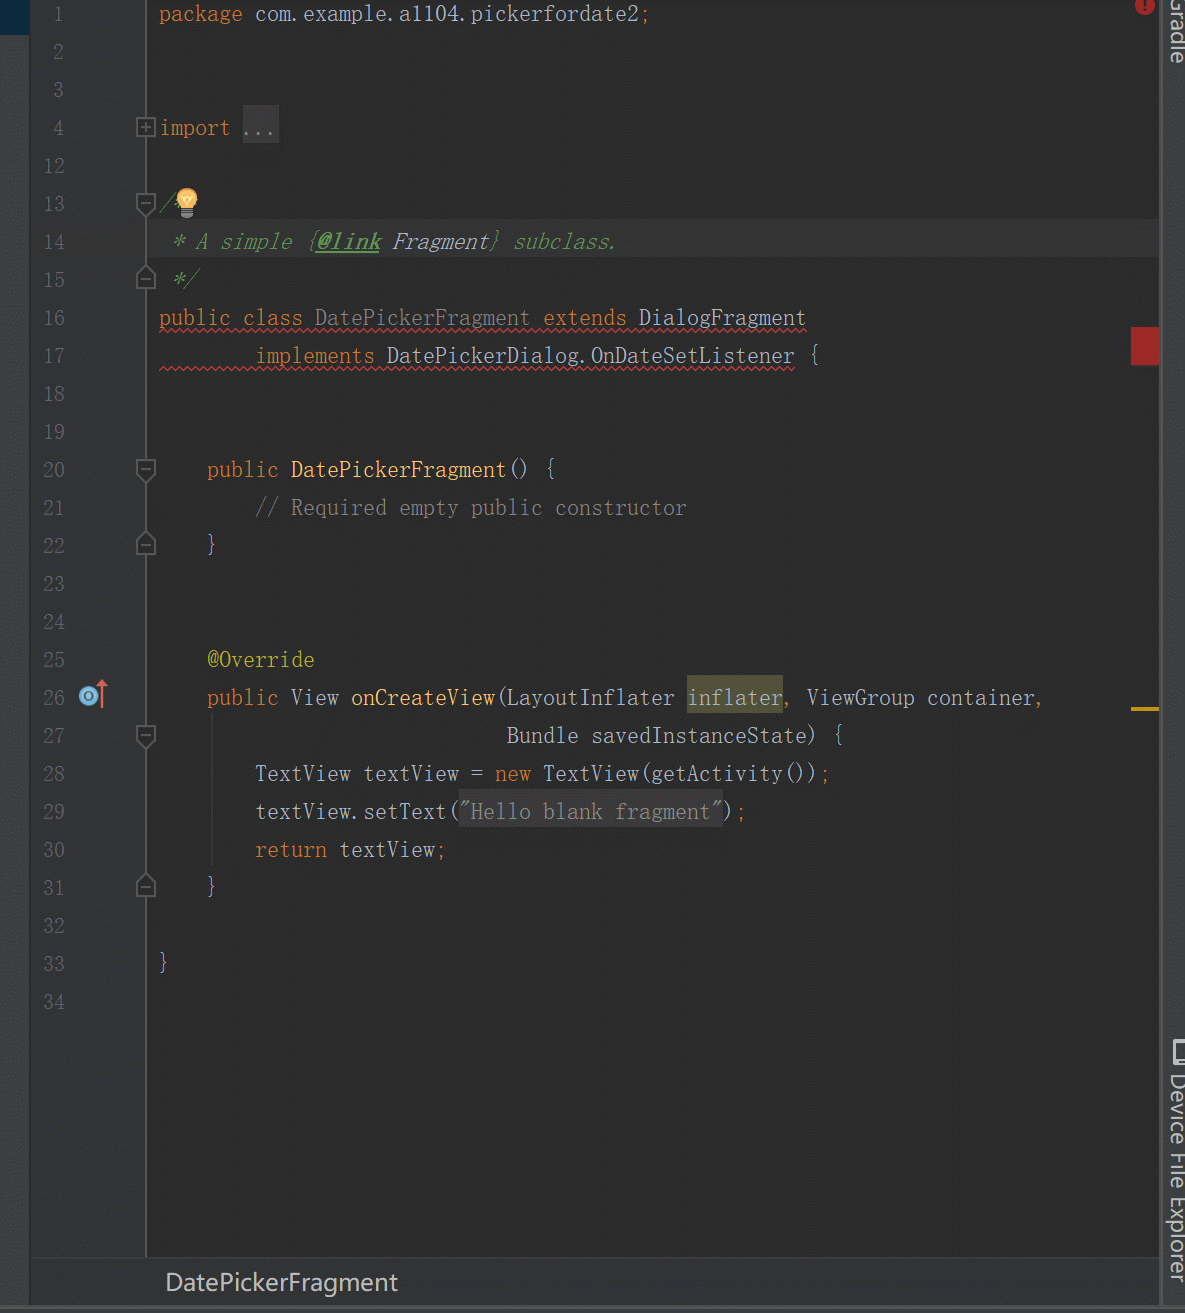
- 设置 onDateSet() 参数,设置移去
DatePickerFragment()代码如下:
// 继承   接口
public class DataPickerFragment extends DialogFragment
        implements DatePickerDialog.OnDateSetListener {
//设置对话框方法
    @Override
    public Dialog onCreateDialog(Bundle savedInstanceState) {
        final Calendar c = Calendar.getInstance();   //调用getInstance
        int year = c.get(Calendar.YEAR);    // 得到年
        int month = c.get(Calendar.MONTH);   //月
        int day = c.get(Calendar.DAY_OF_MONTH);   //日
        return new DatePickerDialog(getActivity(),this,year,month,day);
    }
// 设置onDateSet方法  年,月,日
        @Override
    public void onDateSet(DatePicker datePicker,int year , int month, int day){
        MainActivity activity = (MainActivity) getActivity();
        // Invoke Main Activity's processDatePickerResult() method.
        activity.processDatePickerResult(year, month, day);
    }
}
5. 在MainActivity 中创建一个实例,管理Fragment 并show 出date picker
- 打开MainActivity
- 为 Button 添加一个hander ,显示方法
usinggetSupportFragmentManager()to manage the Fragment automatically
    public void showDatePicker(View view) {
        DialogFragment newFragment = new DataPickerFragment();  //实例
        newFragment.show(getSupportFragmentManager(),"datePicker"); // 显示出来
    }
此时运行程序,可以显示出日历,但是点击后无法响应
6.使点击日历有回复
- 打开MainActivity 添加一个空的方法
processDatePickerResult(),响应点击
    public void processDatePickerResult(int year,int month, int day){
        String month_string = Integer.toString(month+1); // 月份使从0开始的,要加1
        String day_string = Integer.toString(day);
        String year_string = Integer.toString(year);
        String dateMessage = (month_string + "/" + day_string +"/" + year_string);//响应信息
        Toast.makeText(this,"Date"+ dateMessage,Toast.LENGTH_SHORT).show(); // 响应方法
    }
- 把DatePickerFragment 中的数据传入 MainActivity
在DataPickerFragment.java 中设置
    @Override
    public void onDateSet(DatePicker datePicker,int year , int month, int day){
        MainActivity activity = (MainActivity) getActivity();  // 使用getActivity 获取
        // Invoke Main Activity's processDatePickerResult() method.
        activity.processDatePickerResult(year, month, day);    // 传入
    }
You use getActivity() which, when used in a Fragment, returns the Activity the Fragment is currently associated with. You need this because you can’t call a method in MainActivity without the context of MainActivity (you would have to use an intent instead, as you learned in another lesson). The Activity inherits the context, so you can use it as the context for calling the method (as in activity.processDatePickerResult).
完整代码如下:
mainactivity.xml
<?xml version="1.0" encoding="utf-8"?>
<android.support.constraint.ConstraintLayout xmlns:android="http://schemas.android.com/apk/res/android"
    xmlns:app="http://schemas.android.com/apk/res-auto"
    xmlns:tools="http://schemas.android.com/tools"
    android:layout_width="match_parent"
    android:layout_height="match_parent"
    tools:context=".MainActivity">

    <TextView
        android:id="@+id/textView"
        android:layout_width="wrap_content"
        android:layout_height="wrap_content"
        android:text="Hello World! Choose a data"
        app:layout_constraintBottom_toBottomOf="parent"
        app:layout_constraintLeft_toLeftOf="parent"
        app:layout_constraintRight_toRightOf="parent"
        app:layout_constraintTop_toTopOf="parent" />

    <Button
        android:id="@+id/button"
        android:layout_width="wrap_content"
        android:layout_height="wrap_content"
        android:layout_marginEnd="8dp"
        android:layout_marginStart="8dp"
        android:layout_marginTop="8dp"
        android:onClick="showDatePicker"
        android:text="Data"
        app:layout_constraintEnd_toEndOf="parent"
        app:layout_constraintStart_toStartOf="parent"
        app:layout_constraintTop_toBottomOf="@+id/textView" />

</android.support.constraint.ConstraintLayout>
MainActivity.java 中
package com.example.a1104.pickerfordata;

import android.support.v4.app.DialogFragment;
import android.support.v7.app.AppCompatActivity;
import android.os.Bundle;
import android.view.View;
import android.widget.DatePicker;
import android.widget.Toast;

public class MainActivity extends AppCompatActivity {

    @Override
    protected void onCreate(Bundle savedInstanceState) {
        super.onCreate(savedInstanceState);
        setContentView(R.layout.activity_main);
    }

    public void showDatePicker(View view) {
        DialogFragment newFragment = new DataPickerFragment();
        newFragment.show(getSupportFragmentManager(),"datePicker");
    }

    public void processDatePickerResult(int year,int month, int day){
        String month_string = Integer.toString(month+1);
        String day_string = Integer.toString(day);
        String year_string = Integer.toString(year);
        String dateMessage = (month_string + "/" + day_string +"/" + year_string);
        Toast.makeText(this,"Date"+ dateMessage,Toast.LENGTH_SHORT).show();
    }


}
DataPickerFragment.java
package com.example.a1104.pickerfordata;


import android.app.DatePickerDialog;
import android.app.Dialog;
import android.os.Bundle;
import android.support.v4.app.DialogFragment;
import android.support.v4.app.Fragment;
import android.view.LayoutInflater;
import android.view.View;
import android.view.ViewGroup;
import android.widget.DatePicker;
import android.widget.TextView;

import java.util.Calendar;

/**
 * A simple {@link Fragment} subclass.
 */

public class DataPickerFragment extends DialogFragment
        implements DatePickerDialog.OnDateSetListener {

    @Override
    public Dialog onCreateDialog(Bundle savedInstanceState) {
        final Calendar c = Calendar.getInstance();
        int year = c.get(Calendar.YEAR);
        int month = c.get(Calendar.MONTH);
        int day = c.get(Calendar.DAY_OF_MONTH);
        return new DatePickerDialog(getActivity(),this,year,month,day);
    }

    @Override
    public void onDateSet(DatePicker datePicker,int year , int month, int day){
        MainActivity activity = (MainActivity) getActivity();
        // Invoke Main Activity's processDatePickerResult() method.
        activity.processDatePickerResult(year, month, day);
    }
}


 222
222

 被折叠的 条评论
为什么被折叠?
被折叠的 条评论
为什么被折叠?
 到【灌水乐园】发言


