


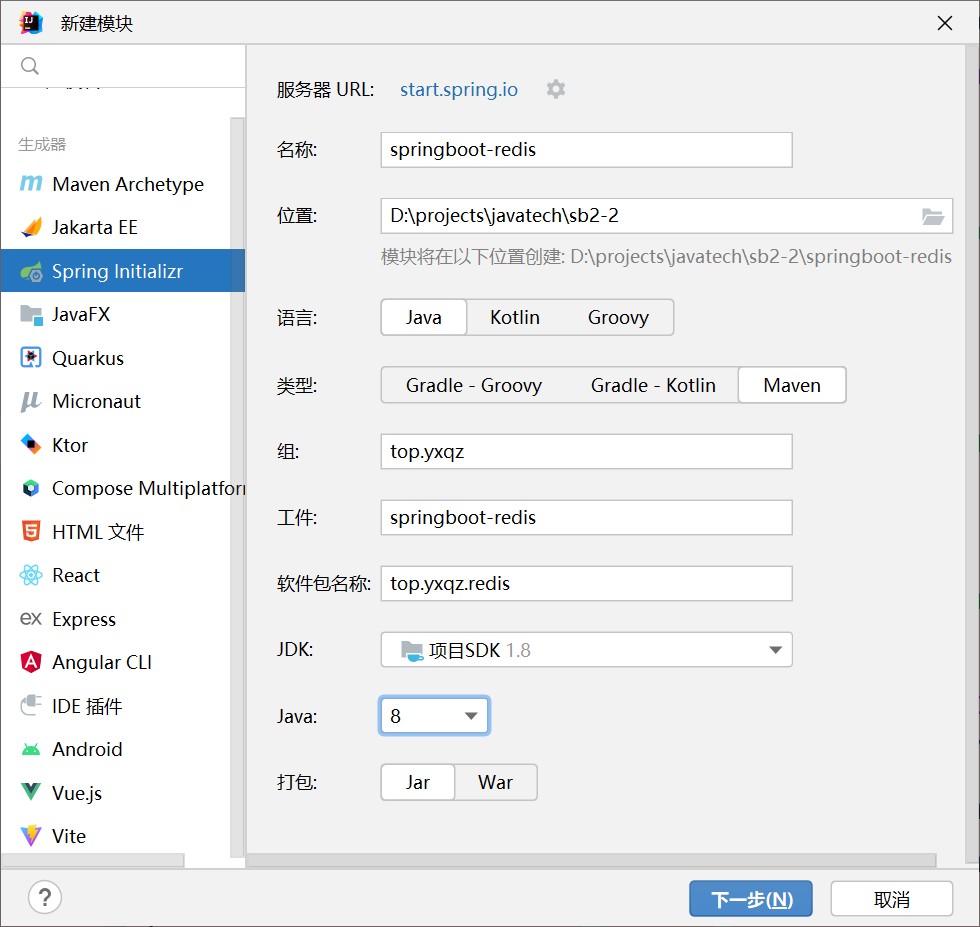
创建相关模块|工程

引入Redis依赖
   <!--        redis-->
        <dependency>
            <groupId>org.springframework.boot</groupId>
            <artifactId>spring-boot-starter-data-redis</artifactId>
        </dependency>
配置redis
spring:
  #redis的配置
  redis:
    host: localhost
    port: 6379
    database: 0
    jedis:
      pool:
        max-active: 8
        max-wait: 1ms
        max-idle: 4
        min-idle: 0
测试代码
package top.yxqz.redis;
import org.junit.jupiter.api.Test;
import org.springframework.beans.factory.annotation.Autowired;
import org.springframework.boot.test.context.SpringBootTest;
import org.springframework.data.redis.core.RedisTemplate;
/**
* 在学习Java连接Mysql的时候-----jdbc驱动
* 在学习spring框架连接Mysql的时候-----mybatis|MybatisPlus|JDbcTemplate---调用驱动连接数据库
* 学习Sprigboot|Spring框架连接redis---redisTemplate
*/
@SpringBootTest
class SpringbootRedisApplicationTests {
/**
* 自动注入底层是通过类型进行注入
* 但是RedisTemplate的对象 是由IOC容器进行创建 我们可以直接使用
* 在使用的时候有一定的注意事项 对象名称也就是当前属性名称建议叫做redisTemplate
* 否则可能会有找不到Bean问题 工具中基本的默认名都是类名的小驼峰叫做redisTemplate
* 有些时候老版本的idea 可能在redisTemplate下面会有波浪号(误报)
*/
@Autowired
private RedisTemplate redisTemplate;
/**
* 像rerdis存一个字符串:当天的日期
*/
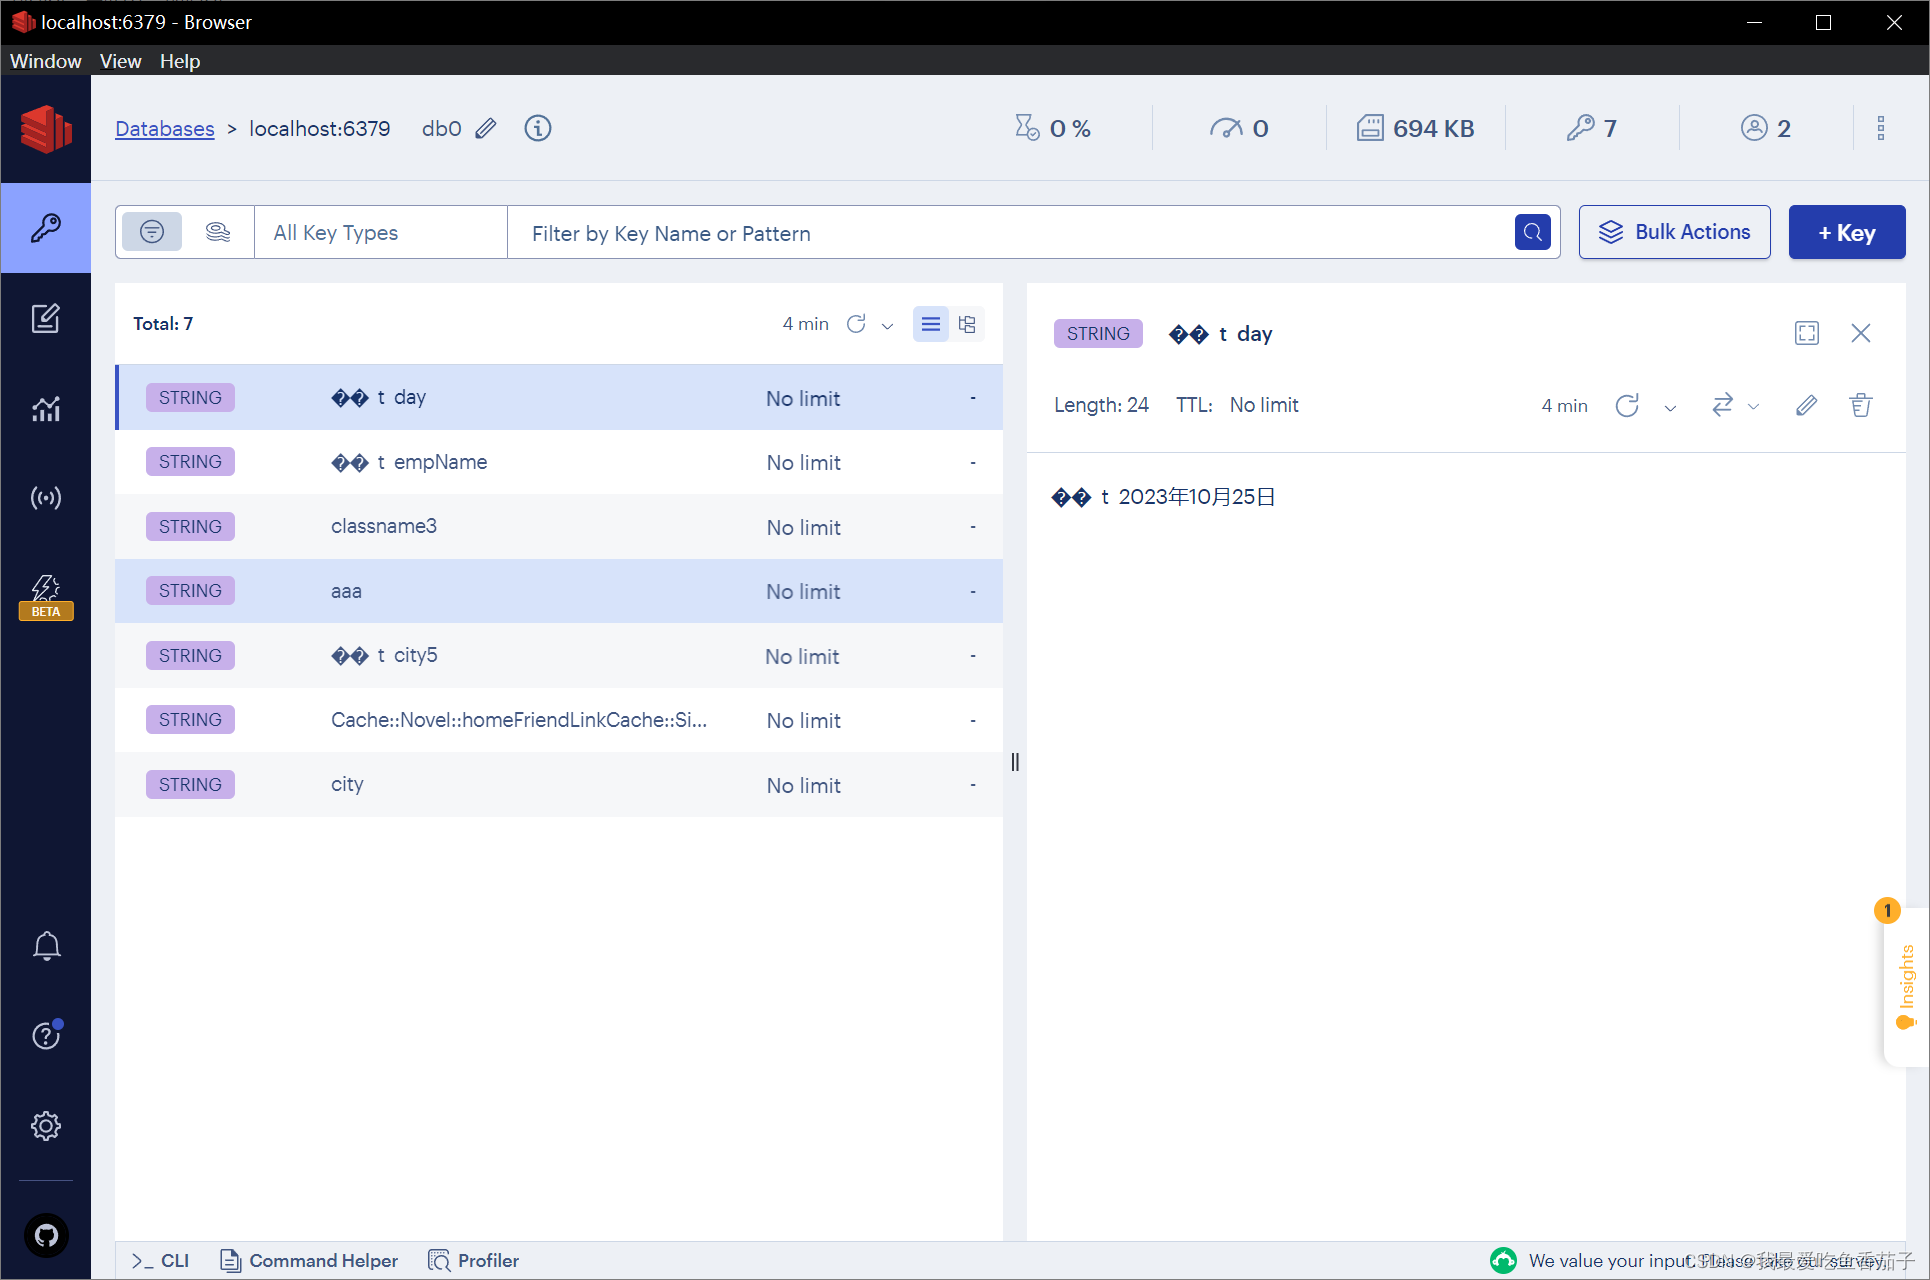
@Test
void set() {
redisTemplate.opsForValue().set("day","2023年10月25日");
}
/**
* 像rerdis取一个字符串:通过key(day)
*/
@Test
void get() {
String day = (String) redisTemplate.opsForValue().get("day");
System.out.println("从redis中得到字符串:"+day);
}
}
客户端查看
- redis客户端(新版本):https://redis.com/redis-enterprise/redis-insight/


 21万+
21万+


 被折叠的 条评论
为什么被折叠?
被折叠的 条评论
为什么被折叠?
 到【灌水乐园】发言


