


1. python源码和环境
环境就用vs2019即可
2. python源码编译
python2编译:
- 执行PCbuild/get_externals.bat
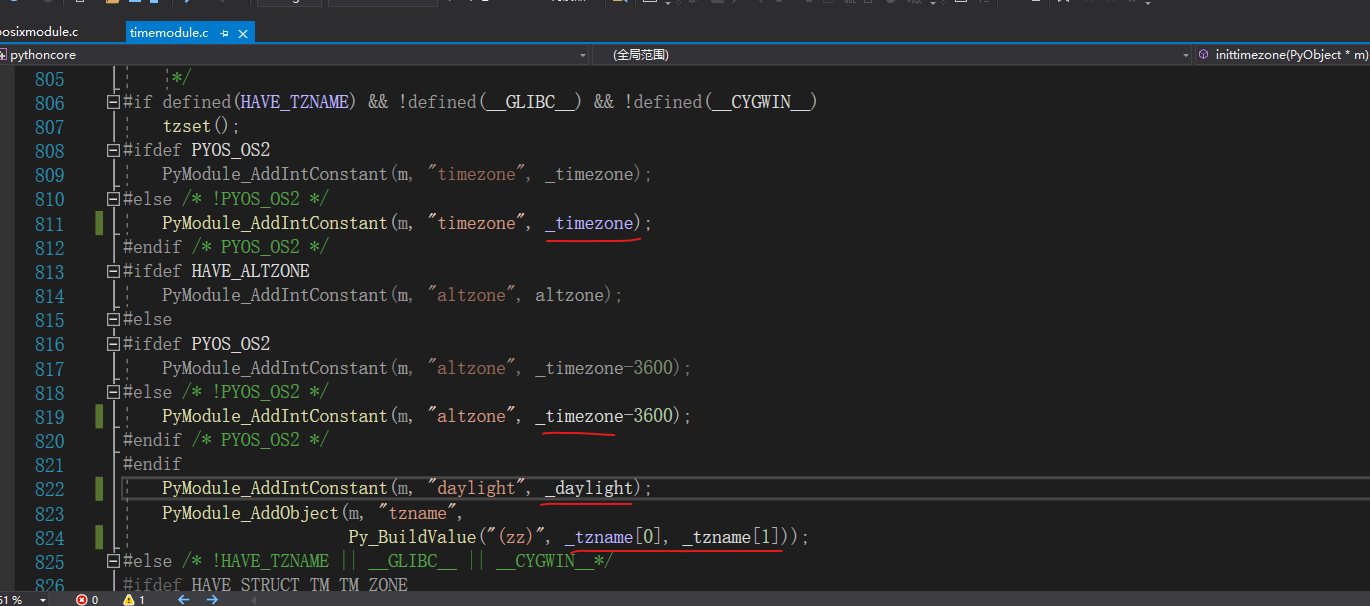
- Debug | x64进行编译, 第一次编译时报错, 将报错的变量都加上一个前缀的下划线即可
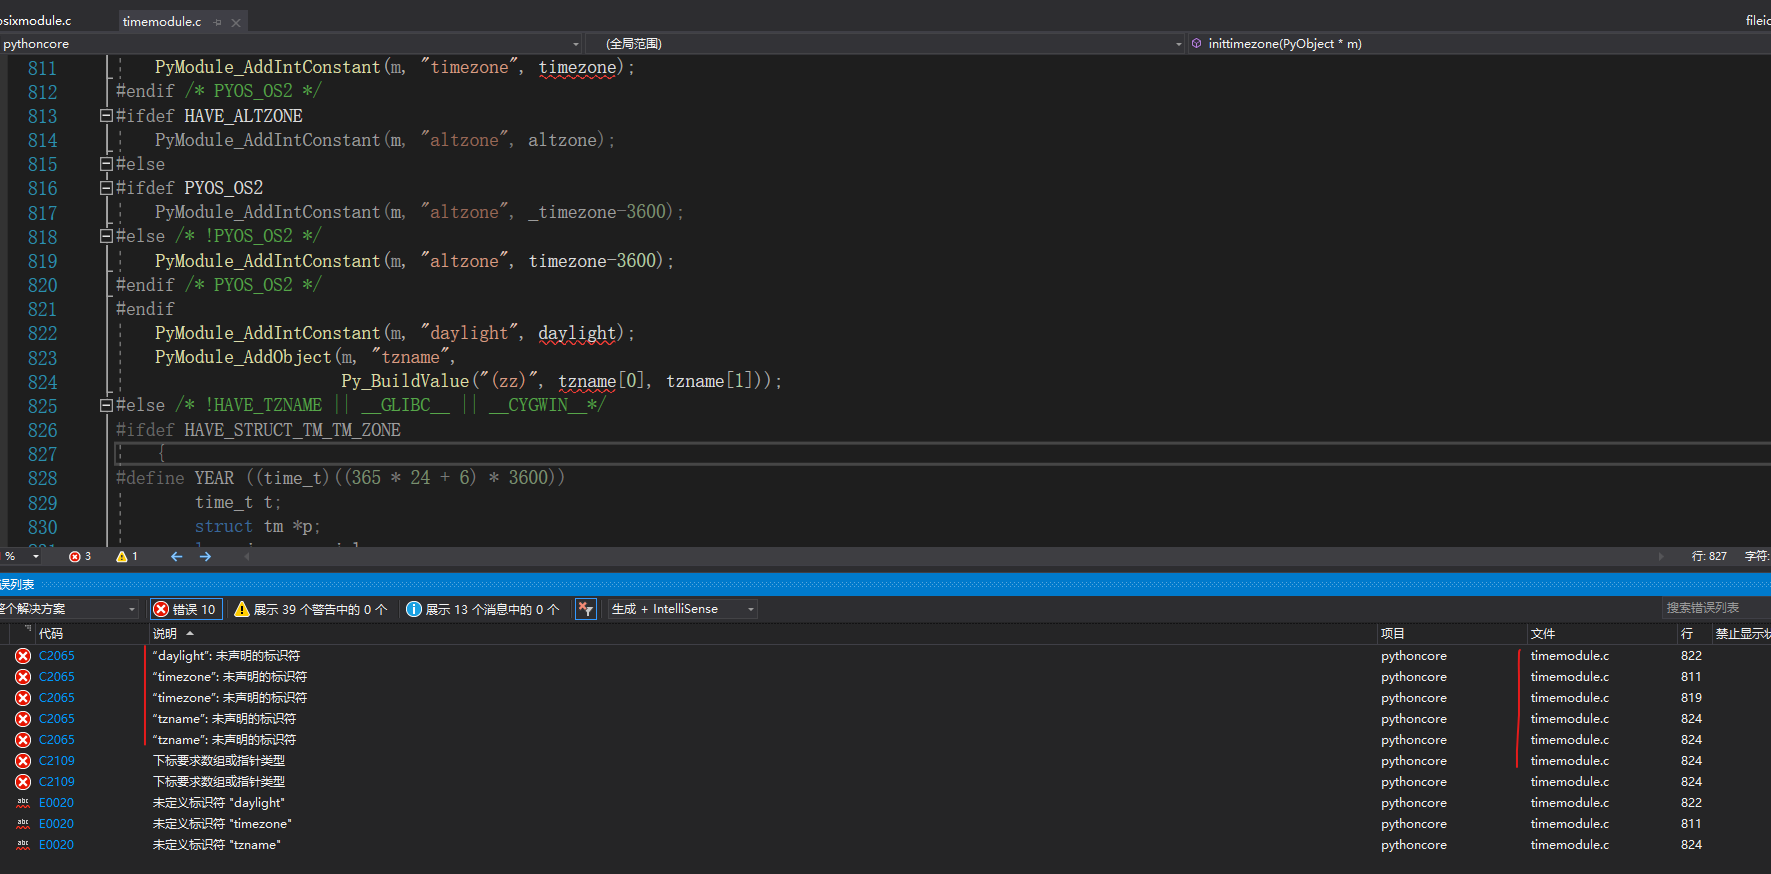
更改过后如下
- 再次编译, 继续报错, 如下
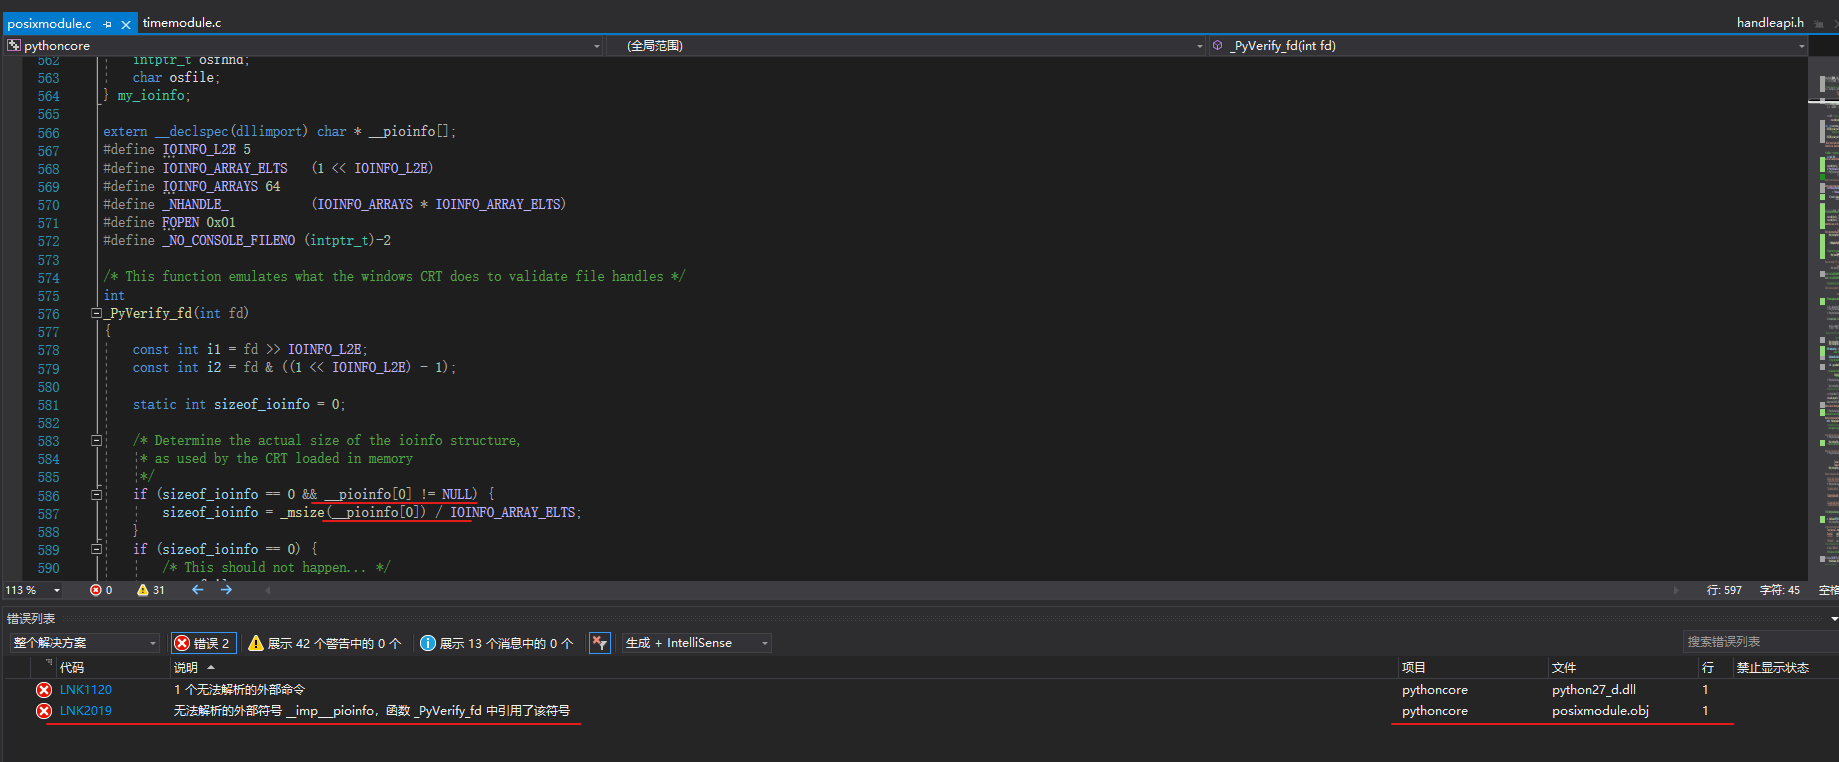
注释这个方法里面的内容, 更改为如下
int
_PyVerify_fd(int fd)
{
    if (_get_osfhandle(fd) == INVALID_HANDLE_VALUE)
        return 0;
    else
        return 1;
}
再次编译即可
python3编译
参考文章, 把代码编译成功:
.Windows Visual Studio 2019 编译 Python 3.7.12 及 Python 3.10.0 源码
看Python 3.7.12 源码编译部分就行了, 大差不差
3. 代码更改
更改源码. 在print方法里面, 加上我们自定义的前缀:
// 搜索如下方法:
static PyObject *
builtin_print(PyObject *self, PyObject *const *args, Py_ssize_t nargs, PyObject *kwnames)
{
	...
	...
	...


    // 输出我们自定义的内容
    PyFile_WriteString("this is our print\n", file);

    for (i = 0; i < nargs; i++) {
        if (i > 0) {
            if (sep == NULL)
                err = PyFile_WriteString(" ", file);
            else
                err = PyFile_WriteObject(sep, file,
                                         Py_PRINT_RAW);
            if (err)
                return NULL;
        }
        // 具体的输出内容
        err = PyFile_WriteObject(args[i], file, Py_PRINT_RAW);
        if (err)
            return NULL;
    }

    // 分行输出
    if (end == NULL)
        err = PyFile_WriteString("\n", file);
    else
        err = PyFile_WriteObject(end, file, Py_PRINT_RAW);
    if (err)
        return NULL;
}
更改代码后编译运行:


 2万+
2万+


 被折叠的 条评论
为什么被折叠?
被折叠的 条评论
为什么被折叠?
 到【灌水乐园】发言


