


1. LaTeX 的所有宏包文件都要写在 \documentclass 命令之后和\begin{document} 之前。在本文中,我们主要会用到如下的两个宏包:
\usepackage{algorithmic}
\usepackage{algorithm}
在论文写作的过程中,对于计算机专业的学生,在论文中插入伪代码描述所用的算法还是比较常见的。这里我们先体验一下伪代码算法插入模板的效果,然后在后面详细讲解模板的中的每个细节。
我们比较通用的模板如下:
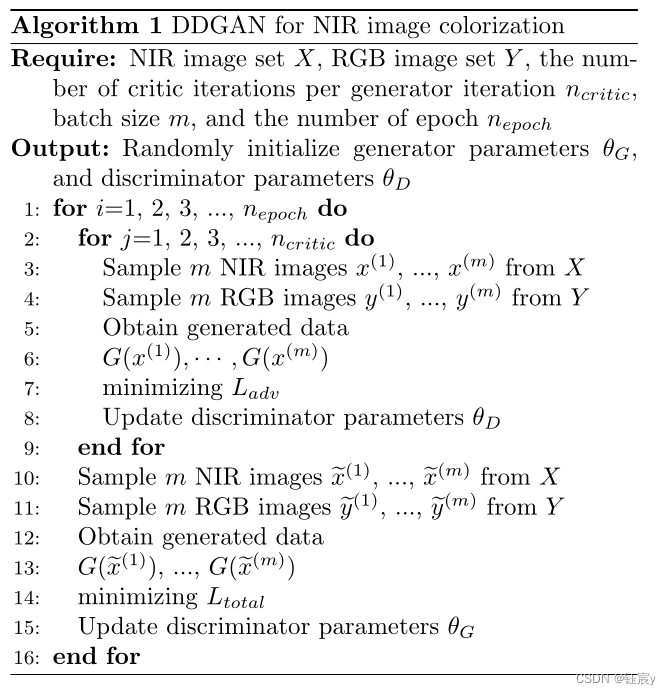
\begin{algorithm}[!h]
    \caption{DDGAN for NIR image colorization}
    \label{alg:alg1}
    \renewcommand{\algorithmicrequire}{\textbf{Require:}}
    \renewcommand{\algorithmicensure}{\textbf{Require:}}
    \begin{algorithmic}[1]
    \REQUIRE NIR image set $X$, RGB image set $Y$, the number of critic iterations per generator iteration $n_{critic}$, batch size $m$, and the number of epoch $n_{epoch}$.  %%input
    \ENSURE Generator $G$ and discriminator $D$. Randomly initialize generator parameters $\theta_G$, and discriminator parameters $\theta_D$. Generator loss $L_{gen}$ and  discriminator loss $L_{dis}$.  %%output
    \FOR{$i$=1, 2, 3, ..., $n_{epoch}$}
        \FOR {$j$=1, 2, 3, ..., $n_{critic}$}
            \STATE Sample $m$ NIR images {$x^{(1)}$, ..., $x^{(m)}$} from $X$
            \STATE Sample $m$ RGB images {$y^{(1)}$, ..., $y^{(m)}$} from $Y$
            \STATE Obtain generated data
            \STATE {$G(x^{(1)}),\cdots, G(x^{(m)})$}
            \STATE minimizing $L_{dis}$
            \STATE Update discriminator parameters $\theta_D$
        \ENDFOR
        \STATE Sample $m$ NIR images {$\widetilde{x}^{(1)}$, ..., {$\widetilde{x}^{(m)}$ from $X$
        \STATE Sample $m$ RGB images {$\widetilde{y}^{(1)}$, ..., {$\widetilde{y}^{(m)}$ from $Y$
        \STATE Obtain generated data
        \STATE {$G(\widetilde{x}^{(1)})$, ..., $G(\widetilde{x}^{(m)})$}
        \STATE minimizing $L_{gen}$
        \STATE Update discriminator parameters $\theta_G$
    \ENDFOR
    \end{algorithmic}
\end{algorithm}
上述模板的展示效果如下:
2. 算法的引用要用到的命令 /ref,如果要调用上面的算法,就可以这样调用:
As show in algorithm \ref{alg:alg1}
3. Latex 设置字体大小命令由小到大依次为:
\tiny
\scriptsize
\footnotesize
\small
\normalsize
\large
\Large
\LARGE
\huge
\Huge
为了调整Latex算法伪代码的字体大小,只需要,在 \begin{algorithm}[H]后加上\tiny,当然其中的\tiny可以换成以上的任意一种。


 1365
1365


 被折叠的 条评论
为什么被折叠?
被折叠的 条评论
为什么被折叠?
 到【灌水乐园】发言


