


从b站学习springcloud,现在进行总结,该总结除去了视频中出现的小错误,对有些易错的地方进行了提醒
b站链接:https://www.bilibili.com/video/BV1Gt411N7HF?p=2
资料链接:
https://pan.baidu.com/s/1o0Aju3IydKA15Vo1pP4z5w
提取码: 21ru
上一节链接:
下一节链接:
下面的内容总结:
给 bean 注入集合:(即,地址可以是多个,而不是单个)
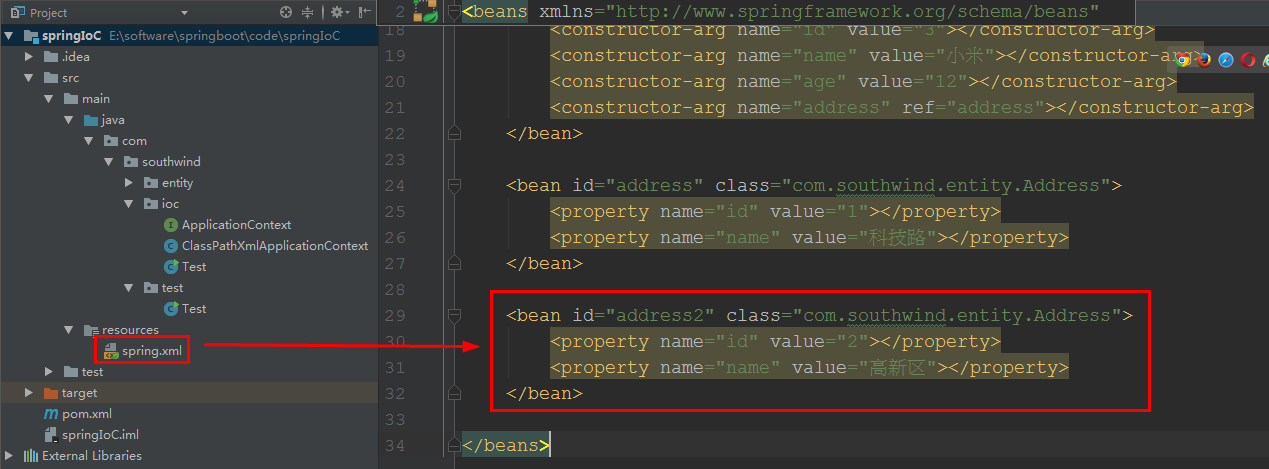
1 在 resources/ spring.xml 中,加入代码:
    <bean id="address2" class="com.southwind.entity.Address">
        <property name="id" value="2"></property>
        <property name="name" value="高新区"></property>
    </bean>
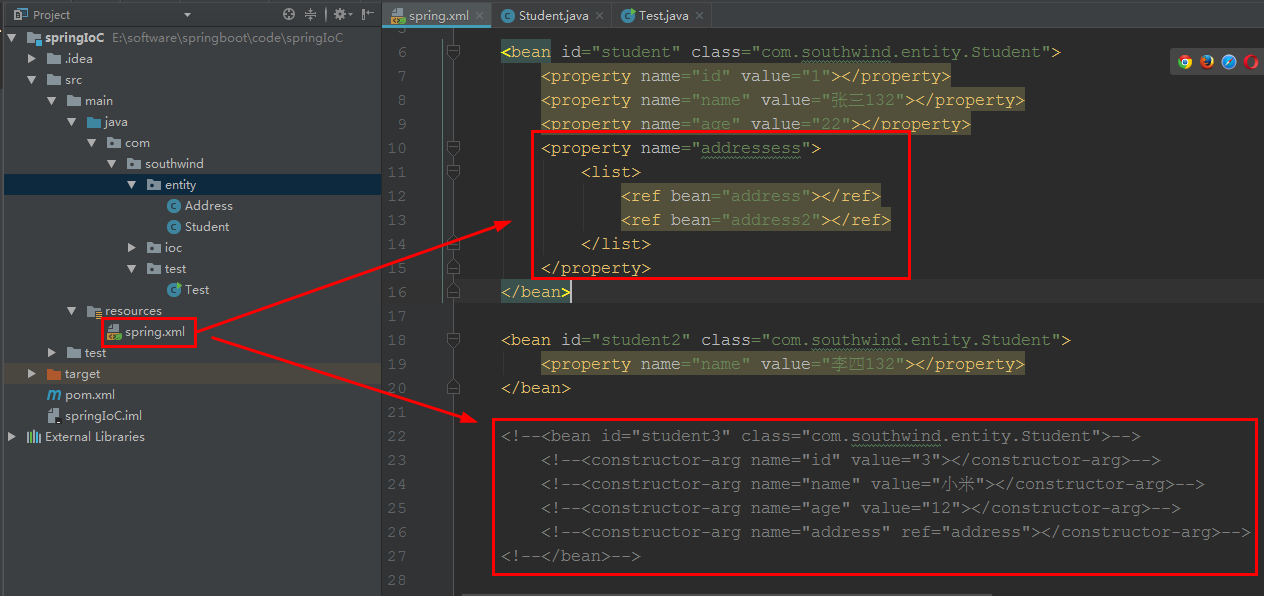
2 在 entity/ Student 中,修改代码:
private List<Address> addressess;

3 在 resources/ spring.xml 中,加入代码:
        <property name="addressess">
            <list>
                <ref bean="address"></ref>
                <ref bean="address2"></ref>
            </list>
        </property>
4 在 test/ Test 中:
getBean("student3"); 改为 getBean("student");

启动 test/ Test:

scope 作用域
Spring 管理的 bean 根据 scope 生成,表示 bean 的作用域,共4种,默认 singleton
| 4种 | 解释 |
|---|---|
| singleton | 单例,IoC 容器获取的 bean 唯一 |
| prototype | 原型,IoC 容器获取的 bean 可以不同 |
| request | 请求,1次 HTTP 请求内有效 |
| session | 回话,1个用户会话内有效 |
request、session 只适用 Web 项目,大多情况下,单例、原型用的较多
singleton,无论业务代码是否获取 IoC 容器中的 bean,Spring 加载 spring.xml 时就会创建 bean
prototype,业务代码获取 IoC 容器中的 bean 时,Spring 才去调用无参构造 创建对应的 bean
1.1 在 resources/ spring.xml 中,加入代码:
scope="singleton"

1.2 在 test/ Test 中
getBean("student"); 改为 getBean("student2");

启动 test/ Test:

1.3 在 test/ Test 中,加入代码:
		Student student1=(Student) applicationContext.getBean("student2");
        System.out.println(student == student1);
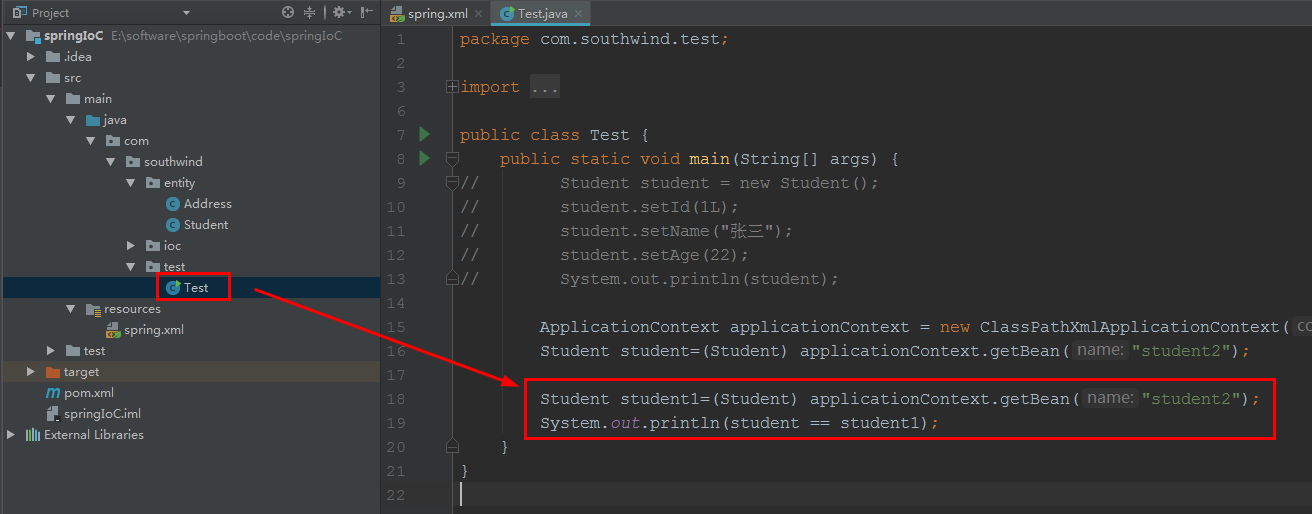
启动 test/ Test:

说明:scope="singleton" 时,2个对象相同,唯一,值是一样的,地址一样,名字可以不同
2.1 在 resources/ spring.xml 中,加入代码:
scope="singleton" 变成 scope="prototype"

启动 test/ Test:

说明:scope="prototype" 时,2个对象不同,地址不同
继承
同1个类内、不同类,均可继承
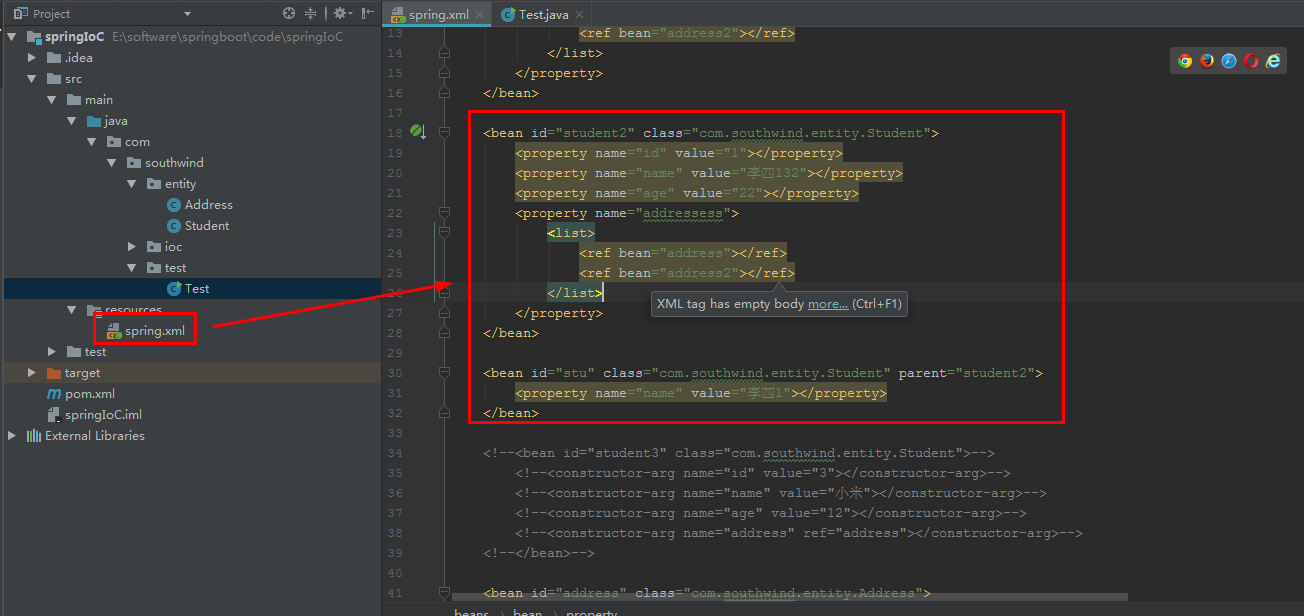
1.1 在 resources/ spring.xml 中,加入代码:
<bean id="student2" class="com.southwind.entity.Student">
        <property name="id" value="1"></property>
        <property name="name" value="李四132"></property>
        <property name="age" value="22"></property>
        <property name="addressess">
            <list>
                <ref bean="address"></ref>
                <ref bean="address2"></ref>
            </list>
        </property>
    </bean>

    <bean id="stu" class="com.southwind.entity.Student" parent="student2">
        <property name="name" value="李四1"></property>
    </bean>
1.2 test/ Test 中,加入代码:
		Student student=(Student) applicationContext.getBean("student2");
        System.out.println(student);

        Student stu=(Student) applicationContext.getBean("stu");
        System.out.println(stu);
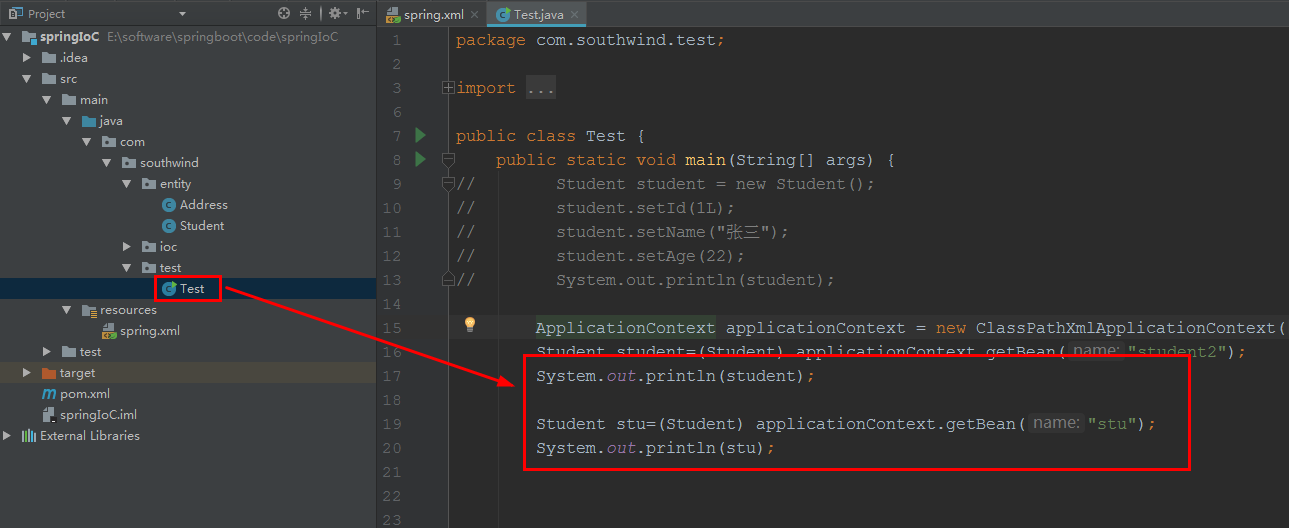
启动 test/ Test:

红框 均为继承
2 再写1个类 User,必须包含 类 Student 中所有属性
在 resources/ spring.xml 中 User 就可以 继承 student2
<bean id="user" class="com.southwind.entity.User" parent="student2"></bean>
依赖
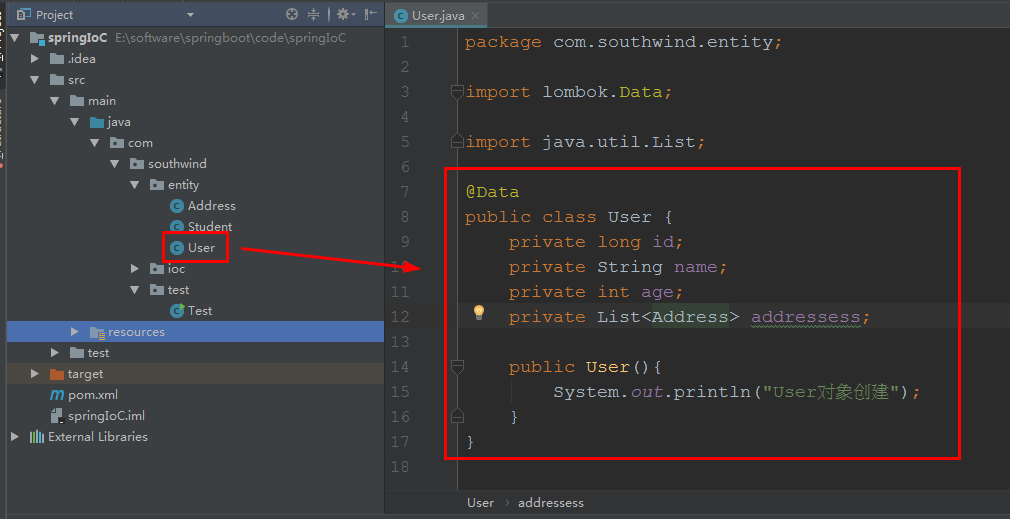
1 在 entity 中新建 实体类 User,加入代码:
package com.southwind.entity;

import lombok.Data;

import java.util.List;

@Data
public class User {
    private long id;
    private String name;
    private int age;
    private List<Address> addressess;

    public User(){
        System.out.println("User对象创建");
    }
}
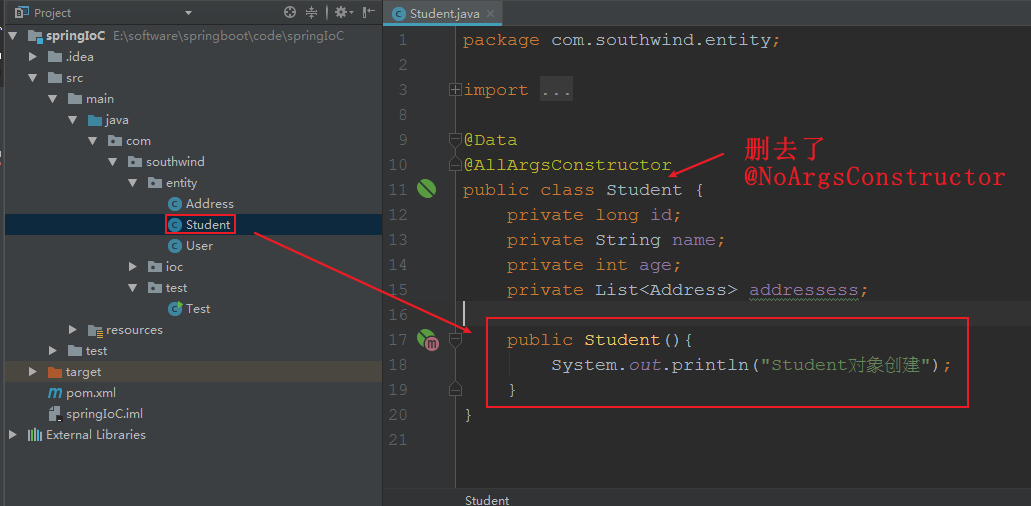
2 在 entity/ Student 中,加入代码:
    public Student(){
        System.out.println("Student对象创建");
    }
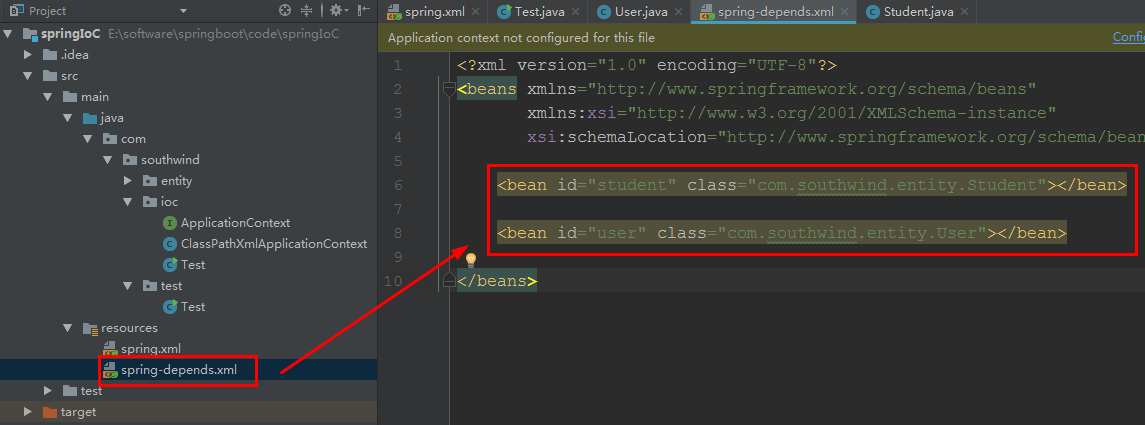
3 在 resources 中,再复制1份 spring.xml,命名为 spring-depends.xml,内容删除,加入代码为:
<?xml version="1.0" encoding="UTF-8"?>
<beans xmlns="http://www.springframework.org/schema/beans"
       xmlns:xsi="http://www.w3.org/2001/XMLSchema-instance"
       xsi:schemaLocation="http://www.springframework.org/schema/beans http://www.springframework.org/schema/beans/spring-beans.xsd">

    <bean id="student" class="com.southwind.entity.Student"></bean>

    <bean id="user" class="com.southwind.entity.User"></bean>

</beans>
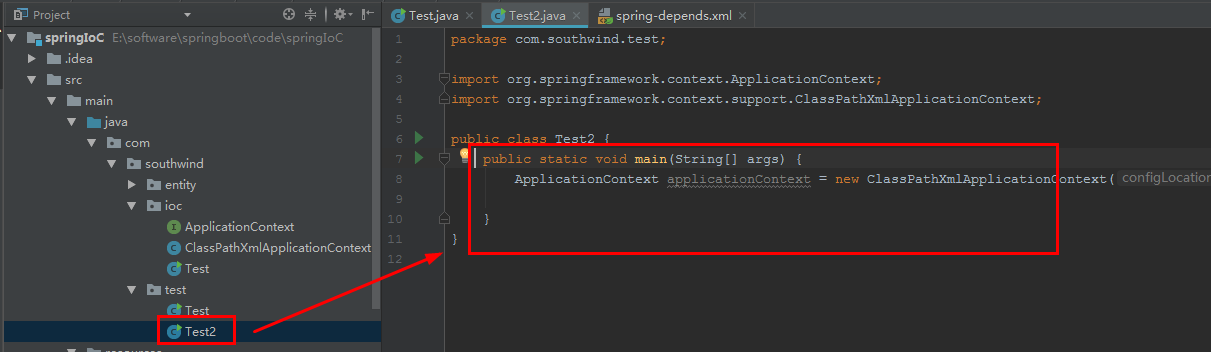
4 在 test 中 创建 类 Test2

用红框的,不要用第1行的,那是之前我们手动写的!
加入代码:
package com.southwind.test;

import org.springframework.context.ApplicationContext;
import org.springframework.context.support.ClassPathXmlApplicationContext;

public class Test2 {
    public static void main(String[] args) {
        ApplicationContext applicationContext = new ClassPathXmlApplicationContext("spring-depends.xml");
    }
}
启动 test/ Test2:

其顺序就是 xml 文件中的顺序
5 依赖谁,谁先被创建,在 spring-depends.xml 中加入:depends-on="user"

启动 test/ Test2:

student 依赖 user,所以 user 先创建,可以不顾 xml 文件的顺序
p 命名空间
1 在 resources 中,新建 spring-p.xml,加入代码:
<?xml version="1.0" encoding="UTF-8"?>
<beans xmlns="http://www.springframework.org/schema/beans"
       xmlns:xsi="http://www.w3.org/2001/XMLSchema-instance"
       xmlns:p="http://www.springframework.org/schema/p"
       xsi:schemaLocation="http://www.springframework.org/schema/beans http://www.springframework.org/schema/beans/spring-beans.xsd">

    <bean id="student" class="com.southwind.entity.Student" p:id="1" p:name="张三asd" p:age="22" p:addressess-ref="address"></bean>

    <bean id="address" class="com.southwind.entity.Address" p:id="2" p:name="解放路"></bean>
</beans>
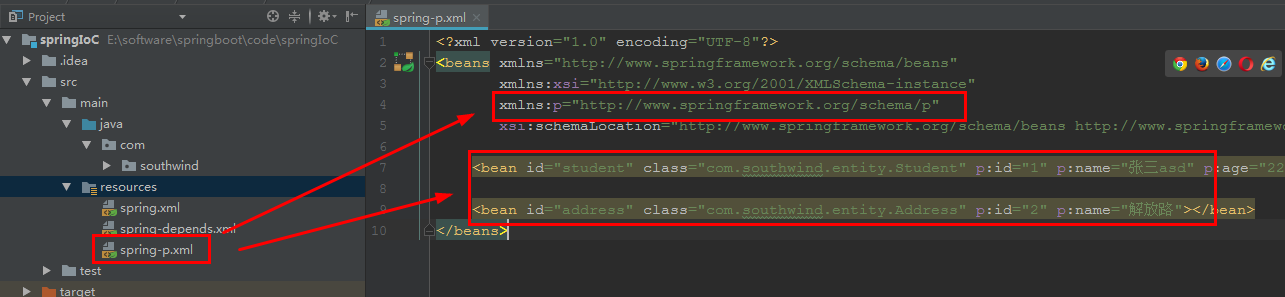
p:id 相当于 <property name="id" value="1"></property>
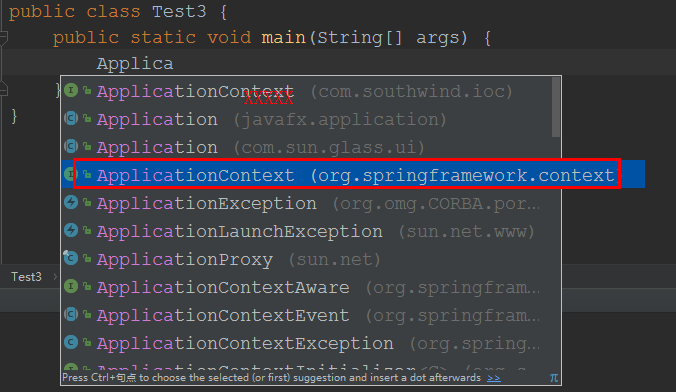
2 在 test 新建 类 Test3,加入代码:
package com.southwind.test;

import com.southwind.entity.Student;
import org.springframework.context.ApplicationContext;
import org.springframework.context.support.ClassPathXmlApplicationContext;

public class Test3 {
    public static void main(String[] args) {
        ApplicationContext applicationContext = new ClassPathXmlApplicationContext("spring-p.xml");
        Student student = (Student)applicationContext.getBean("student");
        System.out.println(student);
    }
}
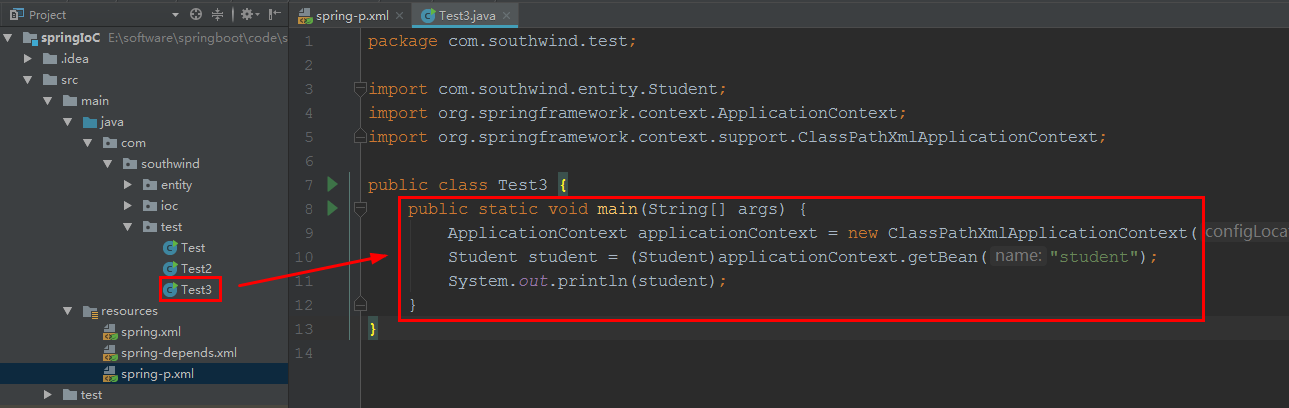
启动 test/ Test3:


 3399
3399

 被折叠的 条评论
为什么被折叠?
被折叠的 条评论
为什么被折叠?
 到【灌水乐园】发言


